

Minuteman M27000-00, M27000-00 CE Service Manual
Battery
Model:
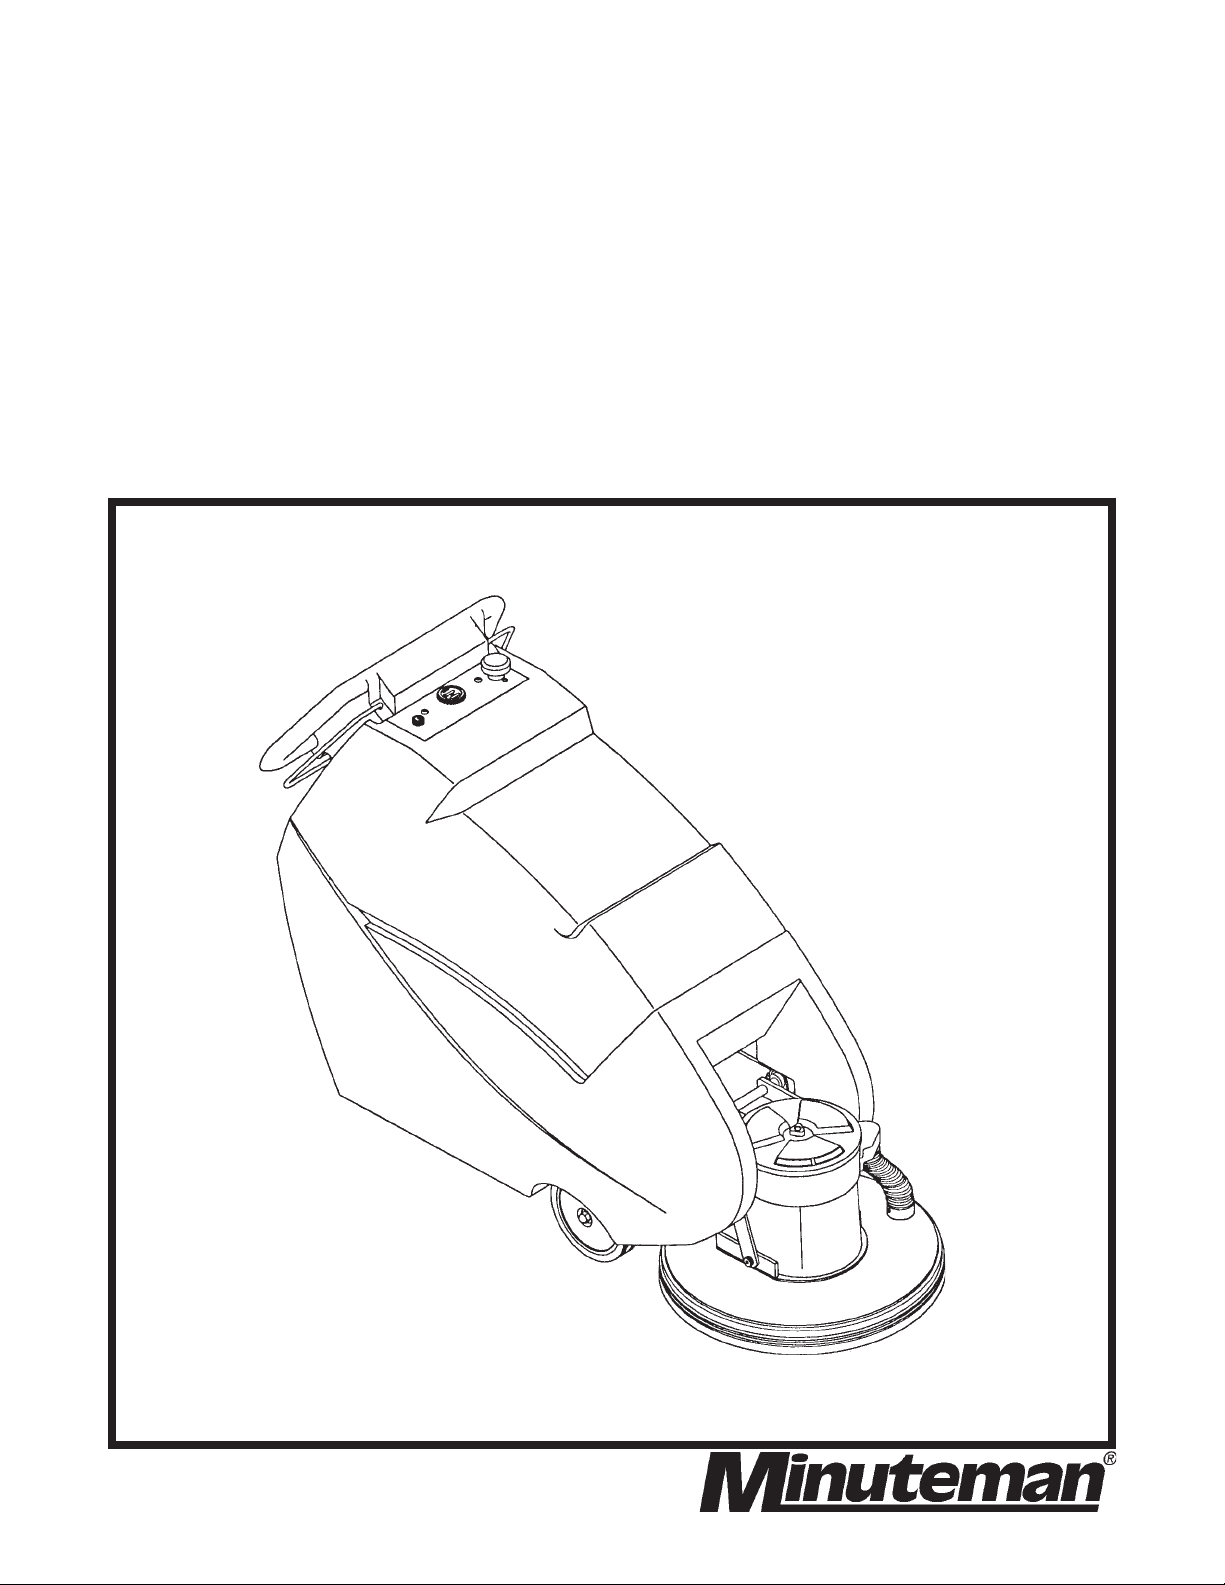
Burnisher
OPERATION
M27000-00
M27000-00 CE
SERVICE PARTS
CARE
Revised 7/02


CONTENTS
ILLUSTRATION, SPARE PARTS, OPERATION & SERVICE
PRECAUTIONS ............................................................................................................... 1
OPERATION & INSPECTION ........................................................................................... 2
PAD INSTALLATION & ADJUSTMENTS ....................................................................... 3-8
BATTERIES ..................................................................................................................... 9
MACHINE OVERVIEW, CONTROL PANEL DIAGRAM .................................................. 10
MAIN FRAME ASSEMBLY........................................................................................ 11-12
DRIVE UNIT ASSEMBLY .......................................................................................... 13-14
HANDLE ASSEMBLY ............................................................................................... 15-16
ELECTRICAL ASSEMBLY ........................................................................................ 17-20
WARRANTY POLICY ....................................................................................... Back Cover

IMPORTANT SAFETY INSTRUCTIONS
CAUTION:
Operators must read and understand this manual before operating or maintaining
this machine.
Keep hands and feet clear of moving parts while machine is in operation.
Disconnect the power to the machine by pressing the red Emergency Disconnect Button when
charging batteries or during installation or removal of pads.
During operation, loose objects on the floor can become dangerous projectiles if struck by the high
speed pad. Special attention should be paid in removing or avoiding loose floor tile, electrical
cables, telephone connection boxes.
Electrical motors and components can cause an explosion when operated near explosive materials
or vapors. Do not operate this machine near flammable materials such as solvents, thinners, fuels,
grain dust, etc.
Keep machine moving to reduce the risk of damaging floor finish and floor.
Make sure the red Emergency Disconnect Button is pressed and the battery connector is unplugged
from the machine before performing any maintenance procedures.
Store or park this machine on a level surface only.
These machines are designed for level floor operation only. Do not operate on ramps or inclines.
Battery acid can cause burns. When working on or around batteries, wear protective clothing and
safety glasses. Remove metal jewelry. Do not lay tools or metal objects on top of batteries.
Charging batteries generates explosive gases. DO NOT CHARGE BATTERIES WHEN OPEN
FLAMES OR SPARKS ARE PRESENT. DO NOT SMOKE. Make sure the charger is turned off
before disconnecting it from the machine. Charge the batteries in a well-ventilated area with the
battery cover removed completely.
Maintenance and repairs must be performed by authorized personnel.
SAVE THESE INSTRUCTIONS
1

OPERATING INSTRUCTIONS
INSPECTION:
Carefully unpack and inspect your burnisher for shipping damage. Each unit is tested and thoroughly
inspected before shipment; any damage is the responsibility of the delivery carrier who should be
notified immediately.
ELECTRICAL:
This machine is battery operated and designed to operate on 36 volts DC (3) 12 volt batteries.
BATTERIES:
Burnishers are shipped with batteries.
3 required - Part No. 956210 12V 210 AH 20 Hr. Rate
We do not recommend mixing AMP hour capacities. Any alternate battery sets can be used if
they equal physical size and capacity. See page 9 for service and installation.
OPERATION:
Before starting, familiarize yourself with the machine and its controls (see “Machine Overview” and
“Control Panel” diagrams). To turn the machine ON, do the following:
1. Make sure the cover is on the machine so the safety interlock switch is in the closed
position.
2. Make sure that no battery charger is plugged into the recharge port (there is also a safety
interlock switch in this location).
3. Lift the red emergency disconnect button so it is in the up position.
4. Turn the keyswitch clockwise.
2

Once the initial functions listed above have been performed, press the “I” button on the control panel
to turn the machine on. This will illuminate the “ON” light found on the control panel and activate the
battery condition meter.
Before operating the machine, check the condition of the batteries. The battery condition meter can
be read by looking at which light is illuminated on the meter. The green light on the right end of the
meter indicates that the batteries are fully charged. As the batteries discharge, the light moves to the
left. When the light under “1/2” is illuminated, the batteries are 1/2 charged. Once the meter shows
approximately 1/4 charge, there is not enough power left in the batteries to start the burnishing motor
and the batteries need to be recharged.
The machine can be used in either an “Automatic” mode or a “Manual” mode. In the “Automatic”
mode, the burnishing head is automatically raised or lowered to compensate for irregularities in the
floor. This produces an even finish. In the “Manual” mode, the height of the burnishing head is set by
the operator. The head stays at this height until it is adjusted again by the operator. In either mode,
the motion of the machine is controlled by the handles that are located on either side of the console.
By squeezing the right handle against the console, the machine will move forward. By squeezing the
left handle against the console, the machine will move backwards. The speed of the machine is
controlled by the knob located on the control panel. The speed (in both directions) is increased by
turning the knob clockwise.
The vertical array of five lights in the middle of the control panel under “Pad Pressure” gives an
indication of pad pressure. The top light under the word “MIN” is illuminated when the pad is minimally
touching the floor. The light directly above the word “MAX” is illuminated to give indication of the
maximum amount of pad pressure. The remaining three lights designate varying levels of pad
pressure between “MIN” and “MAX”. It is normal in “AUTOMATIC” mode for the lights to periodically
“bounce” up and down on the display. This “bouncing” is a result of the machine encountering high
and low areas in the floor. As a high spot is encountered, the lights will move down the array. If a low
spot is encountered, the lights will move up the array. It is also normal for the motor to sound like it is
slowing down over a high spot. If the motor did not slow down, there is a possibility that the floor
finish could be damaged.
There are (2) circuit breakers at the bottom left rear corner of the machine. The top one (70A) is for
the burnishing motor. The bottom one (18A) is for the traction drive. If the machine is not operating
properly, check to see if the circuit breakers have popped. If so, depress the top of them to reset.
3

AUTOMATIC MODE:
To operate the burnishing motor in the “Automatic” mode, select one of the buttons located on the
right side of the control panel under the word “Automatic”. The top button is for “light pad pressure”.
The middle button is for “medium pad pressure”, and the bottom button is for “heavy pad pressure”.
Caution should be used when operating the machine in the “heavy pad pressure” setting. If the
machine is moved too slowly, there is a possibility that the floor finish will be damaged due to
excessive pad pressure.
Once an automatic setting has been chosen, a light adjacent to that button will illuminate. A light
under the word “Automatic” will also illuminate. The burnishing head will move to the “Start” position,
which is approximately 2 inches above the floor. When the head is in this position, the burnishing
motor will turn on when either of the direction handles is grasped and the machine begins to move.
The pad will lower to engage the floor. The level of pad pressure is automatically maintained at the
selected pressure setting. If the light under “Automatic” is flashing, the burnishing head is being
adjusted to ensure the correct pad pressure is being maintained. When the light stops flashing, the
head is no longer being adjusted up or down. If, while the machine is being used, a high spot or a low
spot in the floor is encountered, the light will begin flashing and the height of the burnishing head will
be adjusted to maintain the correct pad pressure. If the light does not stop flashing and the burnishing
head is constantly being raised and lowered, the controller is having difficulty calibrating the machine
to the floor conditions. Simply turn the speed down to a slower rate until the light stops flashing.
When burnishing is complete, raise the head using the “UP” arrow under “MANUAL” on the control
panel until it is in the full up position. The head will move slowly until it passes the “Start” position. At
that point it will raise more rapidly.
MANUAL MODE:
To operate the burnishing motor in the Manual mode, press one of the arrow buttons
on the control panel under the word “MANUAL” to control pad pressure. When the “UP” arrow is
pressed, the burnishing head is raised. When the “DOWN” arrow is pressed, the head is lowered.
When the Manual mode is selected, the light under the word “MANUAL” will illuminate. The pad will
not spin unless the burnishing head is below the “Start” position. Pad pressure is indicated by the
pad pressure indicator lights described above.
It is not advisable to operate the machine with the “MAX” light illuminated for an extended period of
time as 1) damage to the floor finish could occur, and 2) the burnishing motor may stop spinning due
to a circuit breaker trip.
4

(Note: In the event the burnishing motor does stop spinning the operator should check the circuit
breaker at the lower left rear corner of the machine to restart the motor)
When burnishing is complete, raise the head using the “UP” arrow until it is in the full up position. The
head will move slowly until it passes the “Start” position. At that point it will raise more rapidly.
SENSITIVITY ADJUSTMENTS:
During use of the 2700 burnisher in the “Automatic” mode, the on-board controller constantly monitors
the pad pressure on the floor. The first time the burnishing head is lowered, the light on the control
panel under the word “Automatic” will blink. This alerts the operator that the machine is attempting to
calibrate itself to the current floor condition. When the machine determines that the pad pressure
level is adjusted properly, the light will quit blinking. This initial time frame when the light is blinking is
called “First Time to Calibrate”.
When/If the current floor condition changes the light on the control panel under the word “Automatic”
will again begin to blink to alert the operator that the machine is once again attempting to calibrate
itself to the current floor condition.
There is a time delay which occurs between the machine sensing the change in the floor condition
and actually making a change to its calibration settings. This time frame is called “Time to Recalibrate”.
The light on the control panel under the word “Automatic” will not begin to blink during this time delay.
If the “Time To Recalibrate” setting has been exceeded and the floor has not resumed its original
condition then the machine will automatically begin to recalibrate itself.
When the current floor condition changes the light on the control panel under the word “Automatic”
begins to blink to alert the operator that the machine is once again attempting to calibrate itself to the
current floor condition. The machine will again automatically raise and lower the head until the proper
calibration is found. When the new position is found, the light on the control panel under the word
“Automatic” will quit blinking and the head will quit moving. The time frame when the light is again
blinking and the burnishing head is moving is called “Second Time to Calibrate”.
As the machine is used over varying floor conditions, it will continually go through the “Time to
Recalibrate” and “Second Time to Calibrate” cycle. Again, these are the operations that the machine
performed:
1) “First Time to Calibrate” - The initial time frame when the machine is raising and
lowering the burnishing head to find the correct position for proper pad pressure.
2) “Time to Recalibrate” - The time frame between when the machine senses a change
in floor conditions and when it reacts to that change.
3) “Second Time to Calibrate” - All time frames after the initial one when the burnishing
head is being raised or lowered to compensate for changing floor conditions.
5
 Loading...