

Page 1
FrameMaker Ver5.5E(PC) Di152/Di183 SWITCHES ON PWBs/TECH. REP. SETTINGS
Highlighted
01.07.26
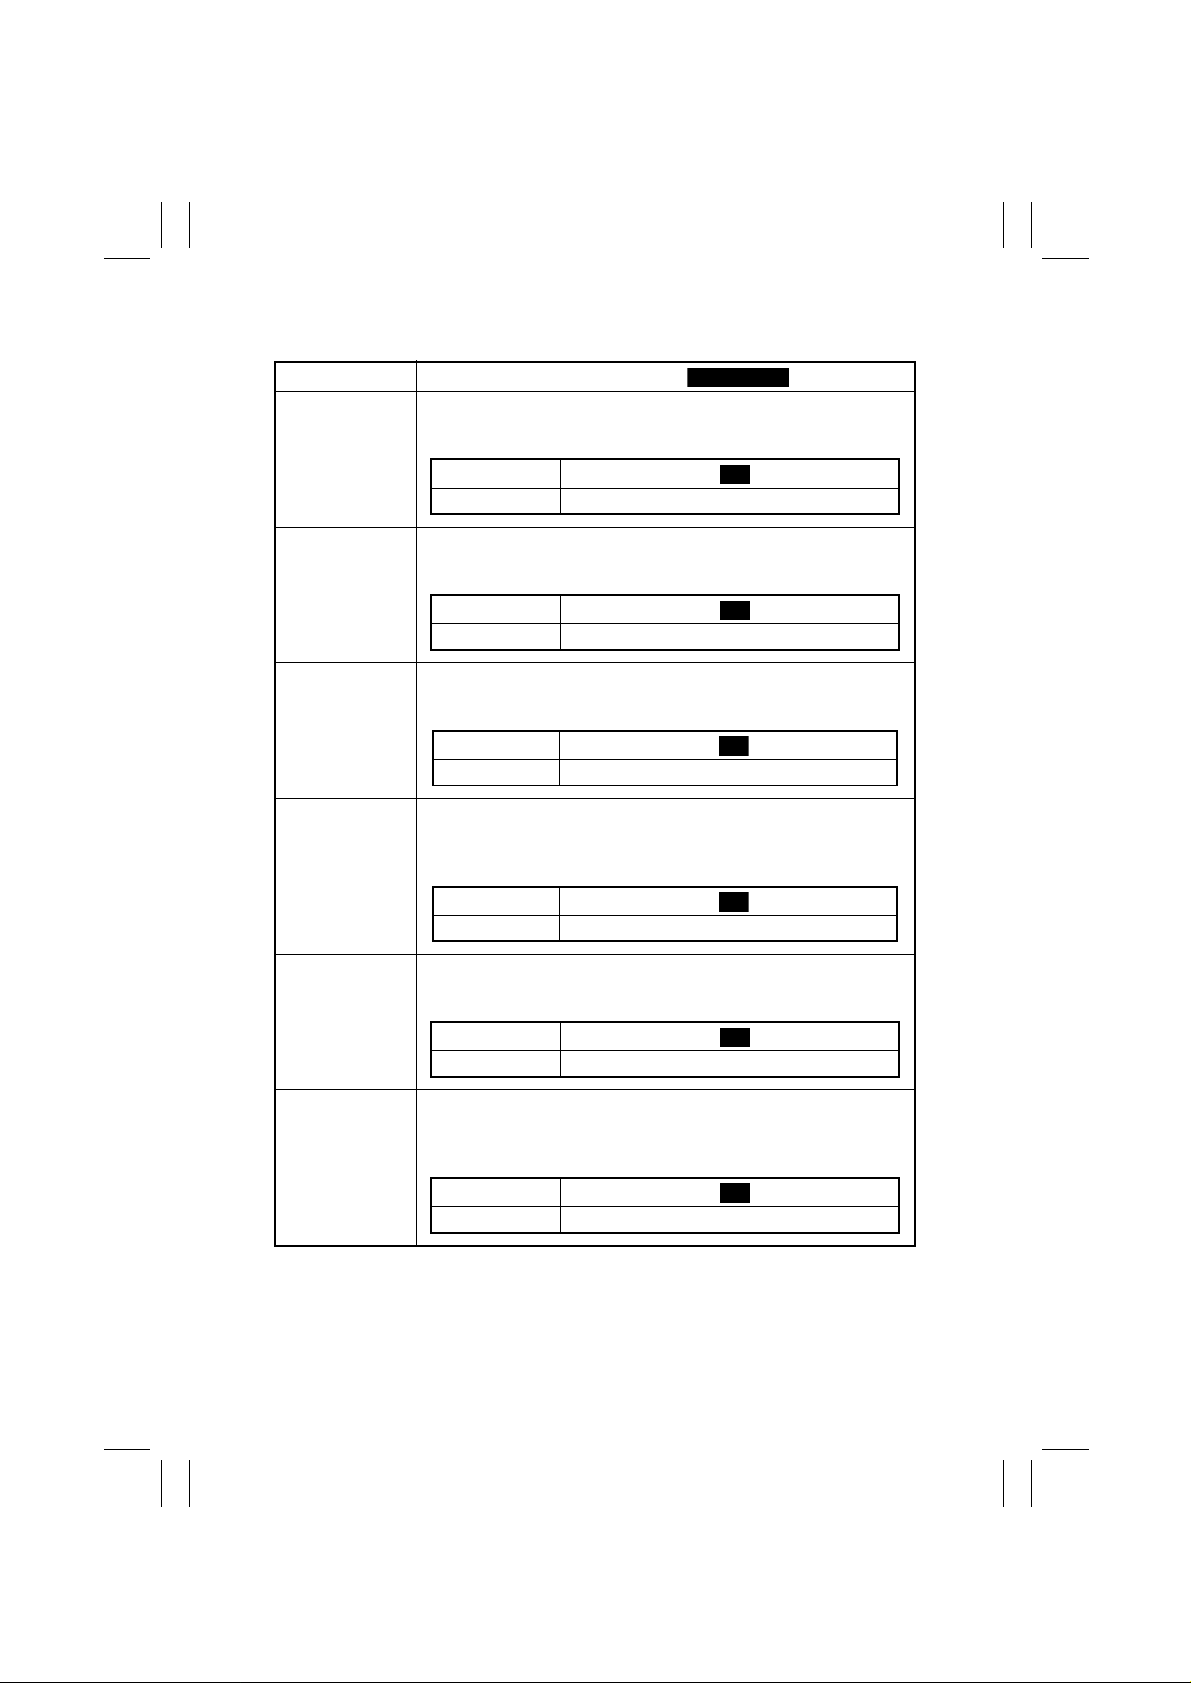
5-3. Setting in the Adjust Mode
Code No.
--1
--2
--3
--4
Setting (The default is ).
<Printer CD Registration adjustment>
Adjust registration in the CD direction on the printer (engine) side.
It is used when the PH Unit has been replaced.
Setting
Description (mm) -4.................................0............. ...............+4
Adjust registration in the FD direction on the printer (engine) side.
It is used when the PH Unit has been replaced.
Setting
Description (mm) -6.14............................0.......................+6.14
Adjust the zoom ratio in the CD direction on the Scanner (IR) side.
It is used when the PH Unit or CCD Unit has been replaced.
Setting
Description (%) -1.2 ..............................0.........................+1.2
Adjust the zoom ratio in the FD direction on the Scanner (IR) side.
It is used when the PH Unit or the Scanner Drive Cables have been
replaced, or when the Scanner has been removed.
Setting
Description (%) -1.2 ..............................0.........................+1.2
60.............................. ........................140
<Printer FD Registration adjustment>
67.............................. ........................133
<Scanner CD Zoom adjustment>
97.............................. ........................103
<Scanner FD Zoom adjustment>
97.............................. ........................103
100
100
100
100
--5
--6
<Scanner CD Registration adjustment>
Adjust registration in the CD direction on the Scanner (IR) side.
It is used when the PH Unit or CCD Unit has been replaced.
Setting
Description (mm) -8.................................0............. ...............+8
Adjust registration in the FD direction on the Scanner (IR) side.
It is used when the PH Unit or the Scanner Drive Cables have been
replaced, or when the Scanner has been removed.
Setting
Description (mm) -4.................................0............. ...............+4
20.............................. ........................180
<Scanner FD Registration adjustment>
60.............................. ........................140
100
100
S-28
Page 2
FrameMaker Ver5.5E(PC) Di152/Di183 SWITCHES ON PWBs/TECH. REP. SETTINGS
Highlighted
0
01.07.26
Code No.
--7
--8
--9
-10
-11
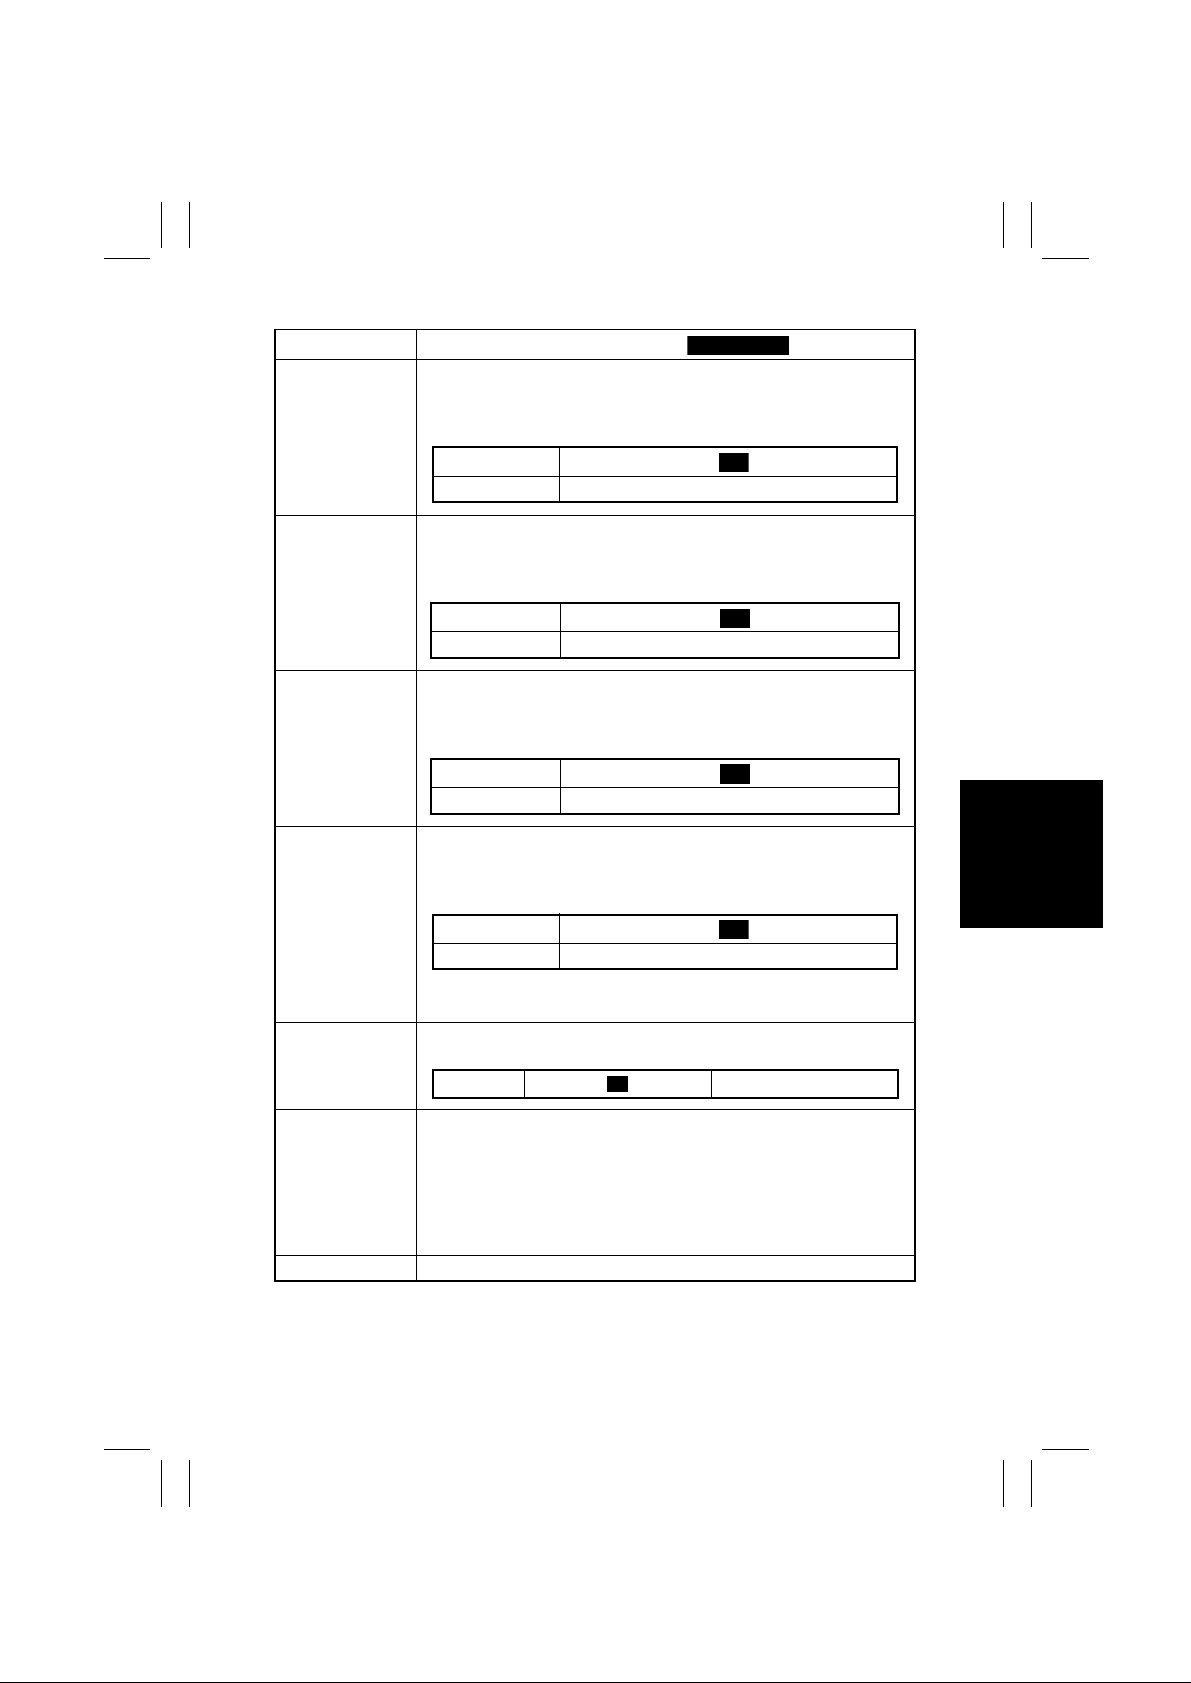
Setting (The default is ).
Adjust the zoom ratio in the FD direction on the ADF side.
It is used when the machine is set up, the PH Unit or Scanner Drive
Cables have been replaced, or the Scanner has been removed.
Setting
Description (%) 9.48............................100 ..................... 105.2
Adjust registration in the CD direction on the ADF side.
It is used when the machine is set up, or the PH Unit or CCD Unit has
been replaced.
Setting
Description (mm) -8.0............................. .0.........................+8.0
Adjust registration in the FD direction on the ADF side.
It is used when the PH Unit or Scanner Drive Cables have been
replaced, or the Scanner has been removed.
Setting
Description (mm) -5.................................0............. ...............+5
Adjust the ATDC Sensor voltage.
It is used when an IU of another machine is to be used or the T/C control voltage is to be changed.
Setting
Description (V) 5.39........................... 6.79....................... 8.15
✽
The value, to which F-8 (ATDC Sensor Automatic Adjustment) has
been adjusted, is to be the setting value.
Be sure to set to “1” whenever Memory Clear has been effected on
the 18-cpm machine.
Setting 1
<ADF FD Zoom adjustment>
87.............................. ........................113
<ADF CD Registration adjustment>
20.............................. ........................180
<ADF FD Registration adjustment>
50.............................. ........................150
<ATDC Sensor Gain Manual adjustment>
123............................ ........................186
100
100
100
155
-12
-20
This function is used to produce a test print, when a check is made
after a setting value of an Adjust function has been changed and on
image.
<Procedure>
1. Select the paper source (Bypass Tray cannot be selected).
2. Press the Start key to let the machine produce a test print.
✽
This test is for factory adjustment only and should NOT be used.
<Test Print>
S-29
 Loading...