

Page 1
Specifications
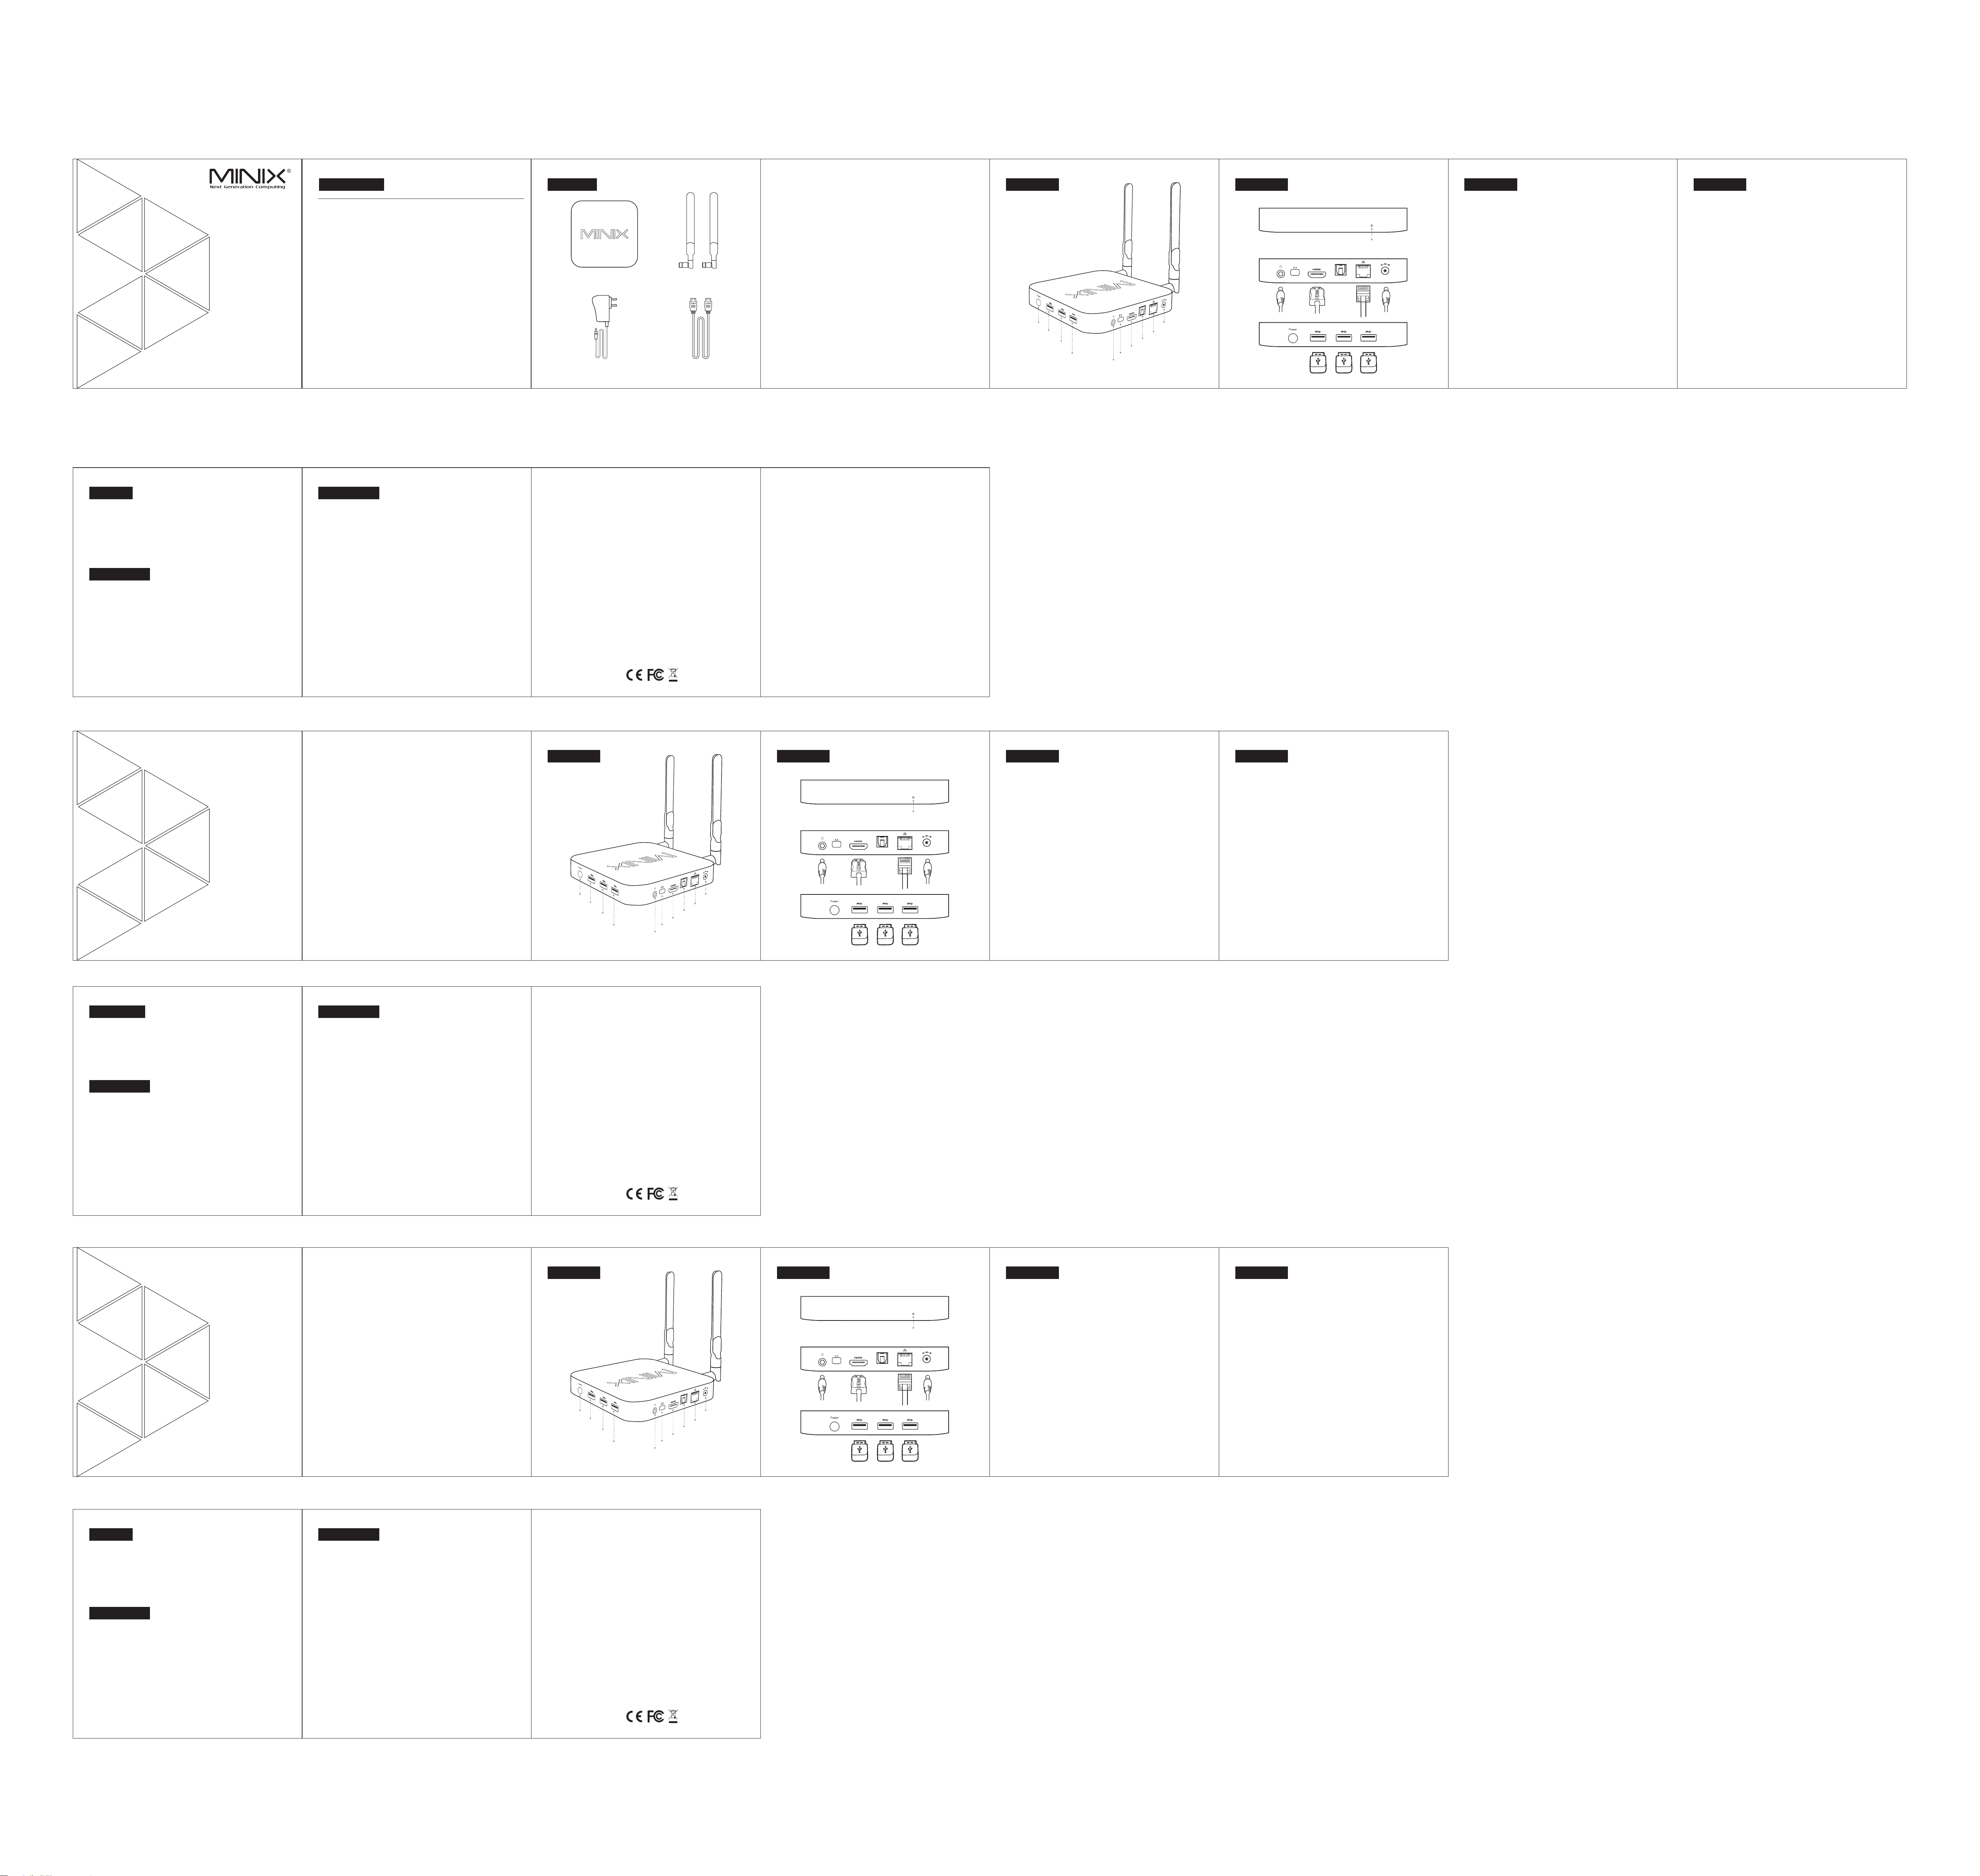
Contents
Thank you for purchasing the MINIX NGC-1.
Overview
Overview
Overview
Overview
NGC-1
Intel B raswe ll Fanl ess Min i PC
Windo ws 10 Edi tion
Multi-Language Setup Guide
English/Deutsch/中文
Processor
GPU
System Memory
Storage
Operating System
Connectivity
Video Output
Audio Output
Peripheral Interface
Power
Quad Core Celeron N315 0 Proces sor
Intel HD Graphics
4GB DDR3L
128GB M2 SSD
Windows 10 (64-bit)
802.11ac Dual Wi-Fi (2 .4GHz/5.0GHz), Bluetooth 4. 2
Mini DP + HDMI™ 1.4, up to 4K @3 0fps
Via HDMI™ 1.4, 3.5mm ste reo jack, optical SPDIF
RJ-45 Gigabit Ethern et
USB 3.0 port x 3, micropho ne & headp hone jack (combined)
Kensington lock read y
DC 12V, 3A adapter inclu ded (CE, FCC certified)
MINIX NGC-1 2 x Dual-Band Antenna
Power Adapter
(12V, 3A)
HDMI Cable
NGC-1 Intel Braswell Fanless Mini PC is an ultra-compact mini desktop PC
that packs an incredible amount of power, delivering optimal performance
far beyond its small footprint.
Combining 128GB of M2 SSD built-in storage, 4GB of DDR3L memory and
Windows 10 ensures NGC-1 Intel Braswell Fanless Mini PC is ready to run out of
the box.
More hints, tips and useful information can be found on the official MINIX
Forum: www.minixforum.com
Power Button
USB 3.0 port1
USB 3.0 port2
USB 3.0 port3
HDMI port
Mini DP p ort
Headphone jac k
12V D
IF
D
P
S
DC 12V Power-in j ack
Ethernet jack
SPDIF
Ethernet Jack - Connect the Ethernet cable for internet access.
DC 12V Power-in Jack - Connect the 12V power adapter supplied in the package
to this port. NGC-1 requires less than 1A to operate, however the included
power adapter provides 3A, in consideration that you may require extra to
connect other power-drawing external devices such as an external hard drive.
USB 3.0 Ports - Connect an external USB device to NGC-1, such as USB flash drive,
receiver of wireless keyboard and mouse, USB wired mouse, receiver of wireless
SPDIF
Power LED
12V DCI N
Power LED - The power LED glows blue when is on.
NGC-1
Power button - To power o n NGC-1, press and hold the power button for
1-2 seconds until the power LED glows. To power off NGC-1, press and hold
the power button for 8 seconds to force power off or closed down the s ystem
within the OS.
Micro SD card slot - Incr ease the storage size or read files directly from
a Micro SD card, supports up to 256GB max.
headset etc..
IN
C
Earphone Jack - Connect to an external audio output device such as headphones etc...
HDMI port - Connect NGC-1 to the HDMI port of a high-definition TV or PC monitor
using an HDMI cable..
Control
Different Control Methods - You may control with the following input
devices:
1.) Wired mouse and keyboard set
2.) 2.4GHz USB wireless mouse and keyboard set
NGC-1
Basic Setup
What you need:
High-Definition TV or PC monitor - That can display 720p, 1080p or 4k video with
at least one HDMI input.
HDMI Cable - To connect NGC-1 to your TV or PC monitor (HDMI cable included).
Wireless Network - A wired network cable or an 802.11 a, b, g, or ac Wi-Fi wireless
network (wireless video streaming requires 802.11n or ac), your wireless network
name and password.
n
Basic Setup
NGC-1
MINIX connects to your TV or PC monitor through an HDMI port
that delivers both audio and video. Before you setup NGC-1, look at the ports
on the side/back of your TV or PC monitor to ensure you have the right cable:
- HDMI cable: You can connect NGC-1 to a HDTV or home theater
receiver that has a HDMI port, using the HDMI cable for video and audio.
Step 1: Connecting the cable
1. Connect one end of the HDMI cable to the HDMI port of your TV or PC monitor.
2. Connect the other end of the cable to the HDMI port of NGC-1.
Step 2: Connecting the power
- Connect the 12V power adapter supplied in the package to the relevant port.
Press and hold the power button for 1-2 seconds to power on NGC-1, the
blue power LED should then glow.
Step 3: Turn on your TV / PC monitor and select the input
- Simply turn on your TV or PC monitor and select the corresponding HDMI port
connected to NGC-1.
Copyright © 2016 MINIX Tech. All rights reserved.
No part of this guide, including the products and software described in it, may be reproduced,
transmitted, transcribed, stored in a retrieval system, or translated into any language in any form
or by any means, except documentation kept by the purchaser for backup purposes, without
the express written permission of MINIX.
MINIX and the MINIX logo are trademarks of MINIX Technology Limited.
All other marks and trademarks are properties of their respective owners.
The content of this guide may differ in some details from the product or its software.
All information in this documentation is subject to change without notice.
Note: This equipment has been tested and found to comply with the limits for a Class B digital
device, pursuant to part 15 of the FCC Rules. These limits are designed to provide reasonable
protection against harmful interference in a residential installation. This equipment generates,
uses and can radiate radio frequency energy and, if not installed and used in accordance
with the instructions, may cause harmful interference to radio communications. However,
there is no guarantee that interference will not occur in a particular installation. If this equipment
does cause harmful interference to radio or television reception, which can be determined
by turning the equipment off and on, the user is encouraged to try to correct the interference
by one or more of the following measures:
- Reorient or relocate the receiving antenna.
- Increase the separation between the equipment and receiver.
- Connect the equipment into an outlet on a circuit different from that to which the receiver
is connected.
- Consult the dealer or an experienced radio/TV technician for help. Modifications not expressly
approved by the manufacturer could void the user’s authority to operate the equipment under
FCC rules.
NGC-1
Benutzerhandbuch
Vielen Dank für Ihren Kauf des MINIX NGC-1.
Bitte folgen Sie dieser Anleitung zur Einrichtung Ihres Geräts.
Der NGC-1 ist ein ultrakompakter lüfterlos Intel Braswell Mini Desktop PC mit einer Vielzahl
an Möglichkeiten. Der NGC-1 definiert den Desktop PC neu - mit seinem Minute-Formfaktor
ist er damit einer der weltweit kleinsten Desktop PCs.
Mit 128 GB eingebautem M2 SSD Massenspeicher, 4 GB DDR3L Arbeitsspeicher und
Windows 10 ist der NGC-1 Lüfterlos Mini PC sofort einsatzbereit.
Weitere Hinweise, Tipps und nützliche Informationen finden Sie im offiziellen
MINIX Forum: www.minixforum.com
Verbinden
Ein/AUS Schal ter
USB 3.0 port1
USB 3.0 port2
USB 3.0 port3
F
I
PD
S
SPDIF
HDMI An schlus s
Mini DP p ort
Kopfhörer Ans chluss
N
I
V DC
12
Eingang Netzt eilkab el 12V
Ethernet Ansc hluss
Verbinden
SPDIF
Power LED
12V DCI N
Verbinden
Power L ED
Die LED l euc htet be i ein gesch alt etem MI NIX N GC-1.
EIN/A US Schalte r
Um den MI NIX N GC-1 ei nzu schal ten , drück en Si e für 1-2 S eku nden de n
EIN/A US Sc halte r, bi s die Pow er LE D leuch tet . Um den MI NIX N GC-1
auszu sch alten , drü cken Si e den E IN/AU S Sch alter , bis S ie über d as Di splay
aufge for dert we rde n, dies z u bes tätig en. B estät ige n Sie die s nun O DER
halte n Sie d en EIN/ AUS S chalt er fü r 8 Sekun den g edrüc kt,
um das Au ssc halte n zu er zwing en, b is die LE D erl ischt .
Kopfh örer Ansch luss
Verbi nde n Sie ein e xte rnes Au dio gerät , z.B . Kopfh öre r oder La uts prech er.
SD/MM C Karten Ste ckplatz
Erwei ter n Sie den S pei cherp lat z oder gr eif en Sie au f Dat eien au f ein er
SD/MM C Spe icher kar te zu, un ter stütz t wer den Kar ten b is max. 2 56G B.
HDMI An schluss
Verbi nde n Sie den M INI X NGC-1 m it de m HDMI Po rt ei nes HD- fäh igen
TV Gerä ts od er Moni tor s mitte ls ei nes HDM I Kab els.
Verbinden
USB 3.0 P orts
Verbi nde n Sie ext ern e USB Ger äte m it dem MI NIX N GC-1, w ie US BSpeic her stick s, Em pfäng er fü r kabel los e Tasta tur u nd Maus , USB M aus,
Empfä nge r von kab ell osen Ko pfh örern , etc . .
Einga ng Netztei lkabel
Verbi nde n Sie das i m Lie ferum fan g entha lte ne 12 V Net zte il mit di ese m
Einga ng. D er MINI X NGC -1 benö tig t selbs t wen iger al s 1A, d ennoc h hab en
wir ein b is 3A a usgel egt es 12 Vol t Net zteil b eig efügt , um au ch exte rne
stromhungrige Geräte, wie z.B. Festplatten, mit genügend Power zu versorgen..
Ether net Anschl uss
Alter nat iv zum Wi -Fi A nschl uss k önnen S ie di esen LA N Ans chlus s mit
Ihrem N etz werk pe r LAN -Kabe l für d en Zuga ng zu m Inter net v erbinden .
Bedienung
Diver se Möglich keiten der B edien ung
Sie kön nen I hren MI NIX mit fol gen den Ein gab egerä ten
bedie nen :
1.) USB K abe lmaus
2.) 2,4 GHz U SB Funk tas tatur - und - maus Se t
NGC-1
Erste Schritte
Was ben ötigt wird
Um den MI NIX zu benu tze n, brau che n Sie Fol gen des:
High De finition T V / PC Monitor
Ein HD- fäh iges TV G erä t oder PC M oni tor, we lch es 720p , 1 080 p or 4K
Video w ied ergeb en ka nn mit ei nem f reien H DMI E ingan g.
Kabel
Ein HDM I Kab el, um de n MIN IX NGC- 1 mit I hrem TV z u ver binde n.
Netzw erk
Ein Net zwe rkkab el al s Verbi ndu ng zu Ihr em Ro uter od er
ein 802 .11 a , b, Wi-Fi N etz werk (W ire less Vi deo S tream ing
benöt igt 8 02.11 n o der a c), den N ame n und das P ass wort Ih res W LANs.
NGC-1
g, n oder a c
Erste Schritte
Einri chten des MI NIX NGC-1
Der MIN IX wird übe r den H DMI Por t mit I hrem HD MI- fähig en
TV oder P C Mon itor ve rbu nden, w obe i sowoh l Bil d als auc h Ton m ittel s ein es
HDMI Ka bel s übert rag en werd en. B evor Si e den M INIX NG C-1 e inric hte n,
prüfe n Sie b itte di e sei tlich en/ hinte ren A nschl üss e Ihres T V / PC Mo nitor s,
um sich er zu g ehen, d ass S ie das ri cht ige Kab el ha ben:
- HDMI Ka bel : Sie kön nen d en MINI X NGC -1 dami t mit e inem HD TV
Gerät o der H ome The ate r Recei ver m it HDMI A nsc hluss v erb inden ,
das HDM I Kab el über trä gt sowo hl Bi ld als au ch To n.
Schri tt 1: Verbin den der Kabe l
1. Verb ind en Sie ei n End e des HDM I Kab els mit d em HD MI Ansc hlu ss
Ihres T V/P C Monit ors .
2. Verb ind en Sie da s and ere End e des H DMI Kab els m it dem HD MI An schlu ss
des MIN IX NG C-1.
Schri tt 2: Anschl ießen der St romqu ell e
Verbi nde n Sie das m itg elief ert e 12V Net zte il mit de m MIN IX NGC- 1. Dr ücken
Sie für 1 -2 Se kunde n den E IN/AU S Sch alter , um de n MINIX N GC- 1 zu star ten ,
bis die b lau e Power L ED le uchte t, .
Schri tt 3: Anscha lten des TV / Mo nitor s und W ahl des E ing angs
Schalten Sie einfa ch Ihr TV Gerät od er Ihren PC Mon itor an und wählen Sie den
entsp rec hende n HDM I Port au s, an d em Ihr MI NIX N GC-1 an ges chlos sen i st.
NGC-1
Copyr igh t © 2016 MI NIX T ech. Al le Re chte vo rbe halte n.
Kein Te il di eses Ha ndb uchs, e ins chlie ßli ch der da rin b eschr ieb enen Pr odu kte
und Sof twa re, dar f in ir gende ine r Form od er mi t irgen dwe lchen M itt eln
vervi elf ältig t, üb ertra gen , übers chr ieben , in ei nem Dat en- a bfrag esy stem
gespe ich ert ode r in ir gende ine S prach e übe rsetz t wer den, oh ne di e
ausdr ück liche s chr iftli che G enehm igu ng von Mi nix , außer d urc h den
Käufe r zum Z weck de r Dat ensic her ung.
MINIX u nd da s MINIX L ogo s ind War enz eiche n von M INIX Te ch.
Alle anderen Marken- und Warenzeichen sind Eigentum ihrer jeweiligen Inhaber.
Der Inh alt d ieser A nle itung k ann s ich in ei nig en Deta ils v on dem
Produ kt od er sein er So ftwar e unt ersch eid en. All e Inf ormat ion en in
diese m Dok ument k önn en sich o hne v orher ige A nkünd igu ng ände rn.
NGC-1
快速指南
感谢您选购M INIX NG C-1.
遵循此指南 设置您的设 备。
MINIX N GC-1 是一 款性能强大 的超小型迷 你台式电脑 。MINIX N GC-1 重新
定义了台式 电脑,因为其小 巧的外形使 其成为世界 上最小的台 式电脑。
MINIX N GC-1 内置1 28GB存储 、4GB DDR 3L内存、Wi ndows 1 0,
这些应用保 证了MINI X NGC-1 强 大的性能。
更多的相关 信息请访问M INIX官方 论坛:www. minix forum .com。
安装连接
电源键
USB3.0接口1
USB3.0接口2
USB3.0接口3
Mini DP 接口
耳机接口
F
I
D
P
S
SPDIF 接口
HDMI 接口
N
CI
V D
12
DC12V充电接口
以太网接口
安装连接
SPDIF
Power LED
12V DCI N
安装连接
电源指示灯
MINIX N GC-1 开机 状态下指示 灯亮。
电源键
MINIX N GC-1 开机 时按住电源 键保持1-2秒 直到电源指 示灯亮起。 关机
时按住电源 键,显示器 会提示出确 认关闭对话 框,选择OK确 认关闭,或
者长按电源 键8秒强制关机 ,电源指示 灯灭掉。
耳机接口 连接 到一个外部 音频输出设 备如耳机或 喇叭。
SD/MM C 卡接口
可增大存储 容量或直接 从 SD/MM C 卡读取文件 ,支持扩充 到的最大容 量
为256GB 。
安装连接
HDMI 接口
用一根HDM I 线连接 MIN IX NGC- 1 到高清电视 或电脑显示 器的HDMI接
口。
USB 3.0 接 口
连接外部US B设备,如US B闪存驱动器 、无线键盘 鼠标接收器 、USB鼠
标、无线耳 机接收器等 到MINIX N GC-1.
以太网接口
连接网线接 入互联网。
DC 12V 充电 接口
将包装内提 供的12 V电源适 配器连接到 此端口。MI NIX NGC -1操作所需
电流低于1A ,但是 考虑到您需 要连接其他 牵引功率的 外部设备( 如外接硬
盘),故我 们提供一个1 2V 3A的电源 适配器。
操控
不同的操控 方法
您可以通过 以下输入设 备操控 MIN IX NGC- 1 :
1.) 有线鼠 标
2.) 2.4 GHz USB 无 线鼠标和键 盘设备
基础设置
您需要准备 的
要使用MIN IX NGC- 1, 以下是您 需要准备的:
高清电视/ 电脑 显示器
一个高清电 视或电脑显 示器,可以显示7 20p,1 080p或4K 视 频和至少一 个
HDMI输入 接口。
排线
一根 HDMI排 线用于MIN IX NGC- 1 与电视连接 。
无线网络
一个 802. 11 a, b, g, n 或者 ac Wi- Fi 无线网络(无 线视频流需 要802.1 1n or ac)
您的无线网 络名称和密 码。
基础设置
安装连接 MI NIX NGC -1
通过HDMI端 口将MINI X NGC-1与 电视或电脑 显示器相连 接,传输音 频 、视频。
在设置 MIN IX NGC- 1之前,查看 您的电视或 电脑显示器 侧 面/背面的端口 ,
确保您有合 适的排线:
-HDMI 排线: 用 一根HDMI排 线将MINI X NGC-1与 有HDMI端口 的 高清电视
或家庭影院 接收器相连 接传输视频 或音频。
步骤1:连接排 线
1. 将HDMI排 线的一端与 电视/电脑显示 器的HDMI端 口相连接。
2. 将排线的 另一端与MI NIX NGC -1的HDMI端 口相连接。
步骤2:连接电 源 将包装中提 供的12V电源 适配器与此 端口相连, 按住电源键1 -2秒,
当电源 指示灯 变亮时MIN IX NGC- 1 开机完成。
步骤3:打开电 视/电脑显示器 并选择输入
打开电视或 电脑显示器 ,选择对应 的HDMI端口 连接到MIN IX NGC- 1.
版权©201 6 MI NIX .保留所有权利。
没有MINI X明确的书面 许可,禁止 以任何形式 或通过任何 途径将此指 南的 任何部分
包括产品和 软件描述, 复制、传播 、转录、存 储进检索系 统或 翻译成任 何语言;
购买者以备 份的目的保 存文档除外 。
MINIX和 M INIX的标 识是MINI X科技的商标 。所有其他 标志或商标 均为它们各 自
所有者的财 产。
此指南内容 在一些细节 上可能与产 品或它的软 件不同。本 文件中的所 有 信息可做更 改,
不另行通知 。
Page 2

This equipment has been tested and found to comply with the limits for a Class B
digital device, pursuant to part 15 of the FCC Rules. These limits are designed to
provide reasonable protection against harmful interference in a residential installation.
This equipment generates, uses and can radiate radio frequency energy and, if not
installed and used in accordance with the instructions, may cause harmful interference
to radio communications. However, there is no guarantee that interference will not
occur in a particular installation. If this equipment does cause harmful interference to
radio or television reception, which can be determined by turning the equipment off
and on, the user is encouraged to try to correct the interference by one or more of the
following measures:
• Reorient or relocate the receiving antenna.
• Increase the separation between the equipment and receiver.
• Connect the equipment into an outlet on a circuit different from that to which the
receiver is connected.
• Consult the dealer or an experienced radio/TV technician for help.
Caution: Any changes or modifications to this device not explicitly approved by
manufacturer could void your authority to operate this equipment.
This device complies with part 15 of the FCC Rules. Operation is subject to the
following two conditions: (1) This device may not cause harmful interference, and (2)
this device must accept any interference received, including interference that may
cause undesired operation.
This equipment complies with FCC RF radiation exposure limits set forth for an
uncontrolled environment. This device and its antenna must not be located or
operating in conjunction with any other antenna or transmitter.
“To comply with FCC RF exposure compliance requirements, this grant is applicable
to only mobile configurations. The antennas used for this transmitter must be installed
to provide a separation distance of at least 20 cm from all persons and must not be
co-located or operating in conjunction with any other antenna or transmitter.”
 Loading...