


NEO N42C-4
INTEL PENTIUM MINI PC WITH
WINDOWS 10 PRO (64-bit) PRE-INSTALLED
English User Guide
Ultra Compact Apollo Lake Mini PC [Intel N4200 CPU]

Specifications
Intel Pentium N4200
Intel HD Graphics 505
DC 12V, 3A adapter (included)
or via USB-C input (DC 12V)
4GB DDR3L (upgradeable to 8GB)
RJ-45 Gigabit Ethernet, USB 3.0 port x 3, USB-C port x 1,
Kensington Lock ready
GPU
Memory
Peripheral Interface
Power
Processor
Storage
Wireless Connectivity
Digital Audio Output
Video Output
Operating System
Memory Slot
Storage Expansion
Analog Audio Output
Audio Input
2 x SODIMM slot, support dual channel
Built-in 32GB eMMC 5.1 (MLC)
1 x 2280 M.2 slot (SATA 6Gbps)
802.11ac Dual-Band Wi-Fi, Bluetooth 4.1
Windows 10 Pro (64-bit)
HDMI 1.4 (4K @ 30Hz), Mini DisplayPort (4K @ 60Hz),
USB-C (4K @ 60Hz)
HDMI 1.4, Mini DisplayPort, Optical S/PDIF
3.5mm audio jack
3.5mm audio jack
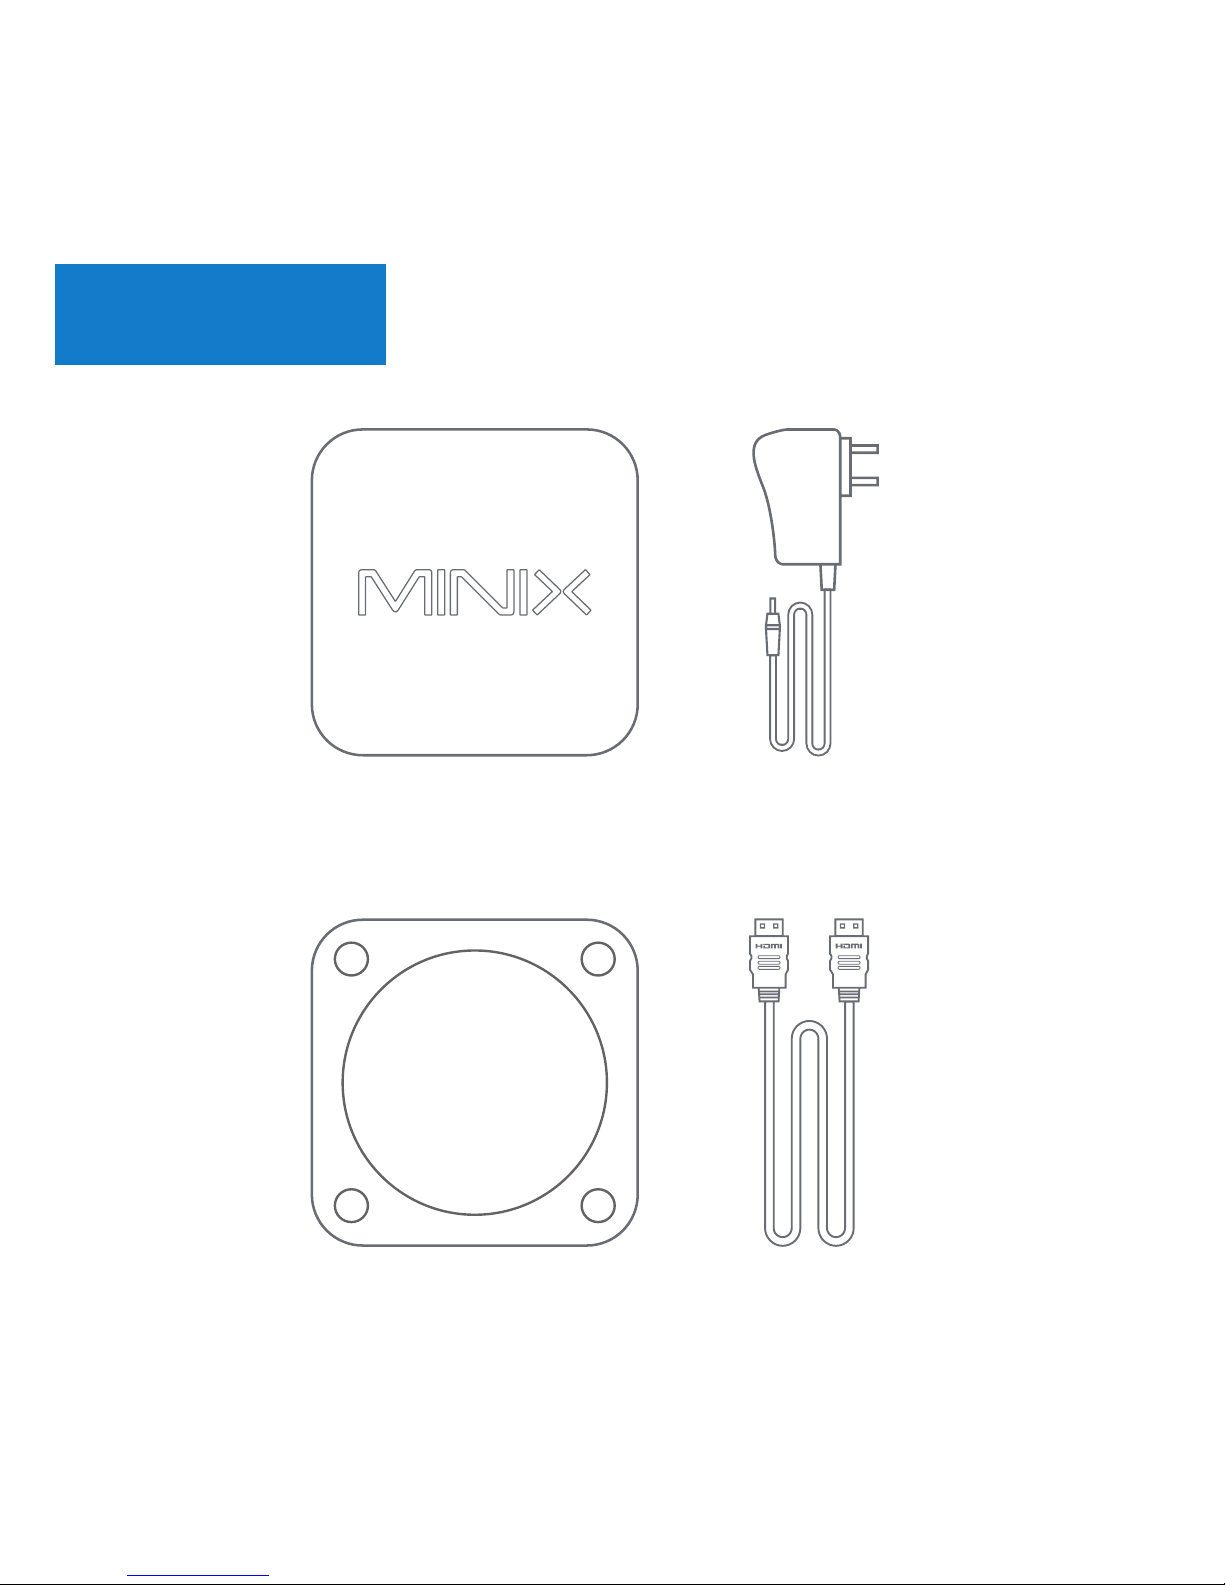
Contents
MINIX NEO N42C-4
VESA Mount
12V (3A)
Power Adapter
HDMI Cable

Overview
Thank you for purchasing MINIX NEO N42C-4.
NEO N42C-4 is an ultra-compact mini desktop PC that
packs an incredible amount of power, delivering
optimal performance far beyond its small footprint.
Combining 32GB eMMC 5.1 (MLC) built-in storage,
4GB of DDR3L memory and Windows 10 Pro (64-bit)
ensures NEO N42C-4 is ready to run out of the box.
A small solution packed full of big ideas.
NEO N42C-4 can be easily mounted to a VESA compatible
monitor, no tools are required for mounting once the
included bracket has been installed.
More hints, tips and useful information can be found on the
official MINIX Forum: www.minixforum.com

Overview
Power LED - The LED glows blue when NEO N42C-4 is on.
Power Button - To power on the NEO N42C-4, press and hold
the power button for 1-2 seconds until the power LED glows.
To power off the NEO N42C-4, press and hold the power
button for 8 seconds.
3.5mm Audio Jack + S/PDIF Port - Connect an external audio
input/output device such as microphone or AV receiver etc.
Gigabit Ethernet Port - Connect an Ethernet cable for
wired internet access up to 1000Mbps.
DC 12V Power-in Jack - Connect the included 12V power
adapter. NEO N42C-4 requires approx. 1A to operate,
however the included power adapter provides 3A to ensure
support for other external devices attached to NEO N42C-4,
such as an external hard drive.

Overview
USB 3.0 Ports - Connect an external USB device to the
NEO N42C-4 such as webcam, wired mouse or external
hard drive.
HDMI Port - Connect the NEO N42C-4 via HDMI to a TV or
PC monitor using included HDMI cable.
Mini DP Port - Connect the NEO N42C-4 via Mini DP to a
PC monitor. It’s important to note, NEO N42C-4 only supports
Mini DP to D-Sub conversion or direct Mini DP to Mini DP/DP
connection. Mini DP to HDMI or Mini DP to DVI is not
supported.
USB-C Port - Connect the NEO N42C-4 via USB-C to a PC
monitor. Please note, the USB-C port only supports video
output, not audio output. The USB-C port does not support
‘hot plugging’, a USB-C cable or adapter should only be
connected/disconnected when NEO N42C-4 is powered off.

Control
You may control NEO N42C-4 via one of the following input
methods:
1. Conventional wired mouse and keyboard
2. Wireless/Bluetooth mouse and keyboard
We recommend using either MINIX NEO K1 or NEO K2
wireless keyboards and touchpads.

NEO N42C-4 connects to your TV or PC monitor via either a
Mini DP, HDMI or USB-C port.
Mini DP and HDMI support both audio and video, USB-C
only supports video output.
Step 1 (if required): Place VESA mount bracket onto monitor.
1. Insert screws and secure.
2. Safely attach NEO N42C-4 in any direction.
Step 2: Connect the HDMI cable.
Connect one end of the HDMI cable to the HDMI port on
your TV or PC monitor, and the other end to the HDMI port
on NEO N42C-4.
Mini DP and USB-C ports may be used separately or
simultaneously; NEO N42C-4 supports up to 3 displays.
Basic Setup

Step 3: Connect to power supply.
Connect the 12V power adapter supplied in the package
to NEO N42C-4.
Alternatively, NEO N42C-4 can be powered via the USB-C
port. Compatible with certain USB-C equipped monitors.
After connecting USB-C cable, wait approx. 5 seconds
before powering on the NEO N42C-4.
Step 4: Power on.
Press and hold the power button for 1-2 seconds to power
on NEO N42C-4, the blue power LED should then glow.
Step 5: Turn on TV/PC monitor and select the input.
Simply turn on your TV or PC monitor, and select the
corresponding port connected to the NEO N42C-4.
Basic Setup

The USB-C port supports 9V/2A, 12V/5A and 15V/3A
power input. It does not support 20V/3.25A power input.
The USB-C port only supports 5V/3A power output.
ASUS MX27U and LG 27UD88 monitors are fully compatible
with NEO N42C-4, a full list of compatible USB-C equipped
monitors can be found on the MINIX Forum –
www.minixforum.com.
NEO N42C-4 is fully compatible with our range of USB-C
accessories, including USB-C to USB-C cable [NEO C-MUC]
and USB-C to 4K @ 60Hz HDMI cable [NEO C-4K].
USB-C Notes

Copyright 2017 MINIX Technology Limited. All rights reserved.
No part of this guide, including the products and software described
in it, may be reproduced, transmitted, transcribed, stored in a
retrieval system, or translated into any language in any form or by
any means, except documentation kept by the purchaser for
backup purposes, without the express written permission of
MINIX Technology Limited.
MINIX and the MINIX logo are trademarks of MINIX Technology
Limited. All other marks and trademarks are properties of their
respective owners.
The content of this guide may differ in some details from the product
or its software.
All information in this documentation is subject to change without
notice.
C

Note: This equipment has been tested and found to comply with
the limits for a Class B digital device, pursuant to part 15 of the
FCC Rules. These limits are designed to provide reasonable
protection against harmful interference in a residential installation.
This equipment generates, uses and can radiate radio frequency
energy and, if not installed and used in accordance with the
instructions, may cause harmful interference to radio
communications. However, there is no guarantee that interference
will not occur in a particular installation. If this equipment does
cause harmful interference to radio or television reception, which
can be determined by turning the equipment off and on, the user
is encouraged to try to correct the interference by one or more of
the following measures:
- Reorient or relocate the receiving antenna.
- Increase the separation between the equipment and receiver.
- Connect the equipment into an outlet on a circuit different
from that to which the receiver is connected.
- Consult the dealer or an experienced radio/TV technician for help.
Modifications not expressly approved by the manufacturer could
void the user’s authority to operate the equipment under FCC rules.

EMAIL: support@minix.com.hk
WEBSITE: www.minix.com.hk
MINIX FORUM: www.minixforum.com
FACEBOOK: www.facebook.com/minixtech
Contact Us
www.minix.com.hk
NEO N42C-4
INTEL PENTIUM MINI PC MIT
VORINSTALLIERTEM WINDOWS 10 PRO (64-bit)
Kurzanleitung
Ultra kompakter Apollo Lake Mini PC [Intel N4200 CPU]

Ausstattung
Intel Pentium N4200
Intel HD Graphics 505
DC 12V, 3A Adapter (mitgeliefert) oder
via USB-C Eingang (DC 12V)
4GB DDR3L (erweiterbar auf 8GB)
RJ-45 Gigabit Netzwerk, USB 3.0 port x 3, USB-C port x 1,
Kensington Lock Vorbereitung
GPU
Arbeitsspeicher
weitere Anschlüsse
Stromversorgung
Prozessor
Speicher
Funkverbindung
Digital Audio Ausgänge
Video Anschlüsse
Betriebssystem
Steckplätze
Speichererweiterung
Analoge Audio Ausgänge
Audio Eingang
2 x SODIMM slot, unterstützt dual channel
Eingebaute 32GB eMMC 5.1 (MLC)
1 x 2280 M.2 slot (SATA 6Gbps)
802.11ac Dual-Band Wi-Fi, Bluetooth 4.1
Windows 10 Pro (64-bit)
HDMI 1.4 (4K @ 30Hz), Mini DisplayPort (4K @ 60Hz),
USB-C (4K @ 60Hz)
HDMI 1.4, Mini DisplayPort, Optical S/PDIF
3.5mm Klinkenstecker
3.5mm Klinkenstecker
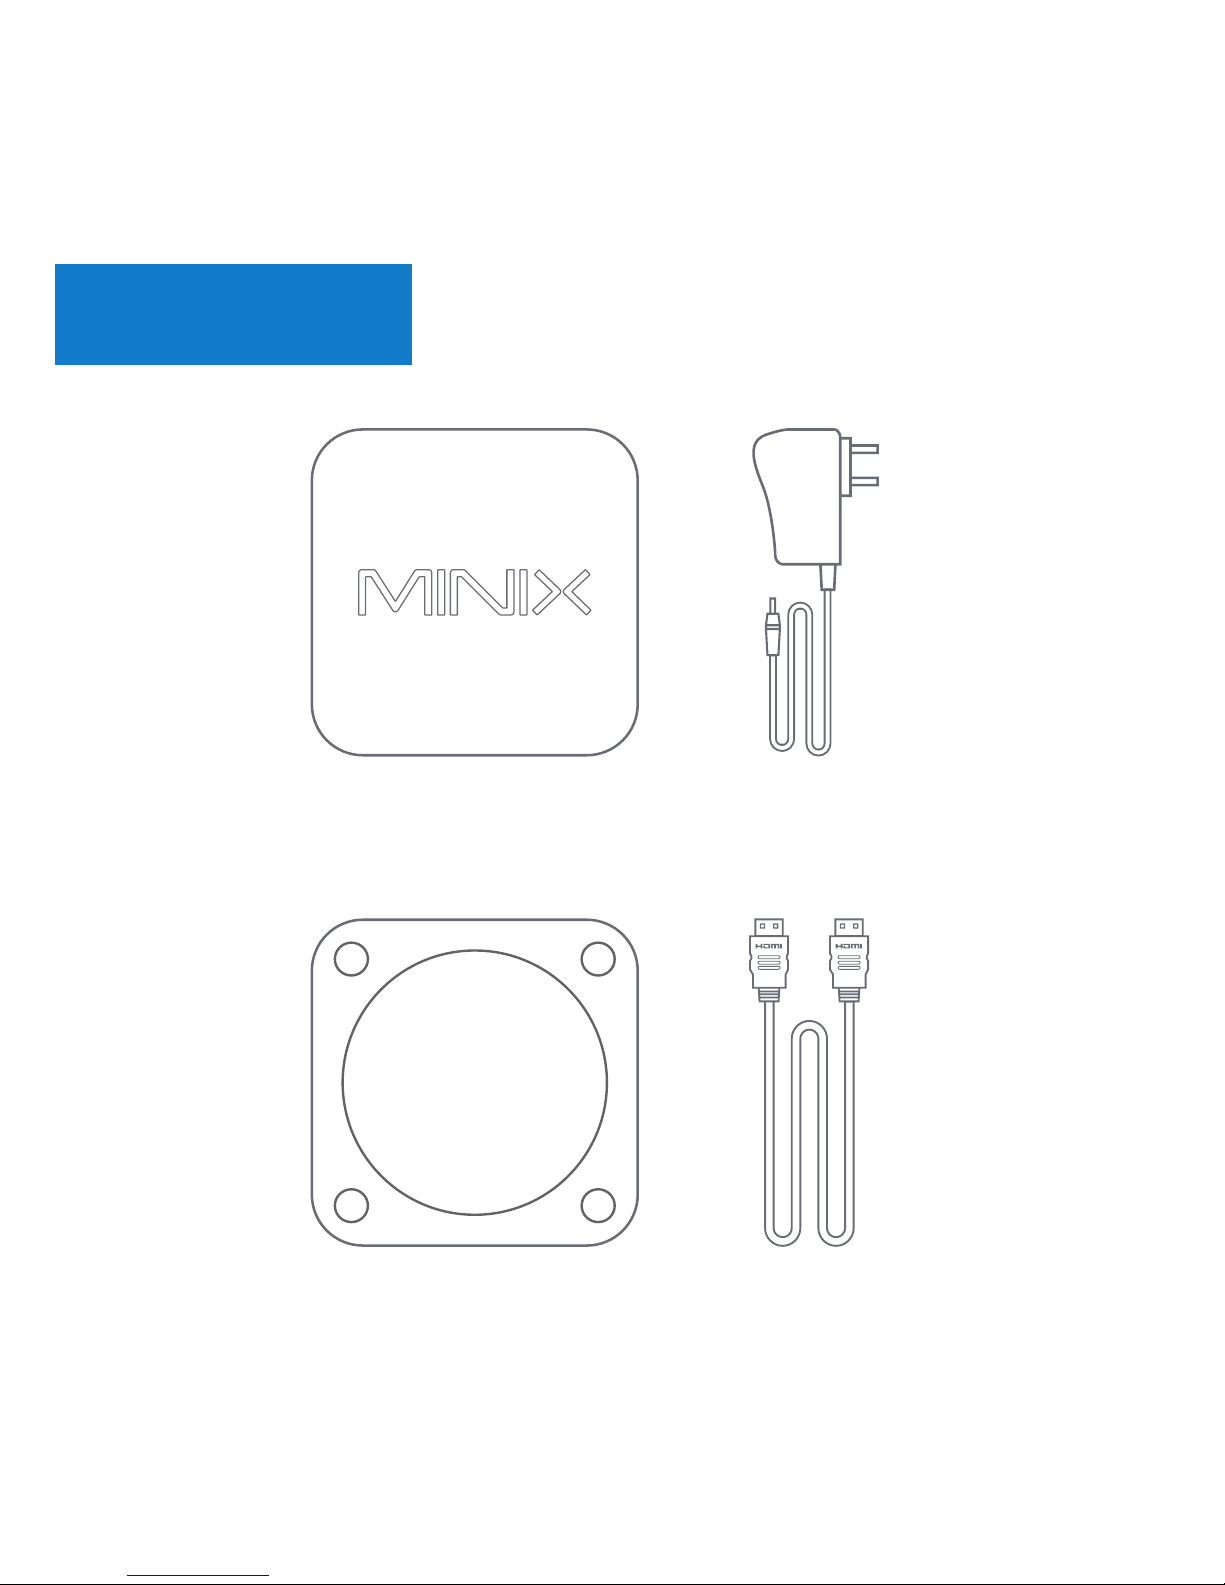
Beinhaltet
MINIX NEO N42C-4
VESA Mount
12V (3A)
Netzteil
HDMI Kabel
 Loading...