

Reliable | Superior | Revolutionary
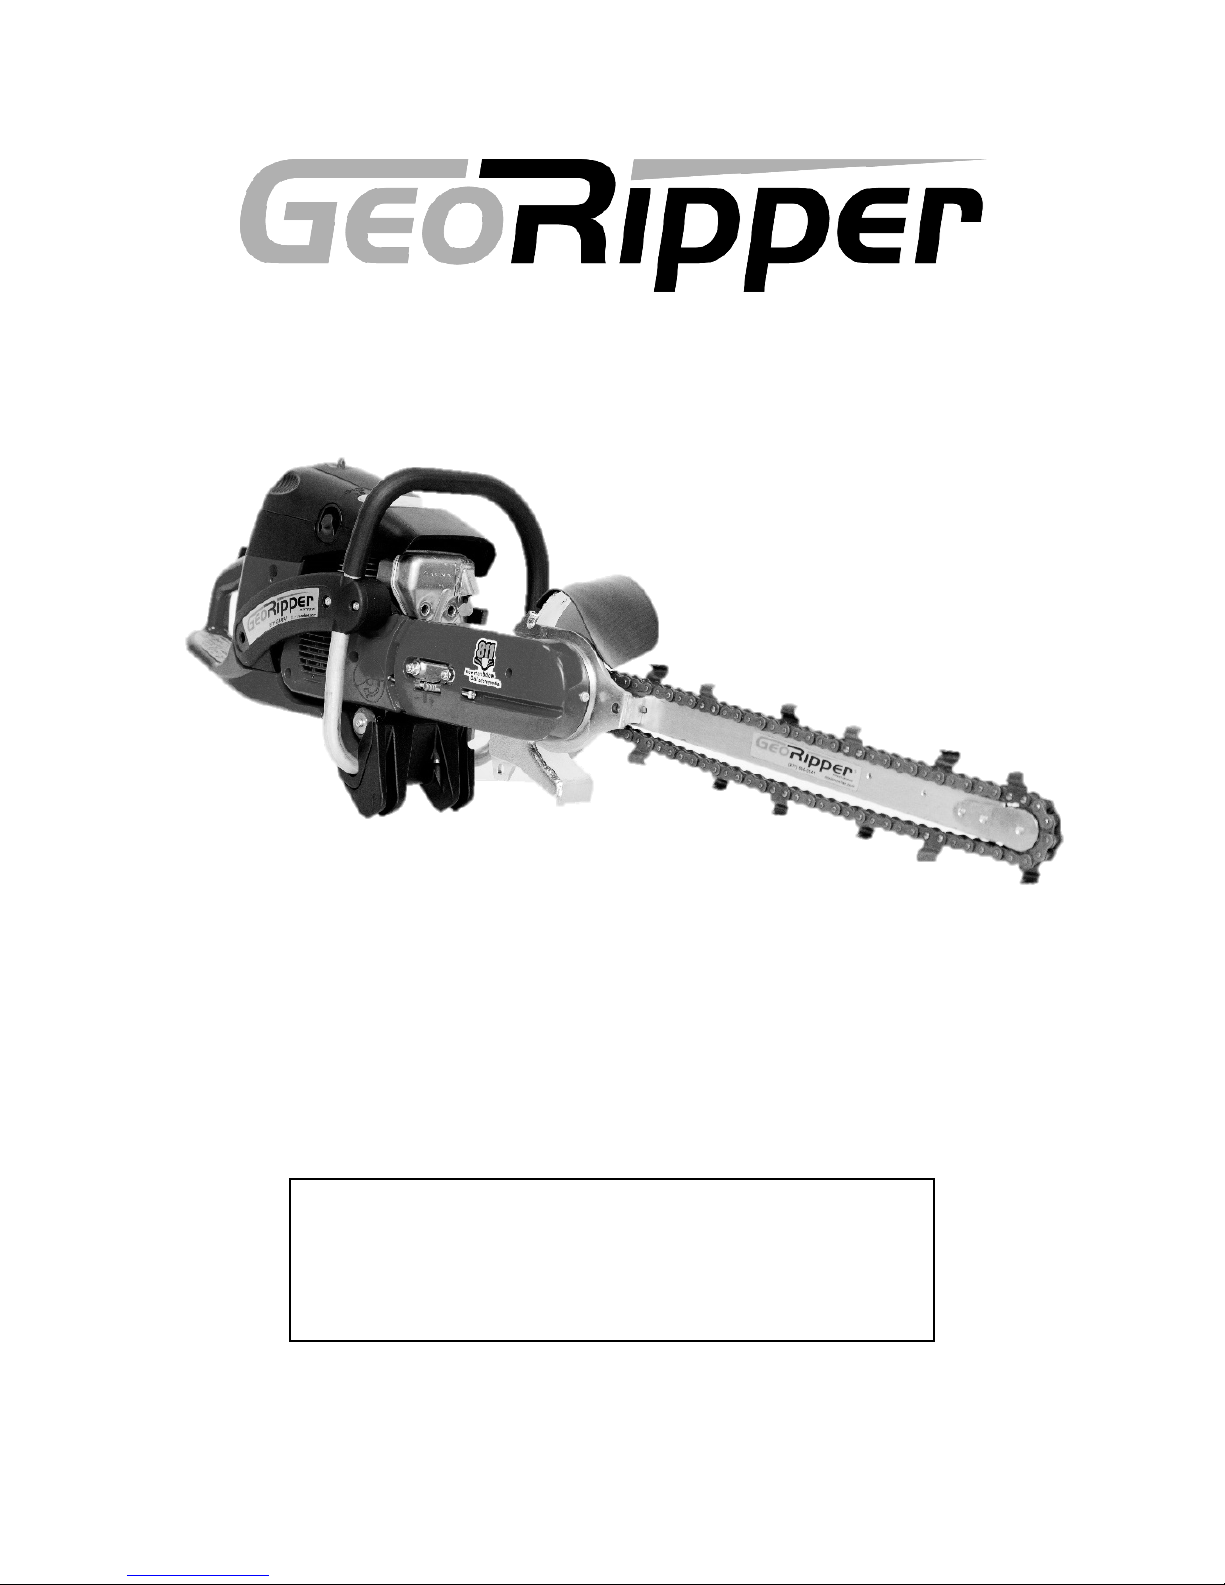
OPERATOR’S AND SAFETY MANUAL
FOR GEORIPPER MODELS GR16, GR20, GR27
WARNING!
Read and understand this Manual. Always follow safety
precautions in the Operator’s and Safety Manual.
Improper use can cause serious injury!
TERRATRENCH USA, INC. dba MiniTrencher
815 NE 172
nd
Avenue, Vancouver, WA 98684
877.694.0141 www.MiniTrencher.com
®


Thank you for purchasing the GeoRipper® minitrencher.
The unique features and benefits of the GeoRipper include multi-stage air filtration technology,
vibration isolation and the latest developments in durable digging chains. These lightweight
trenchers are designed to provide many years of dependable performance when used in
accordance to the instructions within this manual.
For more information and operating techniques, refer to the website:
www.MiniTrencher.com
WARNING!
Read and understand this Manual. Always follow safety precautions in the Operator’s and
Safety Manual. Improper use can cause serious injury!
WARNING!
FUELS WITH MORE THAN 10% ETHANOL ARE NOT APPROVED FOR USE IN GEORIPPER
2-STROKE AND 4-STROKE ENGINES! Use of alternative fuels, such as E-20 (20% ethanol), E-85
(85% ethanol) or any fuels not meeting MINITRENCHER requirements are not approved for
use in GEORIPPER MINITRENCHERS!
USE OF ALTERNATIVE FUELS CAN CAUSE THE FOLLOWING PROBLEMS:
Poor performance, loss of power, overheating, fuel vapor lock, improper clutch
engagement, premature deterioration of fuel lines, premature deterioration of gaskets,
premature deterioration of carburetors.
USING ALTERNATIVE FUELS AND/OR 2-STROKE OILS NOT ACCORDING TO JASO FC OR
ISO-L-EGD IN GEORIPPER MINITRENCHER 2-STROKE ENGINES WILL VOID YOUR ENGINE
WARRANTY!
i

CONTENTS PAGE
IMPORTANT SAFETY INSTRUCTIONS ........................................................................................... 1
ASSEMBLY INSTRUCTIONS ........................................................................................................... 3
DIGGING CHAIN INFORMATION .............................................................................................. 5
BEFORE YOU START TRENCHING ................................................................................................. 5
USING THE GEORIPPER® MINITRENCHER .................................................................................... 6
SPECIAL SITUATIONS ................................................................................................................ 7
MAINTENANCE, CLEANING AND STORAGE .............................................................................. 7
FUEL INFORMATION ................................................................................................................ 8
GUIDE TO MAINTAINING DIGGING COMPONENTS ................................................................. 9
USING MINITRENCHER EZ KART™ .............................................................................................. 10
TIPS FOR EZ KART™ USE ......................................................................................................... 11
GEORIPPER® TROUBLESHOOTING ............................................................................................. 11
SERVICE AND PARTS .................................................................................................................. 12
REPLACEMENT PARTS FOR GEORIPPER® MINITRENCHER ..................................................... 12
WARRANTY ................................................................................................................................ 13
EU DECLARATION OF CONFORMITY .......................................................................................... 14
ii


IMPORTANT SAFETY INSTRUCTIONS
To prevent serious injury:
All operators of the GeoRipper® minitrencher must read and fully understand this Operator’s
and Safety Manual prior to operating the minitrencher.
All operators must use required Personal Protection Equipment (PPE) as outlined by local or
national safety codes. PPE for feet, legs, eyes, hands, face and ears should be worn at all times
while operating the GeoRipper minitrencher. At minimum, the operator shall wear safety-toe
boots, safety glasses and ear plugs.
KEEP FEET AND HANDS CLEAR OF DIGGING CHAIN AT ALL TIMES.
Before you dig: check the location of all underground services, especially electric
cables. ELECTRIC SHOCK CAN CAUSE SEVERE OR FATAL INJURY.
Check that the powerhead, including handles, and all safety apparatus are in good working
order.
Ensure that the GeoRipper® minitrencher is correctly fitted to the powerhead, the chain and
belt are correctly tensioned, all nuts and bolts are tight and the belt guard is in place. Before
starting the engine, remove and inspect the digging chain for any damage.
When starting the powerhead (see Fig. B), use the correct safety starting techniques as outlined
in the powerhead operator’s manual and ensure that the digging chain is clear of contact with
the ground or any other object. For extra safety, make sure the area around the digging chain
is clear of loose vegetation, the digging chain may rotate upon startup of the powerhead. To
stop chain from rotating, depress throttle control to increase engine RPM. After engine slows
to idle, the chain should be stationary.
DIGGING CHAIN MUST BE STATIONARY WHEN POWERHEAD IS AT IDLE.
(Refer to powerhead operator’s manual for correct idle adjustment.)
1

Fig. B
Maintain firm footing and a firm grip on the powerhead during
digging. For easiest trenching, it is recommended to position
the blade at an angle (25 to 30 degrees from vertical.)
Digging with the blade vertical should be avoided (unless using
the EZ Kart™). Operating GeoRipper vertically allows the digging
chain dangerously close to the operator’s feet and legs. A
vertical orientation will also increase operator fatigue.
When trenching on an incline, always stand downhill of the
GeoRipper minitrencher (Fig. D) or with discharge chute facing
downhill. (Fig. E) In slippery conditions, always maintain firm
footing. Operator shall be aware of surroundings and stand so
a sudden loss of balance will not bring body into contact with
the trencher.
Minors shall not operate the GeoRipper® minitrencher.
The digging blade may kick back if the bar and digging chain contacts hard, solid ground or other
obstructions.
When tuning or testing the minitrencher, be sure to point the blade
away from self and others. The chain will rotate at high speed
without warning. People and animals shall be kept at a safe
distance.
Rocks and debris can be ejected from the trencher behind and to
the left of the operator (9 – 12 O’Clock.) Keep people, windows and
other property clear of these positions.
Loose clothing shall not be worn when operating minitrenchers.
When operating GeoRipper minitrenchers, dirt guards can become
hot to the touch. Be careful to not touch dirt guard with bare hands
as it will be hot and could burn.
Foot on thr ottle guard, c hain off the g round
Do NOT star t engine whil e holding the
machine off the ground
Do NOT star t with bar an d chain contacti ng the groun d.
Fig. D
Fig. E
2

ASSEMBLY INSTRUCTIONS
Before assembly, check parts list within product packaging. If anything is missing, please call
MiniTrencher or your local dealer immediately.
1. Removed powerhead from box and lay on its side on a non-marring surface. Position so
the digging bar bolts are visible. (Fig. F)
Using the 18mm wrench provide, undo and set aside the digging bar clamping bolts, lock
washers and bar clamp.
2. Hold the digging bar as shown (Fig. G) with the slot on the bar facing towards the main
block of the GeoRipper® minitrencher.
CAUTION: DIGGING BAR IS REVERSIBLE BUT DIGGING CHAIN DIRECTION IS CRITICAL (Fig. H)
Fig. F
Fig. G
Fig. H
3

3. Loop the digging chain around the nose sprocket of the digging bar.
If the digging chain has notches, the chain must be assembled with the directional notches
on rear of cutting teeth facing towards engine/operator when chain is running along the
top of the digging bar. (Fig. H)
4. Loop the digging chain over the GeoRipper® drive sprocket. Fit slotted section of the
digging bar to raised section of mounting block. Slide bar away from powerhead to lightly
tension chain. (Fig. J)
5. Install the two large clamping bolts, lock washers and bar clamp. Lightly tighten the two
large clamping bolts with 18mm wrench.
6. Insert a flat-blade screwdriver into the digging bar tensioning slot. (Fig. K)
Lever the digging bar away from the engine. Securely tighten the two large bolts while
keeping tension on the digging bar.
6a. If a bar tensioner is installed on the digging bar (standard all GR27, optional GR16 &
GR20) screw bar tensioning bolt with included 13mm wrench while clamping bolts
are lightly secured. Once tightened to preferred tension, securely tighten clamping
bolts with 18mm wrench. Tighten securing nut on bar tensioner to keep tensioning
bolt in place.
7. The GeoRipper® minitrencher is now ready to operate. Refer to both the section in this
manual and the powerhead manual for correct and safe operation of the GeoRipper®
minitrencher.
Fig. J
Fig. K
4

DIGGING CHAIN INFORMATION
When in rocky soil, decrease engine R.P.M. Typically, 3/4 engine throttle is necessary for
maximum productivity.
BEFORE YOU START TRENCHING
1. Visually inspect trencher before starting/restarting.
2. Ensure all nuts, bolts and screws are tight and secure.
3. Carry out all safety instructions as listed on pages 1 & 2.
4. Check with local authorities for any underground services.
ALL 811 BEFORE YOU DIG
In rural areas, check with landowners who may have a detailed knowledge of utility
location.
In many locations (along road sides and near subdivisions) surface re-grading may have
occurred after utilities were laid. This can result in cables or other utilities appearing
unexpectedly at shallower depths than regulations require. Stop trenching if something
doesn’t look or feel right.
5. Check along the desired trench line, clearing any obstructions, branches, large stones and
other obstructions that could cause the operator to slip or loose footing. If a long
continuous trench is planned, consider using the MiniTrencher EZ Kart™.
Soil Type
Adjustment (Sag at midpoint)
Hard
1 inch
Clay
1 inch
Stoney
1 ½ inch
Clean
1 inch
Easy
1 inch
Abrasive/Sand
1 ½ inch
5

USING THE GEORIPPER® MINITRENCHER
WARNING!
DO NOT ALLOW DIGGING CHAIN TO JAM OR SLOW TO A STOP WHILE HOLDING THE
THROTTLE ON. TURN OFF ENGINE, DISCONTINUE OPERATION AND INVESTIGATE. RUNNING
ENGINE AT MORE THAN IDLE WITH CHAIN JAMMED WILL CAUSE SEVERE CLUTCH AND/OR
BELT DAMAGE.
If GeoRipper® minitrencher has an adjustment screw for the belt tension, the tension must be
readjusted after the first hour of operation to prolong belt life. See Powerhead Operator’s
Manual for further instruction.
1. Start the powerhead per the manufacturer’s Operator’s manual. Start trenching with the
GeoRipper® minitrencher on the ground and tip the blade into the ground. Once the
digging bar and chain are in the ground, the operator can choose to stand and cut through
the ground backwards along their desired line or continue to “drag back and tip in.” Keep
the angle of the digging bar at 25-30-degree angle from vertical for comfortable operation.
In lighter soils, it may be necessary to make second pass through the trench to clear out
any spoils that fell back in.
2. Most powerheads are designed to operate best and develop maximum power near 3/4
throttle. Depending on soil type, best operating speeds will be from 3/4 to full throttle. For
greater control at shallow depths [8 inches (200 mm) or less] a 1/2 to 3/4 throttle will
improve trenching safety.
3. When trenching without a MiniTrencher EZ Kart in difficult soils, the “drag back and tip in”
method is recommended.
4. If you strike solid obstacles (large rocks, concrete, or large roots or buried timber) remove
the obstacle before continuing. The GeoRipper® minitrencher is designed to dig earth, not
large stones or tree roots over 3 inches (80mm) in diameter.
5. For wider trenches [2-3 inches (50 – 80mm)], rotate blade along the long axis of the blade
while trenching. For anything over 3 inches (80mm), make a second trenching cut at the
outside of the desired width and remove the soil between the two trenches.
6. Regular checking/adjustment of digging chains will extend chain life.
7. At the end of the job, and periodically during the project, brush the loose dirt off the
digging chain and around the digging sprocket. Inspect the digging teeth for any damage.
8. To trench down an incline, always stand downhill of the trencher.
9. To trench laterally across an incline, always direct the discharge chute downhill. This will
keep the spoils from falling downhill back into the trench.
10. In very rocky soils, the option rock shield can be used with the MiniTrencher EZ Kart™.
11. Cut grass before trenching to help recover spoils.
6

SPECIAL SITUATIONS
1. The GeoRipper® minitrencher is not designed to trench in solid rock.
2. For digging in light or sandy soils containing fine, hard stones, GeoRipper® minitrenchers
should be at full speed prior to contact the ground. When trenching is complete, lift the
digging bar and chain clear of the trench prior to throttling down. This will greatly reduce
the occurrence of rock jambs. Decreasing tension on the chain will also improve trenching
in these conditions.
3. When digging at full depth in difficult, wet, pliable clays, it is recommended to make two
half-depth passes in opposite directions. This will reduce operator fatigue, reduce engine
strain, and reduce the possibility of jamming the digging chain with mud.
4. When cutting curves or radiuses, it is advisable to use several shallow passes rather than a
single, full-depth cut.
5. When trenching across a roadway, it is recommended to first loosen the compacted
gravel/stones along the desired line. Removing larger rocks before trenching will also
increase productivity and avoid damaging the digging chain.
6. If digging chain is slowing or stopping because of excessive soil buildup, periodically stop
the machine and clear the material for the chain, sprockets and discharge chute. Some
soils will buildup on the sprocket and add tension to the chain. Loosening chain can help.
Keeping engine speed high and constant can also help.
MAINTENANCE, CLEANING & STORAGE
IMPORTANT! Inspect powerhead air filter daily. Clean or replace when necessary as per
powerhead Operator’s Manual.
Blow out and clean cooling find on powerhead with low-pressure, compressed air every 8-10
hours of operation. Clean out any embedded or sticky debris.
Check drive belt tension and inspect drive belts for cracking or other wear daily. Replace belt as
need. Check your orange tool pouch for an extra drive belt.
Replace anti-vibration mounts and other wearable powerhead components as required to
maintain the powerhead.
4-Cycle Engines: Change oil for the first time after 20 hours of use. After initial oil change, oil
shall be changed every 30-40 hours of operation.
To replace Nose Sprocket and Nose Assembly Plates
Heat screws to 500 degrees F (260 degrees C) to breakdown locking compound. An
impact driver with a 5mm hex bit will help to loosen screws. Add a stud locking compound (Red
Loctite) to screws before reinstalling. Tighten Nose bolts to 18 foot-lb torque.
When storing the GeoRipper® minitrencher, drain fuel from tank, run machine dry, and oil
digging chain. Follow storage instructions in powerhead Owner’s Manual.
7

2-STROKE FUEL & LUBRICATION INFORMATION
• Use a 30:1 fuel mixture for the first two tanks of fuel. 40:1 fuel mixture is recommended
after break-in period of two tanks.
• Use high quality, air-cooled, two-stroke oil. Preferably synthetic. Husqvarna® or
Dolmar®/Makita® two-stroke engine oil is also recommended.
DO NOT USE TWO-STROKE ENGINE OIL FOR OUTBOARD MARINE
OR WATER-COOLED ENGINES! IT IS NOT THE SAME!
• Use 90+ octane gasoline. Avoid bio fuels, ethanol or octane boosters, if possible.
• Use freshly-mixed fuel.
• Keep fuel container out of direct sunlight.
• Mix enough fuel only for the job at hand.
• Use a quality fuel stabilizer if using gas with ethanol.
WARNING!
FUELS WITH MORE THAN 10% ETHANOL ARE NOT APPROVED FOR USE IN GEORIPPER
2-STROKE AND 4-STROKE ENGINES! Use of alternative fuels, such as E-20 (20% ethanol), E-85
(85% ethanol) or any fuels not meeting MINITRENCHER requirements are not approved for
use in GEORIPPER MINITRENCHERS!
USE OF ALTERNATIVE FUELS CAN CAUSE THE FOLLOWING PROBLEMS:
Poor performance, loss of power, overheating, fuel vapor lock, improper clutch
engagement, premature deterioration of fuel lines, premature deterioration of gaskets,
premature deterioration of carburetors.
USING ALTERNATIVE FUELS AND/OR 2-STROKE OILS NOT ACCORDING TO JASO FC OR
ISO-L-EGD IN GEORIPPER MINITRENCHER 2-STROKE ENGINES WILL VOID YOUR ENGINE
WARRANTY!
4-STROKE FUEL & LUBRICATION INFORMATION
• Use 90+ octane gasoline. Avoid bio fuels, ethanol or octane boosters if possible.
• Use 10W40 motor oil in crankcase – high-grade, synthetic recommended.
• Change engine oil after first 20 hours of operation. After initial change, change oil every
30-40 hours.
To ensure correct fuel mix,
use a shelf-stable pre-
mixed 2-stroke fuel like
TruFuel or VP Performance.
8

GUIDE TO MAINTAINING DIGGING COMPONENTS
IMPORTANT!
Digging Components wear depending on soil, digging depth and operator.
Estimates are provided, but not guaranteed.
• Reverse digging bar as required. Estimate is every four digging chains.
• Replace digging bar when bar is worn on both sides.
• Replace nose bearing as required. Estimate is every three to four digging chains.
• Replace nose sprocket as required. Estimate is every six to eight digging chains.
• Replace digging chain drive sprocket as required. Estimate is every three to four
digging chains.
When finishing work, it is advisable to clean the digging chain and spray lightly with WD40, or
similar, to prevent corrosion while in storage. For long term storage, the digging chain should
be removed and soaked in a light oil or diesel fuel. Clean other surfaces with a brush or damp
cloth. Avoid using petroleum-based products, abrasives, or other solvents on labels. Remove
the drive belt guard, remove dust and dirt from belt housing and reinstall. Store the
GeoRipper® minitrencher is a safe, dry place.
9

USING THE MINITRENCHER EZ KART™
WARNING!
Electric shock can be fatal regardless of whether you are using the GeoRipper® minitrencher
manually or with the MiniTrencher EZ Kart™ system. Remember to check the location of all
underground services, especially electric cables, prior to digging.
CALL 811 BEFORE YOU DIG
Refer to instructions supplied with EZ Kart™ for assembly.
Lay the control handle on the ground so it is engaged with the rear/lowest detent position on
the axle. This position will keep the axle receiver mount in a level position.
Position the EZ Kart tongue, located at the bottom of the GeoRipper® adapter, into the axle
receiver mount (Fig. L.) Lock in place by engaging the latching slide bolt through the receiver
mount. Slide bolt handle rotate to lock into place on EZ Kart™ axle.
Pull control handle out of detent position and reposition in first/upper detent position.
The detents allow the operator to control the angle of the digging blade and chain. This allows
for greater depth consistency.
BEFORE STARTING POWERHEAD
Position throttle control assembly onto throttle handle of powerhead so that EZ Kart™ throttle
latch engages the powerhead throttle trigger. Secure in place by wrapping the attached Velcro
strap around powerhead handle.
With engine switched off, check for smooth throttle operation by operating remote throttle
lever and adjust throttle cables as required using the in-line cable adjuster on the throttle cable.
Make sure the engine will return to idle after operating remote throttle.
Place tow strap around lower back (at or below belt line) and adjust length for comfortable
operation. Proceed with trenching. (Refer to powerhead Owner’s manual and page ## of this
Manual for correct starting procedure.)
Fig. K
10

TIPS FOR EZ KART™ USE
Start digging your trench. Select a notch on the depth adjuster which gives both the desired
trench depth and a comfortable operating position for the control handle. Keep the handle as
close to vertical as possible with slight down pressure so that you retain control of the
GeoRipper® minitrencher at all times. You can use a finger under the remote throttle lever to
help control the RPM. Before changing to a different notch, throttle off and allow your digging
chain to come to a rest so that you retail full control of the GeoRipper® minitrencher at all times.
When trenching with the EZ Kart™, allow the GeoRipper® minitrencher to dig at a rate which
the soil type/condition allow. If excessive backwards pressure is used for the soil
type/condition, the GeoRipper® minitrencher will try to “surface” and the wheels will come off
the ground. This situation places unnecessary strain on all components, including the operator.
GEORIPPER® TROUBLESHOOTING
If engine does not start, check the air and fuel filters first. Replace filters if necessary. If engine
still does not start, check sparkplug for spark.
WARNING!
Not all sparkplugs are the same! Make sure to purchase the correct replacement plug for your
trencher. Incorrect sparkplugs can cause poor power, no power, or burnt piston. Using the
incorrect sparkplug will void the engine warranty.
Refer to powerhead Owner’s Manual for more information.
If you hear a squeal while trenching, or an unjammed digging chain will not rotate under full
throttle, check the belt tension of the trencher. Refer to powerhead Owner’s Manual for more
information.
11

SERVICE AND PARTS
GeoRipper® minitrenchers are professionally designed and engineered for easy service and
part replacement.
During the warranty period, any non-routine servicing shall be referred to MiniTrencher’s
service department or an authorized MiniTrencher service center to maintain warranty status.
This work will be charged at the normal rates unless found to be a warranty item. Beyond the
warranty period, replacement parts can be ordered through MiniTrencher and its dealers for
convenient field replacement.
WARNING!
Unauthorized parts and modifications not only void the warranty, they can be dangerous,
causing serious or fatal injury to operator or bystanders.
Only use genuine GeoRipper® minitrencher parts.
When ordering parts, accessories or service, please quote:
• The GeoRipper® minitrencher model number. (GR16, GR20, GR27)
• Powerhead manufacturer and model number.
• The GeoRipper® minitrencher number. (stamped on the bar mounting block)
REPLACEMENT PARTS FOR GEORIPPER® MINITRENCHER
Bar Accessories
GR1 Bar End Set
GR2 6-Tooth Nose Sprocket
GR2-11 11-Tooth Nose Sprocket
Digging Bars
GR3-16 16” (400mm) Digging Bar
GR3-20 20” (500mm) Digging Bar
GR3-27 27” (800mm) Digging Bar
GR3C-16 16” (400mm) Digging Bar w/ GR1, GR2
GR3C-20 20” (500mm) Digging Bar w/ GR1, GR2
GR3C-27 27” (800mm) Digging Bar w/ GR1, GR2-11
Digging Chains
GR4-16 16” (400mm) Digging Chain 2-Pack
GR4-20 20” (500mm) Digging Chain 2-Pack
GR4-27 27” (800mm) Digging Chain 2-Pack
Accessories
GR6 Bar Clamp Washer Only
GR8 Dirt Guard Ext. Kit
Conversion Kits & Accessories
GRP6102 Drive Sprocket Makita EK6101
GRP7602 Drive Sprocket Makita EK7651H/EK8100
GRPH7602 Drive Sprocket for Husqvarna K760/K970
GRPS7602 Drive Sprocket for Stihl TS700/TS800
EZ Kart™
GR EZM EZ Kart™ Makita
GR EZH EZ Kart™ Husqvarna
GR EZS EZ Kart™ Stihl
EZ Kart Accessories
GRPEZ08 Throttle Cable
GRPEZ10M Throttle Latch (No Cable) Makita
GRPEZ10H Throttle Latch (No Cable) Husqvarna
GRPEZ10S Throttle Latch (No Cable) Stihl
GRPEZ12 Handle Clip
GRPEZ14 Wheel Washer & Clips
GRPEZ16 Wheels
GRPEZ18 Pull Strap
GRPEZ20 Pull Strap Buckle
GRPEZ26 Axle Extender
GRPEZ27 Axle Extender Clip
GRPEZ28 Rock Shield Kit
12

WARRANTY
SIX MONTH MINITRENCHER LIMITED WARRANTY
1. MINITRENCHER WILL REPAIR OR REPLACE, AT ITS OPTION, ANY NEW GEORIPPER® MINITRENCHER PRODUCT WHICH
FAILS DUE TO A DEFECT IN MATERIALS OR WORKMANSHIP DURING THE APPLICABLE WARRANTY PERIOD SPECIFIED
IN SECTION 2 BELOW, SUBJECT TO THE EXCLUSIONS AS NOTED IN SECTION 3.
2. THE WARRANTY PERIOD APPLICABLE TO NEW GEORIPPER® MINITRENCHER PRODUCTS, DEPENDING ON THE END
USE OF THE PRODUCT AND PRODUCT TYPE, WITH COVERAGE COMMENCING FROM THE DATE OF SALE, IS SIX
MONTHS.
3. THIS WARRANTY DOES NOT IN ANY WAY COVER:
• NORMAL WEAR AND TEAR
• FAILURE ARISING FROM IMPROPER USE OF THE PRODUCT
• FAILURE ARISING FROM IMPROPER ASSEMBLY, MAINTENANCE OR STORAGE
• FAILURE ARISING FROM THE USE OF PARTS NOT MANUFACTURED OR SUPPLIED BY MINITRENCHER OR ITS
AUTHORIZED AGENTS
• DIGGING CHAIN AND GROUND-ENGAGING ITEMS INCLUDING NOSE BEARINGS, NOSE SPROCKET, NOSE
SPROCKET END PLATES, DIGGING BAR AND DRIVE SPROCKET.
• USE OF INCORRECT FUEL OR FUEL MIXTURE.
• LEAN SEIZURES
4. MAKITA SMALL ENGINE GENERAL AND EPA MANUFACTURER WARRANTIES ARE BACKED BY MINITRENCHER IF
MINITRENCHER INSTALLED THE MAKITA SMALL ENGINE ON THE GEORIPPER® MINITRENCHER PRODUCT. SEE
MAKITA GENERAL AND EPA WARRANTY FOR MORE INFORMATION.
5. MINITRENCHER DOES NOT WARRANTY ANY OTHER SMALL ENGINES ASSOCIATED WITH GEORIPPER PRODUCTS.
6. SHOULD ANY TROUBLE DEVELOP DURING THE SIX-MONTH PERIOD, RETURN THE COMPLETE PRODUCT, FREIGHT
PREPAID BY USER, TO ONE OF MINITRENCHER’S FACTORY OR AUTHORIZED SERVICE CENTERS. IF INSPECTION SHOWS
THE TROUBLE IS CAUSED BY DEFECTIVE WORKMANSHIP OR MATERIAL, MINITRENCHER WILL REPAIR (OR AT OUR
OPTION, REPLACE) WITHOUT CHARGE TO THE EXTENT ALLOWABLE.
7. THE SAFE AND CORRECT USE OF THIS PRODUCT IS BEYOND THE CONTROL OF THE MANUFACTURER. MINITRENCHER
WILL NOT BE LIABLE TO ANY PURCHASER OR ANY OTHER PERSON FOR ANY LOSS OF PROFITS OR ANY
CONSEQUENTIAL, INDIRECT OR SPECIAL LOSS, DAMAGE OR INJURY OF ANY KIND HOWEVER CAUSED (INCLUDING
NEGLIGENCE) ARISING DIRECTLY OR INDIRECTLY FROM OR IN CONNECTION WITH ANY GEORIPPER® MINITRENCHER
PRODUCT AND/OR ANY FAILURE OF OR ANY FAULT IN ANY GEORIPPER® MINITRENCHER PRODUCT. BY WAY OF
EXPLANATION, WE ARE NOT LIABLE IF YOU CAUSE OR SUFFER DAMAGE, INJURY OR LOSS WHEN USING A
GEORIPPER® MINITRENCHER PRODUCT.
8. IN NO EVENT SHALL MINITRENCHER BE LIABLE FOR (A) ANY INDIRECT, INCIDENTAL, PUNITIVE OR CONSEQUENTIAL
DAMAGES ARISING FROM THE SALE OR USE OF THE PRODUCTS SOLD UNDER THESE WARRANTIES, OR (B) ANY
AMOUNT IN EXCESS OF THE AMOUNT ACTUALLY PAID TO MINITRENCHER FOR THE PRODUCTS SOLD HEREUNDER.
THIS LIMITATION APPLIES BOTH DURING AND AFTER THE TERMS OF THE WARRANTY.
MINITRENCHER DISCLAIMS LIABILITY FOR ANY IMPLIED WARRANTIES, INCLUDING IMPLIED WARRANTIES OF
“MERCHANTABILITY” AND “FITNESS FOR A SPECIFIC PURPOSE” AFTER THE EXPIRATION OF ANY EXPRESS WARRANTY.
THIS WARRANTY GIVES YOU SPECIFIC LEGAL RIGHTS, AND YOU MAY ALSO HAVE OTHER RIGHTS WHICH VARY FROM
STATE TO STATE. SOME STATES DO NOT ALLOW THE EXCLUSION OR LIMITATION OF INCIDENTAL OR
CONSEQUENTIAL DAMAGES, SO THE ABOVE LIMITATION OR EXCLUSION MAY NOT APPLY TO YOU. SOME STATES DO
NOT ALLOW LIMITATION ON HOW LONG AN IMPLIED WARRANTY LASTS, SO THE ABOVE LIMITATION MAY NOT
APPLY TO YOU.
FOR HANDY REFERENCE, RECORD YOUR GEORIPPER® MINITRENCHER DETAILS HERE:
Model No. ________________________
Serial No. _________________________
13

EU Declaration of Conformity
In accordance with EN ISO 17050-1:2010
Object of the declaration:
Product Portable Handheld Trencher
Model/type GR M(Makita) H(Husqvarna) S(Stihl) then length 400-500-800mm
Batch/serial no. GR Alphabetical Revision then numerical sequentially
GR Manufacturing
5 Lilburn Street
Warkworth 0910
New Zealand
This declaration is issued under the sole responsibility of the manufacturer.
The object of the declaration described above is in conformity with the
relevant Union harmonisation legislation:
2006/42/EC The Machinery Directive
2014/30/EU The Electromagnetic Compatibility Directive
Conformity is shown by compliance with the applicable requirements of the following documents:
Reference & Date
EN 474 10 2007+A1 2009
EN ISO 3547 2004
EN ISO 12100 2010
EN ISO 14121-2 2012
Title
Earth Moving Machinery/Trenchers
Earth Moving Guard Requirements
Design/Risk Assessment & Risk Reduction
Machine Safety & Risk Assessment
Signed for and on behalf of: GR Manufacturing
Place of issue: Warkworth
Date of issue: 20-10-2016
Name: Michael Sylvester Smith
Position: Director
Signature: <Signature of person detailed above>
The technical documentation for the machinery is available from:
Name: DOC-EUPOINT
Address: www.doceupoint.com
®
GR MANUFACTURING, LTD
PO BOX 44
WARKWORTH 0910
NEW ZEALAND
14

TERRATRENCH USA, INC. dba MiniTrencher
815 NE 172
nd
Avenue, Vancouver, WA 98684
877.694.0141 www.MiniTrencher.com
 Loading...