

SLIM LINE CAMSTICK
SKU: SlimlineDVR
THANK YOU FOR PURCHASING THE SLIM LINE DVR
Please read this manual before operating the Slim Line DVR and keep
it handy.
The Slim line digital video recorder will astound you with just how
compact it is. The product is a breeze to use. The switches and
buttons on the device are intuitive. This item is ideal for those who
demand high quality on-the-go recording, including law enforcement
professionals and private investigators.
New parents who want a lightweight camera they can whip out and
take a shot of their baby doing something cute or saying their first
word will enjoy this device. It easily fits in even small purses, so you
can take the camera to prom or the club. It functions as a web cam
so it’s great for families and friends who want to stay connected
through video conferencing.
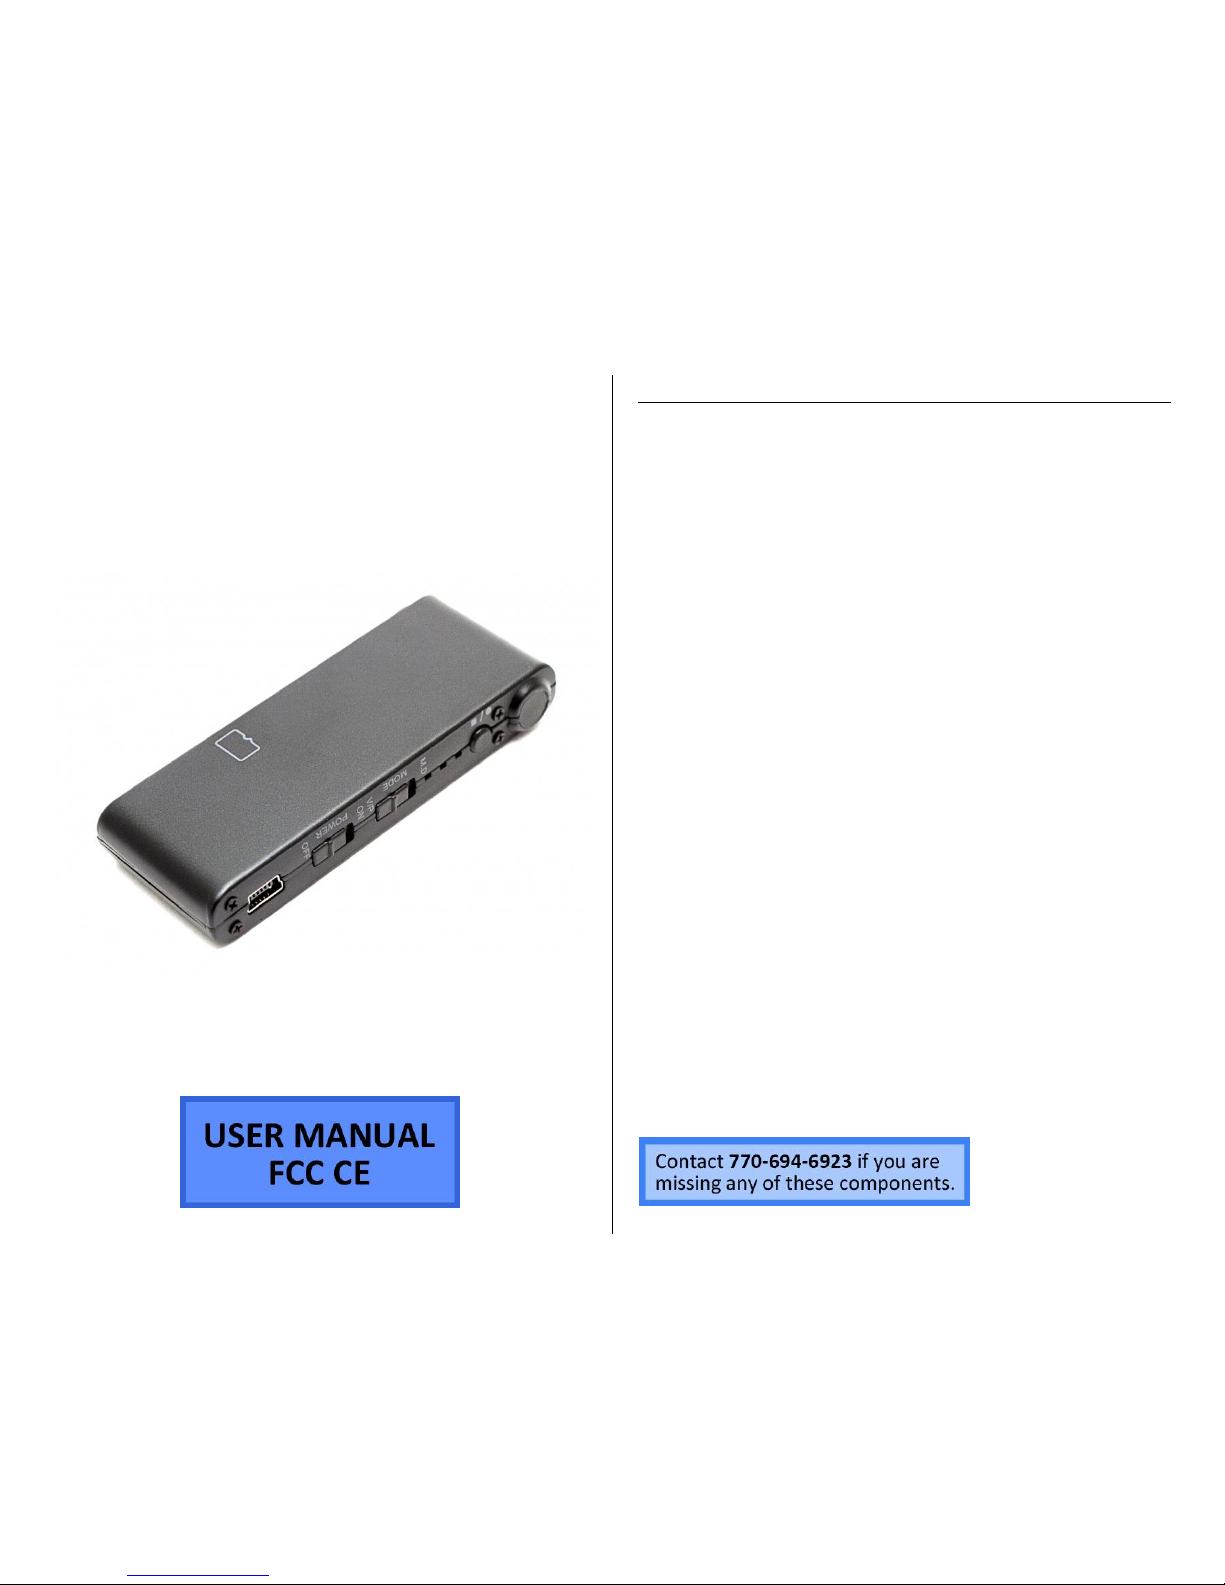
Your purchase should include:
1 x Slim Line Camstick
1 x USB Cable
1 x Power Adapter
1 x Car Charger
1 x Carrying Case
1 x Clip
1 x Bracket
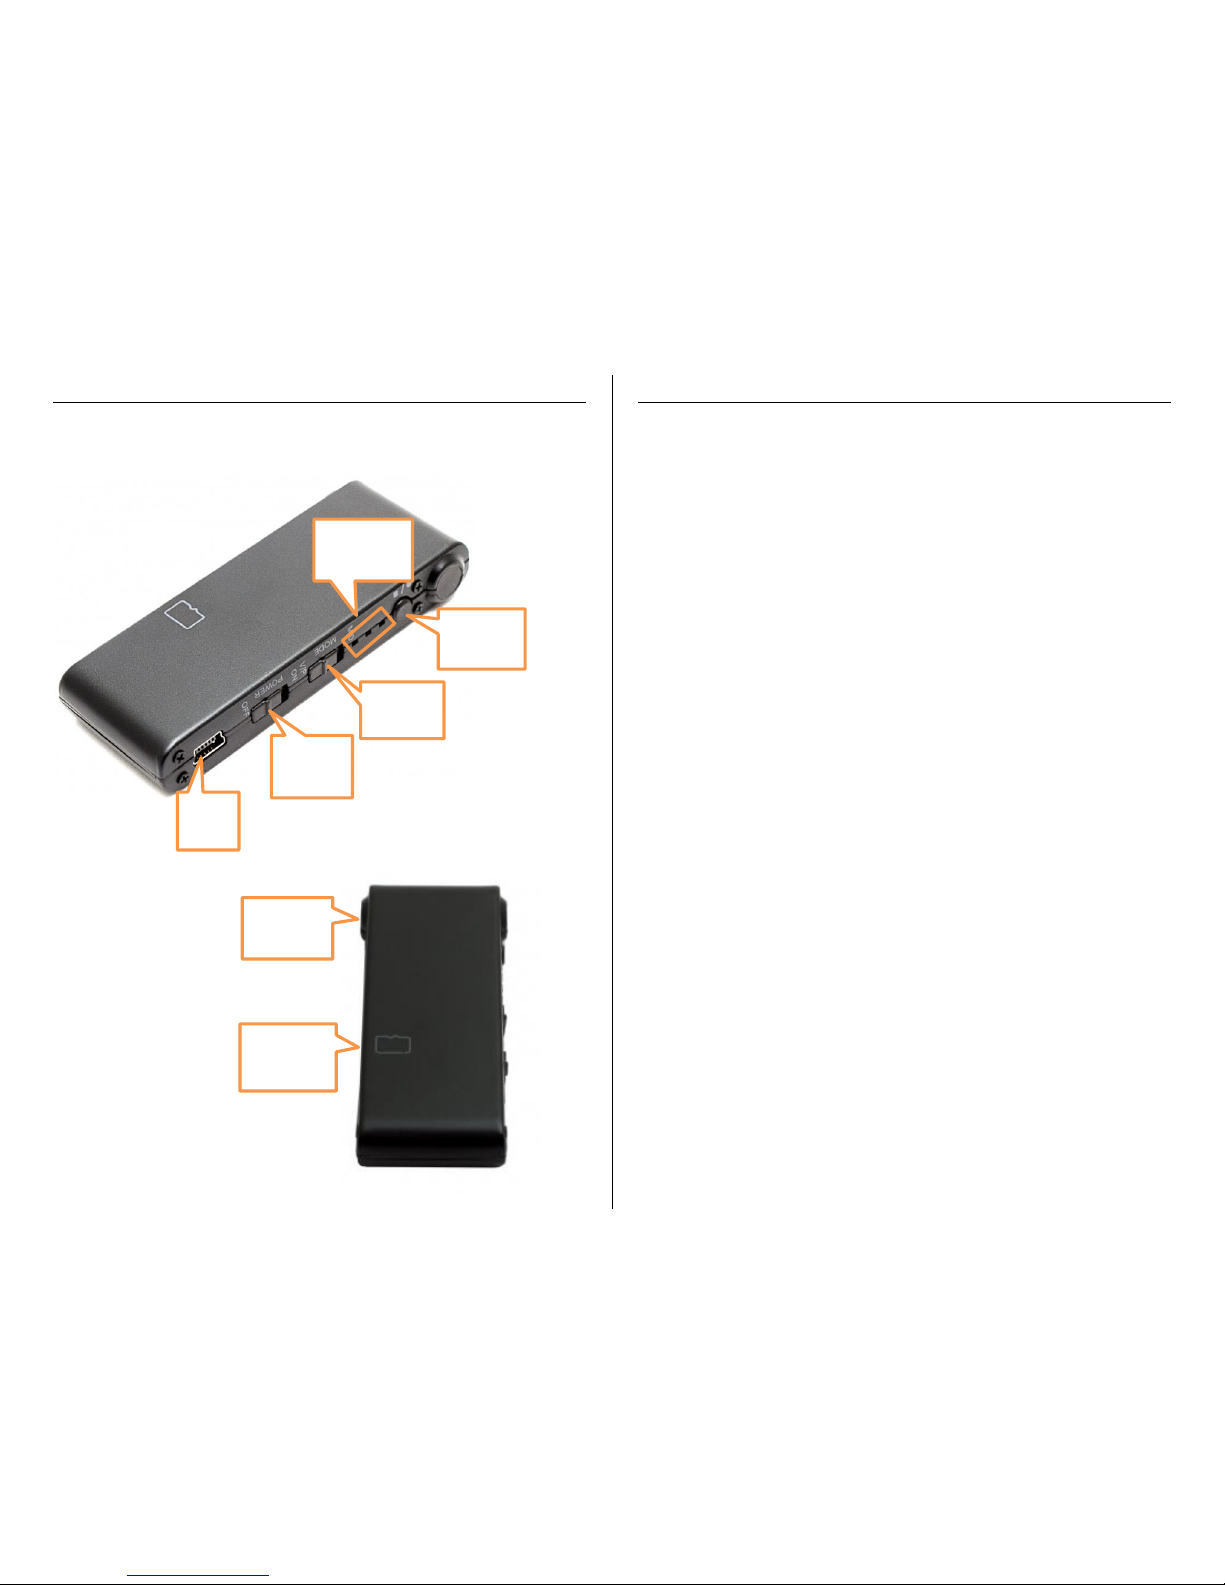
GET FAMILIAR WITH YOUR SLIM LINE DVR
OPERATING THE SLIM LINE DVR
IMPORTANT NOTICE: Allow the device to charge 4 – 6 hours before
using.
HOW TO CHARGE THE DEVICE USING YOU COMPUTER
1. Ensure the Power Switch is in the OFF position
2. Plug the USB cable into the USB port of the device
3. Plug the USB cable into the USB port of your computer
The red indicator light will turn on while charging
The red indicator light will turn off when charging is
complete
HOW TO CHARGE THE DEVICE USING THE POWER ADAPTER
1. Ensure the Power Switch is in the OFF position
2. Plug the Power Adapter into the USB port of the device
3. Plug the Power Adapter into a power outlet
The red indicator light will turn on while charging
The red indicator light will turn off when charging is
complete
HOW TO CHARGE THE DEVICE USING THE CAR CHARGER
1. Ensure the Power Switch is in the OFF position
2. Plug the Car Charger into the USB port of the device
3. Plug the Car Charger into the charging port of your vehicle
The red indicator light will turn on while charging
The red indicator light will turn off when charging is
complete
TIP: If the blue indicator light is flashing the device needs to be
charged
USB
Port
Power
Switch
Mode
Switch
Indicator
Lights
Record
Button
MicroSD
Card Slot
Camera
Lens

HOW TO TURN THE DEVICE ON/OFF
1. Ensure you have inserted a MicroSD Card into the MicroSD
Card Slot
2. Move the Power Switch into the ON position
The blue indicator light will turn on
o The device is now ON and in standby mode
3. Move the Power Switch into the OFF position
The blue indicator light will turn off
o The device is now OFF
TIP: If the green indicator light is flashing you need to insert a
MicroSD Card into the MicroSD Card Slot
HOW TO RECORD VIDEO MANUALLY
1. Ensure you have inserted a MicroSD Card into the MicroSD
Card Slot
2. Move the Mode Switch into the V/P position
3. Move the Power Switch into the ON position
4. Press and hold the Record Button. The green indicator light
will flash while recording.
5. Press the Record Button again to stop recording and save your
video
TIP: During continuous recording the device automatically saves
your video every 30 minutes and creates a new video
HOW TO RECORD VIDEO USING MOTION DETECTION
1. Ensure you have inserted a MicroSD Card into the MicroSD
Card Slot
2. Move the Mode Switch into the M/D position
3. Move the Power Switch into the ON position
The blue indicator light turn on for 5 seconds and then
begin flashing
When motion is detected the green indicator light will
flash and the device will record video
4. Move the Mode Switch into the V/P position to stop recording
Your video has been saved
5. In this mode, you do not need to press the record button to
begin recording. Recording will begin once the device is
turned on.
TIP: In Motion Detection Mode the device will record a new video
every 3 minutes while motion is detected
IMPORTANT NOTICE: If the power is turned OFF or the device loses
power during recording, your video will not be saved.
HOW TO TAKE PHOTOGRAPHS
1. Ensure you have inserted a MicroSD Card into the MicroSD
Card Slot
2. Move the Power Switch into the ON position
3. Move the Mode Switch into the V/P position
4. Press the Record Button once
The green indicator light will flash once
Your photo has been saved
HOW TO RESET THE TIME AND DATE STAMP
1. Insert the MicroSD card into the device
2. Connect the device to your computer
3. In the root directory:
1) Right click
2) Scroll down to “New”
3) Click “Text Document”
4. Rename the file “time”
IMPORTANT NOTICE: The name of the file must be in all
lowercase letters!
5. Open the file
6. Enter your current date and time (military) as
Year.Month.Day Hour: Minute: Second
2014.04.11 15:37:02
7. Save the time.txt file
8. Safely remove the device from your computer

RETRIEVE THE FILES TO YOUR PC
1. Ensure the Power Switch is in the ON position
2. Plug the device into your PC using the USB cable
The blue and red indicator lights will turn on
3. Locate “Removable Disk” inside the (My) Computer folder
AutoPlay Removable Disk > Open folder to view files
Or…
Go to Start > Computer > Removable Disk
4. Open the Removable Disk drive
5. Open the DCIM folder
6. Double click the file you want to view
VLC Player is recommended for watching videos
TROUBLESHOOTING
THE DEVICE WON’T TURN ON
Charge the device for at least 4 hours before the first use
Make sure the charging cable is securely inserted into the
device and into the power source
THE DEVICE ISN’T CHARGING
Replace the battery or charging cable
If you are charging via a wall power source, you may need to
charge via your PC. The AC adapter might be bad
THE DEVICE HAS CRASHED
You need to reset the device
MY COMPUTER DOESN’T RECOGNIZE THE DEVICE
Unplug the device from your PC and reboot the device
Unplug the device from your PC and reboot your PC
Try using a different USB slot on your PC
Replace the USB cable
THE SOUND OR VIDEO IS UNCLEAR
The device needs charging
OTHER PROBLEMS
Call our technical support at 770–694–6923

SPECIFICATIONS
Video Resolution
640 x 480
Video Format
AVI
Frames per Second
30
Recording Time
~1GB every 40 minutes
Motion Detection
Yes
Photo Resolution
1600 x 1200
Photo Format
JPEG
Water Resistant
No
Battery Life
4 hours
Type of Memory
MicroSD Card
Memory Capacity
32GB
Recording Capacity
2GB ≈ 1 hour
4GB ≈ 2 hours
8GB ≈ 4 hours
16GB ≈ 10 hours
32GB ≈ 21 hours
USB Interface
2.0 USB
Player Software
VLC recommended
Operating Systems
Windows 2000 – Windows 8
Mac OSX
Linux
 Loading...