

Version 1.1
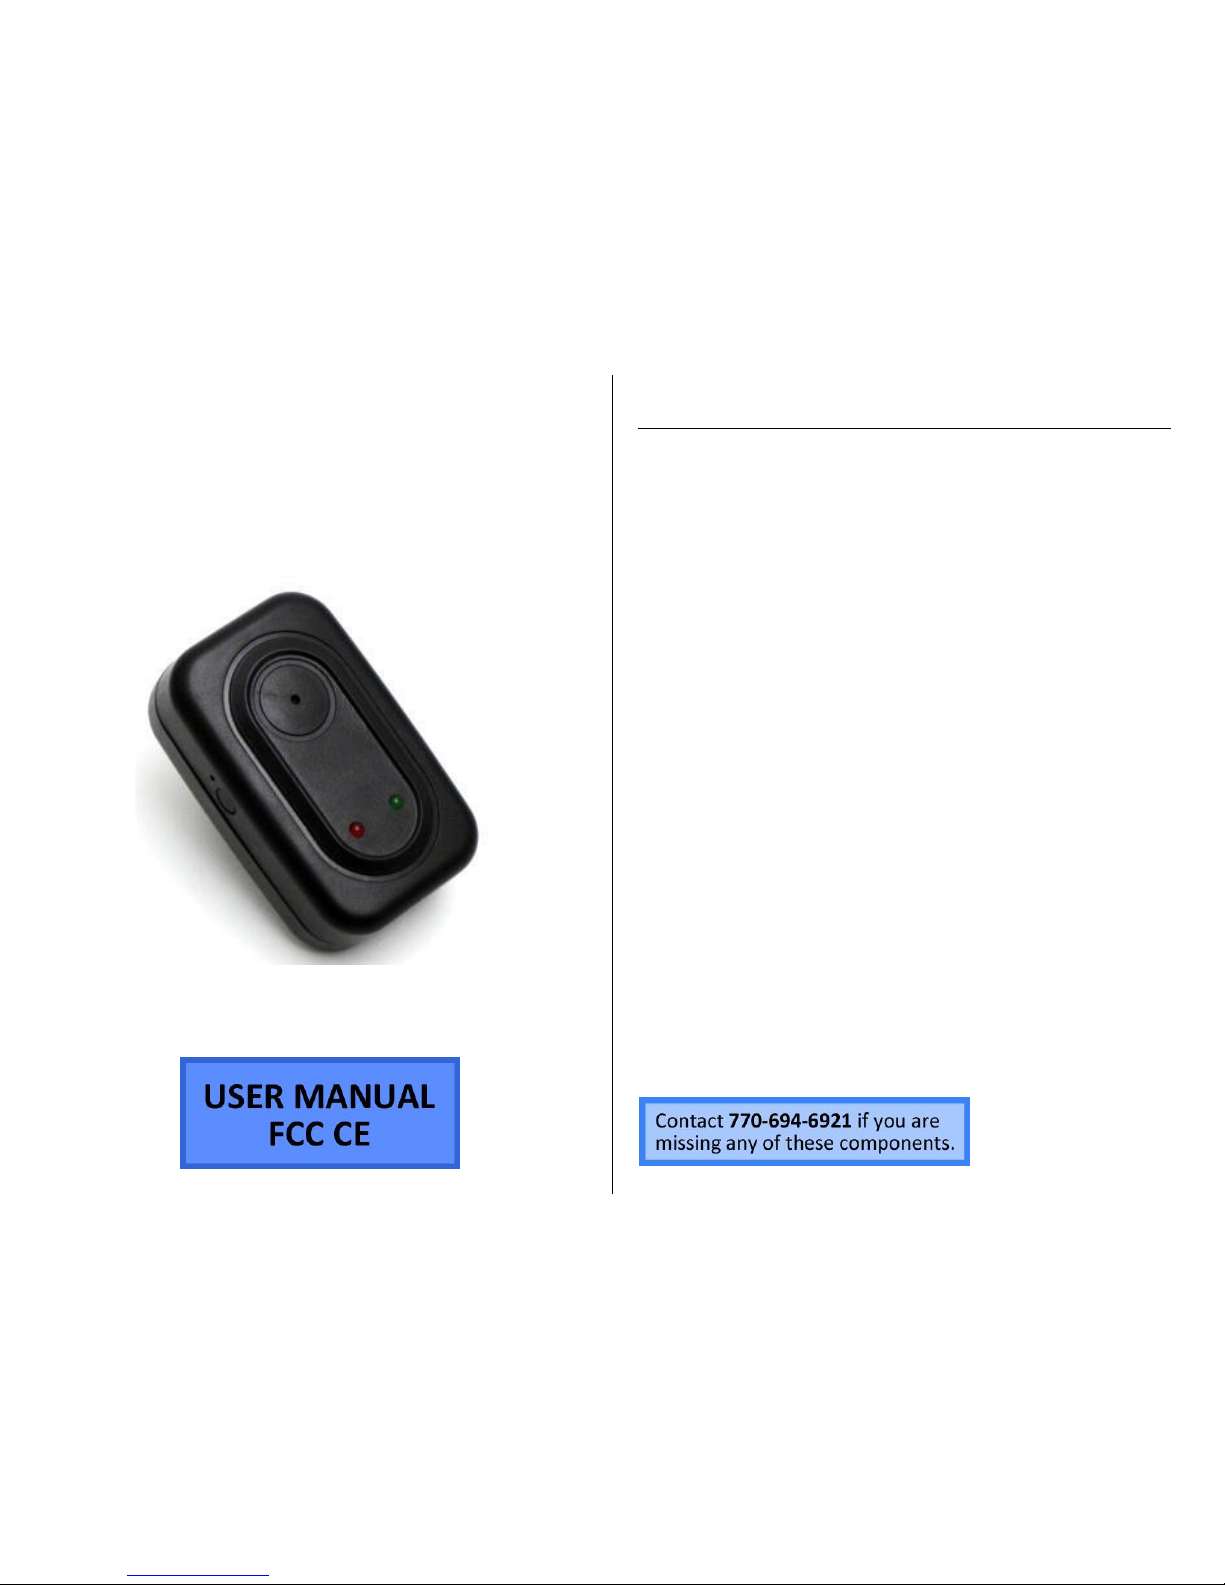
USB ADAPTER HIDDEN
CAMERA
SKU: HCUSBAdapter (4GB) (16GB)
THANK YOU FOR PURCHASING THE USB ADAPTER HIDDEN
CAMERA
Please read this manual before operating the USB adapter hidden
camera and keep it handy.
This clever "USB adapter" is right at home in any room where you
need a security presence. While you're at work, this discreet unit is
working hard for you at home. Set it to record all day on motion
control so only the important things are recorded. You can even take
it with you and use it to "charge your phone" since the standard USB
port is a perfect disguise*.
This model records 720*480 resolution video. The 4GB model can
store up to 2 hours of footage and the 16GB model can store up to 8
hours of footage. No need to worry about a battery life since the
device can record while plugged into a power source. You can even
set up to record using motion detection.
*Please note: some phones, such as Android smart phones, will try to
read the internal storage of this device when connected via USB;
doing this will cause the device to stop recording and enter "USB
Mode," which normally occurs when connected to your computer.
Older should not have this issue.
Your purchase should include:
1 x USB Adapter Hidden Camera
1 x USB Cable
1 x Instruction Booklet
Version 1.1
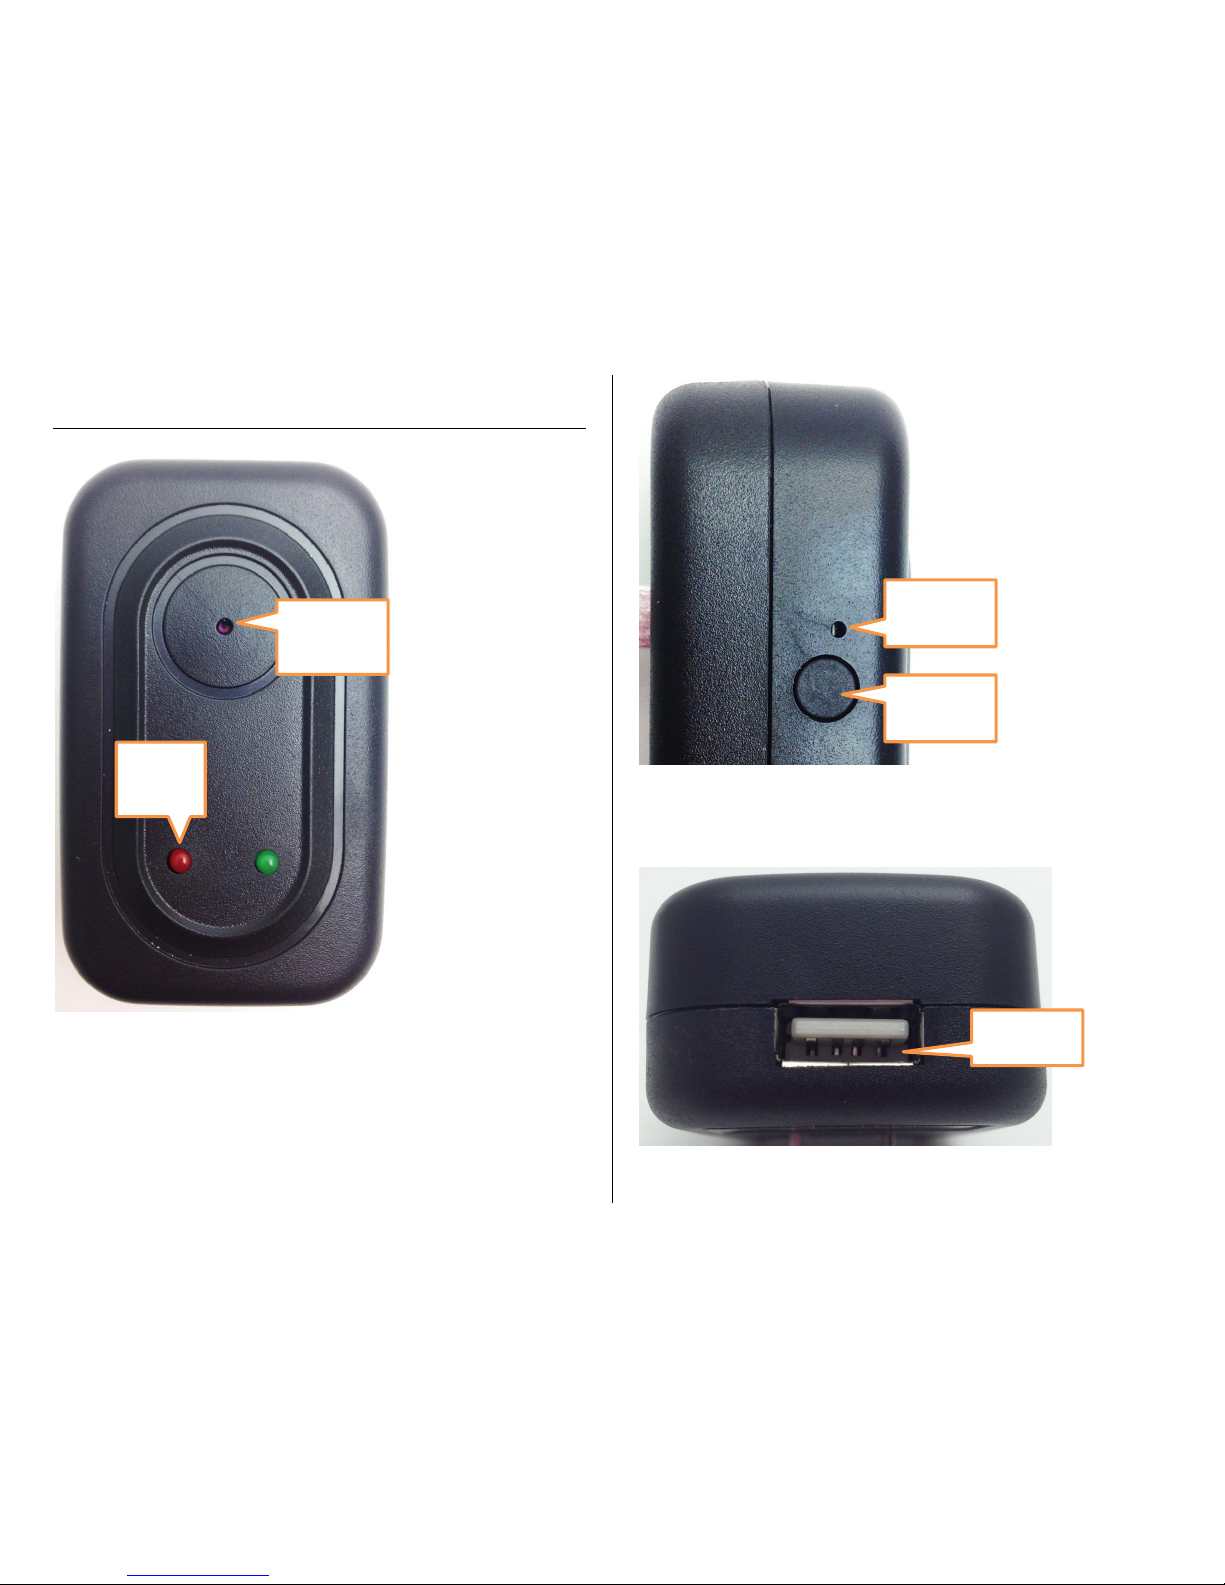
GET FAMILIAR WITH YOUR USB ADAPTER HIDDEN
CAMERA
Figure 1: Front View
Figure 2: Side View
Figure 3: Bottom View
Camera
Lens
Indicator
Light
Power
Button
USB Port
Power
Light

Version 1.1
OPERATING THE USB ADAPTER HIDDEN CAMERA
HOW TO RECORD VIDEO (MOTION DETECTION ONLY)
1. Plug the USB adapter into an outlet
The adapter automatically starts recording
The indicator should blink and then turn off
HELPFUL TIP: If the indicator light is still on, the device is in standby
mode. Push the Power Button once to force start recording if needed.
HOW TO PAUSE RECORDING
1. Push the Power Button
The indicator light will turn solid
The recording has now paused
HOW TO TURN OFF THE USB ADAPTER
1. Push and hold the Power Button for 2 seconds
The indicator light will turn off
o Recording has stopped and the device is now off
HOW TO RESET THE TIME AND DATE STAMP
1. Visit http://time.mgidownloads.com
2. Choose “HCUSBAdapter” and your time zone in the dropdowns
and click download.
3. Plug the device into your computer
4. Right click and “cut” the downloaded time file
5. Locate “Removable Disk” inside the (My) Computer folder
Go to Start > Computer > Removable Disk
6. Open the Removable Disk drive
7. Right click with your mouse and paste the downloaded time file.
8. Alternatively, if you cannot get the above method to work, do the
following:
9. Right click anywhere in the blank white space
10. Scroll down to “New”
11. Click “Text Document”
12. Rename “New Text Document” as “time”
The ti tle must be in all lowercase letters!
Before Step 8
After Step 8
13. Open the text document
14. Enter the date/time in the following format
YYYY-MM-DD HH:MM:SS

Version 1.1
Example:
2016-08-08 15:00:00
15. Save the text document
16. Unplug the device from your computer.
17. Power on the device and begin a test recording to confirm
date/time setting succeeded.
RETRIEVE THE FILES TO YOUR PC
1. Plug the device into your PC using the USB cable.
2. Locate “Removable Disk” inside the (My) Computer folder.
AutoPlay Removable Disk > Open folder to view files
Or…
Go to Start > Computer > Removable Disk
3. Open the Removable Disk drive.
4. Open the DCIM folder.
5. Open the 100DSCIM folder.
6. Double click the file you want to view.
VLC Player is recommended for watching videos.
TROUBLESHOOTING
MY COMPUTER DOESN’T RECOGNIZE THE DEVICE
Unplug the device from your PC and try again.
Unplug the device from your PC and reboot your PC.
Try using a different USB slot on your PC.
Replace the USB cable.
OTHER PROBLEMS
Call our technical support at 770–694–6923

Version 1.1
SPECIFICATIONS
Video Resolution
720*480
Video Format
AVI
Frames per Second
30
Motion Detection
Yes
Water Resistant
No
Battery Life
Plug-in
Type of Memory
Internal
Memory Capacity
4GB or 16GB
Recording Capacity
4GB ≈ 2 hours
16GB ≈ 8 hours
USB Interface
2.0 USB
Player Software
VLC recommended
Operating Systems
Windows 2000
Windows Me
Windows XP
Windows Vista
Windows 7
Mac OSX
Linux
 Loading...