

Mingda MD-D01 User Manual

MINGDA TECHNOLOGY CO.,LTD
MINGDA MD-D01
Desktop 3D Printer
The User Manual
MINGDA Technology Co.,LTD
2013-11
1
MINGDA TECHNOLOGY CO.,LTD
Chapter 1 The Debugging of the machine
We will do our best to provide our customers more perfect 3D products. Our
principle is that make the user less trouble, and more easily. Before delivery,
we will debug the 3D printer precision from inside to outside. Ensure the
printing quality of the 3D printer
1. Open the packing box
Please when users receive the printer, make sure the integrity of the product
packaging, and check whether there is damage of printer.
Confirmed the packaging is completely, open box, now bring up 3Dprinter from
the box, carefully grasp the top of the frame, from both sides to lift the machine
(Caution: do not touch the internal drive belt and guide rail, have a chance to
cause a deformation of the guide rail, affect the performance of the machine.)
Gently bring up 3D printer from the box, put in your workstation.
Please open bag, you will find that all the parts have been out, Please don't
have to worry about the box there is missing any parts, because packagers
already in delivery sheet, inspection, inventory, to ensure that each delivery
integrity.
2、Install
After take out the machine you will find that most of the parts we have installed
for you, if not installed, then the machine we sent to you without adjustment
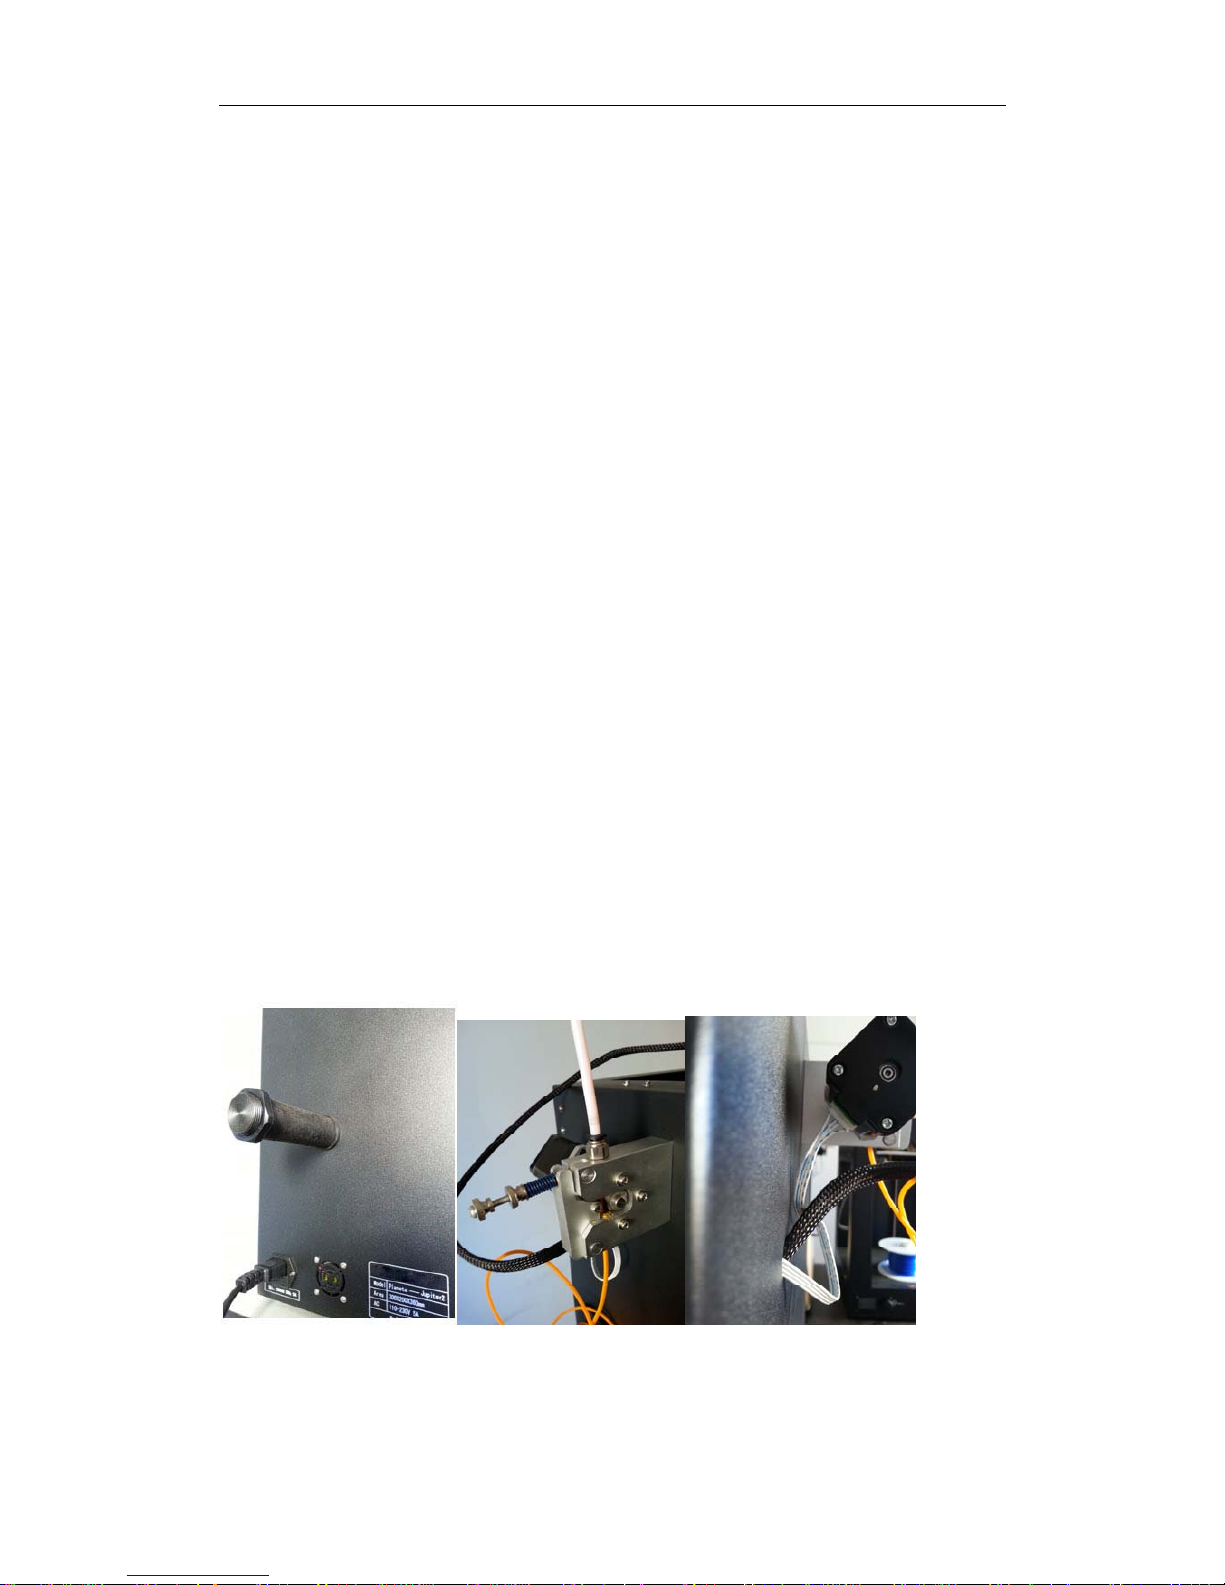
and test (note: this is not possible). So, you only need to install two parts: (1)
extruder. (2) The feeding. To the correct location, (extruder is fixed in inside
offrame and the feeding in accessories box.)
Left image feeding frame (Has been properly installed )
Middle image extruder (Has been properly installed)
2
MINGDA TECHNOLOGY CO.,LTD
Note: remember to put the white line with installation extrusion as above
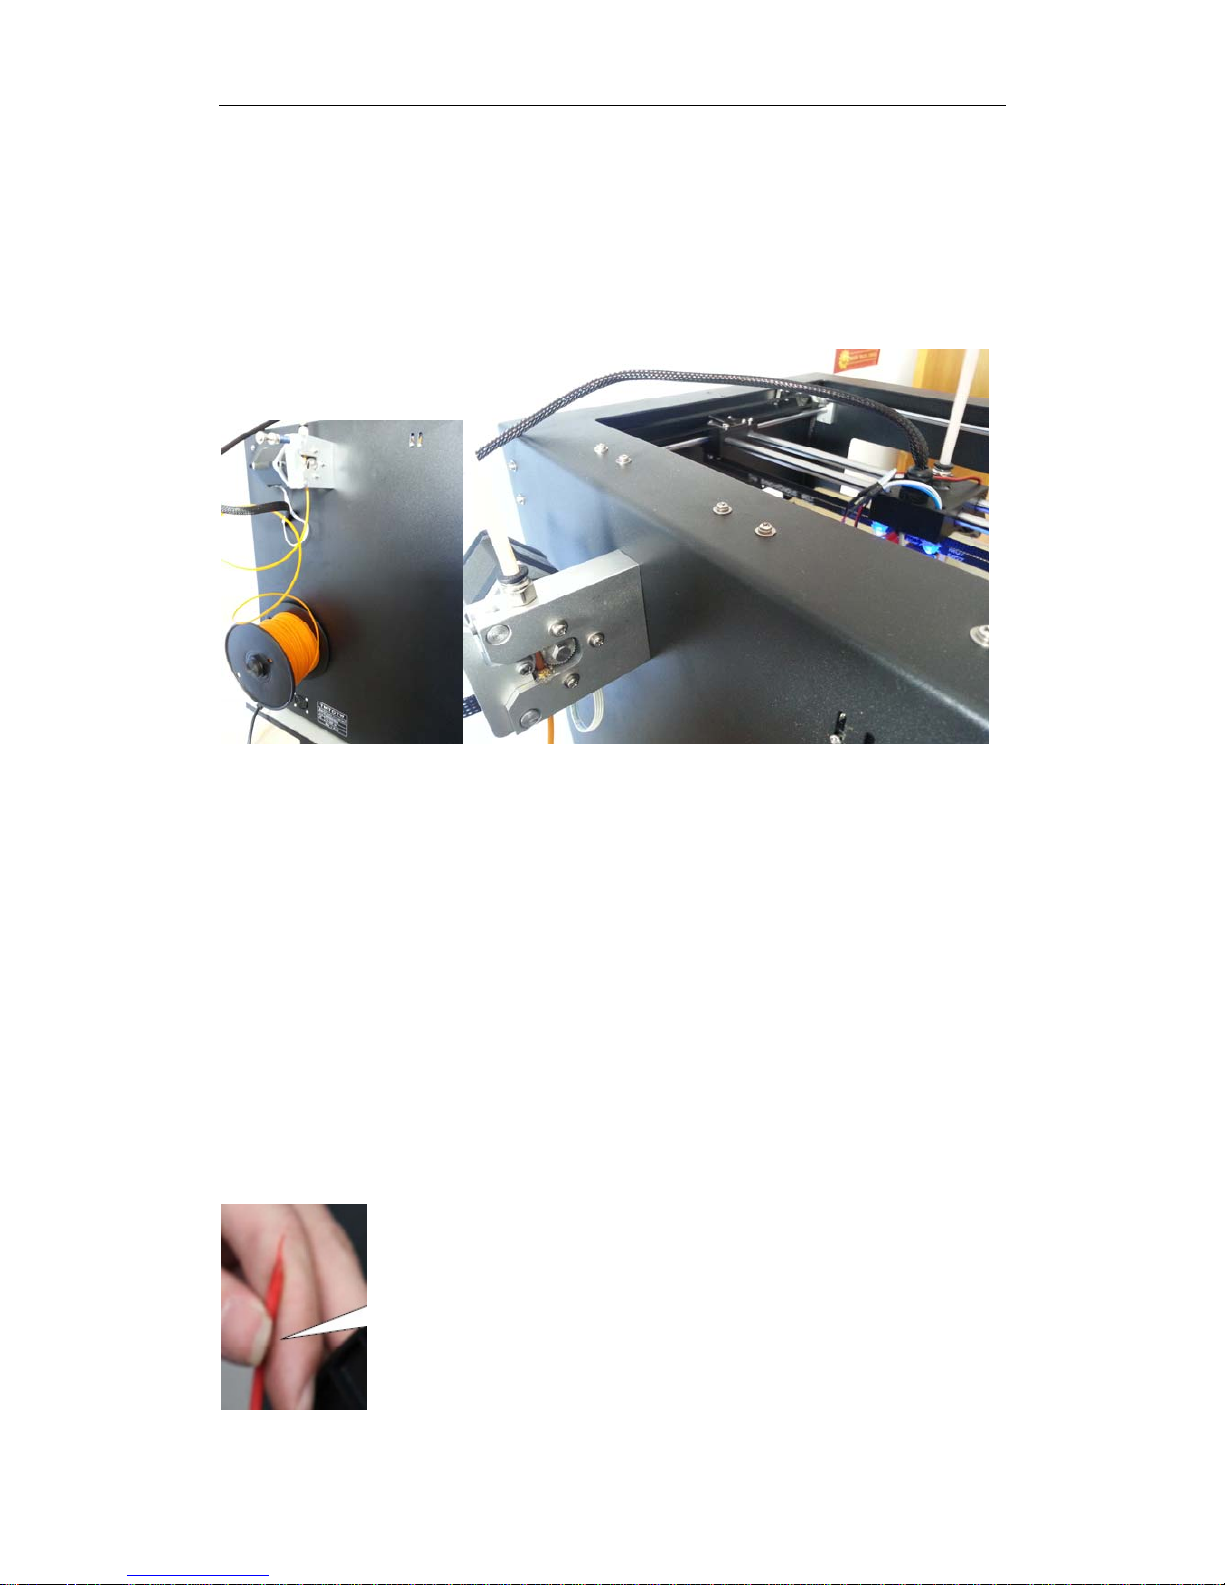
In addition, here we discuss the installation of filament. Before delivery goods
to you we have previously installed consumables line for you, so, here
introduce you how to change filament. and some matters need attention.
Filament(Has been properly installed)
If you want to remove the old filament , and put in the new line, that must be
done under the conditions of nozzle heating, loosen the extruder of the spring,
after the nozzle temperature reach consumable wire melting point, you can
remove the old line. After inserting new consumables line in, must pay
attention that inserted filament to the bottom of nozzle, and then continue to
push, and observe whether there is melting consumable wire extrusion, if have
a silk flow out from the nozzle then installation of filament is successful, and
please lock screw rod of extruder.
Note: when installing consumables line some users can't push it to the top to
the extrusion head(nozzle), and lead it can’t flow out the silk when start printing,
so, we suggest use scissors or fire make the filament to be apiciform, then it
will be the more reach the extrusion head.
filament head
3
MINGDA TECHNOLOGY CO.,LTD
3,If you don't take out the old line, or want to change the color when printing,
while printing, in the Extruder inlet of old line,
cut the back-end of old line to flat, and also cut the front of the new line which
you want to replace to flat, new line against the old line, while the gears
rotating the new filament to white catheter, finally finished the replacement of
old and new filament
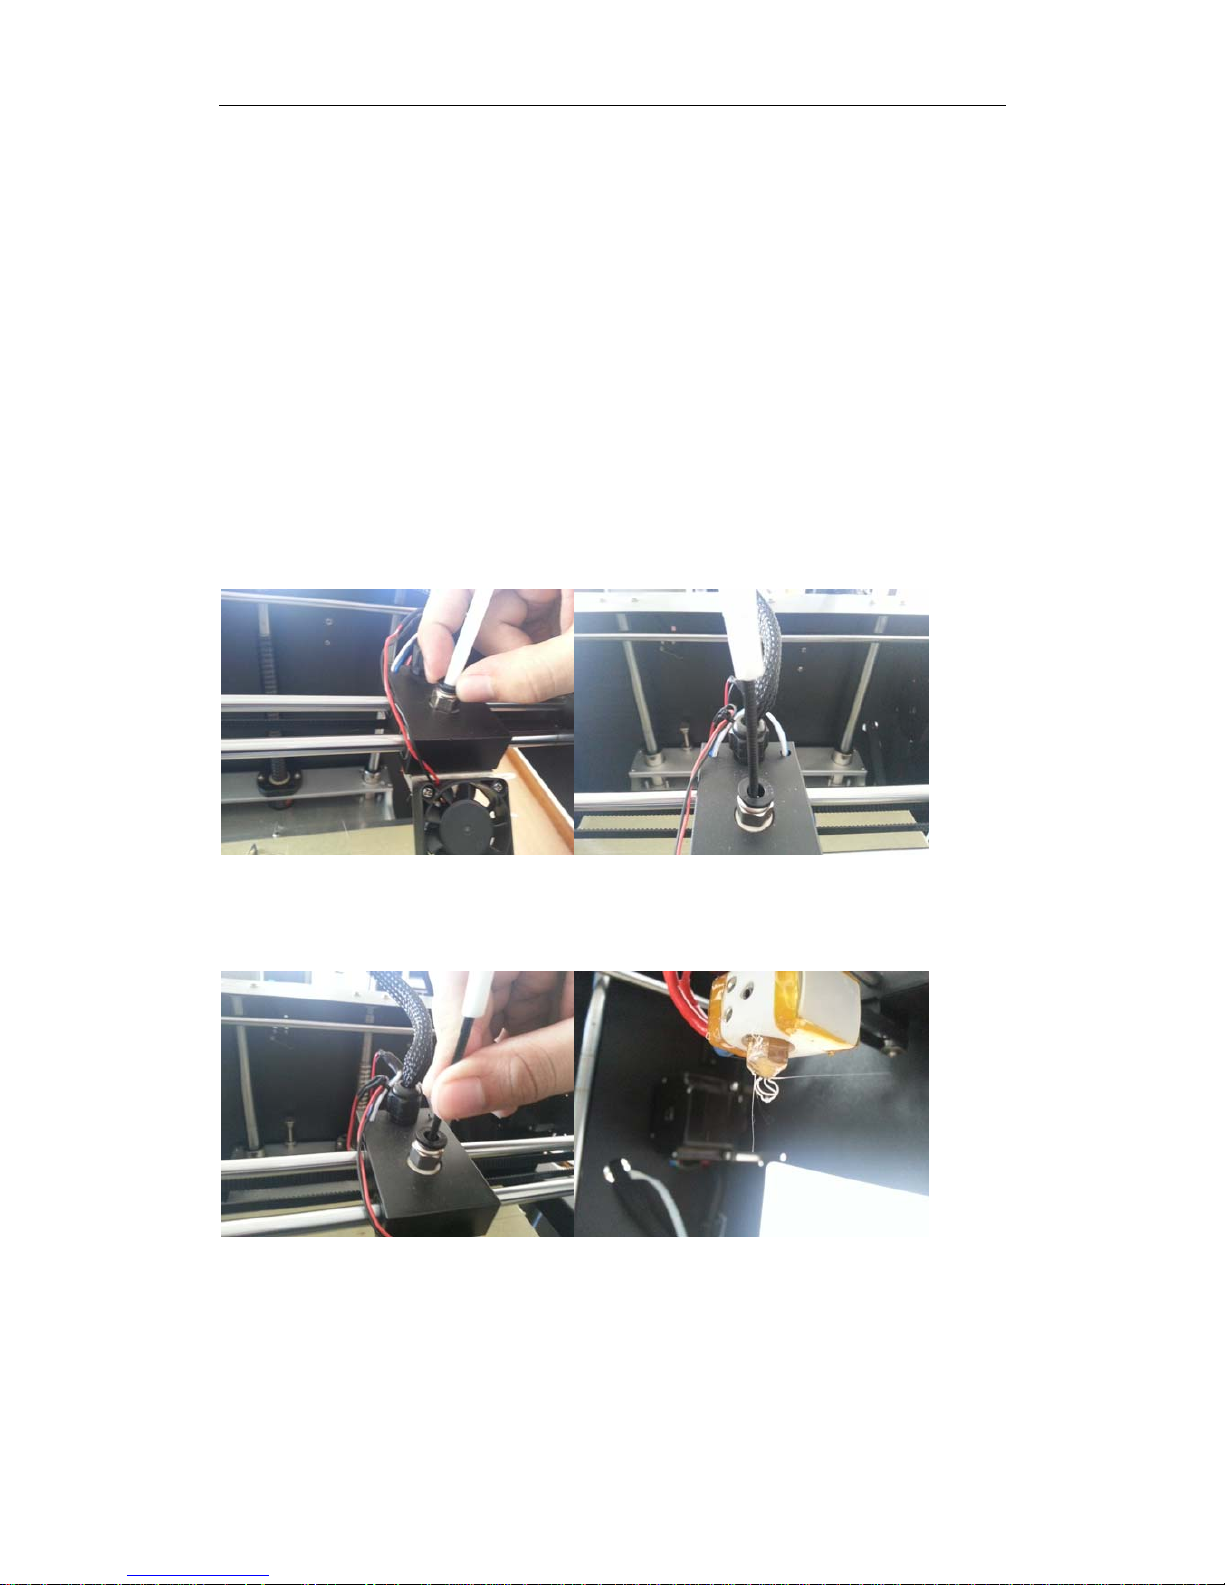
Note: in some cases, using this changing line method, when the new line
reach the printing nozzle, the new line will be struck.
Then the user will find nozzle is not out of silk. Fixed circle, then the solution is
to press black fixed circle, pull out the white catheter, then manually pull plug,
pressure, control new line, until the nozzle print the new silk, now , the line
changing troubleshooting is successful. Please remember to inserted white
catheter back again
press the black fixed circle pull out the white catheter
Pull plug, pressure Nozzle out the silk of the new line
4

MINGDA TECHNOLOGY CO.,LTD
Chapter 2 Menu
1. Boot interface
Figure 2.1 Boot Interface
Plug the power, turn on the switch, the display shows the progress bar
2. Main Interface
Figure 2.2 Main Interface
Dance through the progress bar, enter the main interface, the main interface
shows the status of the machine at this time
3. Manu Interface
5
MINGDA TECHNOLOGY CO.,LTD
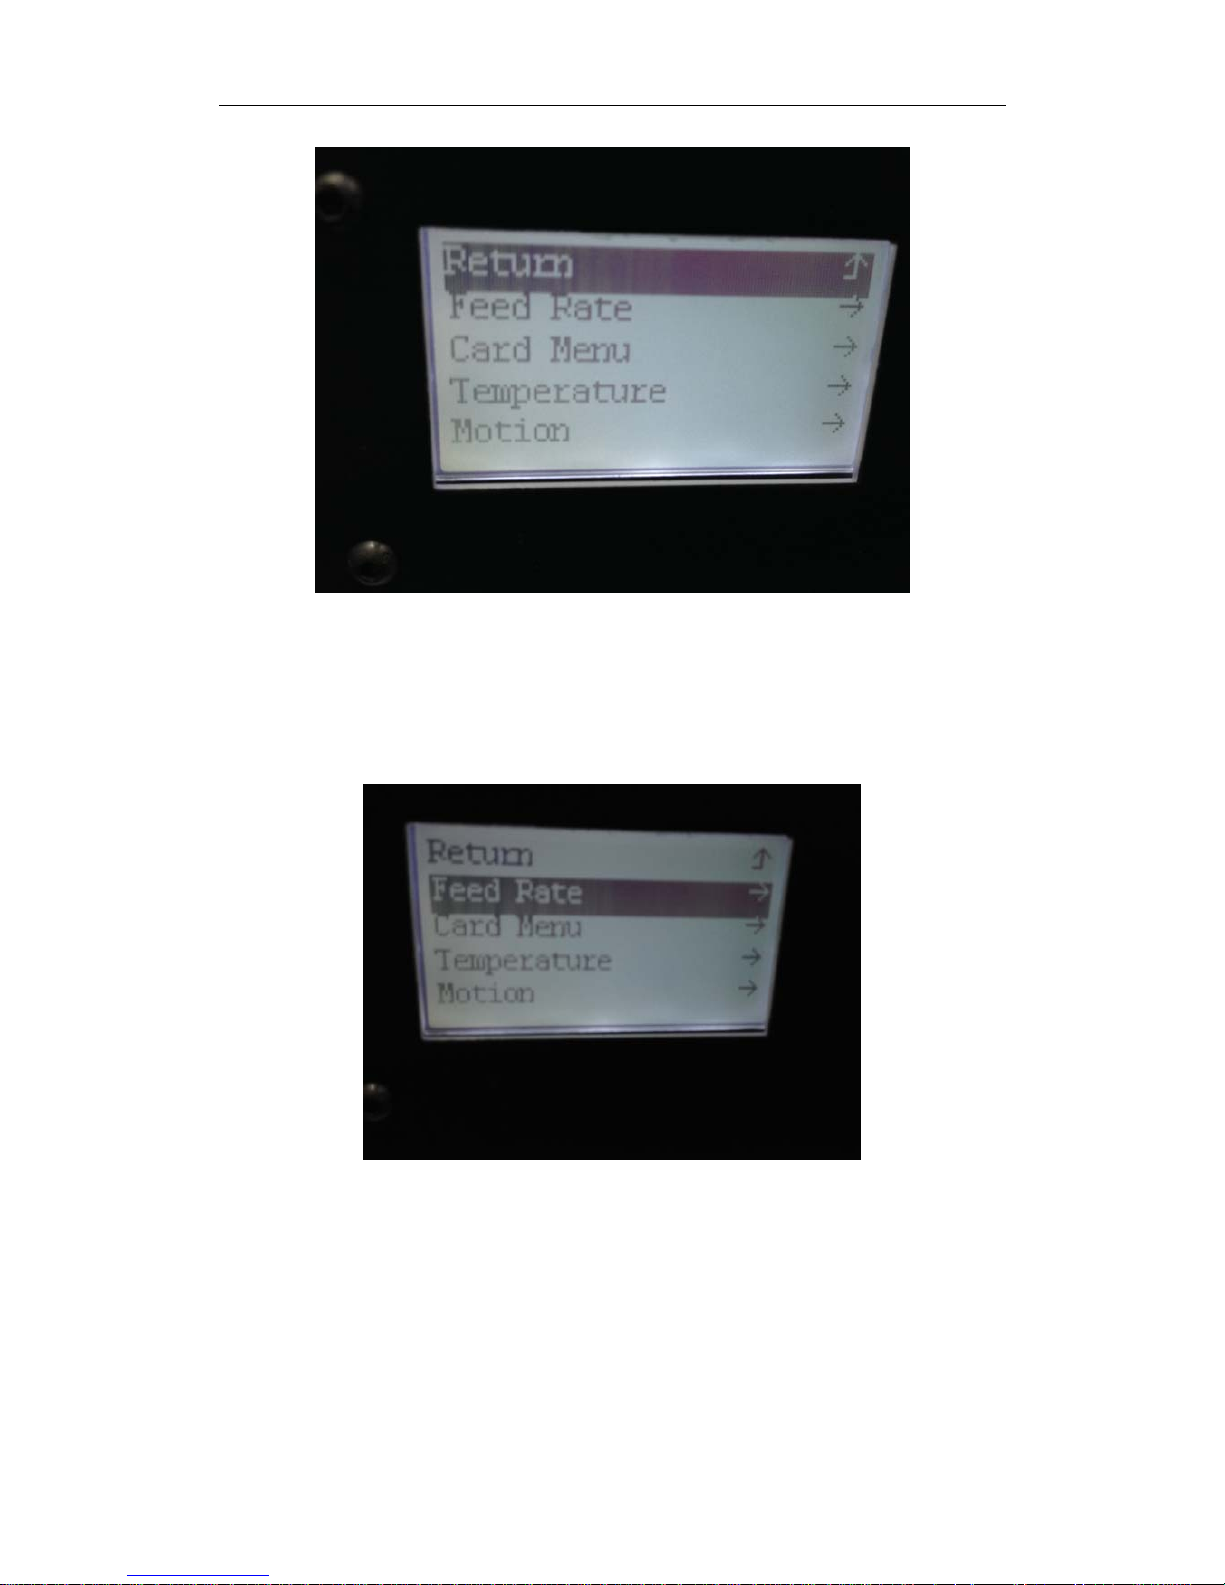
Figure 2.3 Menu Interface
MINGDA Master Menu, Knob to select the menu, press the knob to select and
option. (Including: speed ratio, SD card, temperature control, motion control,
time setting, screensavers time, storage parameters, language settings,
version information, expert mode, U disk mode)
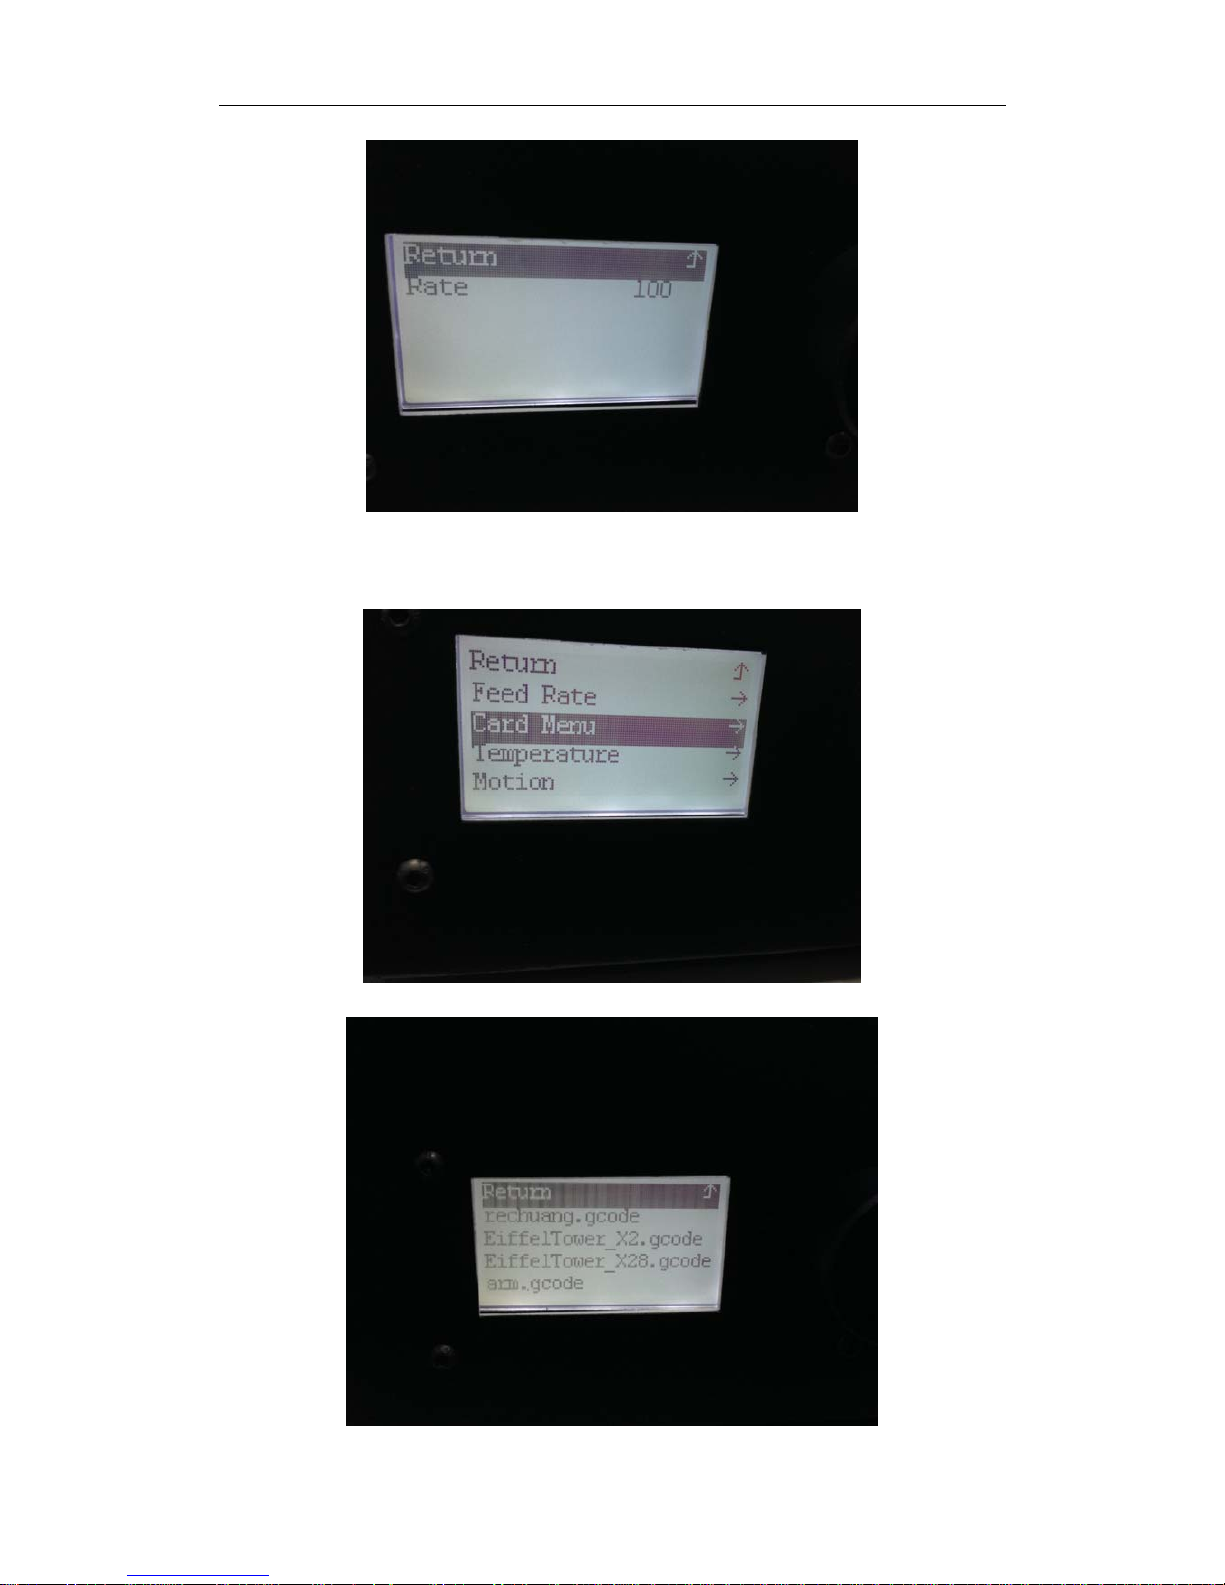
3.1 Speed override
Figure 2.3.1aSpeed override
Oppression chose to enter the speed override interface
6
MINGDA TECHNOLOGY CO.,LTD
Figure 2.3.1b Speed override interface
Real-time adjustment of the printing speed ratio
3.2 SD Card
Figure 2.3.2a SD card
7
MINGDA TECHNOLOGY CO.,LTD
Figure 2.3.2b SD card interface
Enter the SD Card interface, the displayed file is stored on the SD card slice
files (G code), rotating selection, press “OK” to start the machine automatically
prints.
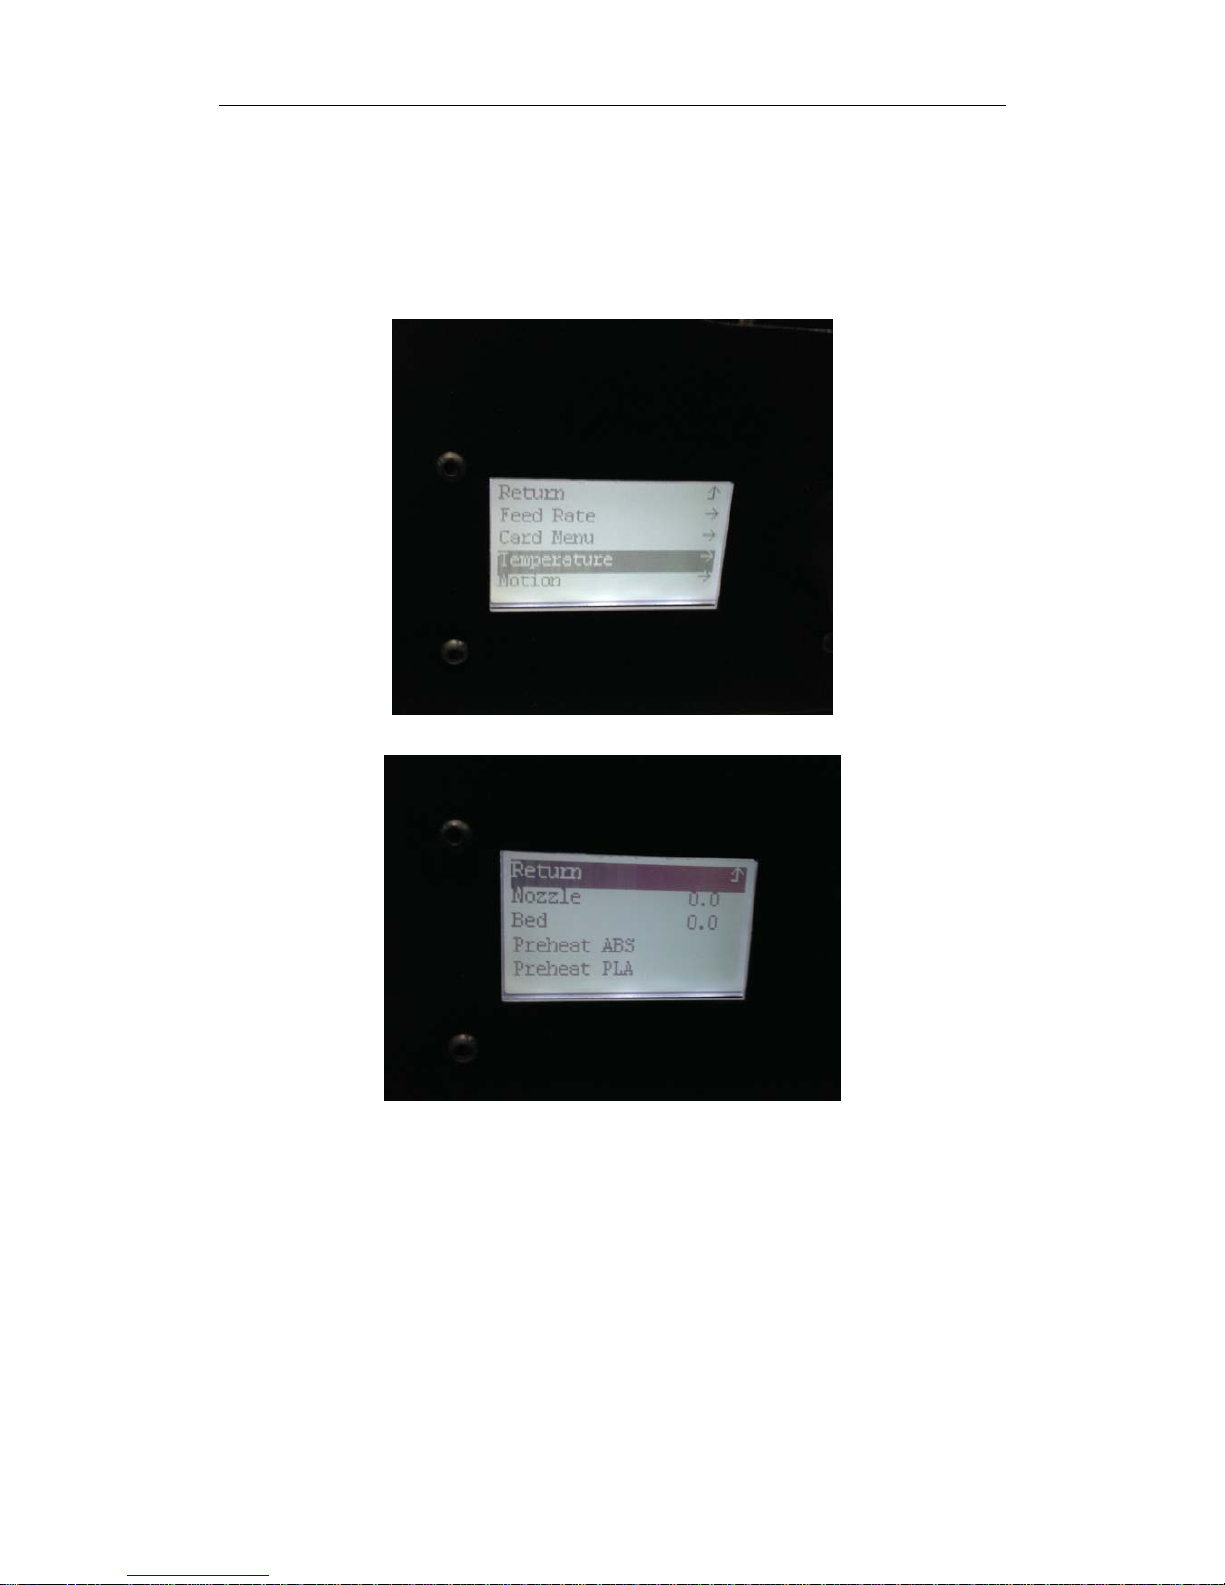
3.3 Temperature Control
Figure 2.3.3a Temperature Control
Figure 2.3.3b Temperature Control Interface
Nozzle: Press selected control adjustment nozzle temperature
Hot bed: Press selected hot bed temperature control and regulation
Preheat ABS: Press the selected, the nozzle temperature and thermal bed
temperature will be set automatically if the material is ABS
Preheat PLA: Press the selected, the nozzle temperature and thermal bed
temperature will be set automatically if the material is PLA
3.4 Motion Control
8
 Loading...