

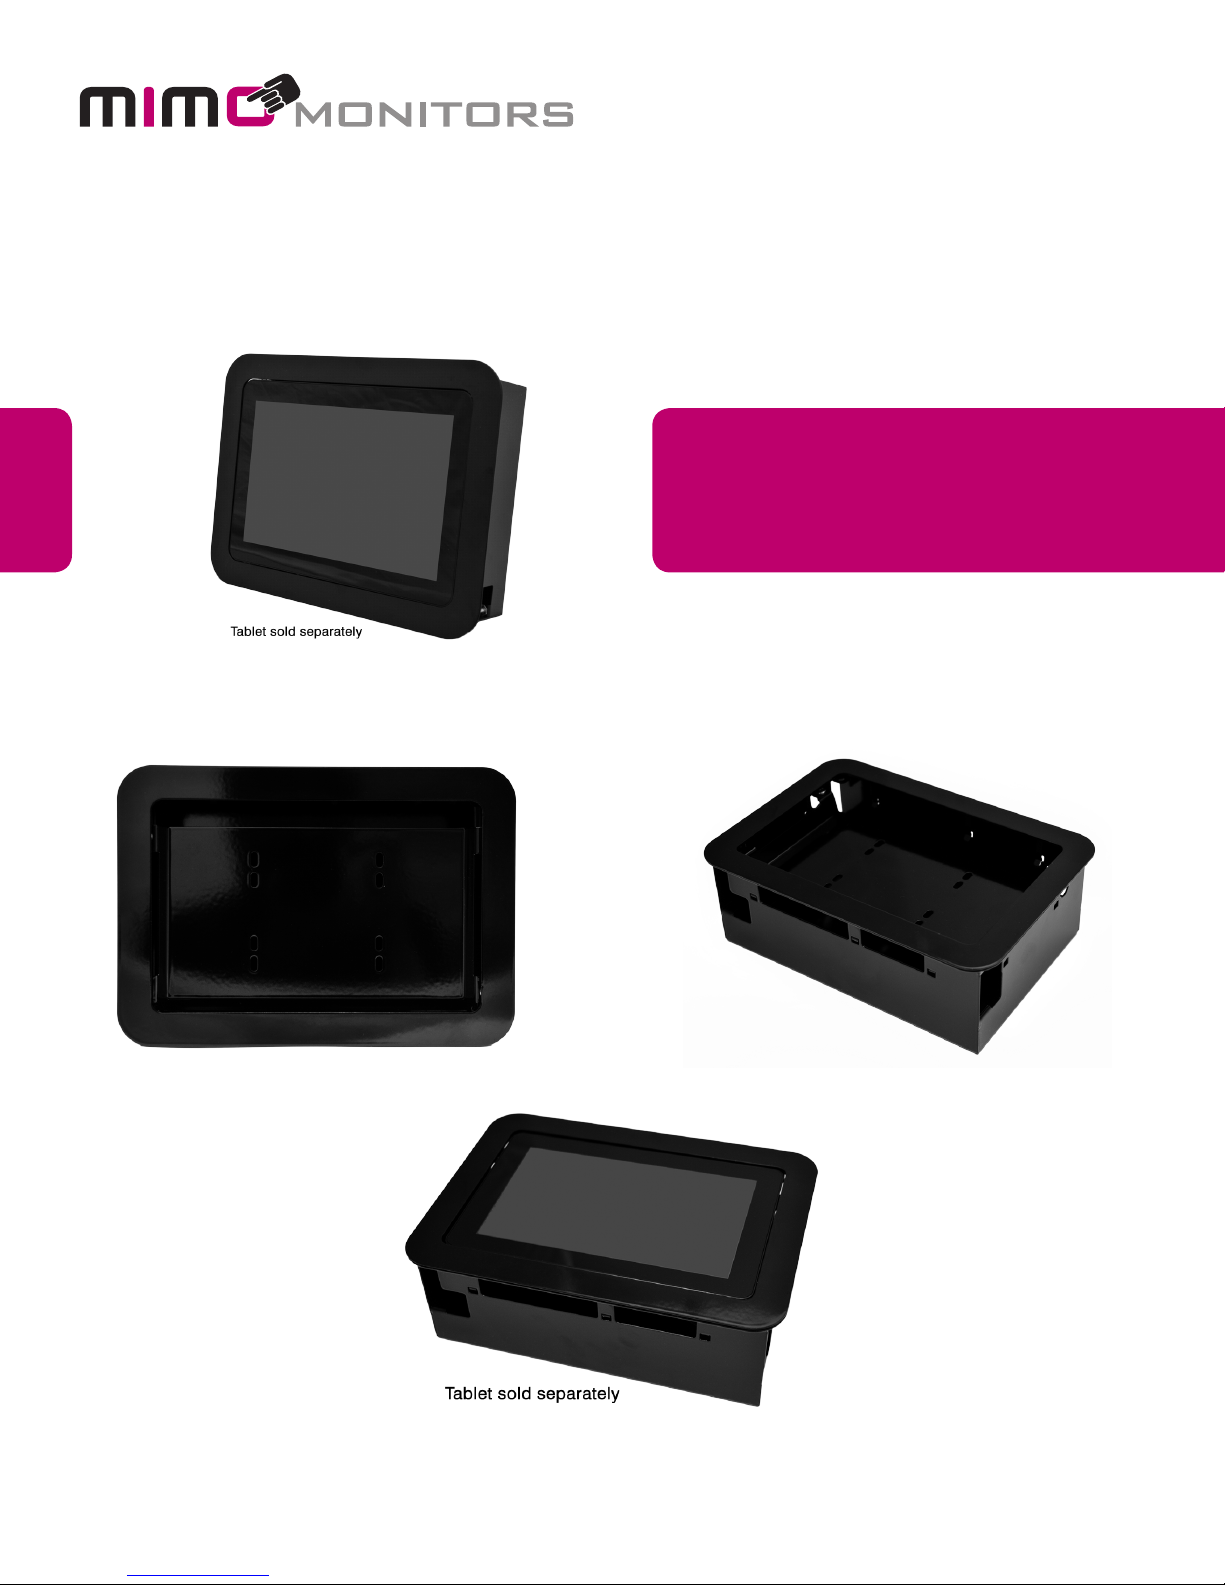
7”, 10.1” and 15.6” Tablet and 10.1” Vue
Wall Box Installation Manual
MWB-7-MCT/MWB-10-MCT/MWB-156-MCT/MWB-10-VUE
Specically designed to t
our products seamlessly.
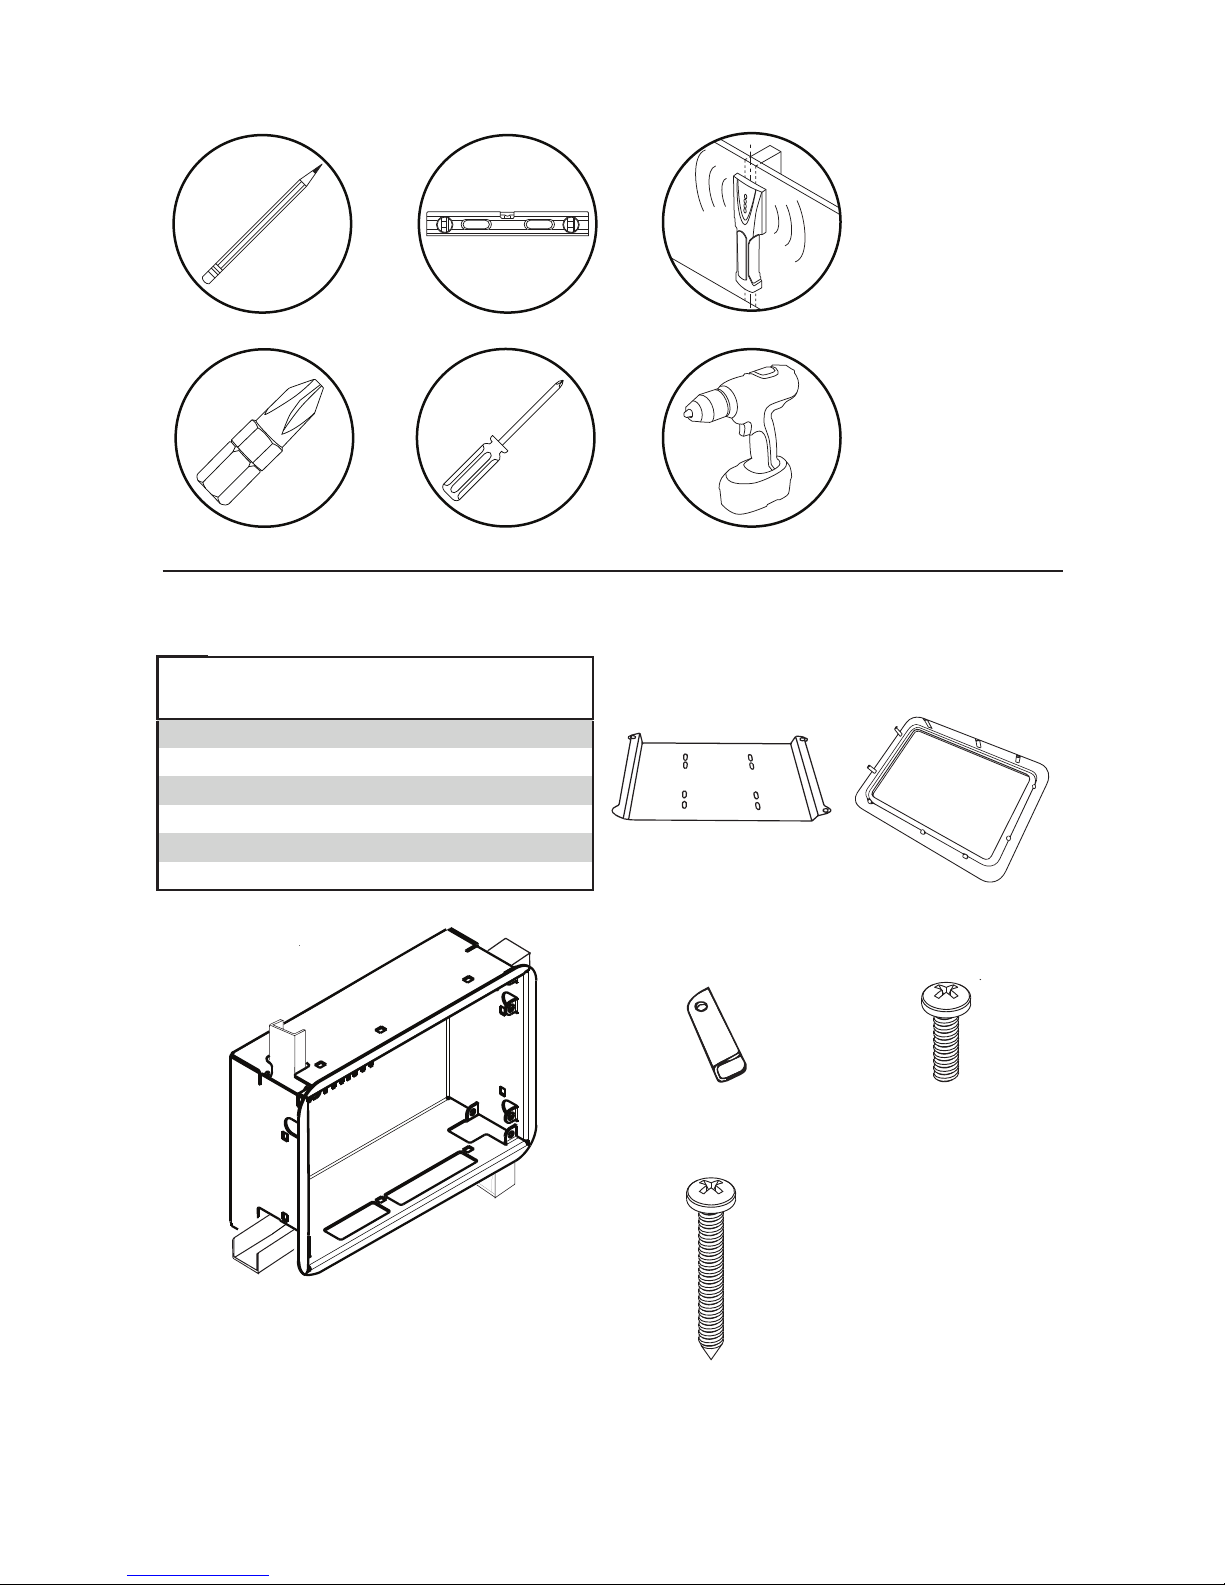
Tools
Parts (Before beginning, make sure you have all parts shown below)
Parts List
A xob llaw-ni
B Tablet/Display Mounting Plate
C Front Bezel
D Dry Wall Clips (Installed)
E Dry Wall Clip Screws (Installed)
F M4 x 6mm Screws
(1)
A
in-wall box
(4)
B
ytQnoitpircseD
1
1
1
4
4
8
Mounting Plate
(2)
D
Drywall Clips
(2)
E
Screws
(2)
C
Front Bezel
(2)
F
Screws

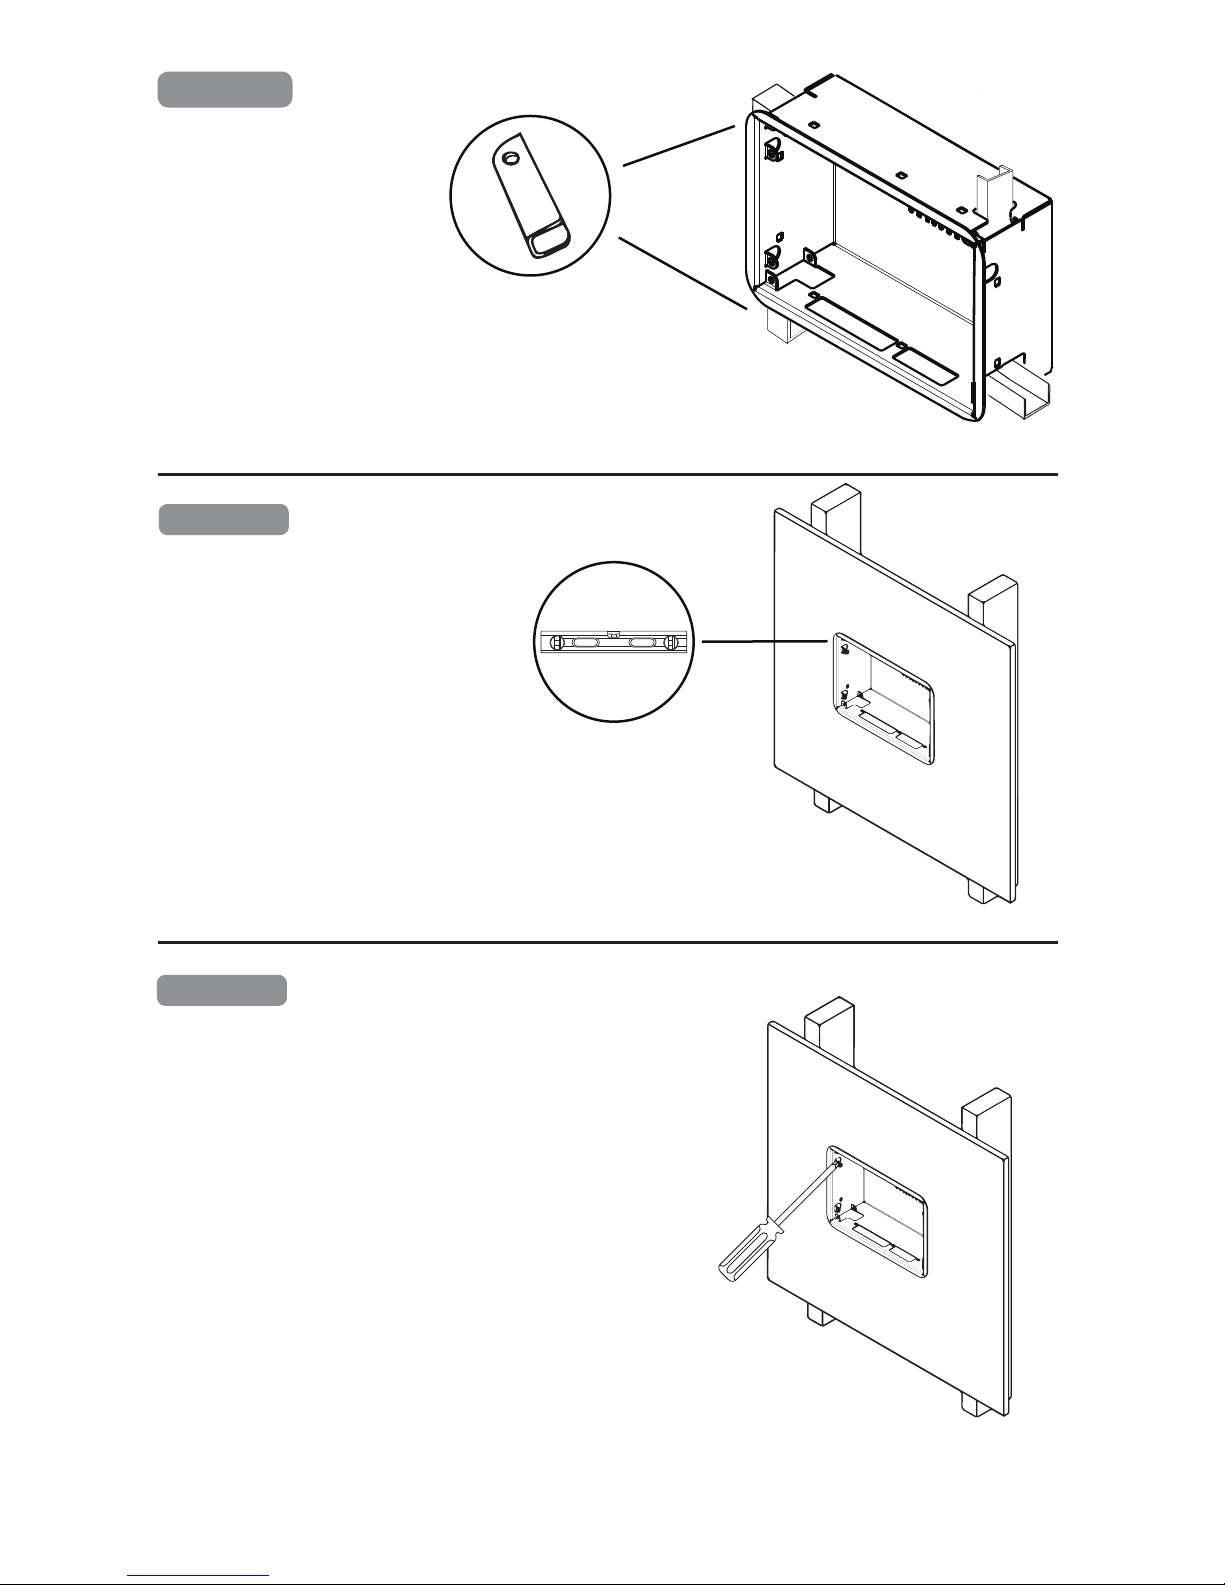
1-1
Use Stud Finder to locate and
mark edge of studs.
1-2a
The Mimo Monitor In-Wall Enclosure is designed to fit between studs in the vertical or horizontal direction. The 15.6"
In-Wall Box in landscape mode will not fit between two 16" studs unless the studs are notched, see 1-2b below for
details. So, it is advised to locate the studs in the area you are planning on installing the enclosure before you cut the
drywall so you do not expose a stud by accident. Once you have located the studs on the left and right of where you
are going to install the enclosure, cut the necessary hole in the drywall where you want the enclosure installed. Use
the chart below to determine the size of the hole needed for the enclosure you are installing.
Landscape Mode
Drywall Hole Size to Cut
A
B
Using dimensions shown, draw outline for in-wall box. Make sure lines are level before removing drywall.
1-2b
When installing the 15.6" Wall Box in landscape mode in a 16" on center stud wall, both studs will have to be notched
out .875" (half of the 1.5" stud) by 11" (the height of the box) in order for the box to fit.
1-3
Insert wall box into hole in drywallwith the clips on
the inside of the box.
1- 4
Rotate one of the top drywall clips (D) by tightening the drywall clip screw (E) just
enough to secure the box to the wall, do not over-tighten yet. While holding the box
in place, repeat this for the opposite top clip, then the two bottom clips.
1- 5
Once box is secure enough that you don’t need to hold it any longer, level the box.
1- 6
Once the box is level, tighten all four drywall screws (E) so that the enclosure is
tightly held in place.
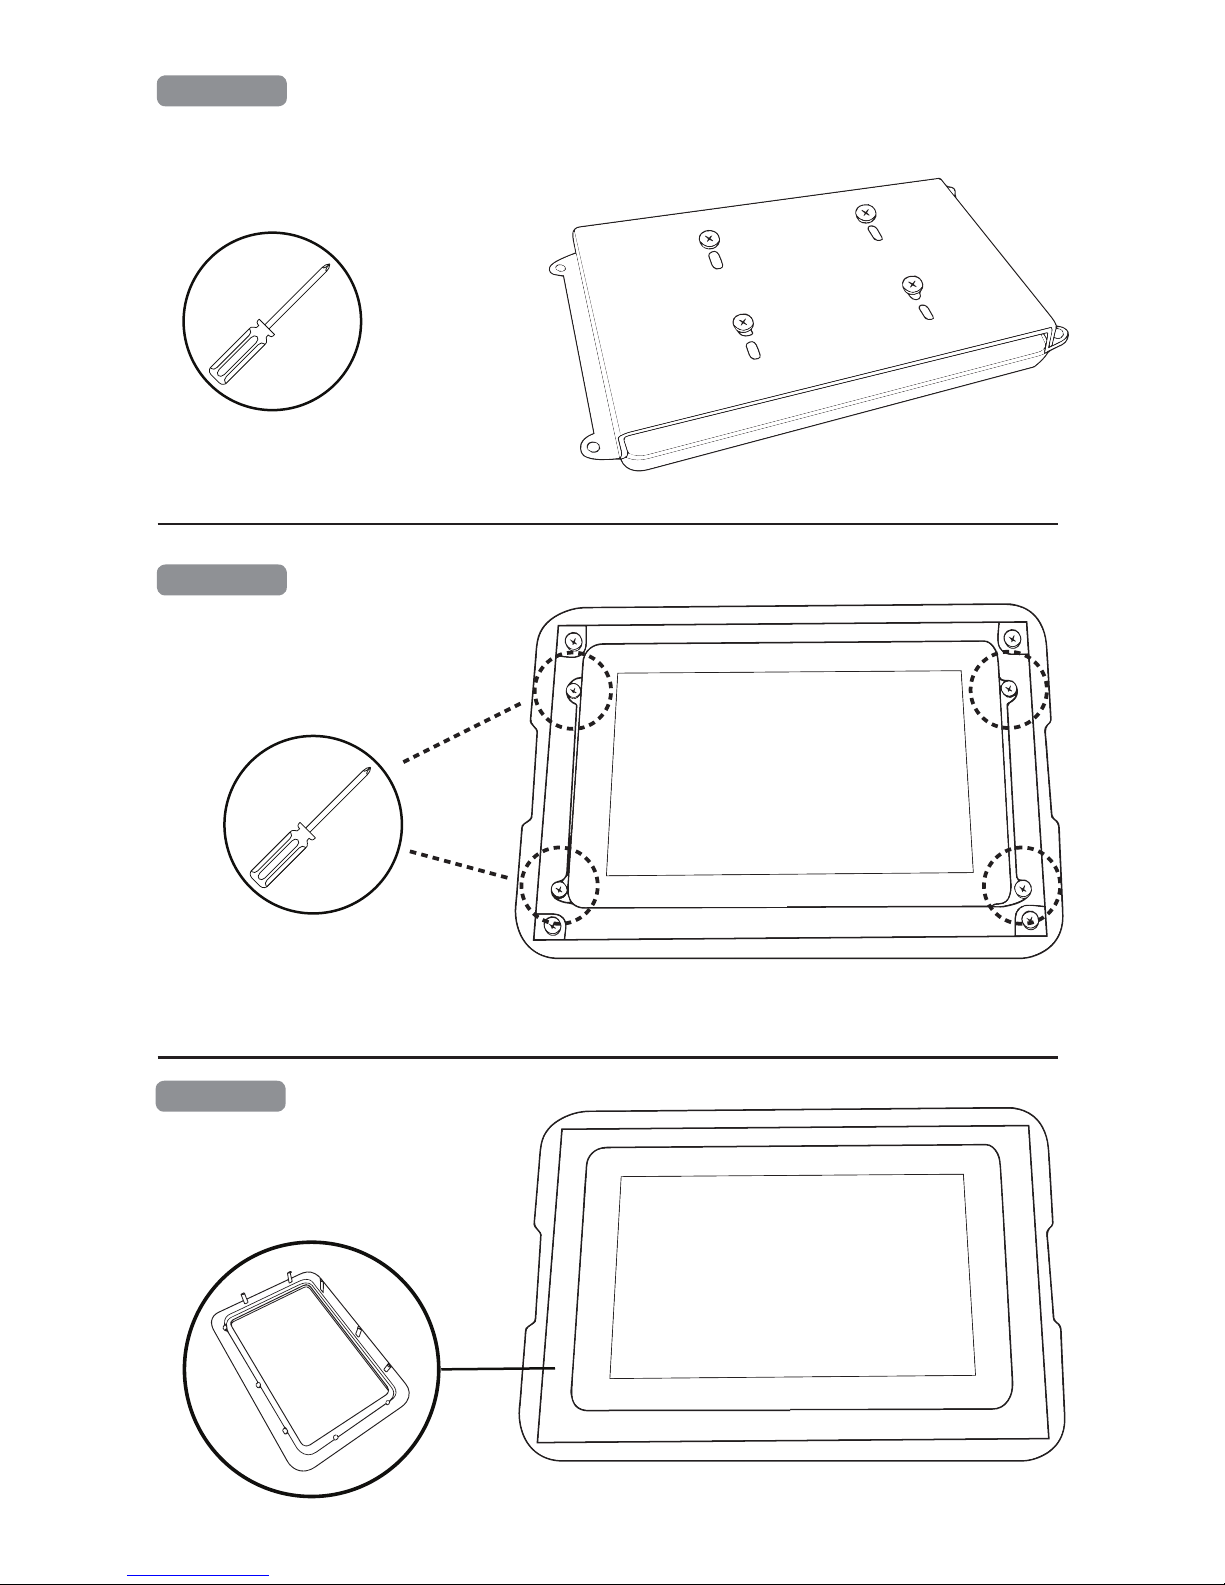
1- 7
Mount the display to the adapter plate (B) using four M4 screws (F) provided and
the Vesa 75 holes in the back of the display.
1- 8
Mount the adapter plate (B) using four M4
screws (F) provided to the wall box.
1- 9
Install the bezel (B) by aligning and pressing
in place.
 Loading...