

Million Dollar Baby Ashbury 4 in 1, Ashbury 8201 Assembly And Operation Manual
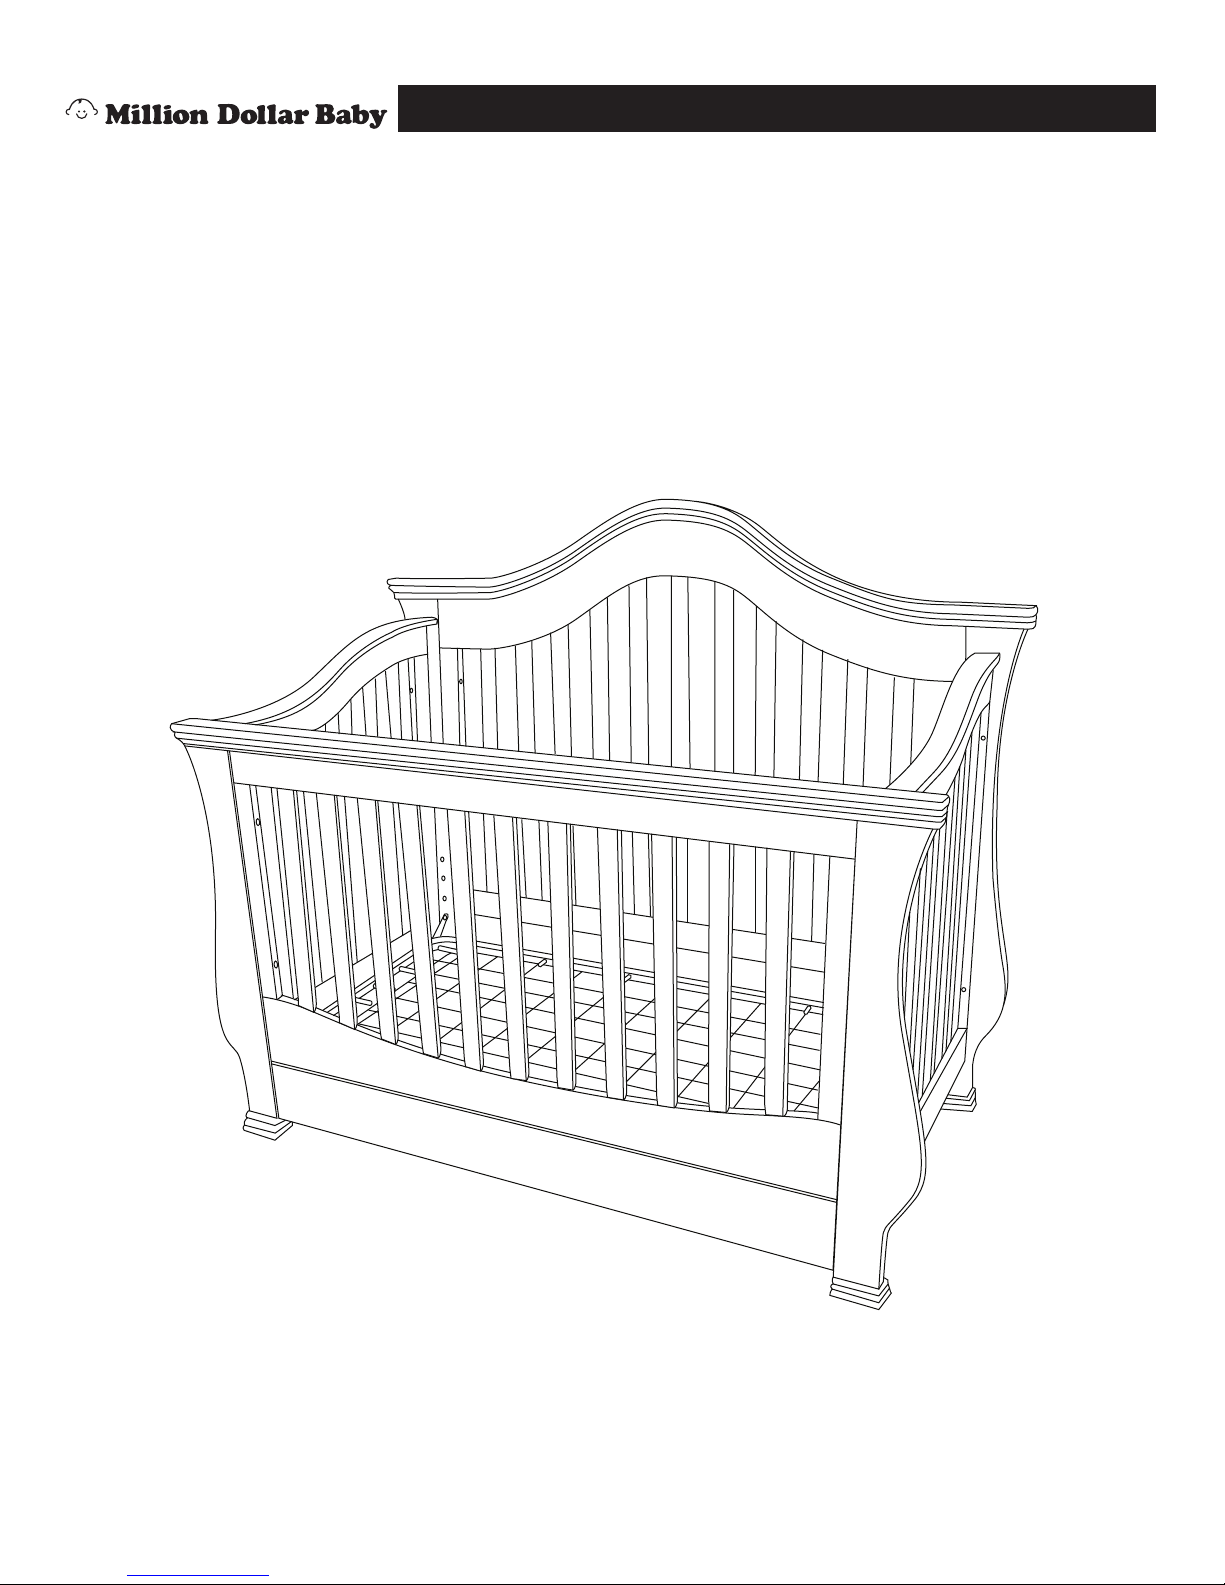
Ashbury 4 in 1 Crib (8201) - Assembly and Operation Manual
Congratulations on purchasing a MDB Family product. This crib will provide many years of service if
you adhere to the following guidelines for assembly, maintenance and operation. This crib is for residential use only. Any institutional use is strictly prohibited.
Please be sure to follow the instructions for proper assembly. Use a Phillips head screwdriver for
assembling the crib in addition to the Allen wrench included in the hardware box. Do not use power
screwdrivers. All of our cribs are made from natural woods. Please understand that natural woods have
color variations which are the result of nature and not defects in workmanship.
DO NOT SUBSTITUTE PARTS. ALL MODELS HAVE THE SAME QUANTITY OF PARTS AND HARDWARE. YOUR MODEL MAY LOOK DIFFERENT FROM THE ONE ILLUSTRATED DUE TO STYLISTIC VARIATIONS.
* The Ashbury 4 in 1 crib can later be converted into a toddler
bed or a full-size bed. To convert to a toddler bed, turn to
page10. To convert to a full-size bed, turn to page 11.
revised 07JUN2011
page 1
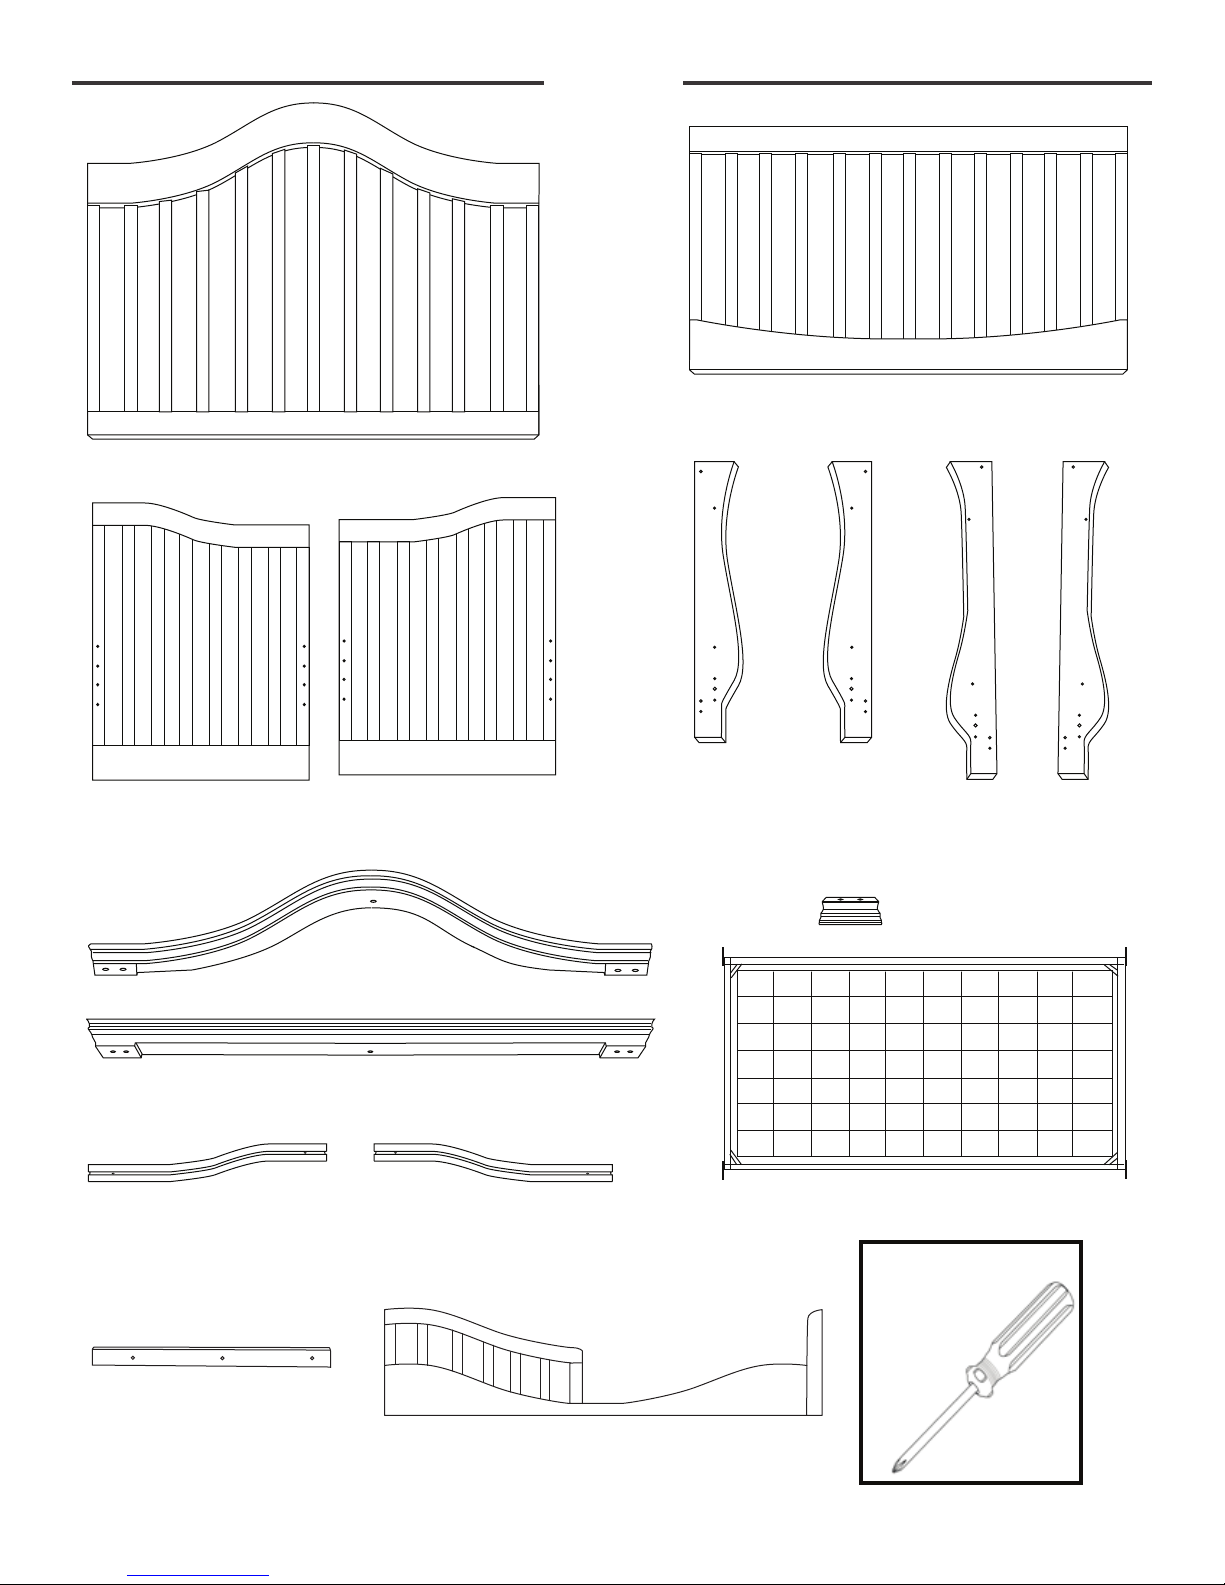
A. Back Panel
PARTS
B. Front Panel
D. Left Side PanelC. Right Side Panel
K. Back Top Bar
L. Front Top Bar
N. Right Side Top BarM. Left Side Top Bar
E. Front
Left leg
F. Front
Right leg
J. Foot (4)
R. Spring Frame
Tools Needed
(not included)
G. Rear
Left leg
H. Rear
Right leg
P. Glide Support Rail (2)
S. Guardrail
Phillips
screwdriver
page 2
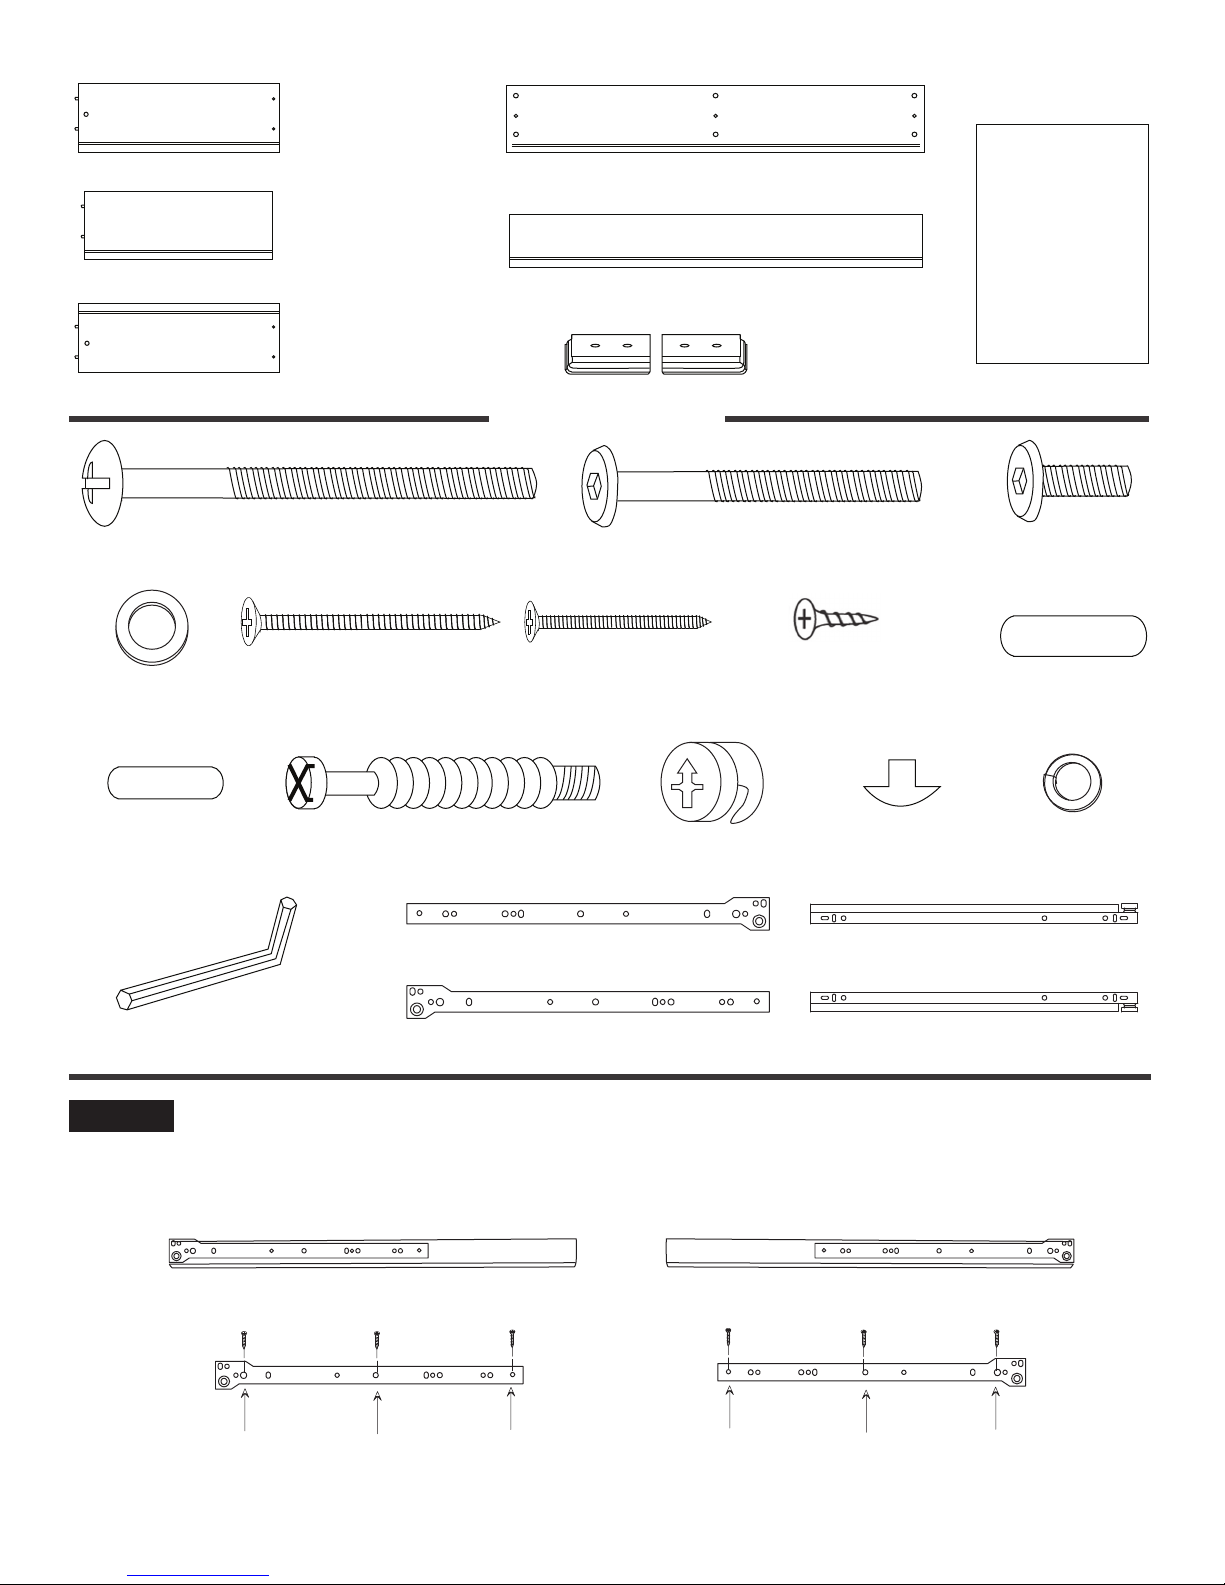
T. Left Drawer
Panel
U. Mid Drawer
Panel
V. Right Drawer
Panel
W. Drawer Front Panel
Y. Drawer
Bottom
Board (2)
X. Drawer Back Panel
Z. Cap (2)
HARDWARE
H1. 3” Round Head Bolt (4) H2. 2 -1/4” Allen Head Bolt (16)
H4. Washer (4)
H9. Small Wood
Dowel (8)
H17. Allen Wrench
STEP 1.
Attach panel glides (H13, H15) to glide support rails (P).
H5. 1-3/4” Wood
Screw (4)
H10. Cam Bolt (7) H11. Cam Lock (7)
H3. 3/4” Allen
Head Bolt (4)
H6. 1-1/4” Wood
Screw (6)
H7. 1/2” Small Wood
Screw for Glides (12)
H12. Plastic
Plug (4)
H8. Wood
Dowel (22)
H18. Lock
Washer (24)
H13. Right Panel Glide H14. Right Drawer Glide
H15. Left Panel Glide H16. Left Drawer Glide
P. Glide Support Rail P. Glide Support Rail
H15. Left Panel Glide
H7H7H7
H13. Right Panel Glide
H7H7H7
page 3
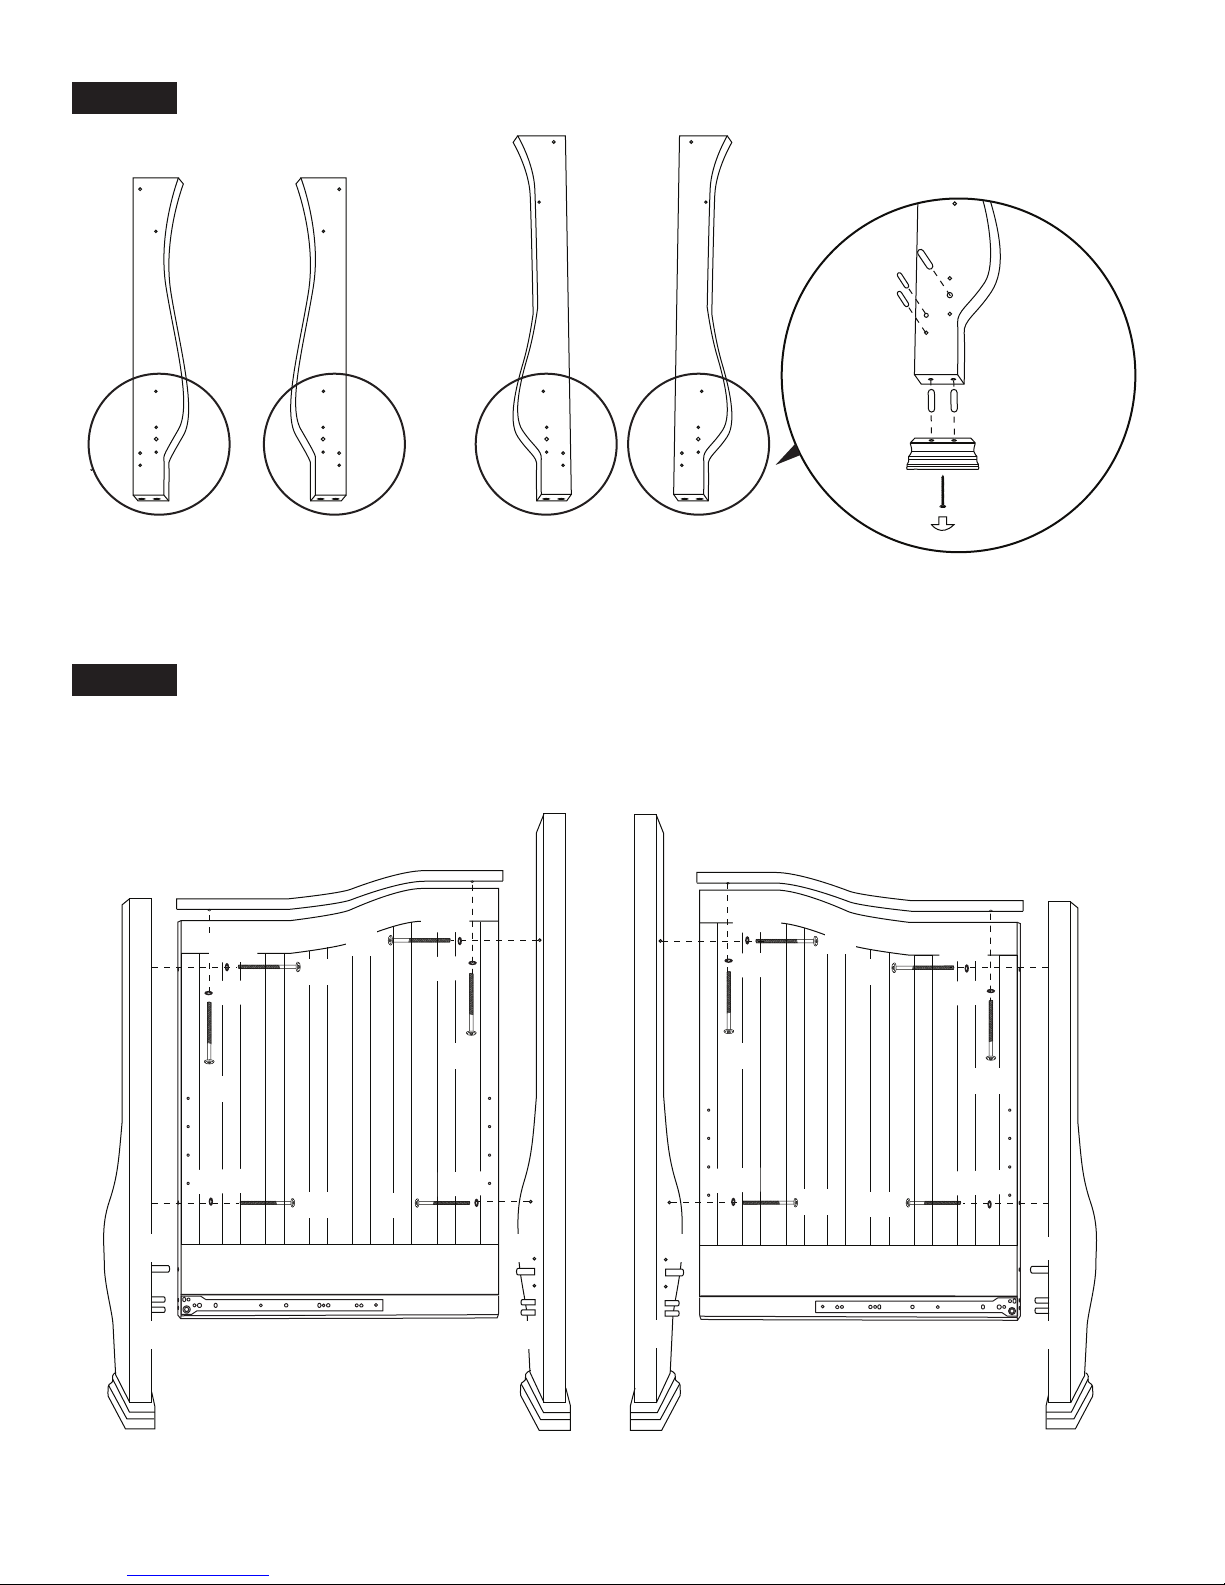
STEP 2.
E. Front
Left Leg
Set up posts.
F. Front
Right Leg
G. Rear
Left Leg
H8
H9
H8
J. Foot
H5
H12
H. Rear
Right Leg
STEP 3.
E. Front
Left Leg
Attach Side Top Bar, posts and glide support rails to sides panels.
G. Rear
Left Leg
H. Rear
Right Leg
M. Left Side Top Bar N. Right Side Top Bar
H18
H18
H1
H18
H2
H2
H2
H18
H2
H18
H18
H1
H18
H2
H2
H18
H2
H18
H1
H18
H2
H8H8 H8
F. Front
Right Leg
H18
H1
H18
H8
P. Glide Support Rail P. Glide Support Rail
D. Left Side Panel C. Right Side Panel
DO NOT OVERTIGHTEN.
H9H9H9 H9
page 4
 Loading...