

Miller OBT-600, OBT-1200 Owner's Manual

OM-1596 192 709B
April 2003
Process
Description
Torches For Automatic Welding Systems Using The Submerged Arc Welding (SAW) Process
Torches for
Submerged Arc Welding
(SAW)
Automatic Welding
Automated Applications
Visit our website at
www.MillerWelds.com
OBT-600 And OBT- 1200
From Miller to You
Thank you and congratulations on choosing Miller. Now you can get
the job done and get it done right. We know you don’t have time to do
it any other way.
That’s why when Niels Miller first started building arc welders in 1929,
he made sure his products offered long-lasting value and superior
quality. Like you, his customers couldn’t afford anything less. Miller
products had to be more than the best they could be. They had to be the
best you could buy.
Today, the people that build and sell Miller products continue the
tradition. They’re just as committed to providing equipment and service
that meets the high standards of quality and value established in 1929.
This Owner’s Manual is designed to help you get the most out of your
Miller products. Please take time to read the Safety precautions. They
will help you protect yourself against potential hazards on the worksite.
We’ve made installation and operation quick
and easy. With Miller you can count on years
of reliable service with proper maintenance.
And if for some reason the unit needs repair,
there’s a Troubleshooting section that will
help you figure out what the problem is. The
Miller is the first welding
equipment manufacturer in
the U.S.A. to be registered to
the ISO 9001:2000 Quality
System Standard.
parts list will then help you to decide the
exact part you may need to fix the problem.
Warranty and service information for your
particular model are also provided.
Working as hard as you do
– every power source from
Miller is backed by the most
hassle-free warranty in the
business.
Miller Electric manufactures a full line
of welders and welding related equipment.
For information on other quality Miller
products, contact your local Miller distributor to receive the latest full
line catalog orindividual catalog sheets. To locate your nearest
distributor or service agency call 1-800-4-A-Miller, or visit us at
www.MillerWelds.com on the web.
Miller offers a Technical
Manual which provides
more detailed service and
parts information for your
unit. T o obtain a Technical
Manual, contact your local
distributor. Your distributor
can also supply you with
Welding Process Manuals
such as SMAW, GTAW,
GMAW, and GMA W-P .

TABLE OF CONTENTS
SECTION 1 – SAFETY PRECAUTIONS - READ BEFORE USING 1. . . . . . . . . . . . . . . . . . . . . . . . . . . .
1-1. Symbol Usage 1. . . . . . . . . . . . . . . . . . . . . . . . . . . . . . . . . . . . . . . . . . . . . . . . . . . . . . . . . . . . . . . .
1-2. Arc Welding Hazards 1. . . . . . . . . . . . . . . . . . . . . . . . . . . . . . . . . . . . . . . . . . . . . . . . . . . . . . . . . .
1-5. EMF Information 2. . . . . . . . . . . . . . . . . . . . . . . . . . . . . . . . . . . . . . . . . . . . . . . . . . . . . . . . . . . . . .
SECTION 2 – Specifications 3. . . . . . . . . . . . . . . . . . . . . . . . . . . . . . . . . . . . . . . . . . . . . . . . . . . . . . . . . . . .
2-1. Welding Torches 3. . . . . . . . . . . . . . . . . . . . . . . . . . . . . . . . . . . . . . . . . . . . . . . . . . . . . . . . . . . . . .
2-2. Overall Dimensions 3. . . . . . . . . . . . . . . . . . . . . . . . . . . . . . . . . . . . . . . . . . . . . . . . . . . . . . . . . . .
SECTION 3– INSTALLATION 4. . . . . . . . . . . . . . . . . . . . . . . . . . . . . . . . . . . . . . . . . . . . . . . . . . . . . . . . . . .
3-1. Installing Torch Into Drive Assembly (OBT-1200 Shown) 4. . . . . . . . . . . . . . . . . . . . . . . . . . . .
3-2. Breakaway Torch Protection (OBT-1200 Models Only) 4. . . . . . . . . . . . . . . . . . . . . . . . . . . . .
3-3. Adding Body Extension (1200 Models Only) 5. . . . . . . . . . . . . . . . . . . . . . . . . . . . . . . . . . . . . .
SECTION 4 – OPERATION 6. . . . . . . . . . . . . . . . . . . . . . . . . . . . . . . . . . . . . . . . . . . . . . . . . . . . . . . . . . . . .
4-1. Safety Equipment 6. . . . . . . . . . . . . . . . . . . . . . . . . . . . . . . . . . . . . . . . . . . . . . . . . . . . . . . . . . . . .
SECTION 5 – MAINTENANCE AND TROUBLESHOOTING 6. . . . . . . . . . . . . . . . . . . . . . . . . . . . . . . . .
5-1. Maintenance Schedule 6. . . . . . . . . . . . . . . . . . . . . . . . . . . . . . . . . . . . . . . . . . . . . . . . . . . . . . . . .
5-2. Troubleshooting Table 6. . . . . . . . . . . . . . . . . . . . . . . . . . . . . . . . . . . . . . . . . . . . . . . . . . . . . . . . .
SECTION 6 – PARTS LIST 7. . . . . . . . . . . . . . . . . . . . . . . . . . . . . . . . . . . . . . . . . . . . . . . . . . . . . . . . . . . . . .

SECTION 1 – SAFETY PRECAUTIONS – READ BEFORE USING
1-1. Symbol Usage
OM-1596 -9/98, safety_saw torch 9/98
Means Warning! Watch Out! There are possible hazards
with this procedure! The possible hazards are shown in
the adjoining symbols.
Y Marks a special safety message.
. Means “Note”; not safety related.
1-2. Arc Welding Hazards
Y The symbols shown below are used throughout this manual to
call attention to and identify possible hazards. When you see
the symbol, watch out, and follow the related instructions to
avoid the hazard. The safety information given below is only
a summary of the more complete safety information found in
the Safety Standards listed in the wire feeder and welding
power source Owner’s Manuals. Read and follow all Safety
Standards.
Y Only qualified persons should install, operate, maintain, and
repair this unit.
Y During operation, keep everybody, especially children, away.
ELECTRIC SHOCK can kill.
D Always wear dry insulating gloves.
D Insulate yourself from work and ground.
D Do not touch live electrode or electrical parts.
D Repair or replace worn, damaged, or cracked
torch or cable insulation.
D Turn off welding power source before changing contact tip or
torch parts.
D Keep all connections tight and secure.
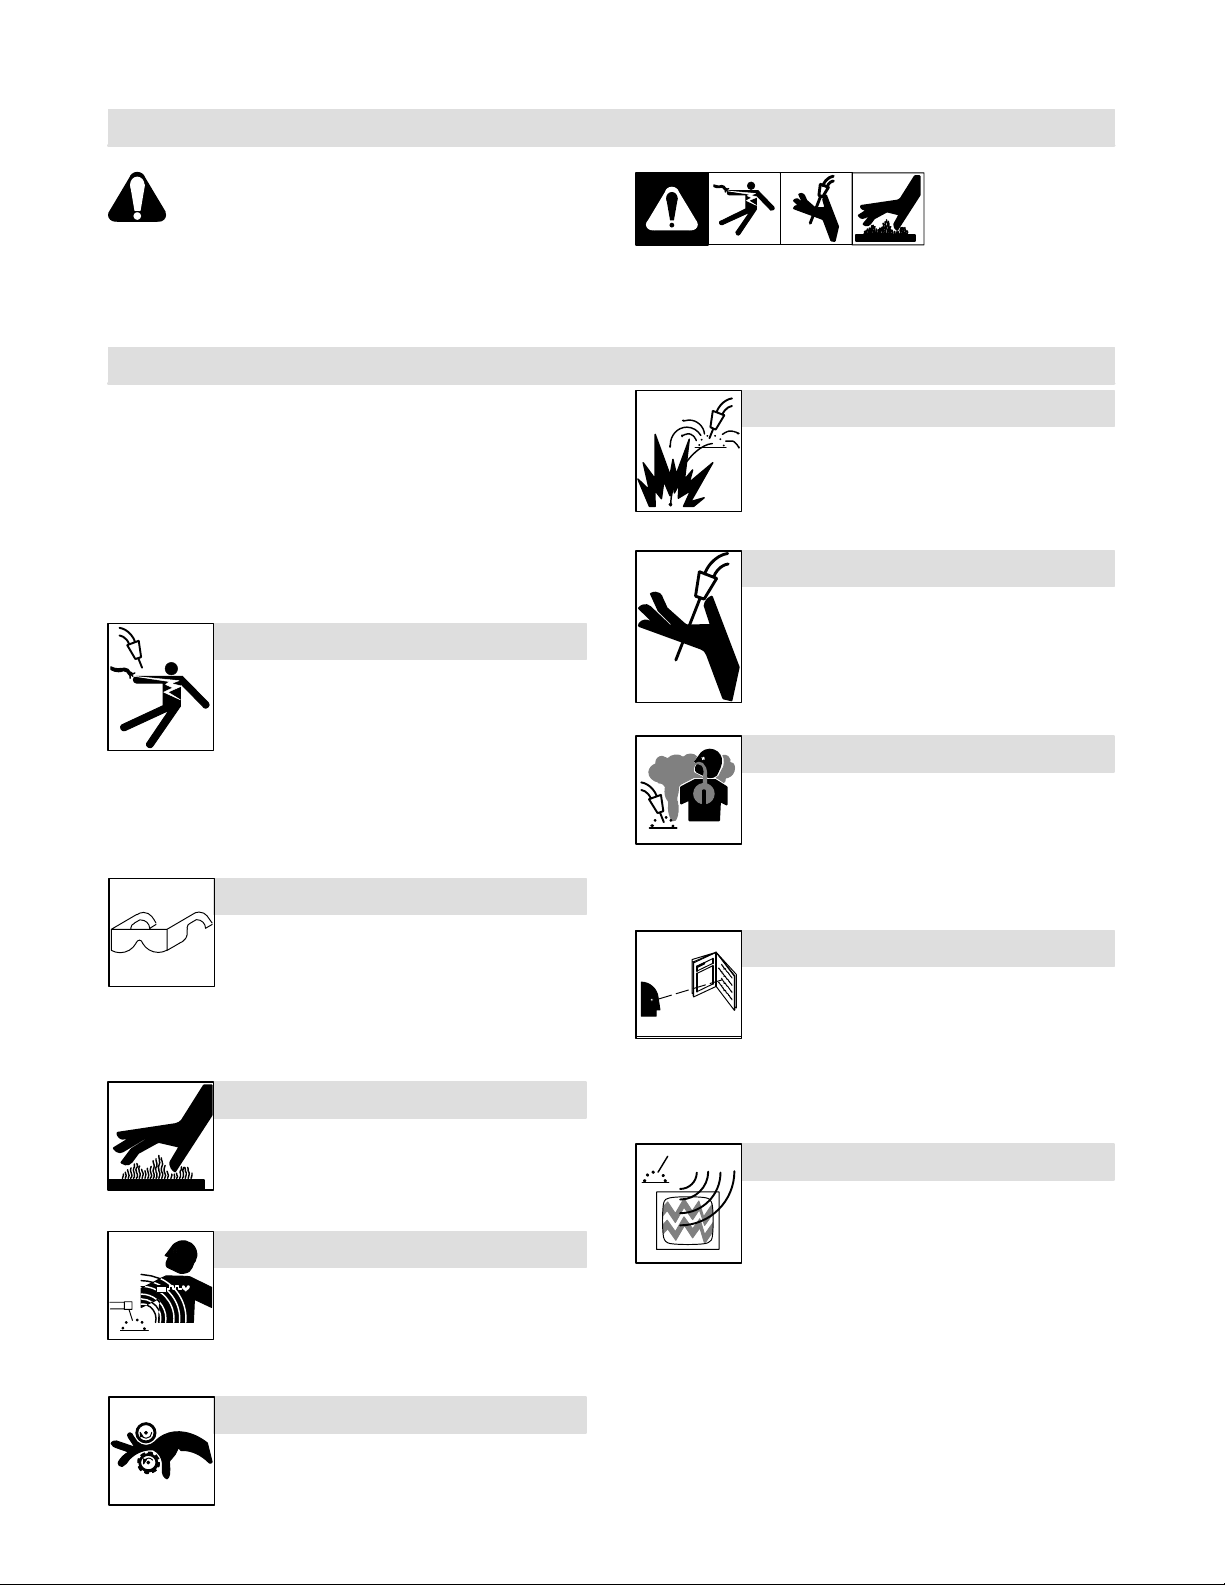
FLYING PARTICLES can injure eyes.
This group of symbols means Warning! Watch Out! possible
ELECTRIC SHOCK, WELDING WIRE, and HOT PARTS hazards.
Consult symbols and related instructions below for necessary actions
to avoid the hazards.
WELDING can cause fire or explosion.
D Do not weld near flammable material.
D Do not weld on closed containers.
D Watch for fire; keep extinguisher nearby.
WELDING WIRE can cause injury.
D Keep hands and body away from torch tip when
welding system is energized.
D Do not put hands or other body parts near the
nozzle when threading welding wire.
FUMES AND GASES can b e h a z a r d o u s .
D Keep your head out of the fumes.
D Ventilate area, or use breathing device.
D Read Material Safety Data Sheets (MSDSs)
and manufacturer’s instructions for material
used.
D Flux granules, slag, welding, chipping, wire
brushing, and grinding cause sparks and flying
flux and metal. As welds cool, they can throw
off slag.
D Wear approved safety glasses with side
shields.
D Wear body protection and cover exposed skin.
HOT PARTS can burn skin.
D Allow gun to cool before touching.
D Do not touch hot metal.
D Protect hot metal from contact by others.
MAGNETIC FIELDS can affect pacemakers.
D Pacemaker wearers keep away.
D Wearers should consult their doctor before
going near arc welding, gouging, or spot
welding operations.
MOVING PARTS can cause injury.
D Keep away from moving parts.
D Keep away from pinch points such as drive
rolls.
READ INSTRUCTIONS.
D Use only genuine MILLER replacement parts.
D Read and follow the safety information in the
wire drive system and welding power source
Owner’s Manuals for more complete welding
safety information.
ARC WELDING can cause interference.
D Electromagnetic energy can interfere with
sensitive electronic equipment such as
computers and computer-driven equipment
such as robots.
D Be sure all equipment in the welding area is
electromagnetically compatible.
D To reduce possible interference, keep weld cables as short as
possible, close together, and down low, such as on the floor.
D Locate welding operation 100 meters from any sensitive elec-
tronic equipment.
D Be sure this torch and welding system are installed and
grounded according to their manuals.
D If interference still occurs, the user must take extra measures
such as moving the welding machine, using shielded cables,
using line filters, or shielding the work area.
OM-1596 Page1
 Loading...