

Miles Industries GV60 User Manual

GV60 Programmable Remote Control
Your replace’s remote control helps you get the comfort, convenience and aesthetics you want from your appliance. The “remote” controls your replace in different ways.
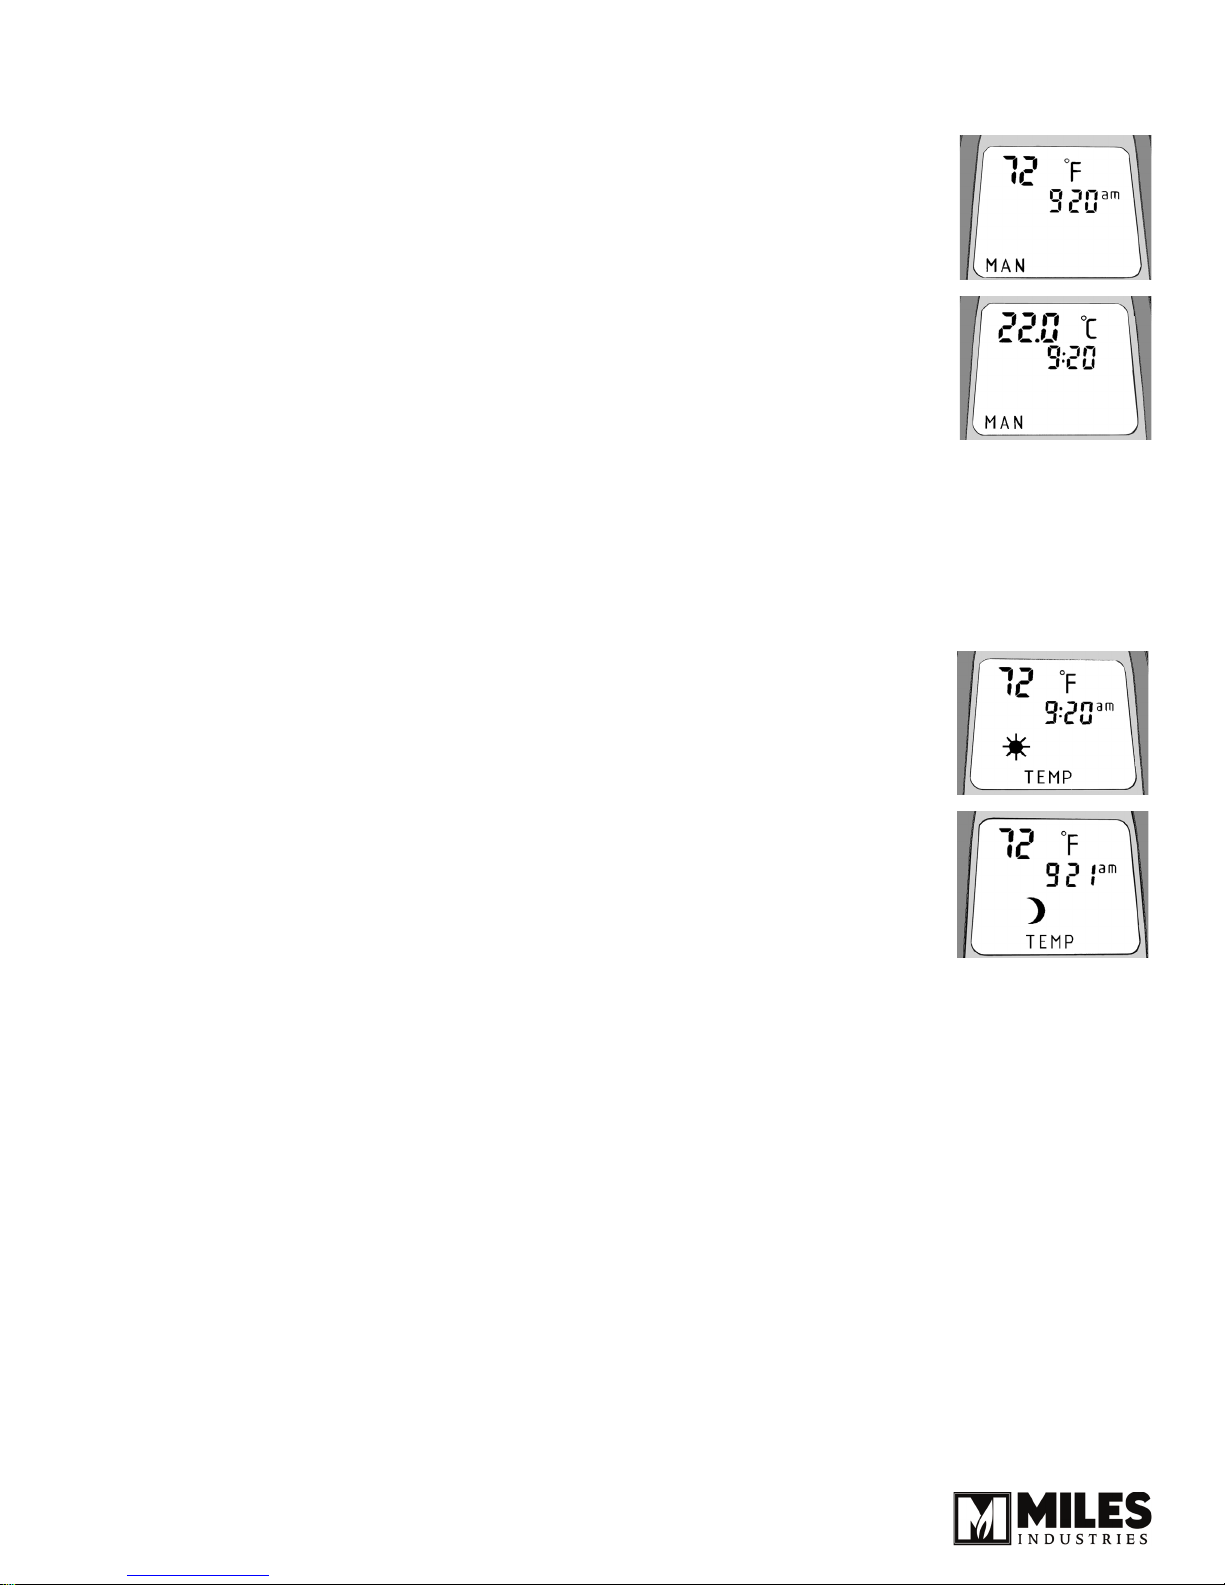
Note: If you would just like to turn your replace to the desired temperature, just press the SET button to ☼temp
or ☽temp and press and hold the SET button until the display ashes; press the ▲(up) or ▼(down) buttons to
the desired temperature.
Operation
Modes
man MAN MOD—Manual Mode. The flame height can be
adjusted in the following manners:
Press the ▲(up) button to turn on the main burner.
1.
Press the ▲(up) button to increase the flame height.
2.
Press the ▼(down) button to decrease the flame height
3.
or to go to pilot Standby position.
For fine adjustments, tap the ▲ and ▼ buttons.
NOT: While pressing either button, a symbol indicating
transmission appears on the upper right hand corner of the
display. The receiver confirms transmission with an acoustic
signal
STANDBY MODE—Ignited pilot only.
☼temp TMP MOD—Daytime Temperature Mode
(appliance must be in standby mode; pilot ignited): The
room temperature is measured and compared to the set
temperature. The flame height is then automatically adjusted
to achieve the Daytime set temperature.
☽temp TMP MOD—Nighttime Setback Temperature Mode (appliance must be in Standby
mode, pilot ignited): The room temperature is measured and compared to the Nighttime
Setback temperature. The ame height is then automatically adjusted to achieve the
Nighttime Setback temperature.
timer TIMR MOD—(appliance must be in Standby mode, pilot ignited): The Timer setting
allows you to set two (2) burner ON times and two (2) burner OFF times for every 24-hour
period.
Changing the Mode of Operation
Briefly pressing the SET button changes the mode of operation in the following order:
man
NOT: MAN mode can also be reached by pressing either the ▲or the ▼buttons.
In TEMP mode,
☼ indicates the daytime temperature setting.
☽ indicates the nighttime temperature setting.
In TIMER mode,
☼temp
→
☼ indicates the start time setting.
☽ indicates the stop time setting.
→
☽temp
→
timer
and back to
→
1
man.
Time
To set the time, follow the steps below.
The display indicates °C/24-hour or °F/12-hour clock. To change
1.
from one to the other, press and hold both the OFF and ▼buttons
until the display changes.
Hold down both the ▲and the ▼buttons until the display ashes. Let
2.
go.
Quickly press the ▲to set the hour and the ▼to set the minutes.
3.
Note: You must start setting the time while the display is ashing. If it
stops ashing, go back to 1.
Press the OFF button to return to manual mode or simply wait and it
4.
will automatically return to manual mode.
Temperature
Use this setting when you come in and want to enjoy a set temperature.
Here’s what you do:
Select either the ☼temp MODE or the ☽temp MODE by briefly
1.
pressing the SET button.
Hold the SET button until the TEMP display flashes.
2.
Set the desired temperature with the ▲or the ▼buttons. Note:
3.
4.5°C/40°F is the minimum temperature setting.
Press the OFF button or simply wait and the display will go to the
4.
temperature control mode. Note: If you would like the Nighttime
Setback temperature control to turn off, decrease the ☽temp MODE
setting until [---] appears on the display.
Your replace will reach the set temperatures and the remote will
check the temperature every ve minutes, adjusting the amount of
fuel needed to give you a steady, even heat.
The display must remain in TEMP mode on the remote.
5.
Note: Be patient with settings as it can take a few seconds to program.
In Standby mode, press the ▲ button to increase the flame height.
Flame
Height
1.
Press the▼ button to decrease the flame height or to set the
2.
appliance at the pilot flame.
For fine adjustments, tap the ▲/▼ buttons.
2
 Loading...