

Milennia PRV21 Troubleshooting Manual
Milennia PRV21 Troubleshooting Guide
Prospec Electronics of South Carolina, Inc.
1.0. Wiring
2.0. Compatible Accessories
3.0. List of common issues
3.1. No power
3.2. Intermittent Power
3.3. Buttons/controls not responding
3.4. Wireless Remote not Working
3.5. USB issues
3.6. Poor reception or no reception
3.7. No audio, speaker audio is unevenly distributed or some speakers not working
3.8. Low audio
3.9. Fluctuating audio
3.10. Moisture in display
4.0. Bluetooth Connections
4.1. Common Devices and Connections
4.2. Playing Bluetooth Music
4.3. Common Bluetooth Issues
5.0. Reset Procedure
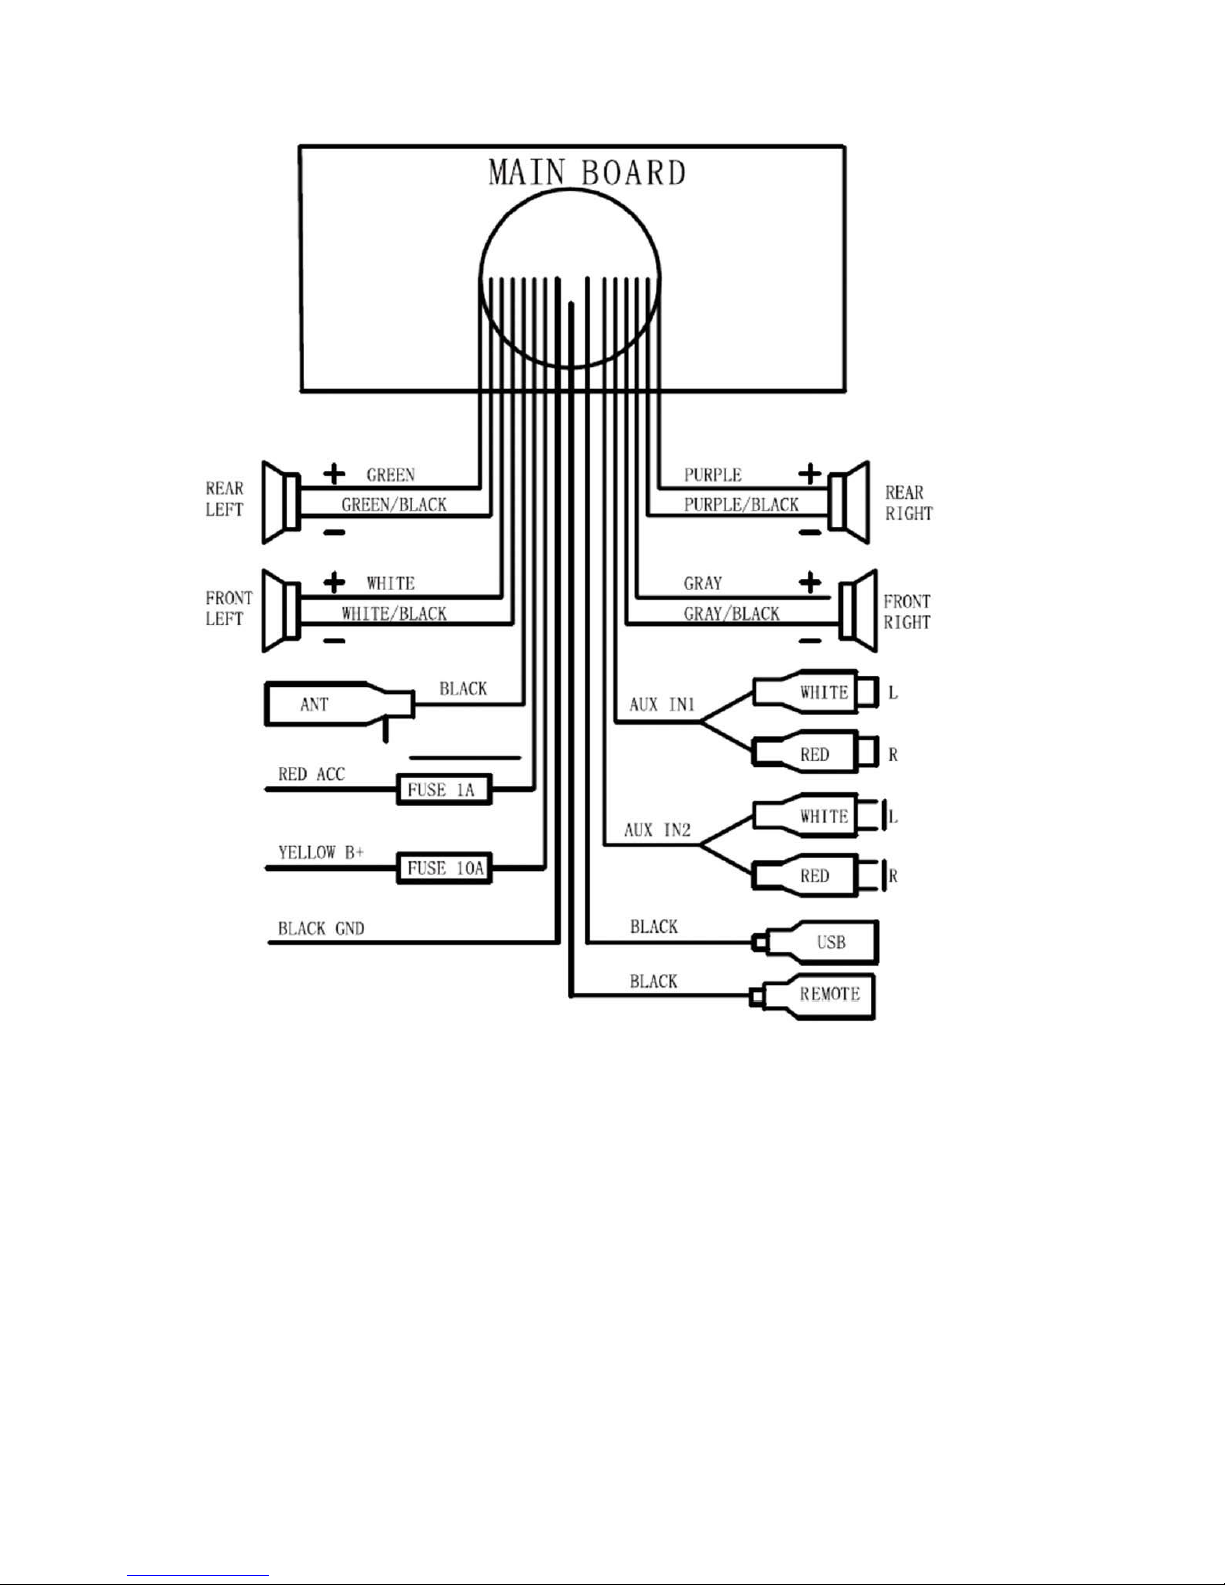
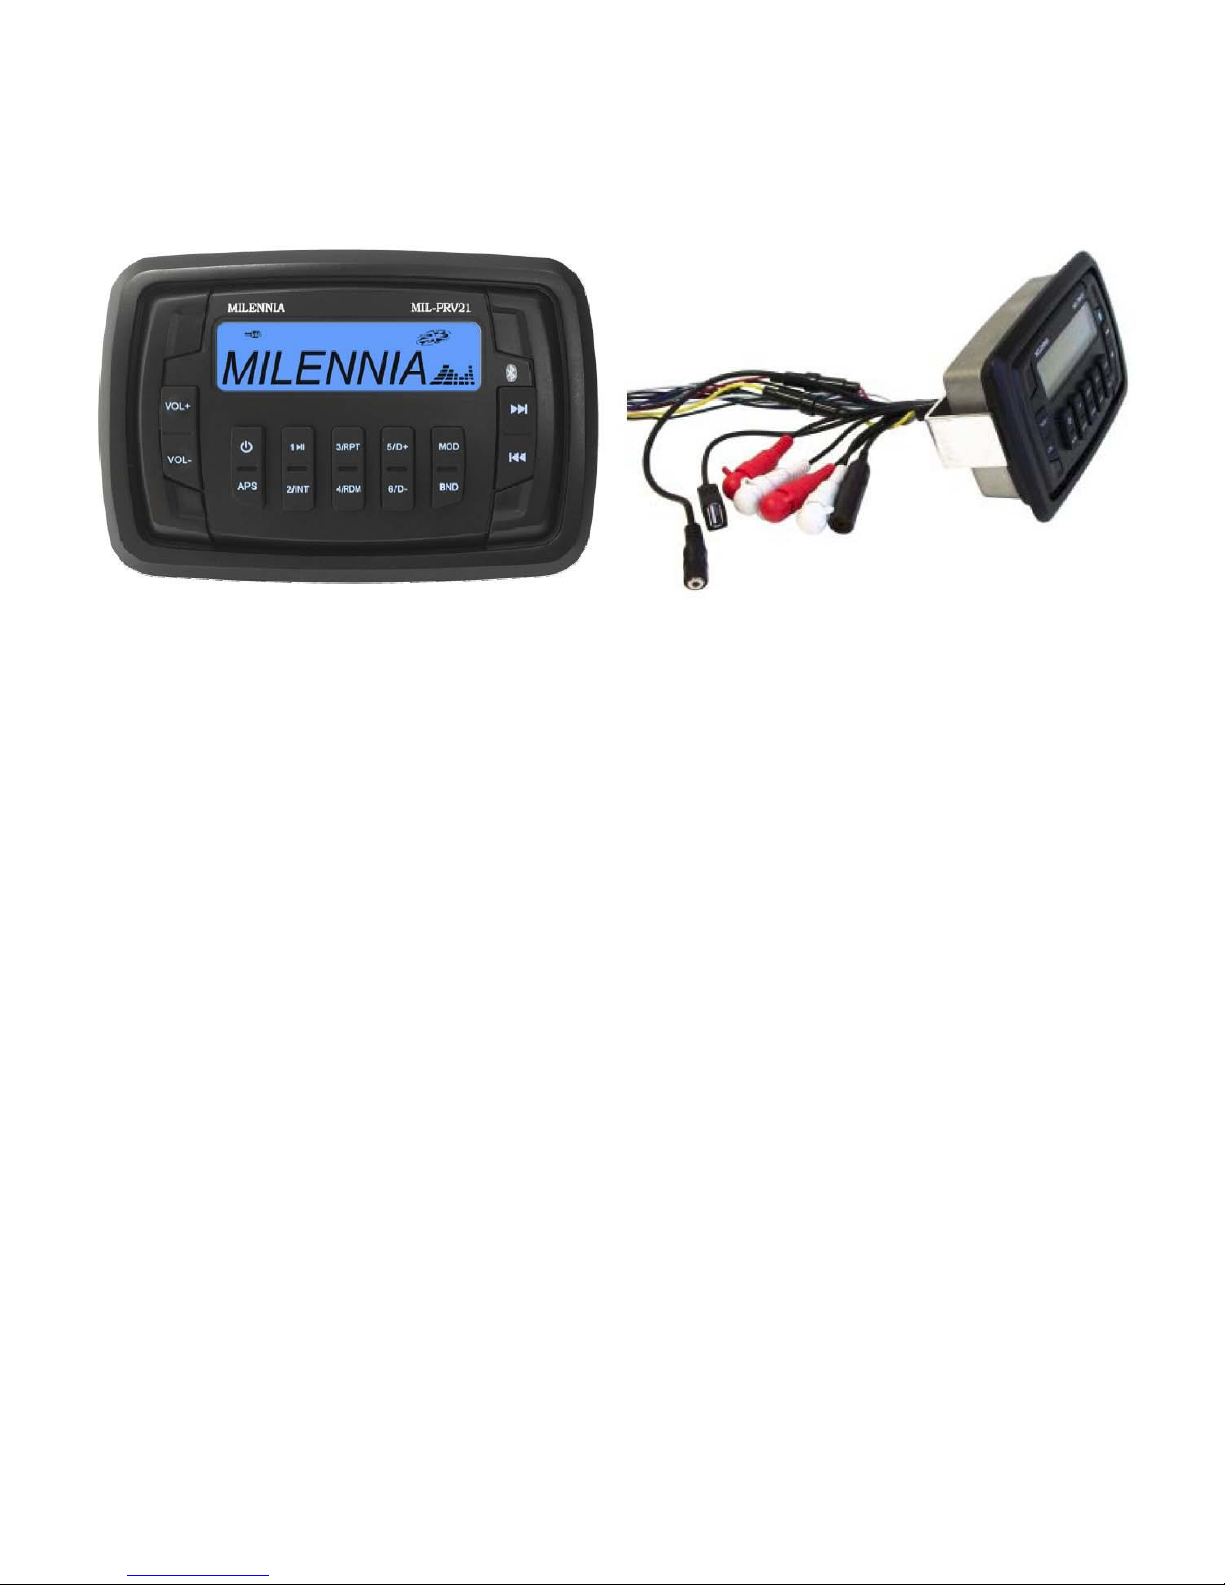
1.0. Wiring Follow the wiring diagram below.
• The red ACC wire is designed as the trigger to turn the radio on. It recommended that this wire is connected to an
on/off switch for purposes of lowering the current draw on the battery while the radio is not in use.
• Both red ACC and yellow battery wires must be connected to 12V+ for the radio to turn on.
• Ground (black) must be connected to a good 12V- source. Best source is directly to the battery.
• Speaker wires must be installed to the individual speaker’s terminals as labeled, positive and negative, respectively.
Do NOT combine any speaker wires as this will cause permanent damage to the radio’s output IC. Tape off any unused
speaker wires individually to prevent accidental shorting which can also harm the output IC.
• Antenna must be installed.
• USB extension is supplied with radio.
• AUX Input 1 and AUX Input 2 – two separate inputs for two separate external devices. Connectors shown in
diagram are female RCA connectors.
• Remote lead – female 3.5mm jack for wired remote or wireless remote adapter.
2.0. Compatible Accessories See our website for the following add on accessories:
• SEAMINI2 – AUX input extension with protective outlet housing
• SEAUSBMINI – AUX input and USB input extension with protective housing
• MIL-IDOCK – multimedia device protective storage drawer
• MIL-RF9-21 – RF remote with compatible adapter (except PO H06804912 which does not have the connection)
• MIL-plate1
• Any Antenna
• MIL-MA-100 (high pass wiring only)
3.0. List of common issues
3.1 No Power
• Check each button on the control pad for sticking. Under normal conditions, a faint click is heard upon pressing
each button. If any button does not click, initiate a warranty claim.
• Ensure red and yellow leads are connected to a good 12V+ source. Both must have power for the radio to turn on.
• Ensure black ground wire is connected to a good reliable ground source.
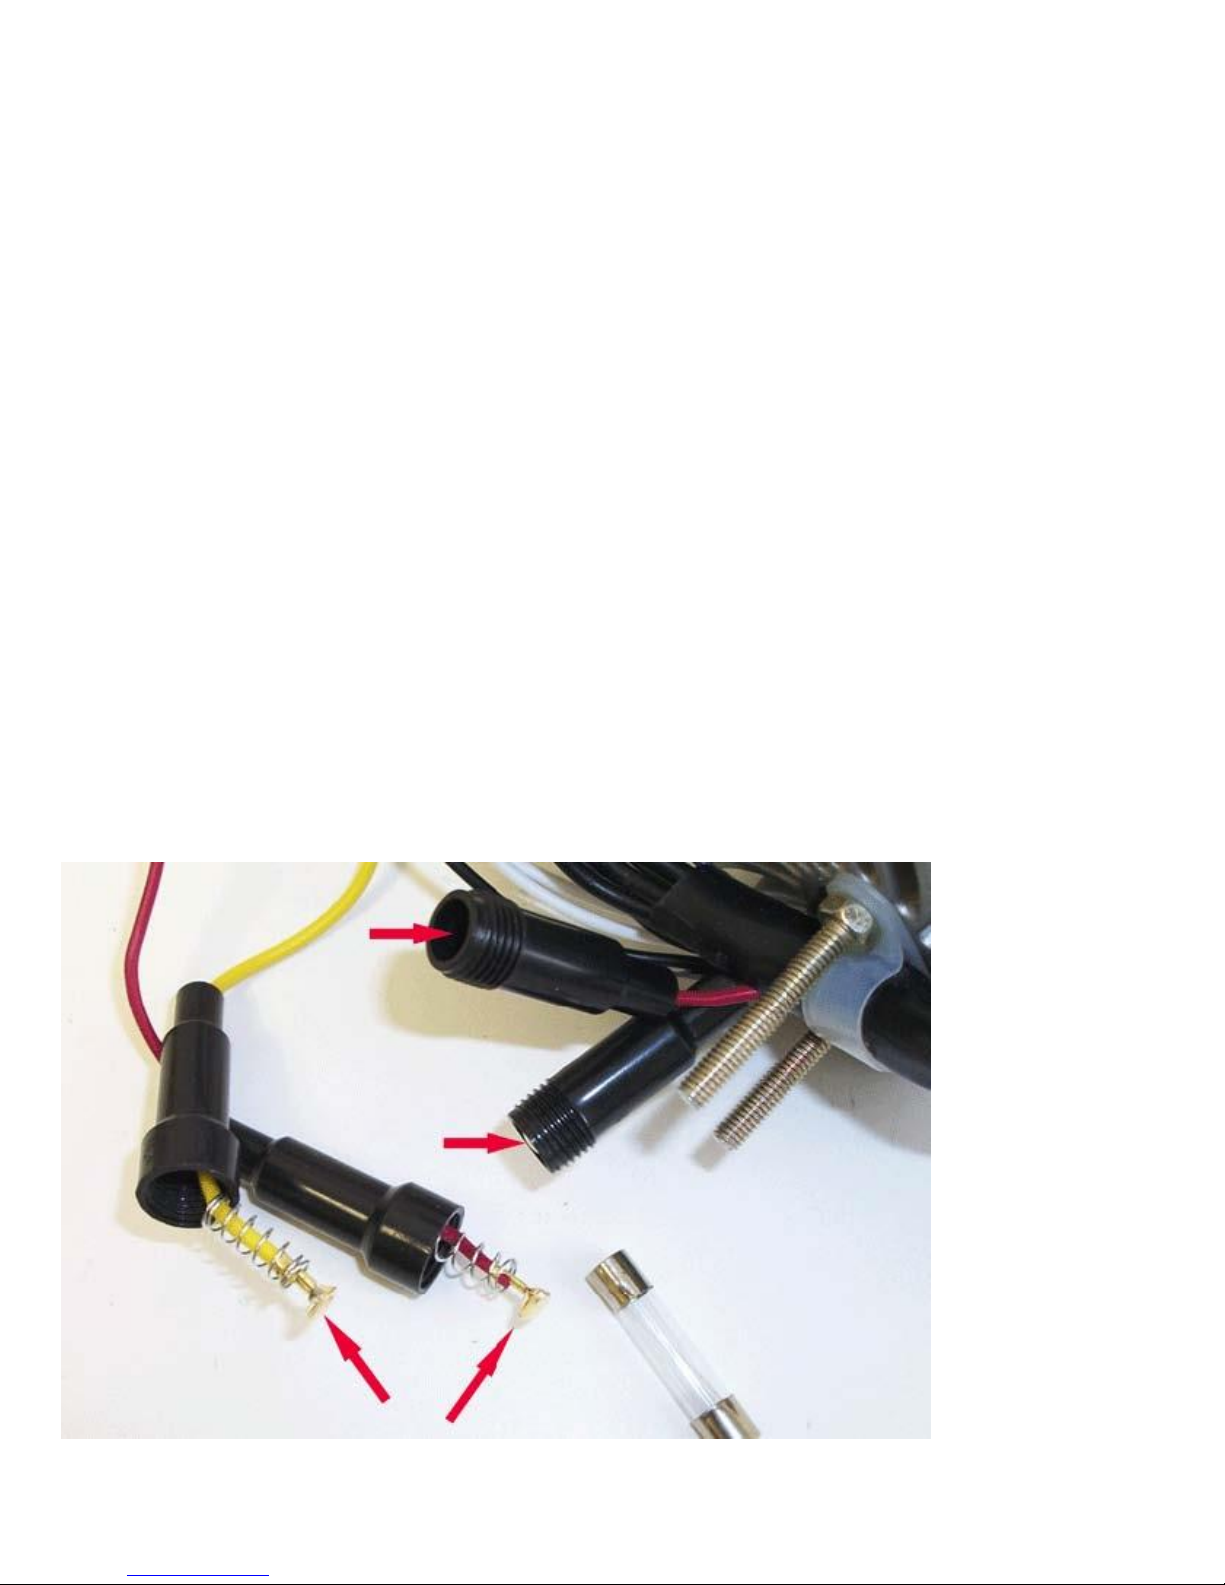
• Open the fuse holder and check the fuses. Note, while in most situations, a bad fuse can be spotted visually, this
may not always be the case. The best method would be to use a multi-meter or a test light.
• While the fuse holders are open, inspect the fuse holder terminals to ensure they have spring tension and they are
not stuck down inside the fuse holder(s). Also inspect the fuses and terminals for rust and corrosion. See below picture
• Ensure the battery/power supply is putting out at least 12V while under load. The radio requires at least 11V to
operate normally.
• Check all connections for corrosion, looseness, or other condition that can produce a bad ground. Corrosion or
terminal looseness is the leading cause for most grounding issues and can cause excessive heat resulting in melting wires or
terminals.
• If possible, connect the radio power directly to a 12V system, bypassing any toggle switches. If radio
works connected directly to power, the problem might be with the toggle switch.
• If the above doesn’t help, initiate a warranty claim if you are within warranty.
 Loading...