

MileLogik TL1000 User Manual

TL1000
User’s Manual
GPS Distance and Route Recorder
MileLogik

Copyright © 2013 Cougar Innovations Ltd. TL1000MAN1.1
Contents
Introduction............................................................................................................... 3
Getting Started........................................................................................................... 3
Box Contents .......................................................................................................... 3
Installing the MileLogik Logger in your Car ............................................................... 4
Installing MileLogik Manager Software...................................................................... 5
Logging Trips............................................................................................................. 6
Before driving away ................................................................................................ 6
Driving ................................................................................................................... 6
Recording Points of Interest .................................................................................... 6
Visual and Audible indicators ................................................................................... 6
Connecting and disconnecting the logger.................................................................. 6
TripLogik Manager...................................................................................................... 7
First Look ............................................................................................................... 7
Managing your Logger............................................................................................. 7
Working with Places................................................................................................ 8
Working with Trips.................................................................................................. 8
Categorising Places and Trips .................................................................................. 9
Saving your Data .................................................................................................... 9
Working with Reports.............................................................................................10
Advanced Features.................................................................................................11
Reference..............................................................................................................12
Specification .............................................................................................................14
Acknowledged Trademarks ........................................................................................14
Warranty ..................................................................................................................15
Compliance Statements .............................................................................................16

Copyright © 2013 Cougar Innovation Ltd. Page 3
Introduction
Thank you for purchasing the MileLogik
Distance and Route Recorder, we hope
you get many years of use from this
innovative product.
Once you have installed the MileLogik
Distance and Route Recorder while it is
connected it will log every journey that
your vehicle makes whether it is simply a
short trip to local shops, visits to your
customers or a weeks fishing and
hunting vacation.
Your Route Recorder (logger) has
sufficient capacity to store information on
journeys equivalent to driving 4
hours/day for the whole year before it
becomes full.
Please take the time to read this manual
to get the most out of your new
purchase.
Please Read first
The Route Recorder is not dust-proofed,
drip-proofed or waterproofed.
Do not expose to temperatures above
65°C (149°F).
It is recommended you only use with the
power adapters supplied. The Route
Recorder requires 5V dc at 80mA max,
50mA average.
The Route Recorder incorporates a
sensitive radio receiver. Do not operate
close to strong radio waves or radiation.
When disconnecting the USB lead pull it
by the plug not the cable.
Disposal of Old Electronic Equipment
Do not dispose of this item in
household waste. Recycle or
dispose of separately.
Getting Started
Box Contents
Ensure that you have the following items
supplied with your MileLogik Logger.
MileLogik Route Recorder
USB to Mini-USB connecting Cable
ODBii Power Adapter and Cable
Cigarette Lighter Power Adapter
CD-ROM containing:
TripLogik Manager Application
User Manual
Quick Start Guide
Sticky pad
1 alcohol wipe

Copyright © 2013 Cougar Innovation Ltd. Page 4
Installing the MileLogik Logger
in your Car
Positioning
Place the MileLogik Logger on the
dashboard in as horizontal a position as
possible. Generally the best places are
centrally or to the left or right hand end
of the dashboard. Try to position it so
that the top of the unit has a clear line of
sight vertically through the windscreen.
On some vehicles where the windscreen
has only a slight rake you may need to
place the unit up close to the windscreen
to get the best line of sight to the sky.
Use the self adhesive hook and loop pads
provided to retain the unit in place. To
ensure the optimum adhesion first clean
the surface of the dashboard with the
alcohol wipe provided.
Connecting the Power
There are 2 options for powering the
Logger.
Preferred Method
The preferred method for powering the
unit is from your vehicle‟s on board
diagnostic connector (ODBii) using the
power adapter cable provided. The
ODBii connector is normally situated
beneath the dash on the driver‟s side of
the car.
Note – ODBii connectors are standard
on all cars produced after 1996.
In most vehicles the ODBii connector
remains powered even when the
vehicle‟signition is turned off which
means your logger will be ready to log
as soon as you get in your vehicle.
It also leaves your cigarette lighter
socket free for other uses.
Locate the connector (there may be a
small cover over it) and connect in the
power adapter cable supplied. Plug the
other end of the cable into the MileLogik
Mileage Logger.
Important!
Coil up any excess cable and secure it in
a position where it will not be a hazard
when driving.
Alternative Method
If your vehicle is not equipped with an
ODBii diagnostic port or you prefer not to
use the diagnostic port a cigarette lighter
adapter is provided.
Plug the adapter into a suitable cigarette
lighter socket and use the USB to MiniUSB cable to connect to the MileLogik
Logger.
Power to the Logger might not be
available until you switch the vehicle‟s
ignition on.
Note – While in many vehicles the
ODBii connector remains powered at
all times some remove power from
the connector when the car is locked.
On most vehicles the cigarette lighter
is only powered on when the vehicle‟s
ignition is turned on.
In either of the above situations if
power has been removed from the
logger for more than a couple of
hours the logger will perform a cold
start which can take 36 Seconds or
longer.
Copyright © 2013 Cougar Innovation Ltd. Page 5
Checking Operation
On receiving power the elliptical button
on the Logger will start flashing
indicating the unit is searching for
satellites.
If the vehicle is positioned in an open
area, after about 50 Seconds the
indicator should cease flashing and
remain permanently on and the logger
will issue a short bleep. This indicates
the unit is receiving sufficient position
data from the satellites to produce a fix.
After 1 minute, if there has been no
movement the unit will revert to standby
and the indicator will extinguish.
Following any movement the logger will
awake from standby and the indicator
illuminate.
Note – If you require the data stored
in your logger to be secure it is
recommended that you change the
password prior to use.
You can change the password using
the MileLogik Manager software.
Be aware that any changes to the
password will cause all previous
collected data to be deleted.
Installing MileLogik Manager
Software
Minimum PC Requirements
Please note the minimum requirements
for running the software are:
PC running Microsoft™ Windows XP
(or above).
1 USB Port, mouse and keyboard
and CD Drive.
25Mbyte free disk space
An Internet connection
Running Setup
Place the CD enclosed in your PC‟s CD
drive, Setup will run automatically. Read
the terms and conditions and accept
them then follow the instructions on the
screen.
Once set up has completed you can start
MileLogik Manager at any time by clicking
on the desktop Icon or from the
Programs menu.
And finally…
If you are likely to use the MileLogik
Manager with more than one Logger it is
advisable to add an ID mark to each
Logger.
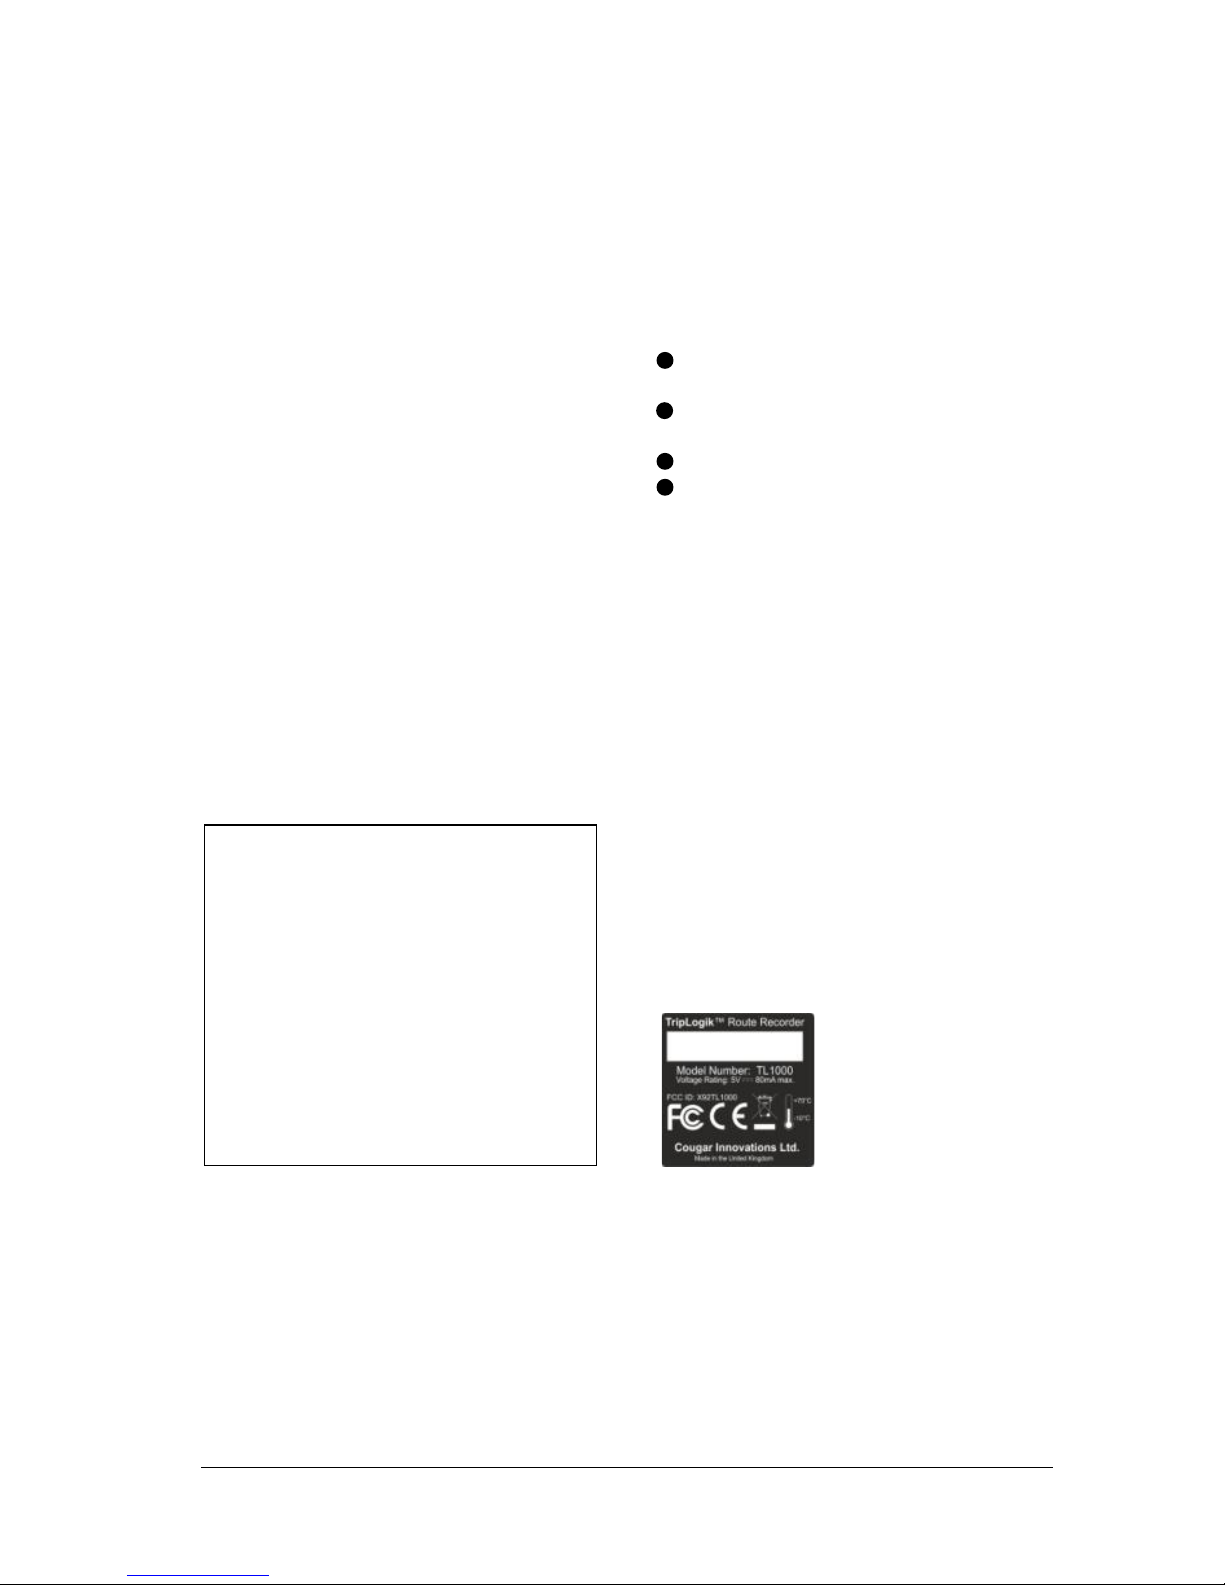
Use the white space
provided on the rear
label of the unit to
add a mark identifying
the owner or user of
the Route Recorder
Your MileLogik Route Recorder
should now be set up and ready to Use.

Copyright © 2013 Cougar Innovation Ltd. Page 6
Logging Trips
This section explains how to use the
MileLogik Mileage Logger in your vehicle.
Before driving away
Before driving away check that the
MileLogik indicator is continuously
illuminated and not flashing. While it is
flashing your logger will not be ready and
will be unable to log your vehicle‟s
movements.
In most vehicles, if your logger is
connected to the ODBii connector it
should be ready to log your journey as
soon as you start your vehicle.
If your logger is connected to a
cigarette lighter, the logger will not
power up until you turn on the vehicle
ignition and could take 36 Seconds or
more before it is ready.
Note – If the logger detects vehicle
movement before a satellite fix has
been acquired it will issue a warning
with 3 bleeps on the audio sounder.
Driving
Once MileLogik Logger has acquired the
satellite signals you do not need to do
anything else. The Logger will record all
your vehicles movements in its on board
memory without further intervention.
Recording Points of Interest
If you want to make a note of a specific
location press and hold the button on the
Logger for a second. The logger will
flash the indicator and beep at which
point the co-ordinates of that location will
be recoded.
Later when you upload your logs to your
PC you can retrieve the location of points
of interest and view them in Google
Maps™ using the MileLogik Manager.
Visual and Audible indicators
The Logger reports its status through a
combination of the indicator under the
elliptical button and an internal sounder.
Visible
Audible
Meaning
On
Single
Fix acquired
Flashing
Acquiring Fix
Flashing
Multiple
Acquiring Fix
while moving
Multiple
Lost power
Rapid
Flash
Single
Memory is
running low
Connecting and disconnecting
the logger
If you have installed the ODBii
connection to connect or disconnect the
logger simply plug or unplug the miniUSB connector.
If you are using the cigarette lighter
connector unplug the USB cable at the
power adaptor end. (You will need the
cable to connect the logger to your PC).
Caution – When removing the USB
Cable pull the plug, not the cable.
When inserting the USB connector
make sure it is correctly orientated.
Do not attempt to force the plug or
you risk damaging your logger.
 Loading...