

Page 1

MILAN VORTEX WIRELESS SMART CAMERA WITH PAN AND
TILT INTEGRATED WITH MILAN DLE
USER MANUAL
Page 2

SLWP02
Milan Vortex Wireless Smart Camera with Pan and Tilt Integrated with Milan DLE
User Manual
Promoting Secure Living
Offered by
www.milanity.com
Page 3

Milan Vortex Wireless Smart Camera with Pan and Tilt Integrated with Milan DLE (SLWP02)
Features
Motion Detected Recording
Receive Still Images by e
-
mail when Motion is
Specifications
Wi-
Fi antenna
Two way audio communication
3600 rotation
1.0 Mega pixel 720 HD resolution
H.264 compression for video using smaller
Pan /Tilt camera
Introduction
Thank you for purchasing Milanity’s digital living products. We have designed and developed our
products with emphasis on ease-of-use and cost-effectiveness. This manual contains information on the
features and specifications of this product and its installation procedures. When this product is installed
and used in the intended manner, you will be able to enjoy the vast benefits that Milan Digital Living
Experience (DLE) has to offer.
Product Description
The Milan Vortex Wireless Smart Camera is capable of delivering crystal clear images even in night mode
with pan/tilt option and also senses the room temperature and humidity. This product needs to be
paired with a Milan Infoway using a web-based configuration tool called Milan Infomap (see separate
instructions for using this software).
Features and Specifications
The following are the key features and specifications of this product:
When the camera detects the motion of any person,
it automatically records the event and stores in micro
SD card or uploads in cloud via FTP
Detected
When motion is detected, we can easily receive still
images via e-mail from the smart camera in selected
time of weekdays, weekends and all the time of the
day
bandwidth
Page 4
Installation
It is easy to install the Milan Vortex Wireless Smart Camera.
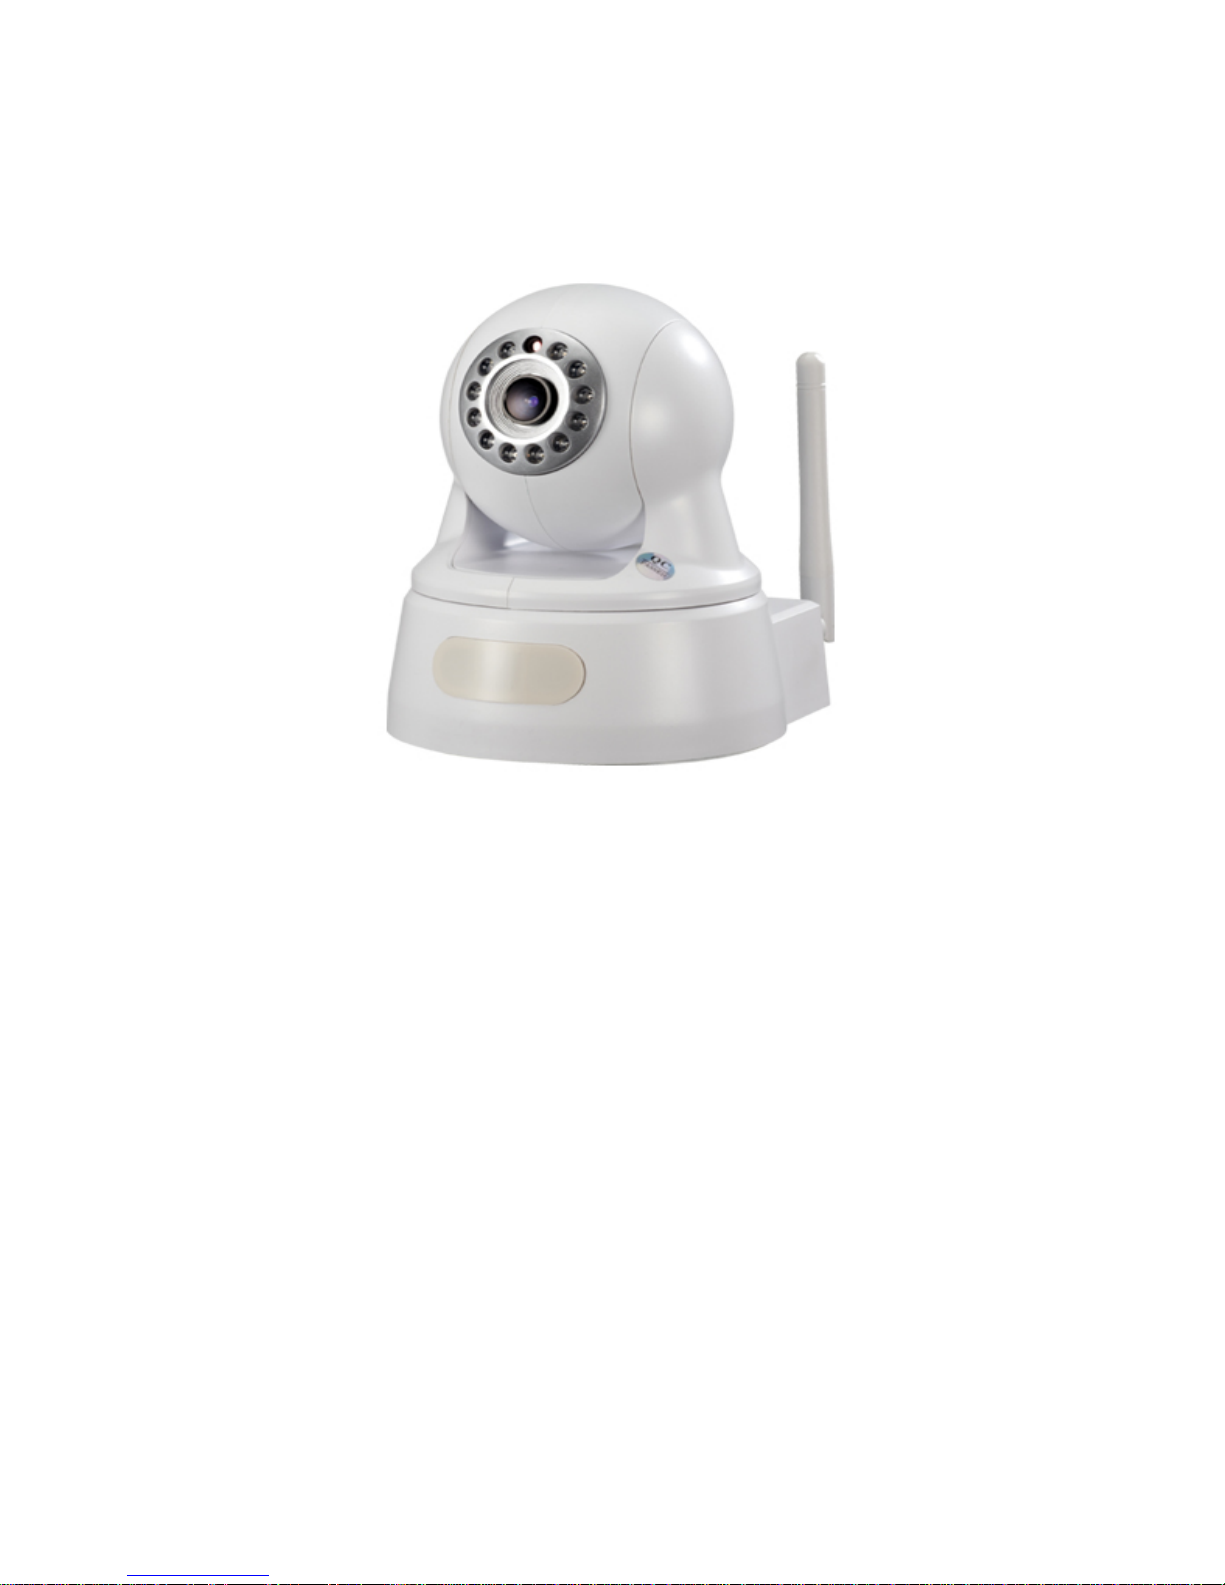
Figure 1: Milan Vortex Wireless Smart Camera Integrated with Milan DLE
Step 1: Install the device in proper location and using the IP finding tool (see separate instructions to
download this tool) find the IP of the device
Step 2: Change IP of Milan Vortex Wireless Smart Camera to desired IP using web browser (by making
your laptop IP to IP series of Smart Camera)
Step 3: Integrate the Milan Vortex Wireless Smart Camera with a Milan Infoway
a. Ensure that the Milan Infoway is functional
b. Open Milan Infomap configuration tool in a web browser (see separate instructions for using
this software)
c. Click on “Visitor Management” tab from Milan Infomap menu
d. Click on “IP Camera” tab from Milan Infomap menu
e. Select the exact manufacturer from the IP Camera dropdown
f. Enter the friendly name which is device name for your camera and IP address
g. Enter the username and password of the camera
h. Click on “Save” and now synchronize your application.
You can now experience the benefits of Milan DLE offered by this product.
Page 5

Warranty Policy:
This Limited Warranty offered to the original purchaser only applies to products purchased directly from
a Milanity authorized partner by the original purchaser. Milanity warrants this product for one (1) year
from the date of purchase with respect to defects arising from materials or workmanship, with the
exceptions as stated below.
This Limited Warranty does not cover damages resulting from misuse, accident, modifications or
alterations to the hardware or software, tampering, using the product in an unsuitable environment,
improper maintenance or failure to use the product as specified in the instructions.
All Rights Reserved. © 2015 Milanity. All non-Milan DLE brands and product names are trademarks or
registered trademarks of their respective companies. Product appearance and/or specifications are
subject to change without notice.
Page 6

 Loading...