


3
Contents
Safety Information 4
Safety Instructions 5
Features & Specications 6
Supplied in the box
6
User Controls & Connections
7
Getting Started 8
Battery charging
8
Switching on for the rst time
9
The Home Screen
10
Connecting to Wi-Fi
12
Sign In
13
Install the Store
13
Settings 14
WIRELESS & NETWORKS
14
DEVICE 15
PERSONAL
17
SYSTEM
19
Installing Applications 20
Connecting to a PC 21
Basic Functions 22
Browse the internet
22
Check your emails
22
Watch a lm or view photos
22
Listen to music
22
Troubleshooting 23
Care & Support 25
4
Safety Information
This product depends on third-party technology and therefore no guarantee can be made regarding the
compatibility of specic applications, software or accessories. Mikona take no responsibility for incompatibility
of this product with any third-party products or software.
Android™, Google™, Gmail™, Google Play™ and Play Store™ are trademarks of
Google Inc.
Correct disposal of this Product
Waste Electrical & Electronic Equipment (WEEE)
The crossed out wheelie bin is intended to show that this appliance must not be placed
with ordinary household waste at the end of its useful life. To prevent possible harm to the
environment or human health from uncontrolled waste disposal, please keep separate from
other household waste and recycle it responsibly to promote the sustainable reuse of material
resources.
Household users should contact either the retailer where you purchased the product, or their
local government ofce for details of where and how you can take this item for environmentally
safe recycling.
Business users should contact their supplier and check the terms and conditions of the
purchase contract. This product must not be mixed with other commercial wastes for disposal.
This appliance complies with European Safety & Electrical Directives
Mains power adaptor supplied is a Class II appliance.
Only use the power adaptor supplied. Do not use power adaptor with other equipment.
The exclamation point within an equilateral triangle is intend to alert
the user to the presence of important operating and maintenance
(servicing) instructions in the literature accompanying the appliance.
Do not open, or attempt to open, the casing: there are no user-serviceable parts
inside. Failure to adhere to the instructions provided will invalidate the warranty.
This product features an internal Lithium Polymer battery, please treat with care.
WARNING
THIS PRODUCT FEATURES AN LCD SCREEN.
DO NOT BEND, TWIST OR SUBJECT THE PRODUCT
TO ANY SHOCKS. THIS WILL CAUSE DAMAGE TO
THE SCREEN.

5
Safety Instructions
PLEASE READ THE BELOW SAFETY INFORMATION
FAILURE TO DO SO MAY RESULT IN DAMAGE TO YOUR PRODUCT
NEVER leave your tablet in direct sunlight or in a hot
vehicle or expose to heat.
NEVER use the tablet in a damp, humid or dusty
environment. Do not expose to moisture or liquids.
NEVER allow the tablet to be subjected to heavy vibrations
or shocks, especially the screen.
NEVER cross the road or drive whilst wearing headphones.
AVOID listening to excessively loud music or audio on
headphones, this can permanently damage your hearing.
ALWAYS use the supplied charger and/or USB cable for
charging the battery.
ALWAYS ensure the tablet is adequately ventilated to
avoid overheating.
WARNING: This product features a Lithium Polymer
battery. Improper charging or use may result in re,
personal injury and damage to property. The battery is not
removable.
CAUTION: The tablet may become hot during use,
especially during heavy use such as games, this is normal,
however always ensure the tablet is adequately ventilated
to avoid overheating.
6
• 10.1” Multipoint Touchscreen IPS Display
• Screen Resolution: 800 x 1280 pixels
• Processor: Allwinner A83T Octa Core
• Graphics: PowerVR SGX544
• RAM: 2GB DDR3
• 16GB* Internal Flash Memory
• Micro SD Card support (up to 32GB)
• Wi-Fi 802.11 b/g/n
• Accelerometer: 3-axis
• Front Camera: 2.0 Megapixel
• Rear Camera: 2.0 Megapixel
• Headphone Socket (3.5mm)
• Micro USB Socket
• Micro HDMI Socket
• Battery: Lithium-Polymer 3.7V 6000mAh
• Video: AVI, MKV, MP4, MPG, FLV, 3GP, Xvid, Divx, WMV
• Audio: MP3, WMA, M4A, AAC, FLAC, APE, WAV
• Text: TXT, RTF, DOC, XLS, PPT, PDF
*Available memory after formatting will be less
Supplied in the box
• 10.1” touch screen tablet
• USB cable
PLEASE NOTE
the screen.

7
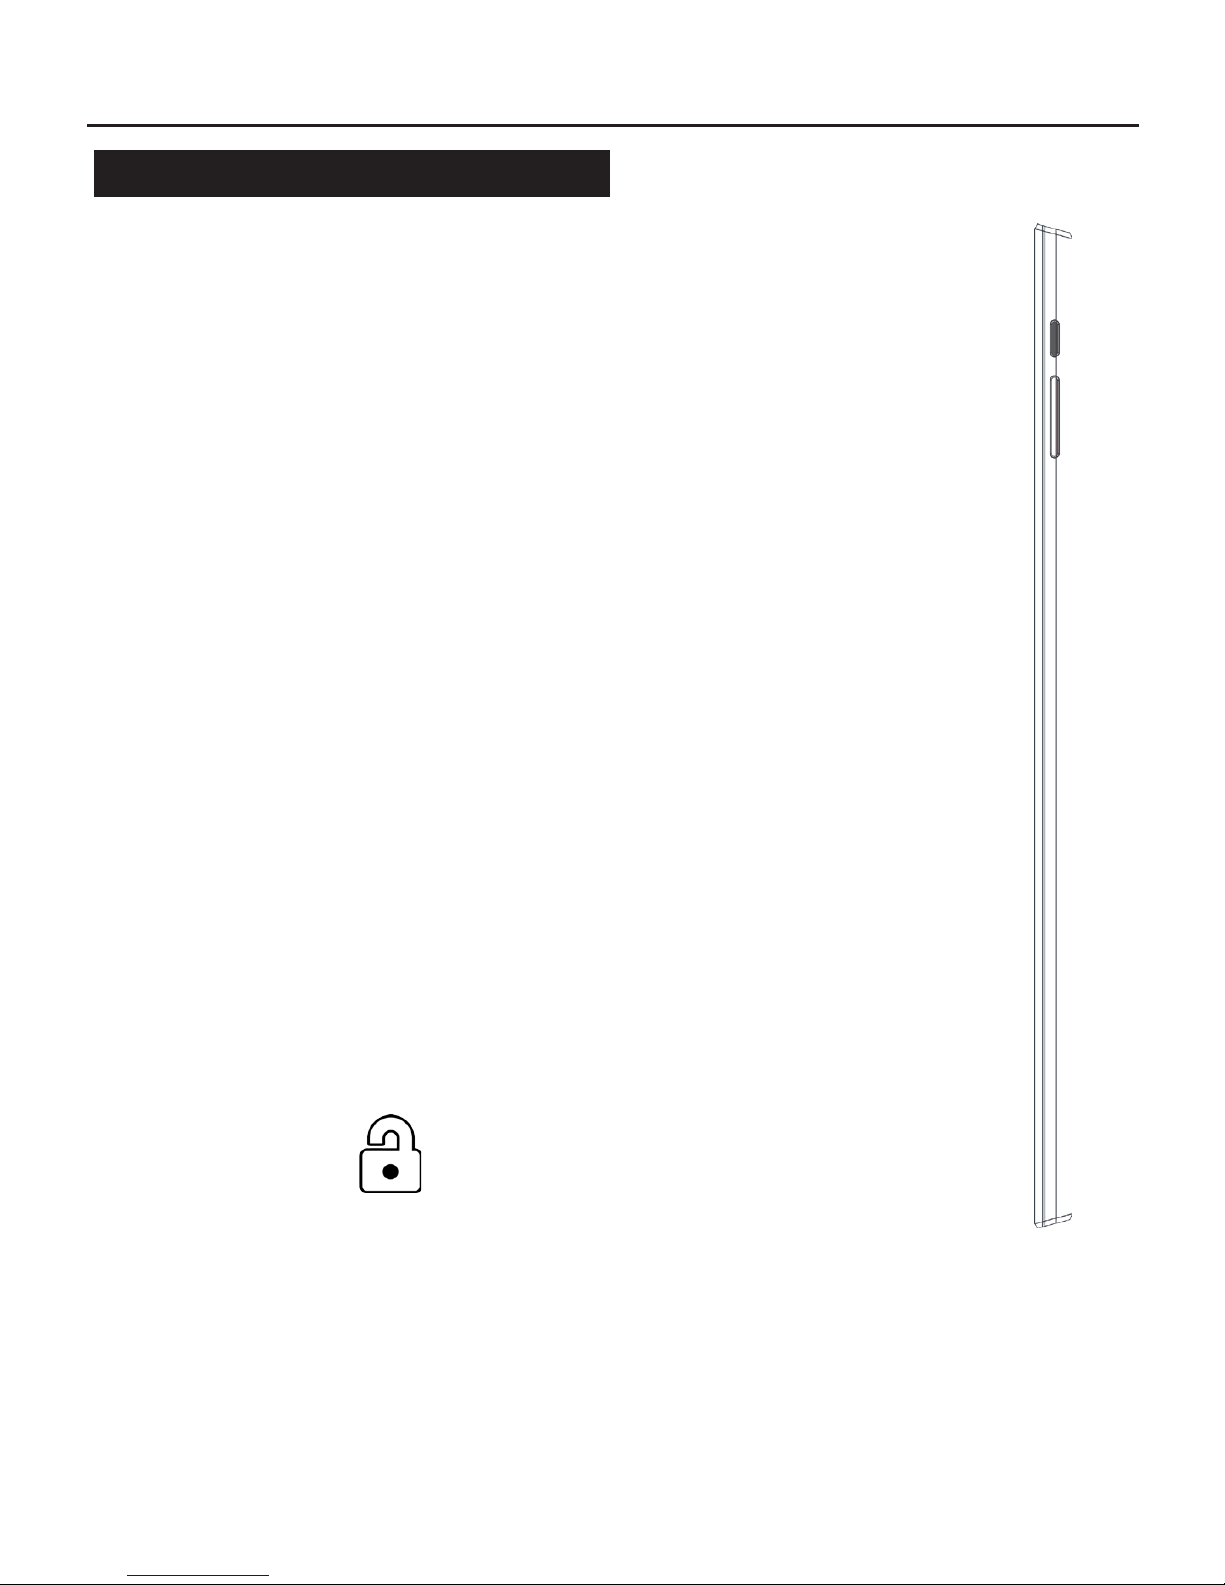
User Controls & Connections
Buttons & Connections
q POWER
Press and hold to switch On or Off.
Press momentarily to switch in/out of
standby.
V+
Press to increase volume.
V-
Press to decrease volume.
REAR CAMERA
2 megapixel, high quality camera.
USB (Micro)
Connect to supplied mains adaptor using
supplied cable to charge battery. Connect to
HEADPHONES (3.5mm)
Insert headphone jack to listen, will cut off
main speaker when connected.
Micro SD
Insert Micro SD card to expand storage (up
to 32GB)
FRONT CAMERA (on front)
2.0 megapixel, lower quality camera for video
calling.

8
Getting Started
Battery charging
To charge your tablet connect the mains power
adaptor to USB using the supplied cable.
Or connect USB to an available USB
socket on your computer.
Your tablet may be partially charged when rst
switched on, please fully charge as soon as
possible to ensure you get the best from your
battery.
!
Micro USB
Tip
Charging using the mains power adaptor may be much faster than
charging via a computer USB socket.
Look after your battery: do not leave plugged in for long periods, regularly
allow to discharge completely.
9
Getting Started
Switching on for the rst time
To begin, press and hold the
q power button
After a few seconds the screen will
display the loading screen
Loading will take around a minute
Once loaded, follow the on-screen
guide, please allow a few minutes for
all installed applications to become
accessible
!
q
A quick press on the q POWER button switches the screen On
and Off
A long press on the q POWER button switches the tablet On and
Off
The screen will lock when switched off.
To unlock, swipe on the padlock
C
P
10
Getting Started
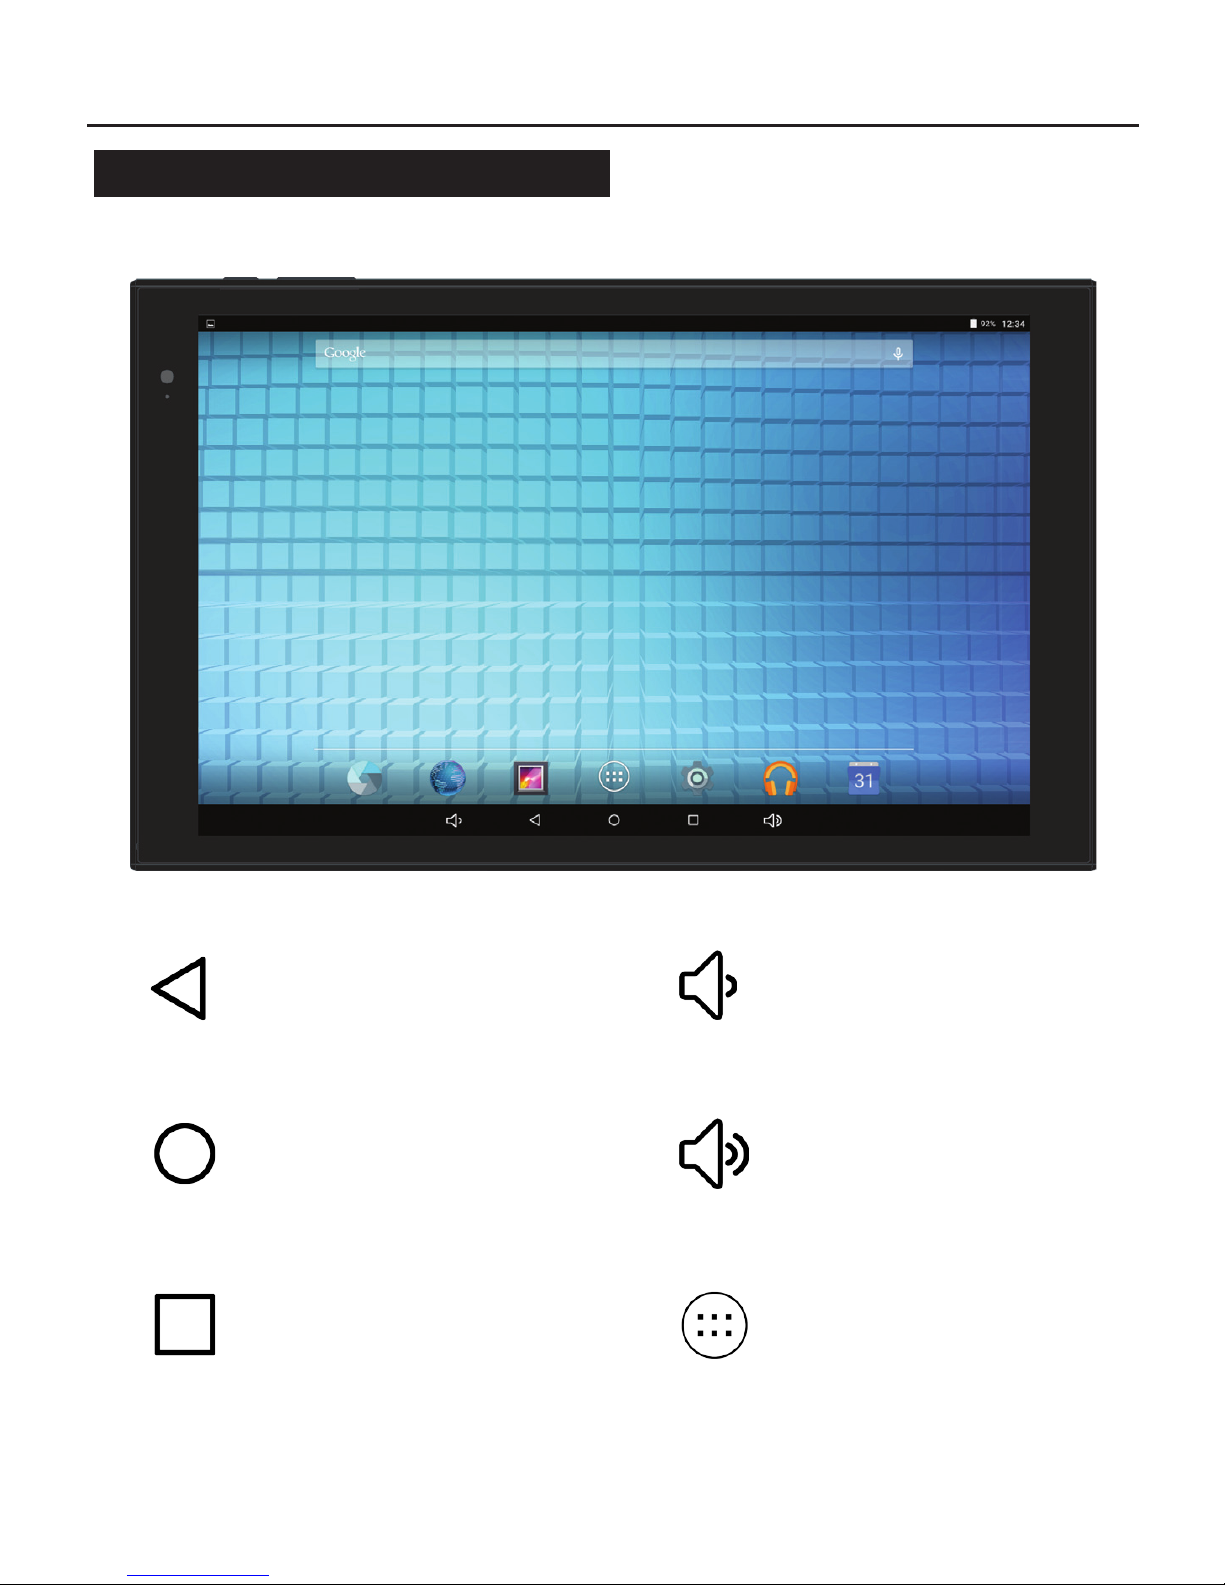
The Home Screen
HOME
Press to return to Home
screen
RECENT
Display recently used apps
ALL APPS
Display all installed
applications
VOLUME UP
VOLUME DOWN
BACK
Press to return to previous
screen or exit app

11
Getting Started
The Home Screen
Your Home Screen is where you can place all your favourite apps,
shortcuts and widgets.
All Apps
Press
to access all your currently installed apps and widgets.
To place an app or widget on your home screen press & hold the
required app/widget - the app/widget will then transfer over to the
home screen - move into place then release.
To remove an app or widget from the home screen, press and hold
the app, then ick upwards or drag to the X (top left) to remove
(this does not delete the application, just the Home Screen
shortcut).
Notication and Quick Link Areas
Dragging down from the top of the screen will display your
Notications and Quick Link functions.
The Notication area displays all notications and actions.
The Quick Link area displays various useful functions such as
Brightness/Wi-Fi/Rotation-Lock/Settings/Airplane Mode.
Battery Status
The battery status is shown on the top bar:
Full Charging
Empty

12
Getting Started
Connecting to Wi-Fi
Your tablet is supplied ready-to-use with several apps, however
connecting to the internet and Play Store™ gives you access to
thousands of apps and games, and also books, music and lms.
To connect to the internet you will need access to a Wi-Fi
broadband connection.
• Press Settings
• Press Wi-Fi
• Switch Wi-Fi ON by sliding switch
• Select appropriate Wi-Fi network
• Enter password
• Press Connect
The appropriate network should show Connected after a few
seconds.
The Wi-Fi icon, next to battery, displays the current Wi-Fi strength
and condition:
Connected, full signal
Connected, very low signal
Not connected or searching for signal
Try using the web browser app to access a web page to conrm
you are connected. For any problems consult the troubleshooting
guide on Page 23.

13
Getting Started
Sign In
Install the Store
Press on the MARKET Store Install icon on the
Home Screen, this will install the Google Play
Store™ into All Apps.
Once you are connected to the internet you will need to sign in to
your Google™ account, if you do not have a Google account you
can always create one, it is free and easy.
• Press Settings
• Scroll down to Accounts
• Select + Add Account
• If you have a Gmail account select Existing
• If you do not have a Gmail account select Create
• Follow the on-screen instructions to login to or set up your
account
Press
to access All Apps, scroll left to Play Store app, press to
open.

14
Settings
WIRELESS & NETWORKS
Wi-Fi
Available networks displayed. Press network name to connect,
enter security password if required.
Options: Add network / Saved networks / Refresh / Advanced
Data Usage
Display the amount of data applications have used.
Options: Network restrictions
More...
Advanced connection features.
Airplane mode: Disable Wi-Fi and notications for use during
air travel.
Tethering & Portable Hotspot: For use with 3G (not available)
VPN: Virtual Private Network set up, contact your network
administrator for details.
…
…

15
Settings
DEVICE
Display
Adjust display settings
Brightness level: Adjust screen brightness
Wallpaper: Choose Home Screen background image
Sleep: Adjust screen timeout - 15secs to 30mins
Daydream: Adjust screensaver settings
Font size: Small / Normal / Large / Huge
Rotation lock: On or Off
Cast screen: Enable/disable wireless display
Smart Color: On or Off
Demo Mode: Enable Smart Color demonstration
Intelligent Backlight: On or Off
Demo Mode: Enable Intelligent Backlight demonstration
Sound
Adjust audio and alert settings.
Volumes: Adjust media, ringtone and alarms volumes
Interruptions: Adjust alarm and message alerts
Default notication: Choose alert sound
Other sounds: Enable/disable touch and screen lock sounds
Boot music: On or Off (not used)
Lock notications: On or Off
App notications: Adjust app notications
Notication access: Adjust notication monitors

16
Settings
DEVICE
Storage
View and manage your memory.
Internal Storage: Information only
Erase SD card: Delete all data from internal memory
Battery
Monitor battery usage statistics, press for individual settings (app
dependent).
Apps
Manage or remove any installed applications. To view available
options press on the relevant app from the list.
Downloaded: Displays all non-system apps
On SD Card: Displays pre-installed apps
Running: Displays all current processes
All: Displays all installed apps, including system
Options: Sort by size / Reset preferences
To uninstall or remove an app, press on the relevant app then click
Uninstall.
…
WARNING
Care should be taken when adjusting app settings, incorrect adjustment
could cause apps to stop functioning.

17
Settings
PERSONAL
Location
Manage services which will try to determine approximate location
from sources such as Wi-Fi, location data can improve search
results and other services.
Access to my location: On or Off
Security
Manage and adjust security settings.
Screen lock: None / Swipe / Pattern / PIN / Password
Owner info: Edit text to display on lock screen
Encrypt tablet: Enable data encryption of all tablet data for
added security, this will take an hour or more to complete
Make passwords visible: On or Off
Device Administrators: Not adjustable
Unknown sources: On or Off - This enables installation of apps
from sources other than Play Store
Trusted credentials: Displays when applicable
Install from SD card: Install security certicates when
applicable
Clear Credentials: Remove security certicates when
applicable
Screen Pinning: Enable screen pinning

18
Settings
PERSONAL
Accounts
Manage and remove user accounts.
+ Add Account: Add user account for email and app access
Language & input
Adjust language and input methods.
Language: Change language
Spelling checker: On or Off
Personal dictionary: Add or remove words from user dictionary
Keyboard & Input Methods: Choose and edit keyboard
language and other settings
Speech: Adjust text-to-speech and voice search options
Backup & reset
Perform data backup to your Google account, and also reset the
whole tablet.
Back up my data: On or Off
Backup account: Advanced feature
Automatic restore: Restore app data when reinstalling
Factory data reset: Erases all data and settings from tablet,
then restarts in original shipping mode
Recovery Mode: Reboot tablet into recovery mode - Advanced
users only

19
Settings
SYSTEM
Date & time
Adjust date and time settings.
Automatic date & time: On or Off
Set date: Adjust date (if not automatic)
Set time: Adjust time (if not automatic)
Select time zone: Adjust time zone
Use 24-hour format: On or Off
Accessibility
Manage accessibility options.
Talkback: Enable spoken feedback for visually impaired
Captions: On or Off
Large text: On or Off
Speak passwords: On or Off
Touch & hold delay: Short / Medium / Long
Accessibility shortcut: On or Off
Colour inversion: On or Off
Developer options
Advanced system options for application development - advanced
users only.
About tablet
View system information.

20
Installing Applications
There are two methods for installing applications (apps):
Method 1
Once the Play Store app has been installed (see Page 13) and
you have signed in, apps and games can be downloaded directly
from the Play Store.
Method 2
It is also possible to install applications (.apk les) downloaded
from alternate sources.
This method will require Unknown Sources to be enabled:
Settings > Security > Device Administration > Unknown Sources
To transfer the application .apk le to your tablet:
• Copy to a Micro SD card using your PC
• Insert Micro SD card into tablet
• Use File Manager to locate the .apk le
• Select the le, installation should begin automatically
Alternatively, transfer the application .apk le to the tablet by
connecting directly to your PC, see Page 21 for further details.
WARNING
Certain applications or games may have an age restriction or contain
graphic content. Please be aware that any applications/games/video/
music downloaded are the responsibility of the owner of the product.
Any legal issues arising from downloading such content is not the
responsibility of the manufacturer.

21
Connecting to a PC
Connection to a computer will enable you to copy music, photos
and videos from your own collection onto your tablet.
To transfer les to your tablet via USB:
• Connect USB cable from tablet to PC
• PC should recognise and install the tablet, tablet memory will
now be available as an external drive on your PC
• If the PC does not recognise the tablet: on the Home Screen
drag down from the top of screen to display Notications
• Press USB Computer Connection
• Press Camera (PTP) to change connection mode
• Your tablet will now be recognised as an external drive on
your PC
• Drag and drop your les onto the tablet’s drive to transfer
• When nished, disconnect the USB cable
• To access the transferred les use the File Manager app
NOTE: If a Micro SD card is inserted, this will show as a separate
external drive when connected. Files can be transferred to this
drive in the same manner.

22
Basic Functions
Browse the internet
Your tablet is supplied with an internet web browser pre-installed.
Once the tablet is connected to Wi-Fi (see Page 12), just nd
Browser in All Apps and press to connect, or download your
favourite browser from the store.
Check your emails
Your tablet is supplied with an email app pre-installed. Once the
tablet is connected to Wi-Fi (see Page 12), just nd Email in All
Apps and press to open, you will need the details of your email
account to log in.
Watch a lm or view photos
To view any lms or photos copied to your tablet (see Page 21)
nd the Gallery app in All Apps and press to open, any lms or
photos found will be displayed, press to play/view.
Listen to music
To listen to music copied onto your tablet (see Page 21) nd the
Play Music™ app in All Apps and press to open, any music les
found will show on the player.

23
Troubleshooting
If you are having problems with your tablet, please try some of the
following suggestions.
Not switching on, no sign of power
» Check tablet is charged, when power is connected tablet will show battery
symbol briey.
» Check both mains charger and USB cable individually.
Not charging
» Check all power connections are secure and inserted fully.
» Check both mains charger and USB cable individually.
Picture but no sound
» Check volume level using side and on-screen controls.
» Check using headphones.
» Check using different applications, such as music and video playback.
Wi-Fi network not showing when searching
» Check SSID is not set as “hidden” in router setup.
» Check whilst near to router.
» Check other wireless networks are displaying.
» Consult network administrator if persists.
Not connecting to Wi-Fi network
» Check password is correct.
» Check other equipment connected to network is connecting OK.
» If possible, try on another Wi-Fi network.
» Consult network administrator if persists.
Tablet is slow or unresponsive
» Apps will often download updates automatically, operations may become slow
during the update process, leave a few minutes to complete.
» If tablet has become slow or unresponsive try switching Off and back On (long
press on power button), this will clear any running apps.
» Disable any widgets running on Home Screen, widgets will use system
resources even when not in use.
» Remove any unwanted applications.
» If problem persists try full reset (Settings > Backup & reset > Factory data
reset) - this will clear the tablet’s memory and reset back to original settings.

24
Troubleshooting
If all else fails...
Reset the tablet back to the original settings:
Settings > Backup & reset > Factory data reset
WARNING: This will delete all data and reset back to the original state, all original applications
will be restored.
Battery life
» If battery life is reduced, try discharging completely then recharging fully
(uninterrupted).
» It is not possible to remove or replace the battery. Please refer to a service
technician.
Certain applications not working or working incorrectly
» Certain apps available may not be compatible with this tablet, or may have
different requirements: consult app vendor/creator for further advice.
» Try uninstalling and reinstalling the app.
Lost or forgotten passwords
» Reset by clicking on “Forgotten Password”, or log in to your Google account
and reset the security settings for your device.
» If necessary, a full reset can be carried out which will delete all data and reset
back to the original state. Whilst the tablet is powered off hold down the V+
button, then press and hold q POWER until Select Boot Mode is shown.
Using the V- button move to the wipe data/factory reset option and then press
q POWER to select.
[WARNING: Be very careful when using System Recovery as choosing an incorrect option may cause
serious damage to your tablet]

25
Care for your tablet
Keep your tablet clean and free from dirt and dust: use a soft cloth to clean. Never
use abrasive or chemical cleaning solutions.
Never leave your tablet in direct sunlight or in a hot vehicle. Do not expose to heat.
Care for your OS
tidy. Only install apps you will use, and clear out any unused apps and data on a
regular basis. Switch your tablet off when not in use, this can help keep temporary
Care for your battery and charger
Keep your battery healthy by topping it up regularly, keeping the battery charge
above 50% will help your battery life. Allow the battery to fully discharge once every
1-2 months to allow calibration. Use only the supplied power supply for charging.
Never use the supplied power supply for charging other equipment as this could
cause damage to the power supply or equipment.
The supplied USB cable is for computer connections and charging using the
supplied charger. Do not connect to other USB power supplies.
Remember
Your tablet features a plastic screen which should be cared for, when possible keep
the screen covered to avoid scratches or damage. Do not allow the screen to be
knocked or hit or subject to any heavy weight, twisting or compression.
Updates
Your tablet has been optimised for Android 5.1.1, operating system updates will not
be issued for this product.
Customer Support
Should you experience any issues with your tablet please contact your
retailer for assistance.
Care & Support

This device complies with Part 15 of the FCC Rules. Operation is subject to the following two
conditions: (1) this device may not cause harmful interference, and (2) this device must accept any
interference received, including interference that may cause undesired operation.
Changes or modifications not expressly approved by the party responsible for compliance could
void the user's authority to operate the equipment.
NOTE: This equipment has been tested and found to comply with the limits for a Class B digital
device, pursuant to Part 15 of the FCC Rules. These limits are designed to provide reasonable
protection against harmful interference in a residential installation. This equipment generates, uses
instructions, may cause harmful interference to radio communications. However, there is no
guarantee that interference will not occur in a particular installation. If this equipment does cause
harmful interference to radio or television reception, which can be determined by turning the
equipment off and on, the user is encouraged to try to correct the interference by one or more of
the following measures:
-- Reorient or relocate the receiving antenna.
-- Increase the separation between the equipment and receiver.
-- Connect the equipment into an outlet on a circuit different from that to which the receiver is
connected.
-- Consult the dealer or an experienced radio/TV technician for help.
 Loading...