

miGuard PMR1 Instructions Manual
INSTRUCTIONS
PMR1
lines open 0900 to 1700 Monday to Friday
“ whatever your question, we’re just a phone call away “
0345 257 1000
miGuard Customer Helpline
Wirefree PIR, Magnetic Sensor
& Remote Control
Accessory Pack
Congratulations on your purchase of the
miGuard Accessory Pack
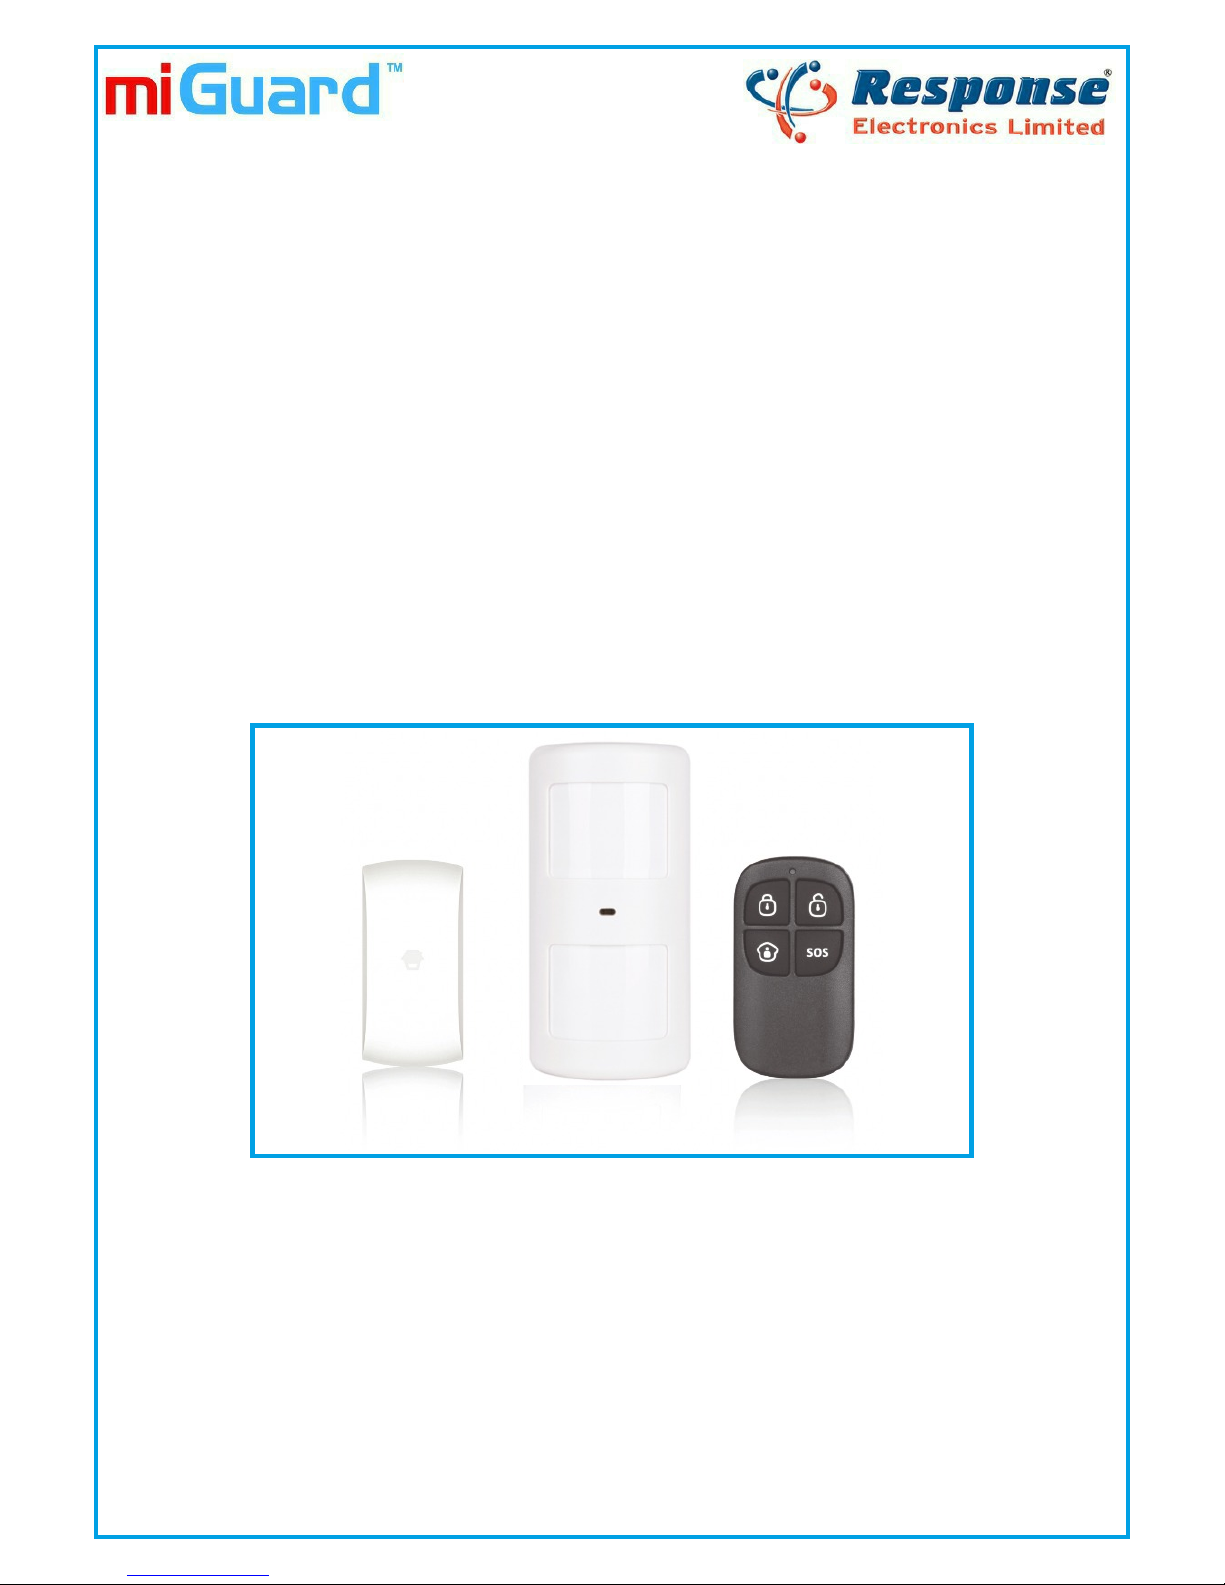
1 x Pet Friendly PIR Motion Sensor
1 x Door/Window Magnetic Sensor
1 x Remote Control
All Batteries and Fixings
Instructions
a. Read the instructions thoroughly
b. Remove all the contents from their packaging
c. Consider the most appropriate positioning
of each Accessory
d. Avoid mounting Sensors near metal objects or
electrical wiring
Before Installation:
Features
Two Lens PIR : pet tolerant to 25 kgs, with a vertical
and horizontal detection range of 110°
Digital dual-core fuzzy logic control chip and
intelligent analysis: effectively identifies signal
interference and body movement.
Automatic temperature compensation and anti-air
turbulence technology/control: automatically adapts
to environmental changes, thereby saving energy.
Automatic SMS notification of a low battery condition
when connected to a miGuard GSM Alarm System.
LED Indication
Flashes every 2 seconds: self-testing state
Flashes twice: self-testing is finished, enters working
mode
Flashes once: movement is detected
Flashes once every 3 seconds: low battery indication,
(immediate battery change recommended).
If the PIR is connected to a miGuard GSM Alarm
System, an SMS alert will automatically be sent to the
registered user.
Installation
Avoid mounting the Sensor in areas where draughts
may be present or where the temperature may
fluctuate greatly, such as near to: windows, air
conditioning, heating, refrigeration units, cooking
appliances and direct sunlight.
Where possible, mount the Sensor in the corner of
the room so that the logical path of an intruder
would cut across the fan detection pattern (see
diagrams overleaf). A PIR responds more effectively
to movement across the device than to movement
directly towards it.
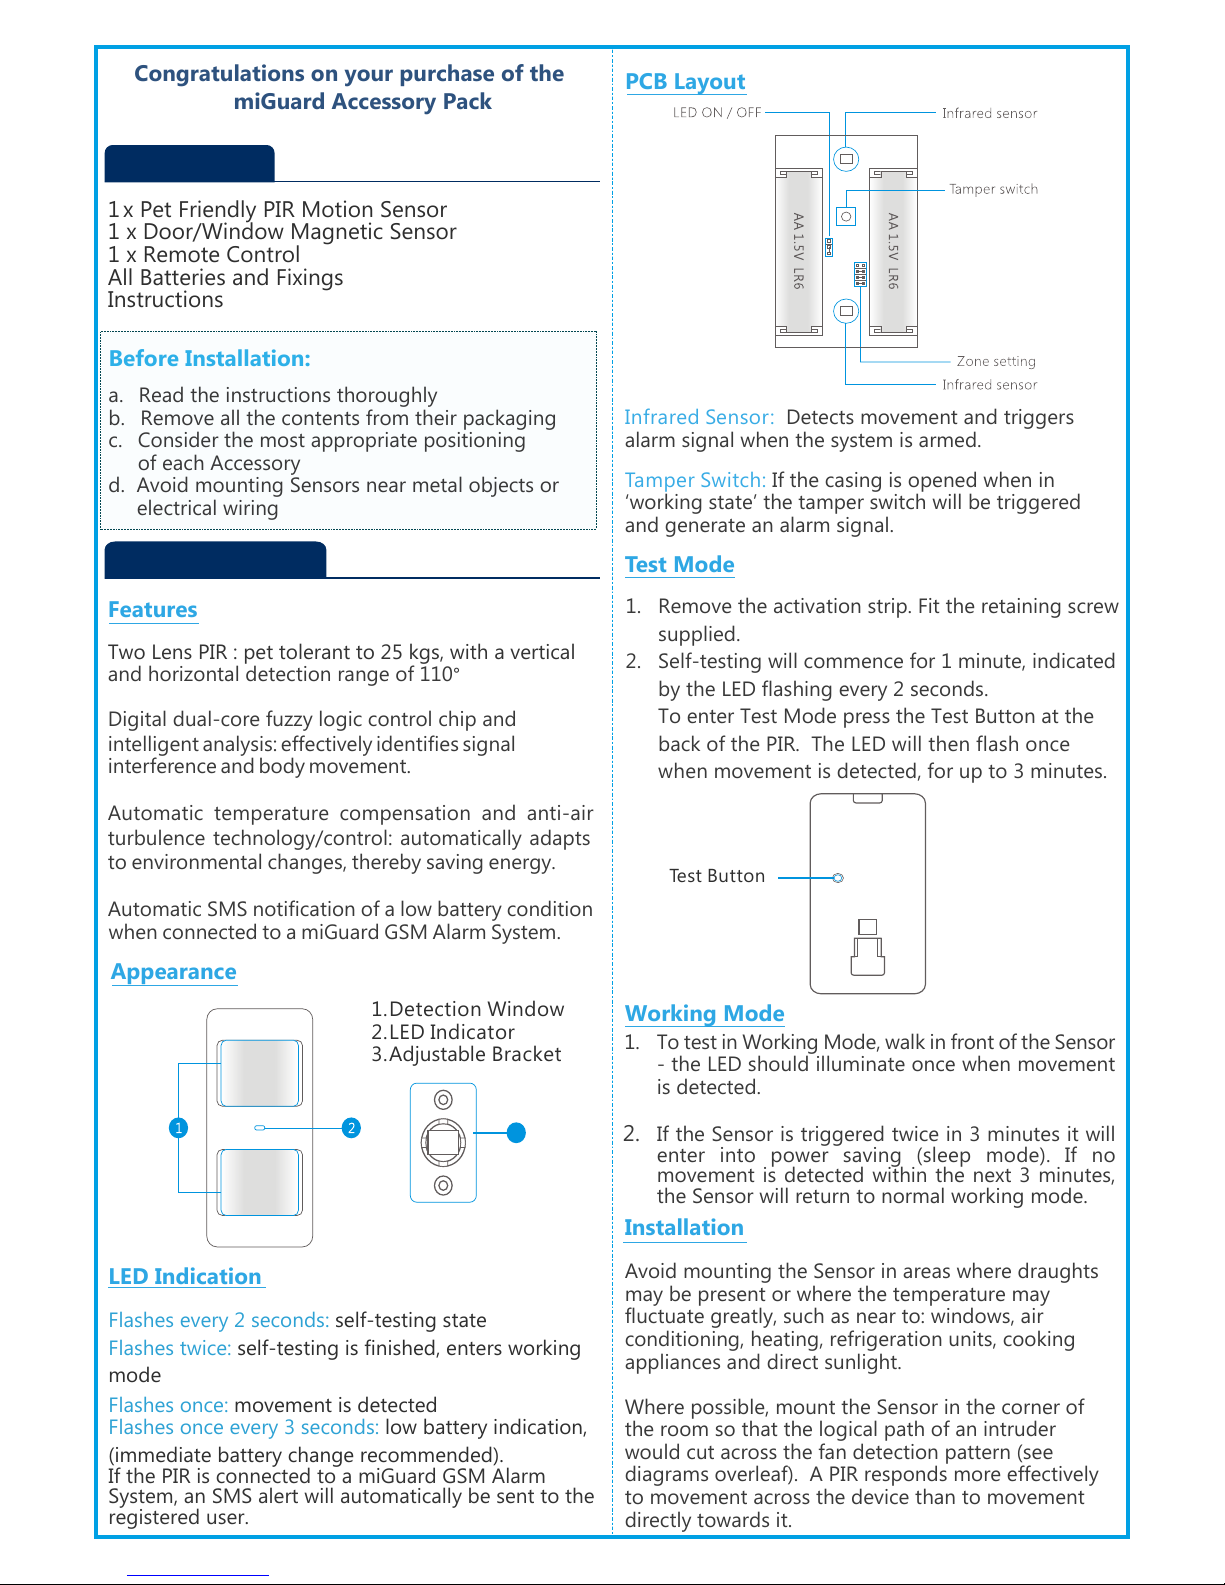
PCB Layout
Test Mode
PACK CONTENTS
1. PIR MOTION SENSOR
Appearance
1.Detection Window
2.LED Indicator
3.Adjustable Bracket
3
Infrared Sensor: Detects movement and triggers
alarm signal when the system is armed.
Tamper Switch: If the casing is opened when in
‘working state’ the tamper switch will be triggered
and generate an alarm signal.
Working Mode
1. Remove the activation strip. Fit the retaining screw
supplied.
2. Self-testing will commence for 1 minute, indicated
by the LED flashing every 2 seconds.
3. To enter Test Mode press the Test Button at the
back of the PIR. The LED will then flash once
when movement is detected, for up to 3 minutes.
Test Button
1. To test in Working Mode, walk in front of the Sensor
- the LED should illuminate once when movement
is detected.
2. If the Sensor is triggered twice in 3 minutes it will
enter into power saving (sleep mode). If no
movement is detected within the next 3 minutes,
the Sensor will return to normal working mode.
 Loading...