

Page 1
MiG Layout Quick Start Guide v1.2.2
This is a quick start to MiG Layout. For further information look at www.migcomponents.com as it will be
updated with links to the new and relevant information.
To start using MiG Layout all you need to do is to download the miglayout.jar and include it in your project or
classpath. There are different versions for Swing and SWT, but they work exactly the same. There is also a
version for JSE 1.5 and one for 1.4 where the latter has varargs support in the API.
Adding Components to the Grid
Adding components to a Container is as simple as writing text and follows the same basic principle. If you
just add them they will end up on the same row. When you want to change to next row you specify the
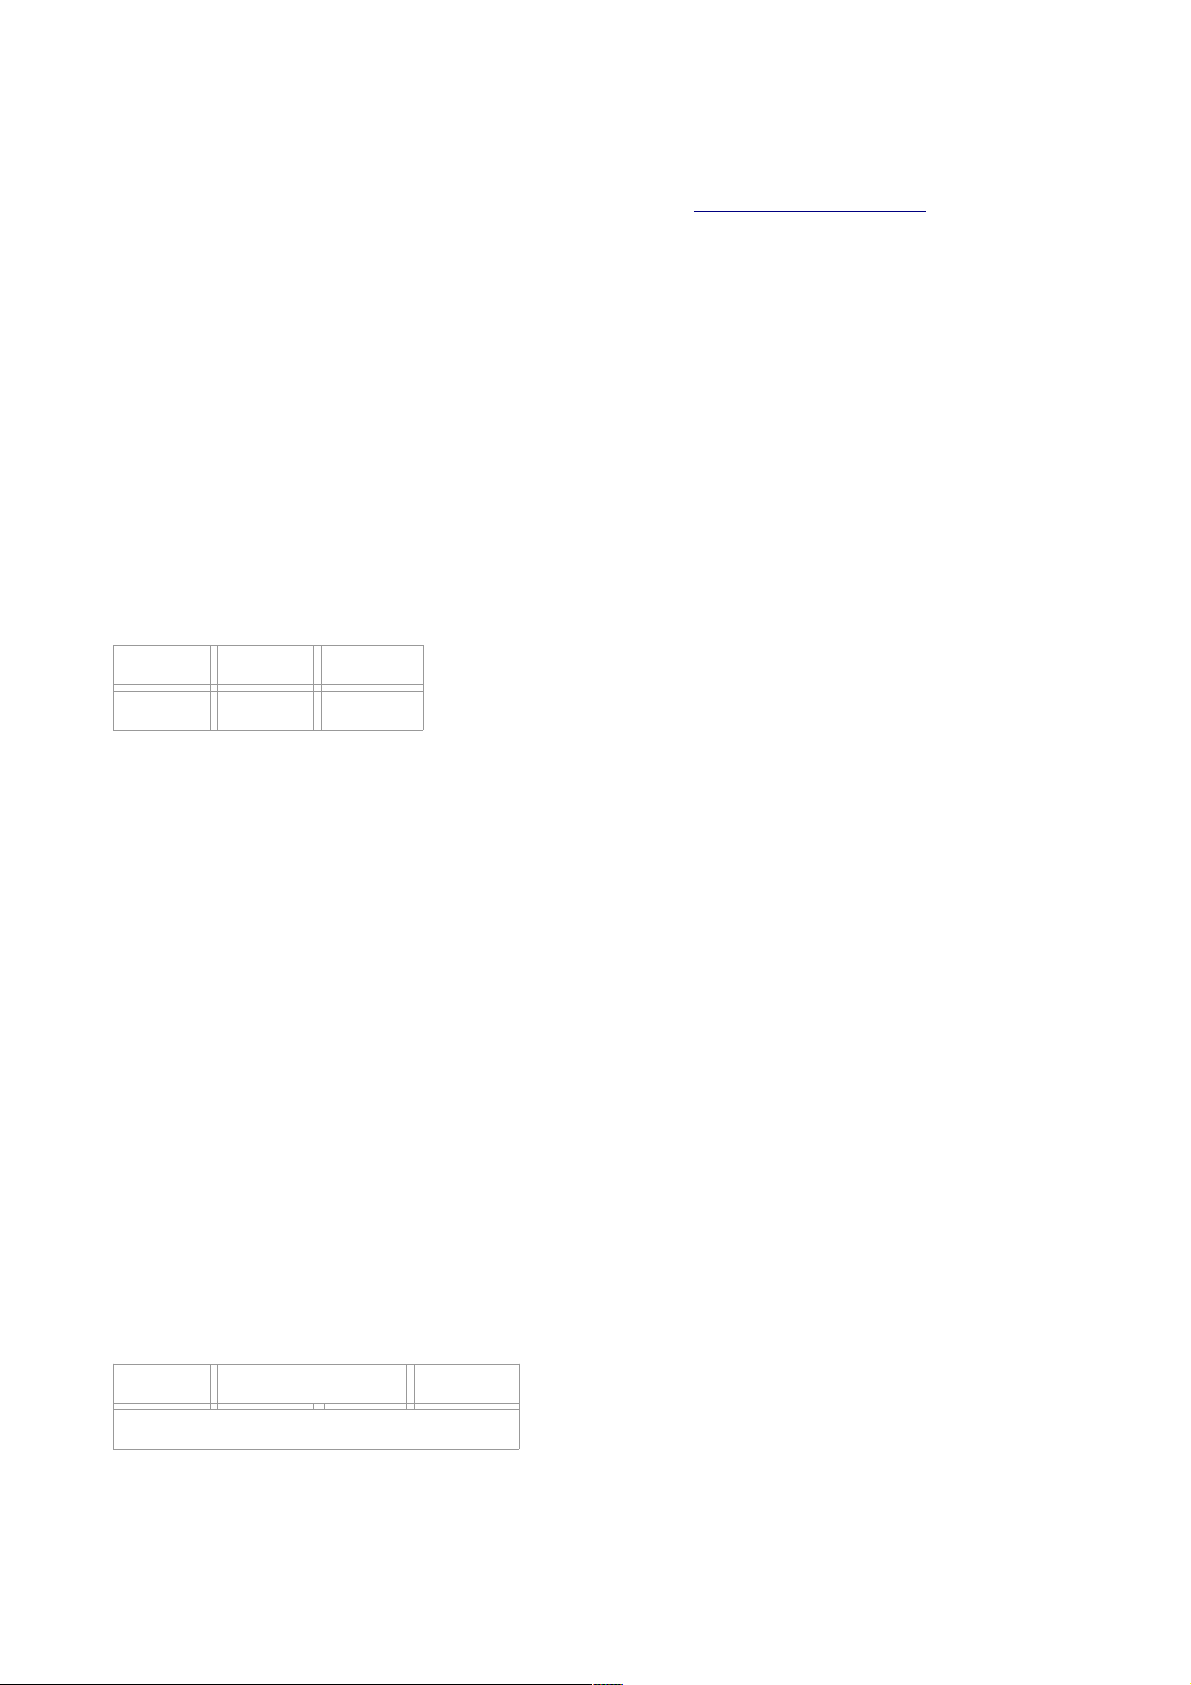
constraint "wrap" and the next component will be on the next row. For example:
panel.add(comp1)
panel.add(comp2)
panel.add(comp3, "wrap") // Wrap to next row
panel.add(comp4)
comp1 comp2 comp3
comp4
The grid can also be set to auto wrap at a specific column index by specifying that in the layout constraint
when creating the layout manager. Next shows how to create the same grid without having to specify the
"wrap" when adding comp3. It means that the grid should auto wrap after column 3 and there will thus not be
a fourth column.
MigLayout layout = new MigLayout("wrap 3");
From v2.5 the next row's gap can be set directly after the wrap keyword. E.g:
panel.add(comp3, "wrap 15")
will make the row gap 15 pixels high. You can even make the gap "pushing" by specifying for instance "wrap
push".
Merging and Splitting Cells
It is equally easy to split or span cells. Here is how to create the next grid.
panel.add(comp1)
panel.add(comp2, "span 2") // The component will span two cells.
panel.add(comp3, "wrap") // Wrap to next row
panel.add(comp4, "span") // Span without "count" means span whole row.
comp1 comp2 comp3
comp4
Span optionally takes two indexes, x and y. This means that you can span cells like this:
© 2009 MiG InfoCom AB
Page 2
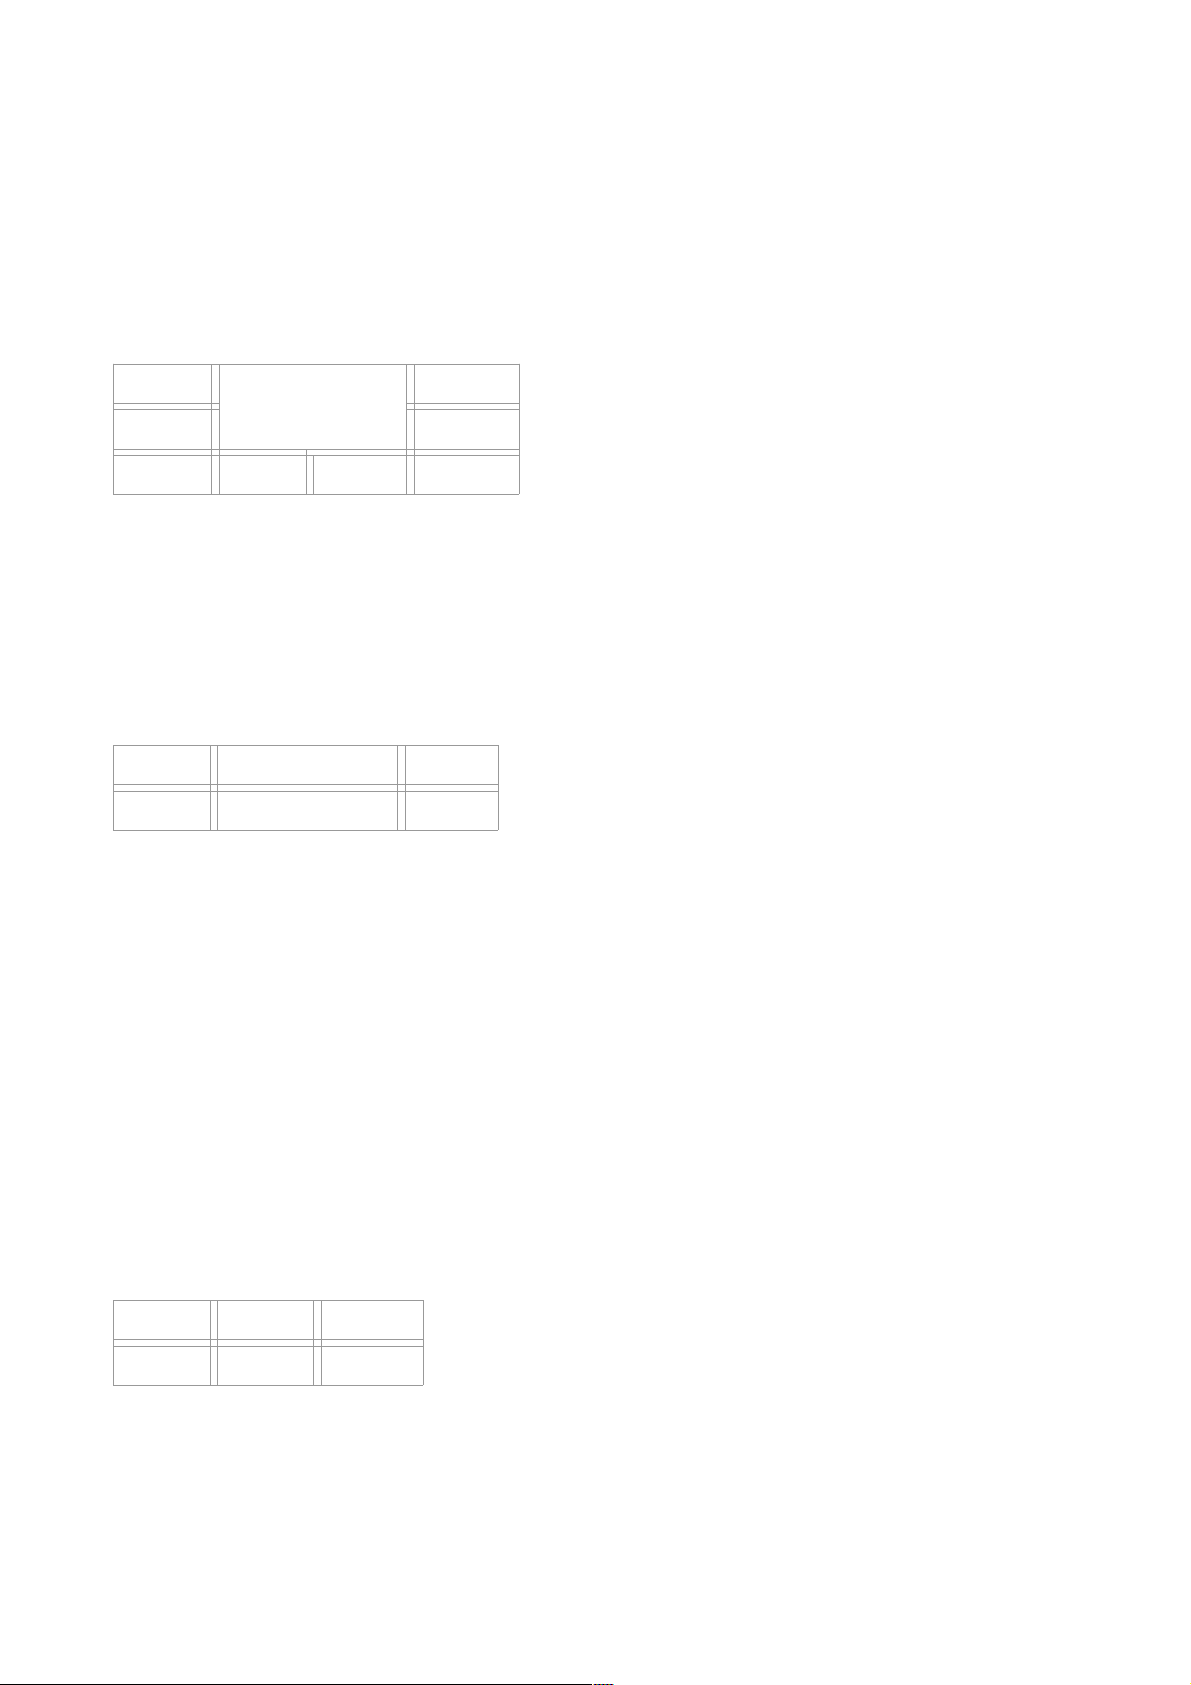
panel.add(comp1);
panel.add(comp2, "span 2 2"); // The component will span 2x2 cells.
panel.add(comp3, "wrap"); // Wrap to next row
panel.add(comp4);
panel.add(comp5, "wrap"); // Note that it "jumps over" the occupied cells.
panel.add(comp6);
panel.add(comp7);
comp1
comp4
comp2
comp3
comp5
comp6 comp7
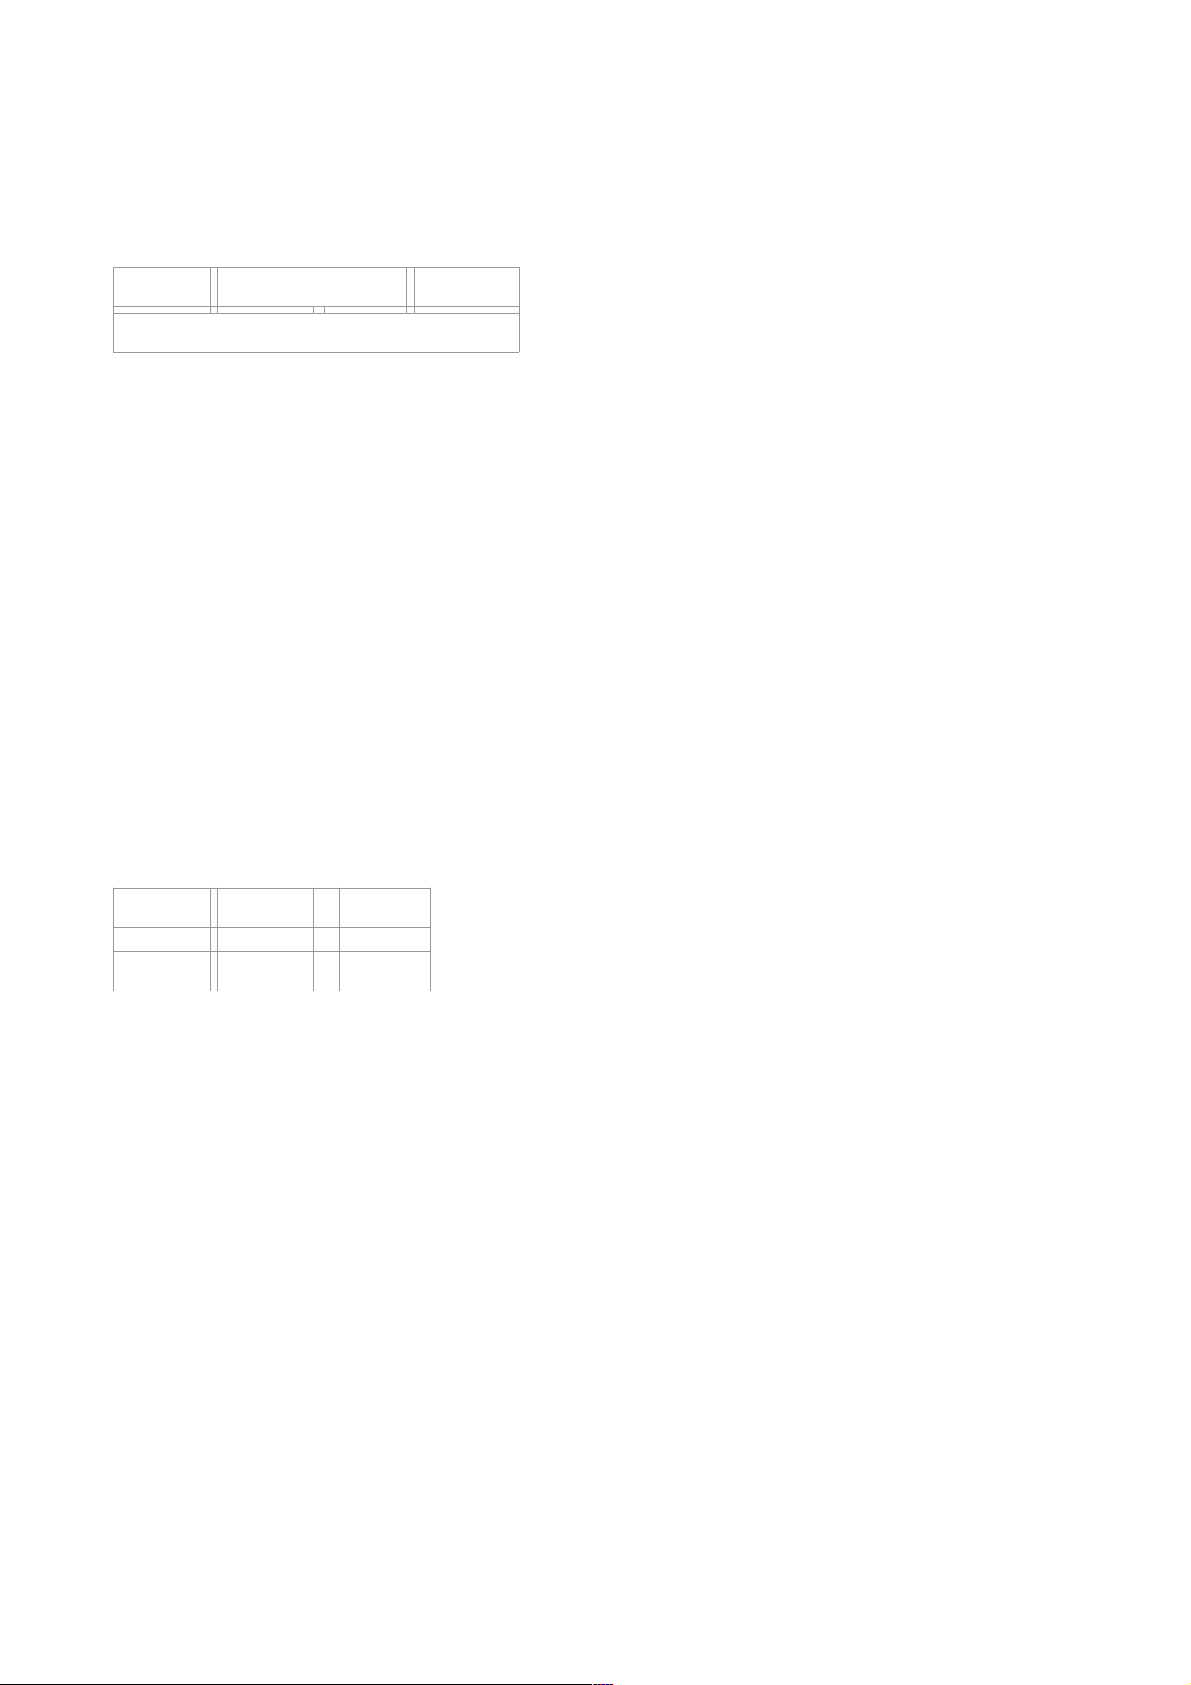
It is equally easy and intuitive to split cells.
panel.add(comp1);
panel.add(comp2, "split 2"); // Split the cell in two
panel.add(comp3); // Will be in same cell as previous
panel.add(comp4, "wrap"); // Wrap to next row
panel.add(comp5);
comp1 comp2 comp3 comp4
comp5
It is of course possible to both span and split cells at the same time. You can for instance span three cells
and split that three-cell-wide cell into two.
Using Absolute Cell Coordinates
If you don't want to use the "flow" way to put components into grid positions you can instead use absolute
coordinates. For instance:
panel.add(comp1, "cell 0 0"); // "cell column row"
panel.add(comp2, "cell 1 0");
panel.add(comp3, "cell 2 0");
panel.add(comp4, "cell 0 1");
Would produce the same grid as the first example at the top.
comp1 comp2 comp3
comp4
You can also use the absolute cell way to span and split cells. If a component is put in a cell that already has
a component the cell will be split and both cells will end up in the same cell, sharing its space. To make the
same grid as the second example above you do like this:
© 2009 MiG InfoCom AB
Page 3
panel.add(comp1, "cell 0 0");
panel.add(comp2, "cell 1 0 2 1"); // "cell column row width height"
panel.add(comp3, "cell 3 0");
panel.add(comp4, "cell 0 1 4 1");
comp1 comp2 comp3
comp4
Specifying Gaps
Generally gaps are added where they make sense and this is performed on a platform by platform basis. For
instance Mac OS X will have bigger gaps than Windows or Linux in general. There are two kinds of gaps.
Grid row gaps and Component gaps. They default to proper values but you can change them however you
like.
Grid gaps
In the grid illustrations above they are the small spacing columns and rows between the real columns and
rows. Their size can be set in the column and rows constraints when creating the layout manager (or set on
the layout manager object afterwards). E.g.
MigLayout layout = new MigLayout(
"", // Layout Constraints
"[][]20[]", // Column constraints
"[]20[]"); // Row constraints
would create something like this:
comp1 comp2 comp3
comp4
where the bigger spacing row and column is 20 pixels. You can of course use any unit to specify the size but
the default default is pixels (you can change this though). For instance "20mm" will make it 20 millimeters
wide.
Note that from 2.5 you can specify the gap when using the "wrap" keyword. E.g. "wrap 15px"
The space between the square brackets [ (here..) ] is the place where you specify the row and component
constraints such as alignment and size. More on this later.
Component gaps
The only situation where there is a default component gap > 0 is between components in the same (thus
split) cell. You can however change this by specifying a gap size when adding the component. Gaps around
components is the distance to the closest edge, may it be the cell "wall" or another component in the same
cell. If we use the first example this is how it would be:
panel.add(comp1)
panel.add(comp2, "gapleft 30")
© 2009 MiG InfoCom AB
Page 4

panel.add(comp3, "wrap") // Wrap to next row
panel.add(comp4)
comp1 comp2 comp3
comp4
There are many gap constraints, for instance "gapbefore" and "gaptop". You can read about them in
the Cheat Sheet or White Paper on www.migcomponents.com.
Component Sizes
Components have sizes provided by the GUI framework in some way. Swing even has support for
minimum/preferred/maximum size while SWT only has a preferred size. You can override these sizes and for
SWT even extend the functionality by providing the sizes in the constraints. The sizes are specified in the
form: "min:preferred:max" (E.g. "10:20:40"). A size not specified will default to the component's
corresponding size (E.g. "10::40" will set the min and max size but preserve the original preferred size).
There are a lot of short ways to set the sizes, for instance "40!" means that all three sizes will be set to 40.
Examples:
panel.add(comp, "width 10:20:40");
panel.add(comp, "height ::40"); // Same as "hmax 40".
panel.add(comp, "w 40!"); // w is short for width.
Row and Column sizes
Rows and columns default to the size of the largest component in the column/row. This can be overridden
and it works exactly the same ways as the component sizes above. You specify the column/row size in the
corresponding constraint, normally when creating the layout manager. Here are some examples:
MigLayout layout = new MigLayout(
"", // Layout Constraints
"[10][20:30:40][40!][::40]", // Column constraints
"[min!][10::20][40mm!]"); // Row constraints
Did you see the "min!" part? "min", "pref", "max" can be used on both component and column/row
sizes to refer to the original size. So "min!" means that minimum, preferred and maximum size will all be
set to the minimum size of the row, ensuring the row will for sure get its minimum size.
Panel Insets
By default there will be an invisible border around the layout, except if you have docking components. The
size of it is different on different platforms. Sometimes this is not what you want or you just want to specify
another inset. You can change this in the layout constraint. Examples:
© 2009 MiG InfoCom AB
Page 5

MigLayout layout = new MigLayout("insets 10");
MigLayout layout = new MigLayout("insets 0 10 10 20"); // T, L, B, R.
Component Alignment
Components that are alone in a cell can be aligned within that cell, if there is space left over. You can specify
this in the column/row constraints to get a default align for the components and/or you can specify it in the
component's constraints.
MigLayout layout = new MigLayout(
"", // Layout Constraints
"[center][right][left][c]", // Column constraints with default align
"[top][center][b]"); // Row constraints with default align
and/or when you add the components:
panel.add(comp, "align left");
Note that you can use the first letter of the alignment if you prefer.
If you have more than one component in a cell the alignment keywords will not work since the behavior
would be indeterministic. You can however accomplish the same thing by setting a gap before and/or after
the components. That gap may have a minimum size of 0 and a preferred size of a really large value to
create a "pushing" gap. There is even a keyword for this: "push". So "gapleft push" will be the same as
"align right" and work for multi-component cells as well.
Docking Components
You can dock components much like how BorderLayout in Swing works, except you aren't confined to use
only one component per side and a predefined usage of the corners. The docking components is always
placed outside the normal layout. You can mix grid and docking components in the same layout.
panel.add(comp1)
panel.add(comp2)
panel.add(comp3, "wrap") // Wrap to next row
panel.add(comp4)
panel.add(comp1N, "dock north")
panel.add(comp2W, "dock west")
panel.add(comp3S, "dock south")
panel.add(comp4E, "east") // "dock" keyword are actually optional
comp1N
comp2W comp1 comp2 comp3
comp4
comp4E
comp3S
© 2009 MiG InfoCom AB
Page 6

Note that a docked component "cuts off" that part which means that the ordering of the docking components
is important for how the corners are used. If the comp4E component was moved first in the code the table
would look like this instead:
comp1N
comp2W comp1 comp2 comp3
comp4
comp3S
comp4E
Docking components is a very good and easy way to layout panels but its usages are many. You can get
spacing around the docking components by using normal Component Gaps as described above.
Growing and Shrinking Components Depending on Available Space
The grow and shrink behavior for both columns/rows and components are extremely customizable with MiG
Layout. You can divide them into grow/shrink priority groups, so that one or a group of grows/shrinks to their
max/min size before the next groups are even considered. It is also possible to set the weight for how keen
they should be to grow/shrink within that priority group. See the documentation for a thorough explanation
but it is safe to say that you will not be out of options.
Components and rows/columns will by default shrink to their minimum sizes if space is scarce. A
column/row's minimum size is by default the largest minimum size of its components.
What is normally enough to know is how to make a component or row/column grow and/or disallow it to
shrink. Examples:
MigLayout layout = new MigLayout(
"", // Layout Constraints
"[grow][][grow]", // Column constraints
"[][shrink 0]"); // Row constraints
And for components:
panel.add(comp, "growx") // Grow horizontally. Same as "growx 100"
panel.add(comp, "growy") // Grow vertically. Same as "growy 100"
panel.add(comp, "grow") // Grow both. Same as "grow 100 100"
panel.add(comp, "shrink 0") // Will not shrink.
Components will never "push" the column/row's size to be larger using the grow keyword.
© 2009 MiG InfoCom AB
Page 7

API Creation of Constraints
Shown above is the String creation of the constraints. They are used because they are short to type and
easy to read. From v2.0 of MiG Layout it is also possible to create the constraints with API calls. The API is
mapped directly to the same constraints as the string version. There is JavaDoc for the API calls but the
White Paper and Cheat Sheet is still the best and most complete source of information regarding the
different constraints. Here is an example of the usage of API constraints:
MigLayout layout = new MigLayout(
new LC().wrapAfter(3), // Layout Constraints
new AX().grow(1,3,4).size("10px",1,2), // Column constraints
new AX().noGrid(1,4)); // Row constraints
panel.add(comp, new CC().grow().width("20px")) // Component constraint
Further Reading
This document has only scratched the surface of what's possible with MiG Layout, yet it is the only thing that
is needed to make beautiful and consistent layouts. Below is a list of things that is also supported by MiG
Layout. For information how to use these features go to www.migcomponents.com and press the MiG
Layout link. There you will find Cheat Sheets for the constraints and a White Paper that explains how the
layout manager works in more detail.
More features that are supported in MiG Layout are:
● The use of many different units. E.g. mm, cm, %, inch, dots, logical pixels and screen
percentage. This include the use of relative keywords like "related", "unrelated" and
"paragraph" that will follow the design guides for the different platforms.
● Grouping columns/rows/components by size to they will be the same width and/or height.
● Free positioning using absolute coordinates. Edges can be linked to any other edge including other
components and the containers bounds.
● Full support for left-to-right and bottom-to-top layouts.
● Specify how hidden (not visible) components should behave.
● Button ordering and sizing depending on platform. For instance "OK" and "Cancel" will be of different
size and order on Windows and Mac OS X. This is handled automatically by MiG Layout.
● Last stage padding of size and position of any component.
● Customization of almost any aspect of the layout engine. It is for instance possible to add new units,
to specify gaps depending on component types and change all default values.
● Tagging components with "external" so that they aren't touched by MiG Layout and thus it is
possible to set their bounds manually, yet you can link to them.
● All constraints are JavaBeans and implements Serializable so they are 100% compatible with
persistence. UnitValue and BoundSize have custom PersistenceDelegates.
● IDEUtil is a class to help integration on MiG Layout in any IDE. It can produce the source code for
any constraint, both as API and String constraints.
● Much, much more..
© 2009 MiG InfoCom AB
 Loading...