

Mier products DA-100, DA-611TO, DA-100CP, DA-610TO Installation Manual
DA-100 Drive-Alert
now with new Zone Control and Alert Tone Selection features
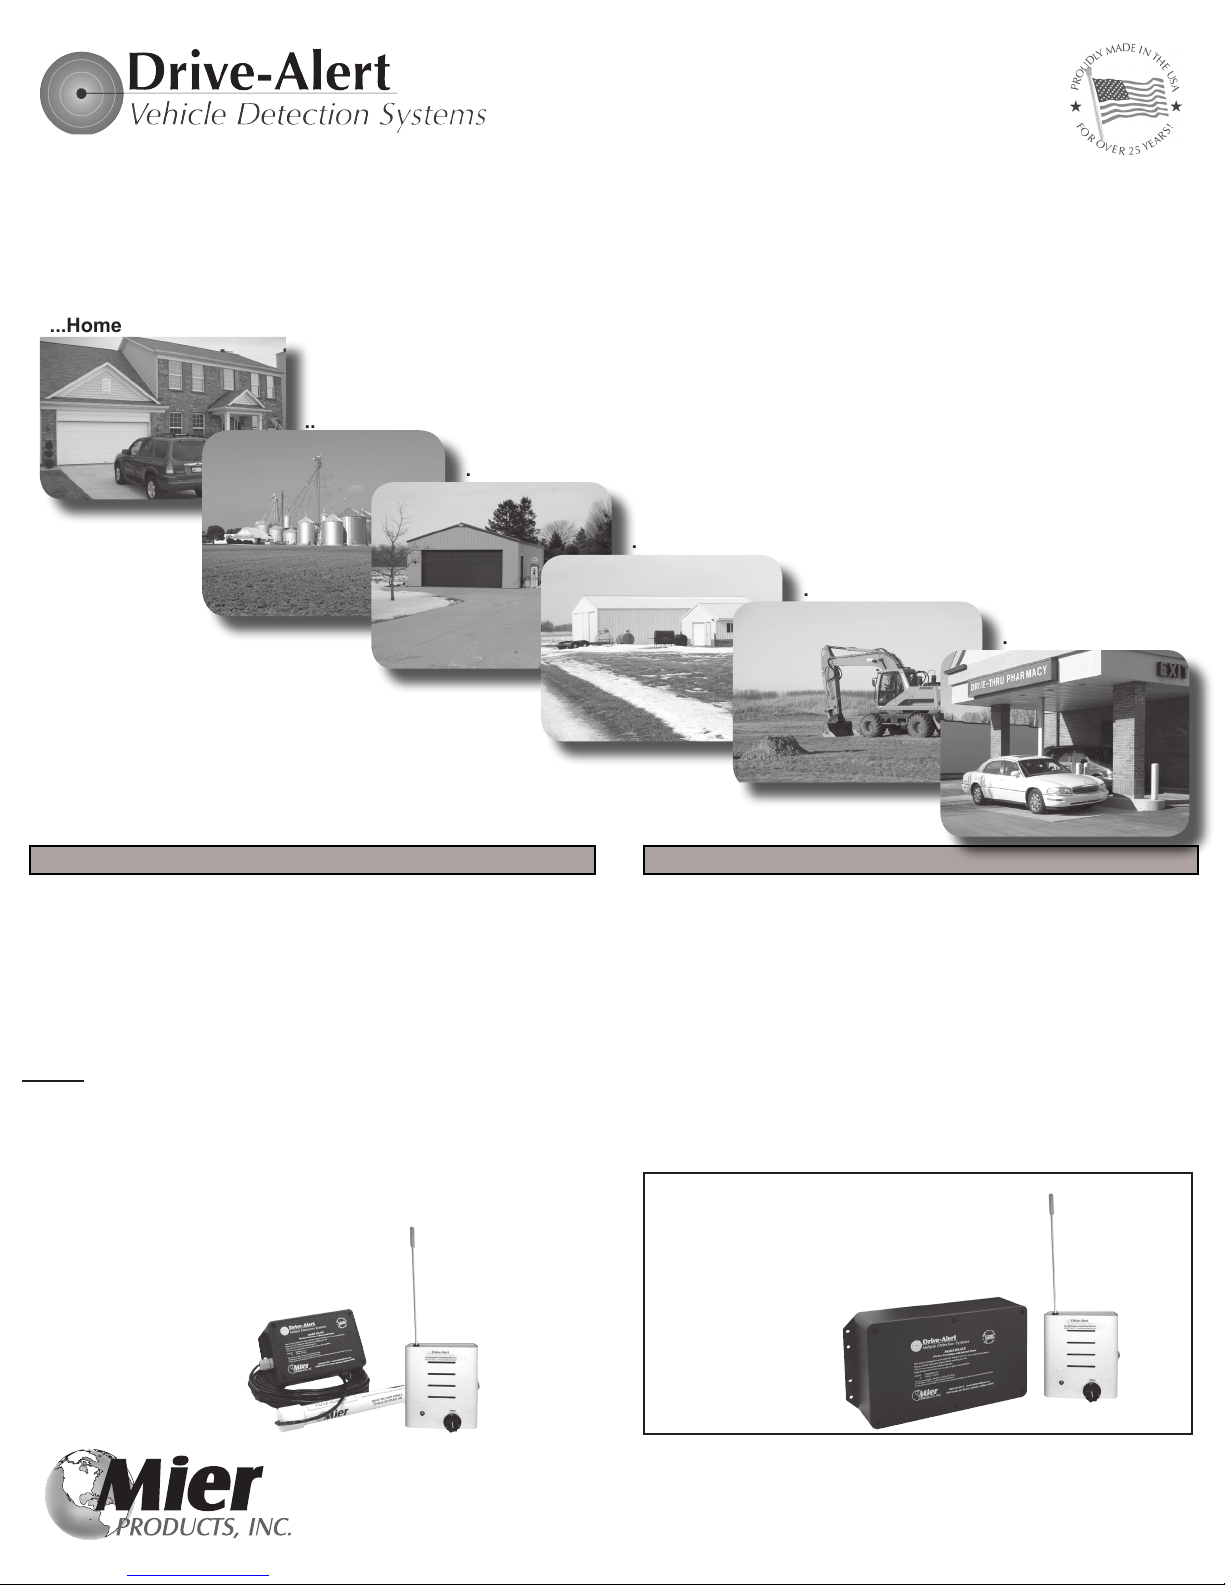
Detect vehicles and monitor areas and assets at your...
...Home
...Farm
...Workshop
...Remote Buildings
...Equipment
...Drive-Up Window
THE BASICS
A sensor detects any vehicles entering a monitored area
It also detects assets moving such as trailers, RVs, tractors, boats, or
anything a sensor is attached to.
A control panel receives a signal from the sensor and triggers an
internal chime with volume control
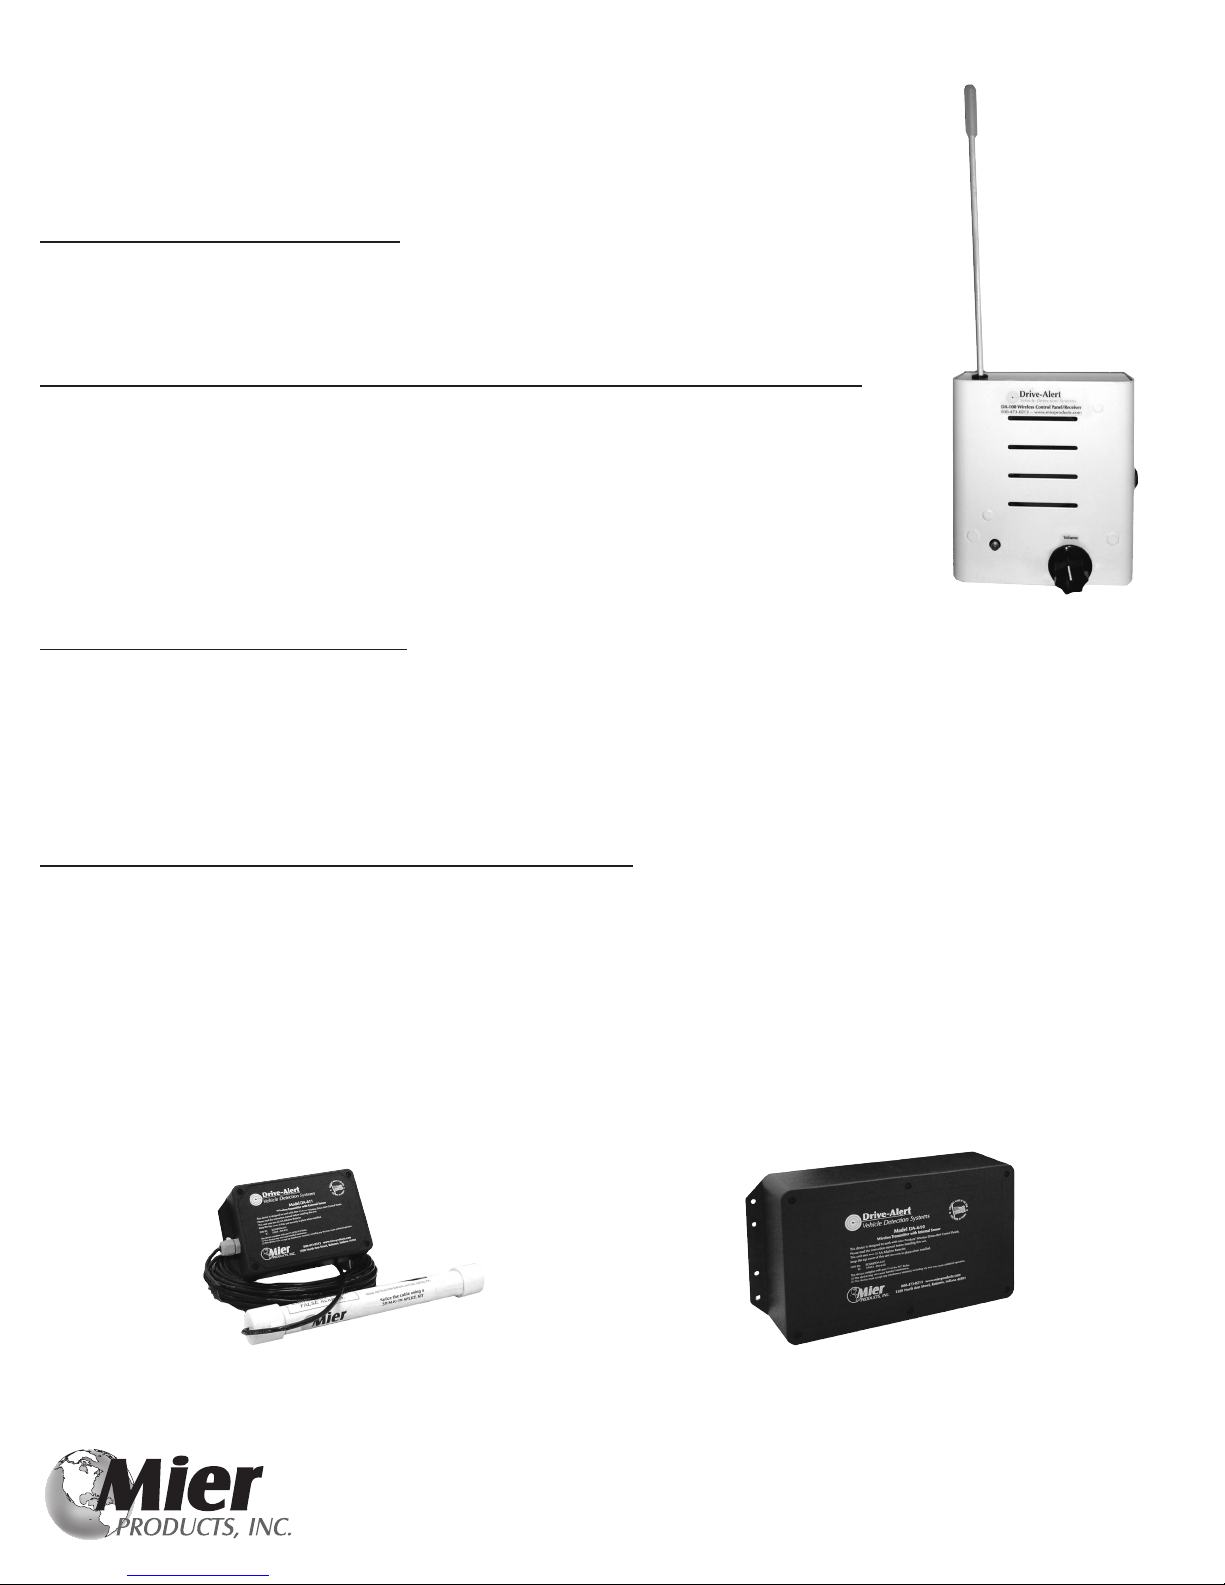
DA-100
The DA-100 is a COMPLETE KIT which includes:
• One DA-100CP Control Panel receiver with built-in chime, volume
control, and three choices of chimes
• One DA-611TO Sensor/Transmitter with 50 feet of cable
• Zoning Control to monitor up to three dierent areas and provides a
dierent tone for each. (NOTE: additional Sensor/Transmitters are
needed for each additional area to monitor)
DA-611TO
Sensor/Transmitter
DA-100CP
Control Panel
MORE OPTIONS
The DA-100 allows you to monitor up to three separate areas with
one receiver! You may monitor multiple areas, lanes, driveways by
adding additional DA-610TO or DA-611TO sensor/transmitters.
You may also add alert chimes to multiple buildings by installing
DA-100CP control panels in those areas.
Use these systems in conjunction with Mier’s other wireless DriveAlert systems such as DA-600s or DA-605s.
Optional set-up shown here includes:
• One DA-100CP Control Panel receiver
• One DA-610TO Sensor/Transmitter with the
sensor inside the transmitter box
DA-610TO
Sensor/Transmitter
DA-100CP
Control Panel
PN: MP0105326
DA-100 Installation Manual page 2
Mier Products’ DA-100 Drive-Alert gives you easy and economical wireless installation.
The DA-100CP Control Panel Includes:
• Wireless receiver board inside a durable metal enclosure
• Beginning mid-2018, an Alert Chime Select Switch allows users to choose from three (3) dierent chime alerts
• Internal chimes with on/o switch and full-range volume control knob
The DA-611TO Sensor/Transmitter and optional DA-610TO Sensor/Transmitter features:
• The DA-611TO comes with the sensor outside of the transmitter enclosure attached with 50’ of cable.
Longer lengths of cable are available. Burying the cable and sensor within a PVC pipe is recommended to protect and
prolong cable and sensor life.
• The optional DA-610TO includes the sensor inside a larger transmitter enclosure (no cable).
• Mier’s sensors detect any disturbance in the magnetic eld (moving vehicles) and not people or animals.
The sensors are even able to detect through walls made of standard building materials.
• A wireless transmitter board is within the NEMA 4X outdoor enclosure, and is powered with two (2) 1.5 volt AA (LR6)
Alkaline batteries. When the sensor is tripped, it sends a signal to the control panel.
NOTE: Typical battery life at a residential installation is over 3 years, and over 1 year at a drive-up window application.
All Mier Wireless Vehicle Detection Systems feature:
• UL Listed 24 volt DC wall transformer (115VAC)
• Normal reception over 1000 feet line-of-sight
• Use of an unlimited number of Mier’s Wireless Sensor/Transmitters or Mier Control Panel/Receivers
• 100% compatibility with any of Mier’s Wireless Sensor/Transmitters and Wireless Control Panels
• By selecting the ZONING FEATURE (see page 3, the three separate tones will alert for three (3) dierent driveways or areas
DA-100CP
Control Panel/
Receiver with
Alert Chimes
Before Installation, perform the following BENCH_TEST steps:
1. Apply power to the DA-100PLUS Control Panel/Receiver. Turn the volume switch up at least halfway, and check that the GREEN Power LED is on.
2. Remove the cover from the DA-611TO or DA-610TO. DO NOT wipe o the silicone grease which adds an additional layer of environmental protection.
3. Install two (2) 1.5 volt AA (LR6) Alkaline batteries, observing proper polarity.
4. Turn on the DA-611TO or DA-610TO power switch. The RED Transmit LED should come on and the DA-100CP should chime.
NOTE: Some early models of the DA-611TO may not have a power switch or red LED. These units become active as soon as the batteries are installed.
5. Reinstall the cover being careful not to over tighten the screws which could crack the cover.
6. Turn o the DA-100 Control Panel after conrming that it chimed in Step 4.
See next page for EASY Installation Instructions...
Sensor/Transmitter with external sensor
DA-611TO
Sensor/Transmitter with internal sensor
DA-610TO
 Loading...