

Midway Off Road Thunder Manual Amendment

http://www.midway.com
DECEMBER 1999
16-11064
Sit-In,
Dedicated
39” Video
Game
Manual Amendment
Make This Text Change
The following change applies to the
101. Please replace Step 6, on page 1-6 of your manual, with the following…
[ ] 1. Fasten the cabinet joining brackets to the monitor cabinet. Mount the brack ets to the cabinet with
hex-head bolts from the spare parts kit. Slide a split lock washer over each bolt. Then insert the
bolt through the bracket, and into the c abinet mounting hole. Tighten all the bolts. Align the das h
Offroad Thunder
Midway Games Inc. -1-
39” video game machine manual, part 16-20041-
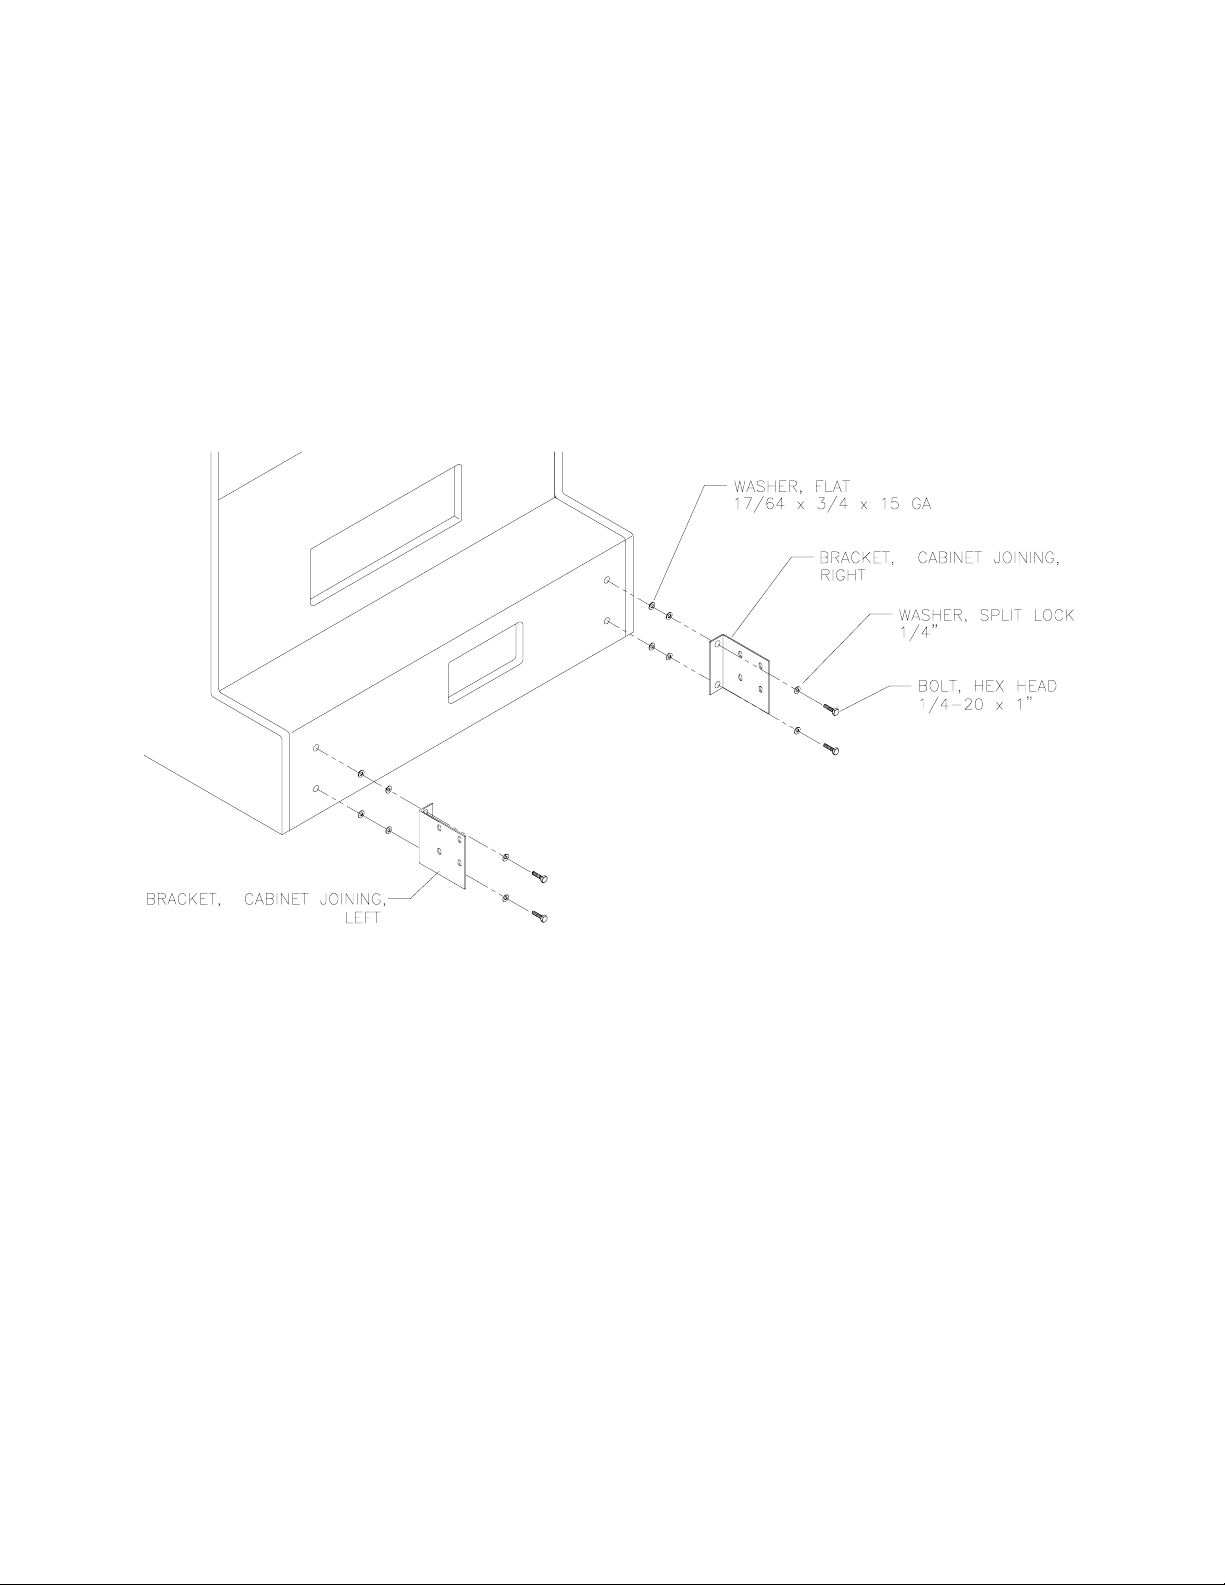
and monitor cabinets. Carefully slide the dash cabinet between the cabinet joining brackets. When
the cabinets are flush, attach the c abinet joining br ac kets to the dash cabinet. If you have difficulty
in mating the cabinets in this way, remove the brack ets. Retain the split lock washer over each
bolt. Reinsert the bolt through the bracket. Slide two flat washers over each bolt, between the
monitor cabinet and bracket. Remount the brackets to the monitor cabinet. Mate the cabinets.
Add This Drawing
Here is a related drawing for Chapter 7, Parts…
MONITOR CABINET
4700-00033-00B
01-15042-2
4701-00005-00
4320-01124-16
01-15042-1
Midway Games Inc. -2-
 Loading...