

Mid-rivers DCH6416 Reference Manual
Mid-Rivers
C O M M U N I C AT I O N S
Customer
Reference Guide
Digital Video
Recorder
(DVR)
Customer Service Oces
Baker - 413 W Montana Ave
Circle - 904 C Avenue
Glendive - 213 W Benham
Lewistown - 223 W Janeaux
Miles City - 1101 Main
Sidney - 204 N Central Avenue
Roundup - 408 1st Street W
1-800-452-2288
Revised 092011
Modify or Remove a Scheduled
Future Recording
Modify or Remove a Scheduled
Series of Recordings
See our website for complete Set-Top
Box & Remote Control User Guides
www.midrivers.com
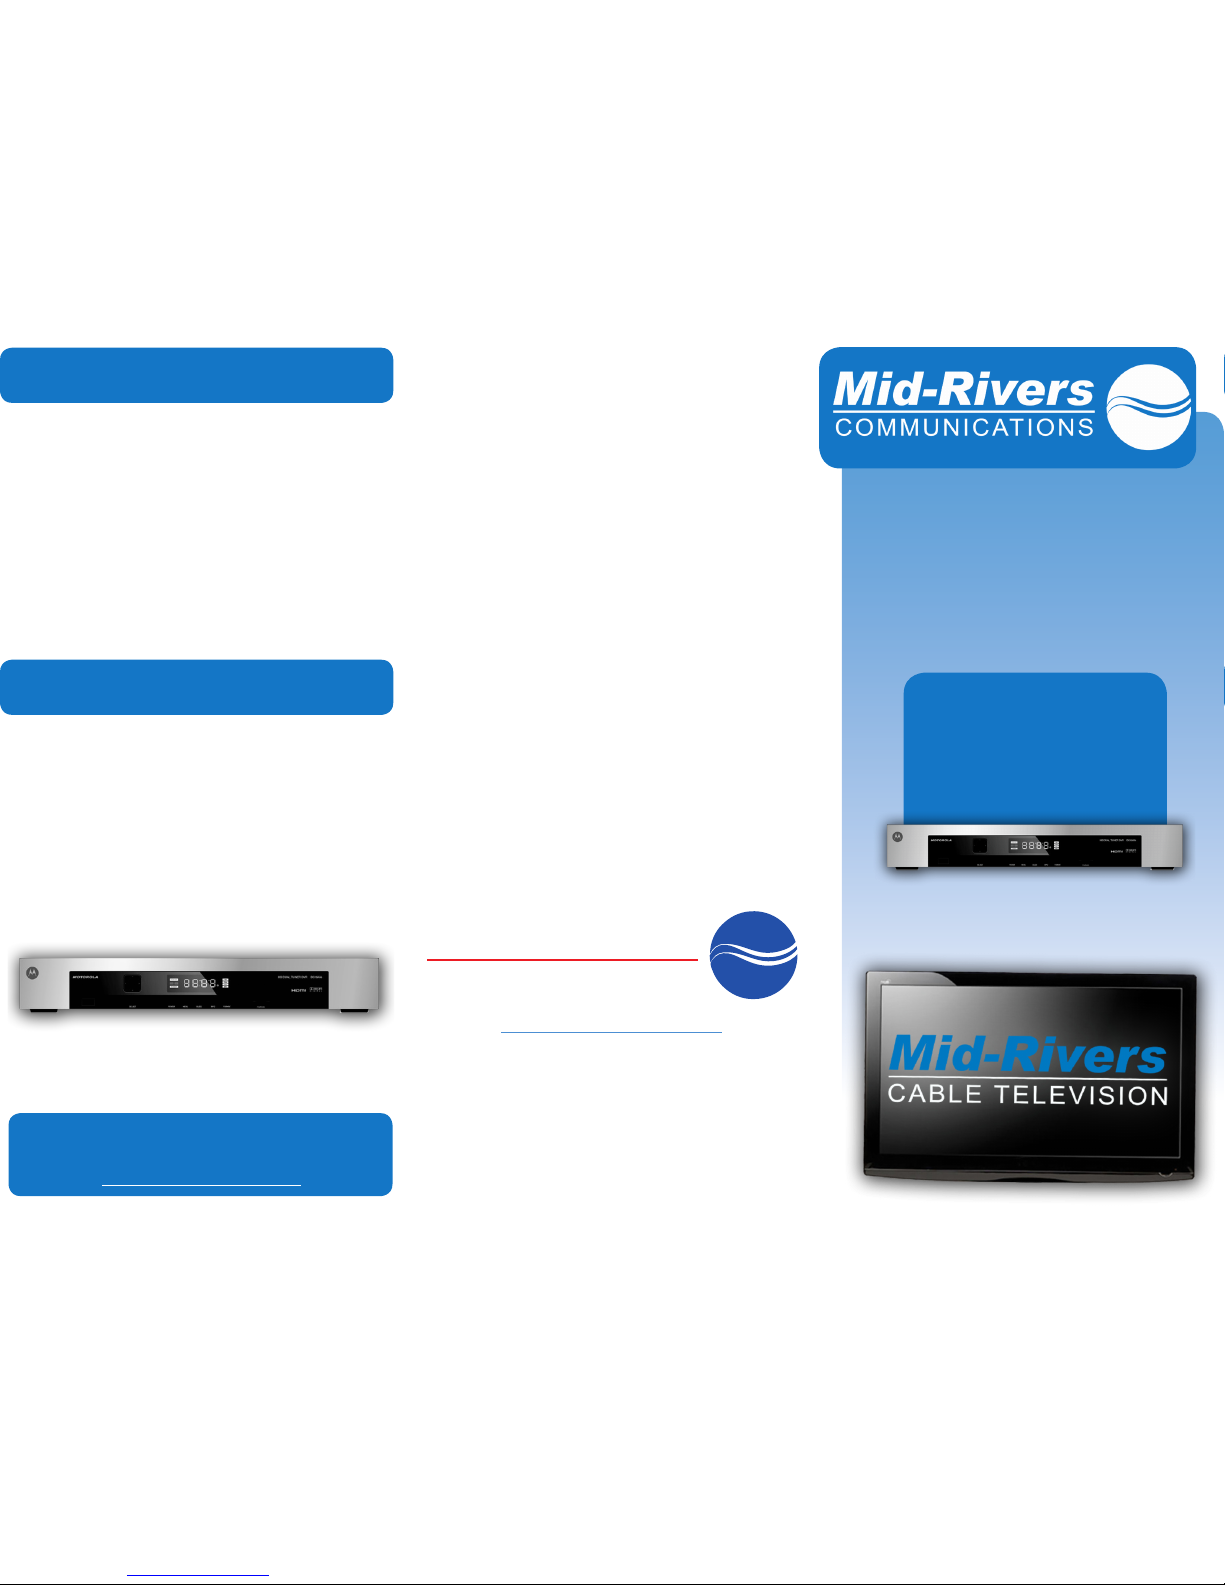
Motorola DCH6416 HD/DVR Box
1) Press the Menu button and then select the DVR menu
item.
2) Select the Future Recordings option.
3) Use the arrow buttons to move forward or backward in
the schedule. Any scheduled recordings will be listed
below organized by date & time.
4) You can select a scheduled recording by using the
arrows and pressing OK.
5) To modify or delete the schedule, select the red dot and
press OK.
6) You will see options to Modify or Delete similar to
the screens that were previously used to setup the
scheduled recording.
1) Press the Menu button and then select the DVR menu
item.
2) Select the Series Recordings options.
3) Use the arrow buttons to select the series you want to
modify, then press OK.
4) Select the Watch option to make changes to the
series, or select the X option to delete the series
schedule. (Deleting the recording schedule will not
delete previously recorded episodes.)
(Single)

Digital Video Recorder (DVR)
Changing the Channel
(Tuner 1 or Tuner 2)
(Tuner 1 or Tuner 2)
(Tuner 1 or Tuner 2)
Tuning to the Last Viewed Channel
Pause, Play, Fast-forward, or
Rewind LIVE Programming and
Special Functions
Swapping Between Two LIVE Channels
Recording the Current Program
Setting A Future Program To Be Recorded
Watch or Delete A Previously
Recorded Program
Pause, Play, Fast-forward, or
Rewind LIVE Programming and
Special Functions
The DVR (Digital Video Recorder) is a special Digital Cable
Television CATV set top box equipped with a built-in computer
that allows for simultaneous multiple recording and playback
of CATV programming. There is also a built-in High Definition
tuner and special video outputs for HDTV’s. The box has both
temporary memory (RAM) and permanent memory that is
used to interactively store and playback CATV content. A
single coax input feeds signal to 2 independent tuners that
make it possible for the box to simultaneously play, pause,
fast-forward, rewind, and record two channels (analog or
digital) at the same time. The box is also capable of recording
two channels at the same time and playing back another
program that was previously recorded. There are a number
of ways to view, record, and playback multiple programs,
but keep in mind that this DVR model still only allows one
program to be watched by the viewer at a time.
You can press the channel Up/Down button on the remote,
or...
You can type a channel number directly by using the # keypad
on the remote, or...
Press the OK button to display a quick two channel listing,
then use the Up/Down arrow navigation buttons to browse
through channel information before tuning to one. When
you’ve found the channel you are looking for, simply press the
OK button to tune that channel.
(PLEASE NOTE THAT WHEN YOU CHANGE THE CHANNEL IN THIS MANNER,
ALL MEMORY STORED FOR THE CURRENT CHANNEL IS LOST. PLEASE
USE THE SWAP BUTTON INSTEAD IF YOU WISH TO RETAIN CHANNEL
MEMORY.)
You can press the Last button on your remote to jump back to
the previous channel.
(PLEASE NOTE THAT WHEN YOU CHANGE THE CHANNEL IN THIS MANNER,
ALL MEMORY STORED FOR THE CURRENT CHANNEL IS LOST. PLEASE
USE THE SWAP BUTTON INSTEAD IF YOU WISH TO RETAIN CHANNEL
MEMORY.)
Play – press the Play button, or if the program is currently
paused you can press the ^ (up) arrow to resume normal
playback.
Rewind – press the << REW button, or press the < (back)
arrow. (To increase the speed, you may press the button up to
4 times for 4x speed...pressing the button a 5th time returns
you to normal playback.) To stop rewinding, press Play, or the
^ (up) arrow to resume normal playback.
Fast-forward – press the >> FFWD button, or press the >
(forward) arrow. (You may increase the speed the same way
as with the rewind function.) ***Please keep in mind that you
can only fast-forward the program until it reaches its LIVE
broadcast point.***
Slow-Motion – you can start slow motion forward or rewind
by first pressing the Pause button (or the up arrow), then
pressing either the left or right arrows once. To resume normal
playback press Play or the Up arrow.
REPLAY – you can use the Replay button to see an instant
replay of the last 10 seconds of programming that you just
viewed.
LIVE TV – press the Live TV button to skip ahead to the LIVE
broadcast point.
LIST – press this button to see a listing of the programs you
have previously recorded.
If you want to be able to flip back and forth between two
channels (Tuner 1 & Tuner 2) without missing anything, you
will need to use the Swap button on the remote to switch
between the two tuners.
1) Tune to the first program, either by using the guide
or typing the number in manually. The box will begin
storing this channel on Tuner 1.
2) Press the swap button to switch to Tuner 2. Then
navigate to the second program you would like to
watch. The box will begin storing this channel (on
Tuner 2) as well as the first channel (on Tuner 1).
3) You can now switch back and forth between the two
programs at will by using the Swap button. The Pause,
Fast-forward, Rewind, and Play buttons can be used to
skip commercials or to catch something you may have
missed while you were watching the other channel.
Advanced Feature: You can also swap between 2 live programs
and 1 or 2 pre-recorded programs at the same time. This can be
done by using both the Swap and Last buttons on the remote
control together. First you must tune both live programs using
the procedure above, then go to Menu button > DVR (menu)
> My Recordings to start watching a pre-recorded program
(doing this will not stop the box from continuing to record the
live programming). Use the Last button to switch between the
pre-recorded shows and the live programs being recorded by
Tuner 1 & Tuner 2.
At any time when you are watching something or notice a
future program in the on-screen guide that you would like
to save to watch again later, you can initiate the recording
process by simply pressing the Record button. The DVR box
will begin storing the current program on the hard-drive,
starting from the point where you first began watching the
program.
(IF YOU ATTEMPT TO TUNE A DIFFERENT CHANNEL BEFORE THE PROGRAM
HAS FINISHED, YOU WILL SEE A WARNING THAT THE RECORDING WILL BE
STOPPED...INSTEAD, USE THE SWAP BUTTON TO
TUNE TO A DIFFERENT
CHANNEL WITHOUT STOPPING
YOUR CURRENT RECORDING PROCESS.)
You can set the DVR box to record a future program or series
of programs by using the special recording options.
1) Use the on-screen guide or A-Z search tool to find
the program you wish to record. Press OK to view the
information about the program for setting recording
options.
2) Use the arrow buttons on the remote to select the red
dot, then press OK.
3) A recording menu will be displayed. If you would like to
set a one-time recording without any special options,
simply press the Record button. If you would like to
modify the options, arrow down to the Recording
Options and press OK. If you would like to set a series
recording, skip to step 5.
4) You will see three settings: Save Recording Until, Start
Recording, & End Recording. You can modify these
settings by pressing the arrow buttons on the remote
and then pressing OK.
5) If you would like to make this a Series Recording
instead of a one-time recording, arrow down to the last
recording option called Create a Series Recording and
press OK.
6) You will see options for recording first run or repeats,
how many episodes to save, and whether the stored
episodes will be automatically or manually deleted
when memory space is needed. Press OK to confirm the
series recording.
(THE DVR BOX DOES NOT NEED TO BE LEFT ON FOR A SCHEDULED
PROGRAM TO BE RECORDED...THE BOX WILL TURN ON BY ITSELF TO
RECORD.)
To watch or delete a program that has been recorded, press
the Menu button > DVR (menu) > My Recordings and select
the desired program. You can Resume (where you left off), or
Restart from the beginning, or Delete the program. You will
be asked to confirm your selection when choosing to delete.
Whenever the set top box is turned on, LIVE programming on
both tuners is continuously stored in temporary memory. This
means that if you need to leave the room to answer the door
for example, you could come back 30 minutes later and rewind
a program right back to where you left off. An even better way
to do this is to press Pause on the remote before you leave the
room. Your program will remain paused until you return, or
until the temporary memory has been filled. At that point the
box will automatically continue playing the program.
Pause – press the Pause button, or press the ^ (up) arrow.
(continued)
(so you can watch it again later)
(Single or Series)
 Loading...