

Midland H180 Quick Manual
H180
FULL HD
QUICK GUIDE
GUIDA RAPIDA
Cycle
recording
220°
Wide angle
lens
Virtual reality
ready
Waterproof
up to 30m

3
1
2 5
8
6
7
12
4
11
9
2

ENGLISH
Starting steps
Before using your H180:
• Make sure that the battery is full
• Format the Micro SD memory card.
Now you can proceed and set H180 upon your needs.
Description of appearance and keys
1. LCD display screen
2. Start/Stop REC/Shutter button
3. Power/Mode button
4. Wifi/Menu button
5. Power/rec LED (red)
6. Charging LED (blue
7. WIFI led (red)
8. Camera lens
9. Mount screw
10. Connectors lid (USB, HDMI, microSD)
11. Speaker
12. Microphone
3
Working mode selection
05:12:39
1080P
2015/01/01 01: 01
★★★★★★★★
★★★★★★★★
2015/01/01 01: 01
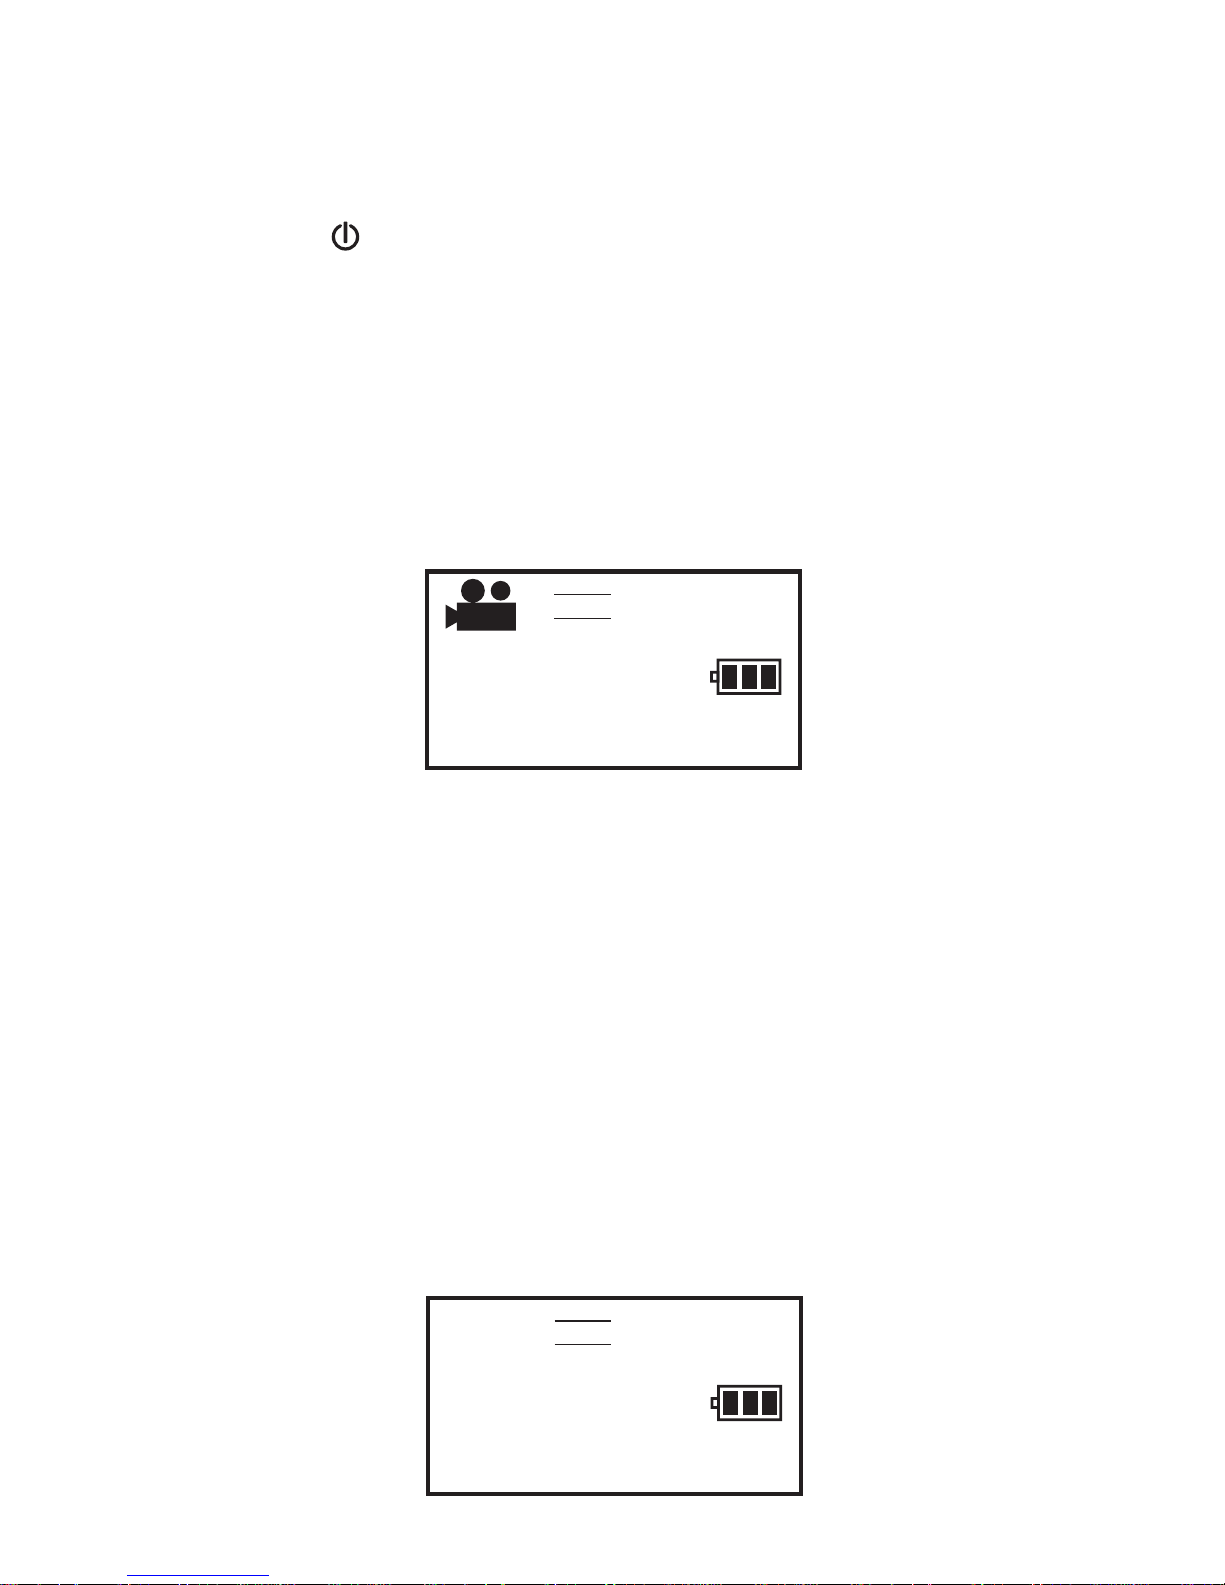
The camera has three modes: video recording, driving mode and
photograph shooting. They can be switched by pressing the Power/
Mode button
or through the APP (driving mode is not selectable
by the APP).
Video recording: in stand-by the LCD displays the available REC
time (as in below example image). Press the start/stop REC button
to start recording. The REC led (red) will be twinkling during the
video recording process. The LCD timer starts timing. Press the
start/stop REC button again to stop video recording.
★★★★★★★★
1080P
★★★★★★★★
05:12:39
Driving mode: in driving mode, the camera will record splitting the
video in 3 minutes file. When the card is full, the file recorded earliest
will be deleted automatically so that video recording can continue.
Press REC button to start video recording. The REC led (red) will be
twinkling during the video recording process. The LCD timer starts
timing. Press the REC button again to stop video recording.
In this mode when the unit is power supplied it automatically turns
ON and starts recording; when the power supply is removed the unit
turns OFF.
★★★★★★★★
1080P
★★★★★★★★
4
05:12:39
2015/01/01 01: 01
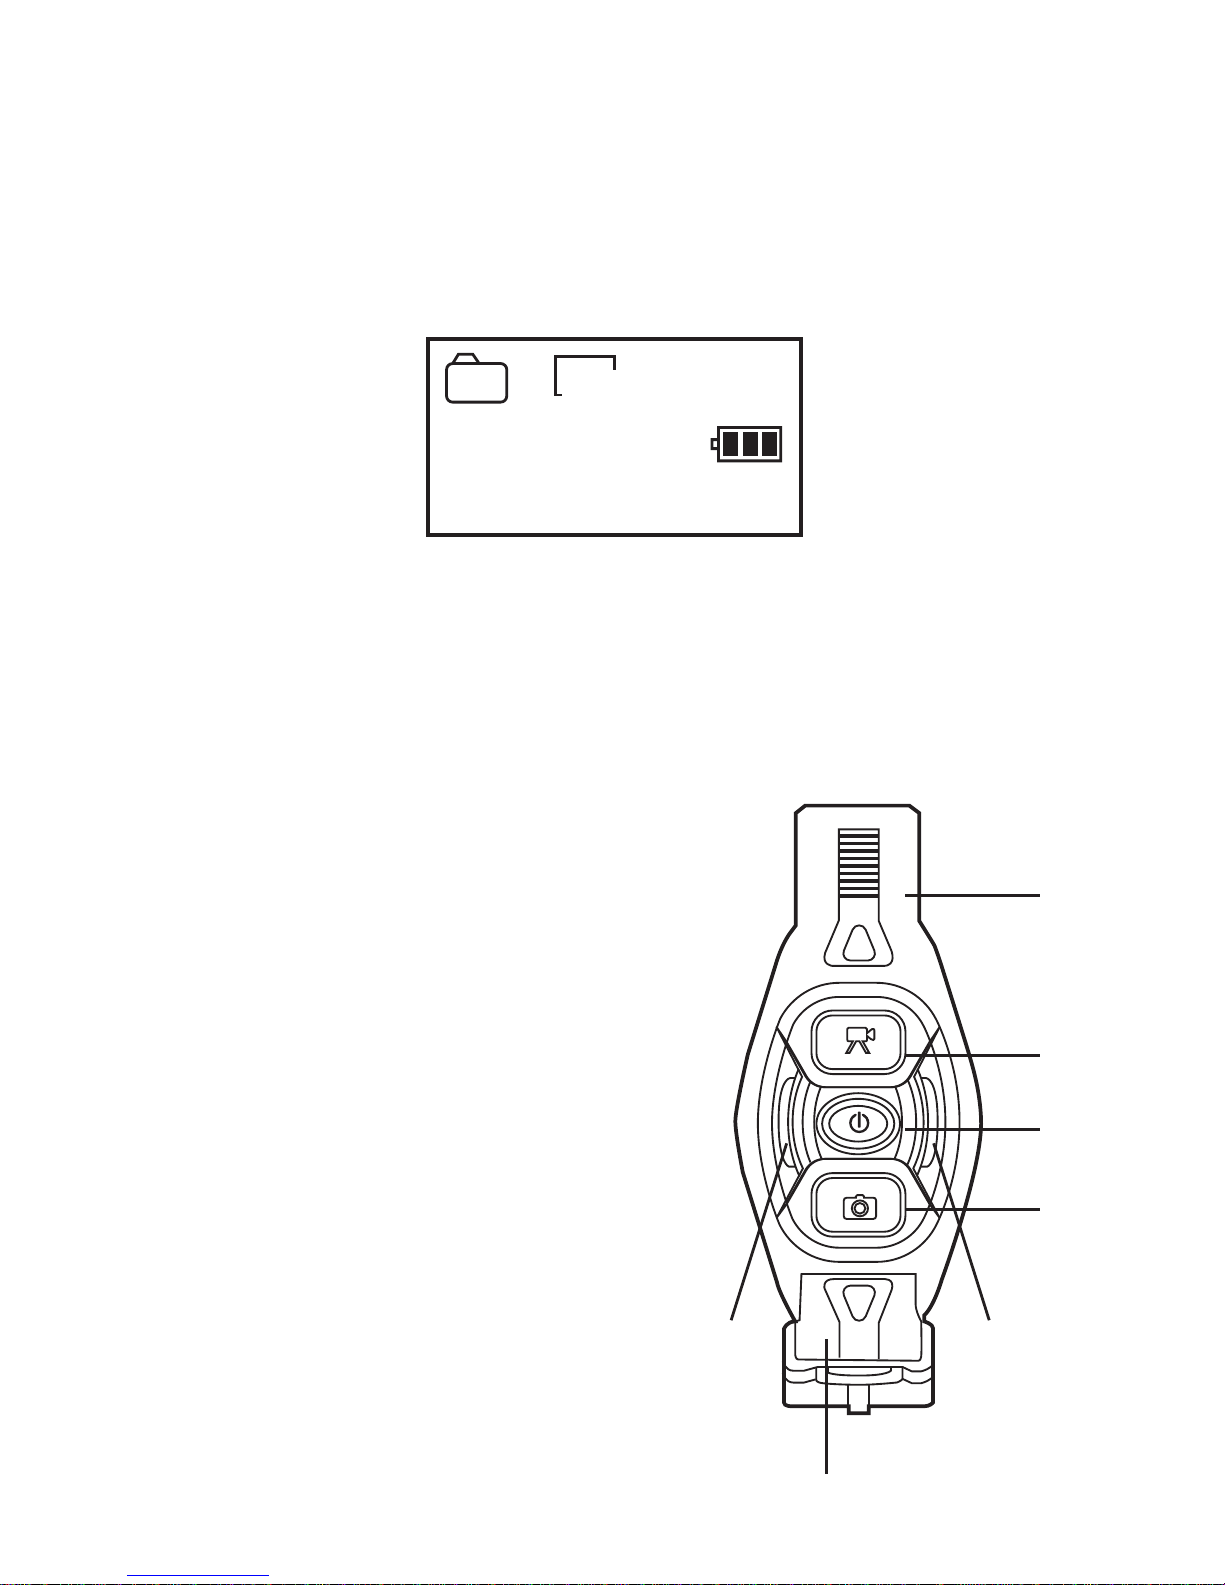
Photo shooting: The LCD displays the available number of photos
05:12:39
1080P
2015/01/01 01: 01
★★★★★★★★
★★★★★★★★
05:12:39
1080P
2015/01/01 01: 01
★★★★★★★★
★★★★★★★★
1080P
★★★★★★★★
★★★★★★★★
1080P
★★★★★★★★
★★★★★★★★
5
m
(as in below example image). Short press the Shutter button to shoot
photographs after it is switched to the photo-shooting mode. The
buzzer will send out “beep” sound. The counter will countdown the
remaining photos.
Remote controller
1. Power key
P
5
m
15298
2015/01/01 01: 01
6
2. Video recording key
3. Photo shooting key
4. Key LEDs (red)
5. Watch band
6. Watch buckle
4
2
1
3
4
6
5
 Loading...