

Miditech Pianobox Pro Owner's Manual
Pianobox Pro
Owner´s manual
catalog
1. PREFACE ............................................................................................... 3
2. General functions and ports .................................................................... 3
3. Technical Specifications of the PianoBox Pro : ............................................. 4
4. Connections and user panel: ..................................................................... 4
4.1 Front Panel ...................................................................................... 4
4.2 Rear panel....................................................................................... 5
4.3 Top of the PianoBox Pro ................................................................... 5
5. How to use the PianoBox Pro .................................................................... 6
6. Afterword. ............................................................................................... 7
7. List of the PianoBox Pro Sounds Bank ....................................................... 8
7.1 List of the PianoBox Pro GM sound bank ............................................ 8
7.2 List of the PianoBox Pro 8030-EMU sound bank .................................. 9
7.3 List of the drum patterns ................................................................ 10

1. PREFACE
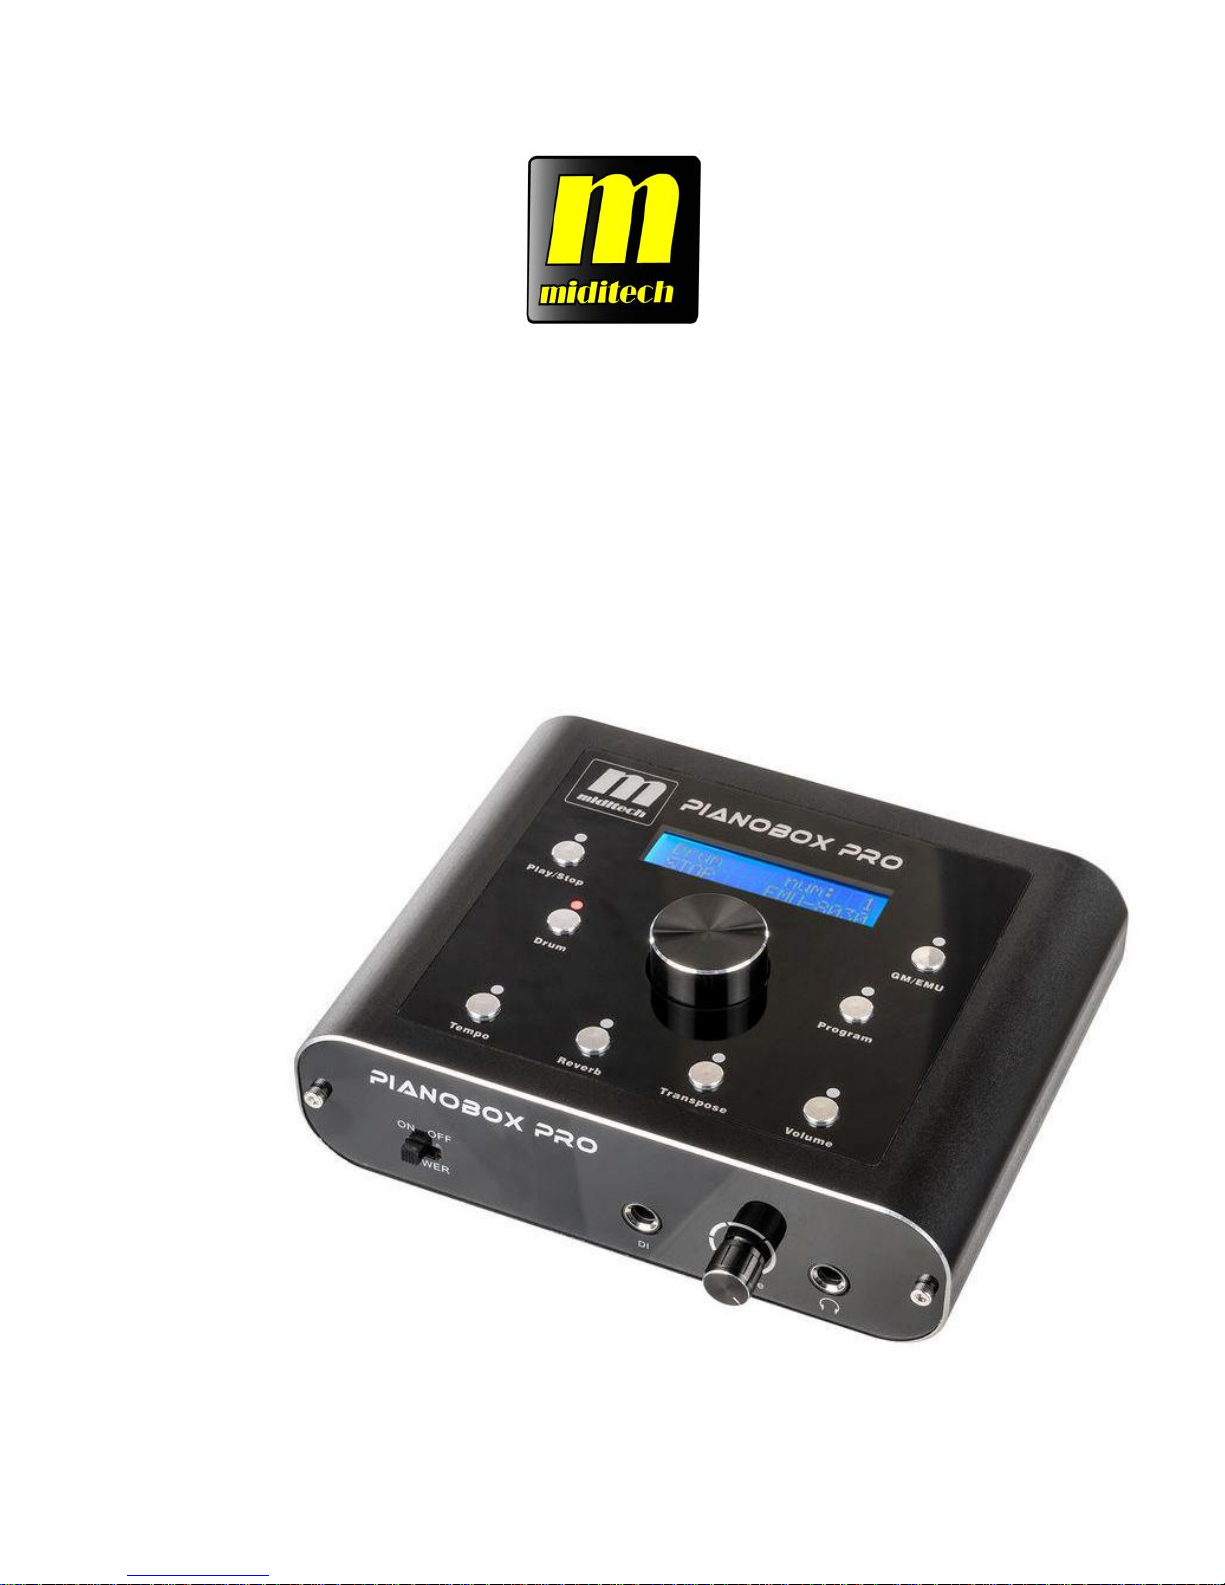
Congratulations on purchasing the miditech PianoBox Pro sound module.
With this module you will be able to discover the wonderful world of
Music, with a set of complete musical instruments and many drum
patterns in this little black box.
Connect your PianoBox Pro to a Master keyboard or computer, and you
will be able to play easily different sounds, or use it for playback GM
files from a computer or sequencer. If you are a guitar player, you can use
the Direct Input to connect your guitar, practice songs and riffs by using
the PianoBox Pro drum patterns as a drum computer. Many different
modern styles are available.
This manual is written to help you become familiar with the features of
the PianoBox Pro. Please read the manual carefully to discover all the
features of your PianoBox Pro . After reading the manual, you will have a
clear understanding of how to use the PianoBox Pro , use its drum
patterns and sounds. At the end of this manual you will find a list of the
100 implemented drum patterns.
2. General functions and ports
2.1 8030 sound module with 64 EMU sounds and 64 GM sounds , a total
of 128 sounds
2.2 Drum computer/metronom with 100 drum patterns
2.3 LCD display
2.4 LED display
2.5 HI-Z guitar-input TRS jack 6.3mm
2.6 PLAY/STOP button, Drum, Program buttons…8 function buttons
2.7 HI-Z instrument preamps
2.8 MIDI I/O
2.9 LINE OUT TRS jack 6.3 mm
2.10 Headphone output TRS jack 6.3mm
2.11 USB2.0 jack
3. Technical Specifications of the PianoBox Pro :
● Easy to use with keyboards, master keyboards, or computer with MIDI.
● Adjustable headphone out 32Ω, 65mW, 20Hz- 20kHz, thd 0.1%
● Line Out, 10kΩ, 1V, 20Hz- 20kHz, thd 0.01%
● Direct Input for guitar/bass 10kΩ, 20Hz- 20kHz
● Including USB2.0 5V power
● LCD display
4. Connections and user panel:
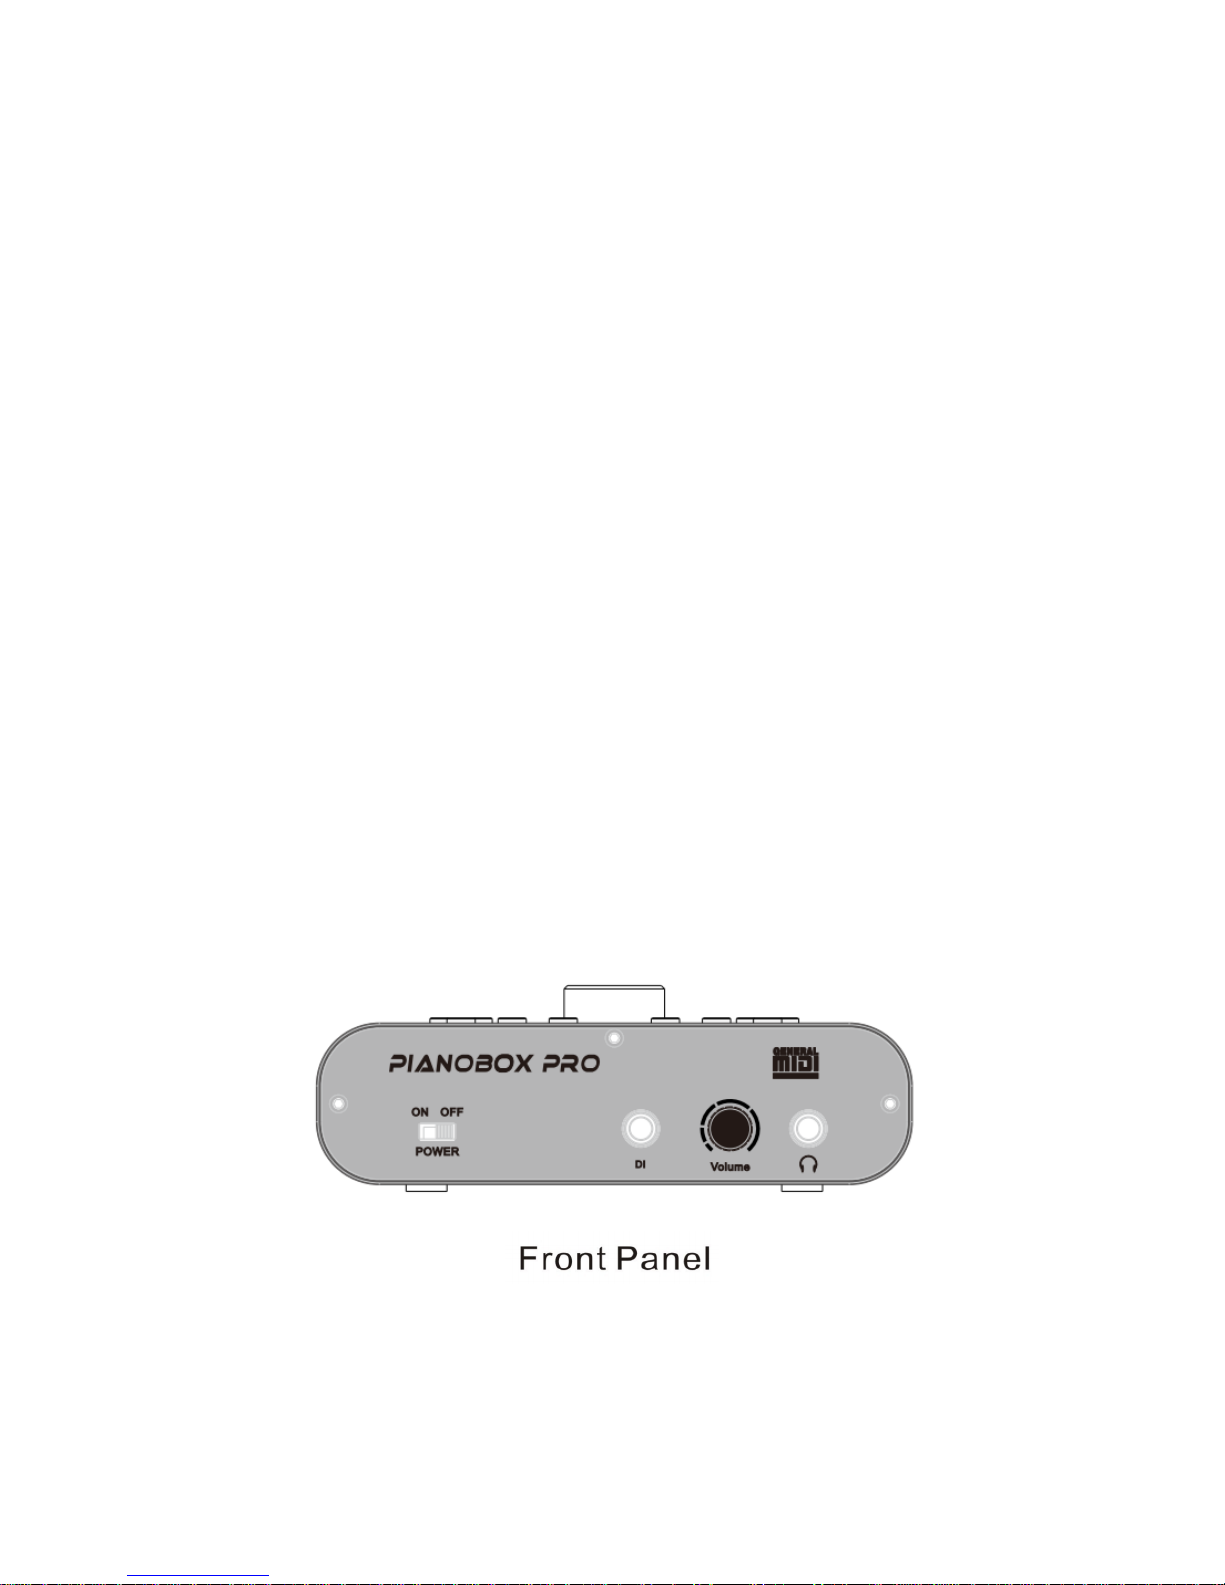
4.1 Front Panel
On the front of the PianoBox Pro you will find the DI (direct input) for
guitar/bass and the headphone out. Please connect your guitar or
headphone here. And the volume leveler, which controls the volume of
headphone out . The left side is the power switch.
 Loading...