

Page 1
miditech
midiface 8x8
8In-/8 Out USB MIDI Interface
8 x MIDI In / 8 x MIDI Out USB MIDI Interface
128 MIDI Kanäle
8 LEDs für MIDI Input
8 LEDs für MIDI Output
USB Powered,
USB 1, 2 und 3 kompatibel
Hochwertiges Aluminium Gehäuse
Class Compliant – läuft treiberlos auf Windows XP SP 3, Vista, Windows 7,
Windows 8 & Mac OS X )
eMail: info@miditech.de Internet: www.miditech.de
1
Page 2
Bedienungsanleitung
Vielen Dank, das Sie sich für das Miditech Midiface 8x8 entschieden haben. Mit dem Midiface 8x8 können Sie mit
einfachster Installation bis zu 8 MIDI Tastaturen oder Eingabegeräte und bis zu 8 MIDI Expander und Keyboards an
Ihren Computer anschliessen und einfach von Ihrer DAW verwalten. Mit dem Midiface 8x8 stehen Ihnen je 8 Standard
MIDI Ports mit je 16 MIDI Kanälen als Ein- und Ausgänge zur Verfügung!
So bekommen Sie Ihr MIDI Hardware Setup übersichtlich verwaltet.
Im Verlauf dieser kurzen Bedienungsanleitung werden wir einige Hinweise zur Installation und Funktion des Midiface
8x8 geben.
Technische Daten des Midiface 8x8:
● Einfacher Anschluss an den Computer über USB 1, 2 oder 3
● Läuft unter Windows XP SP3, Vista 32 und 64 Bit, Windows 7 32/64 Bit, Windows 8 32/64 Bit, Windows 10
32/64 bit und Mac OS X.
● 16 fach LED Anzeige für MIDI Input und Output Aktivität
● USB Powered, keine weitere Stromversorgung nötig.
● Inklusive dem Miditech "free software bundle"
Anschluss und Bedienelemente
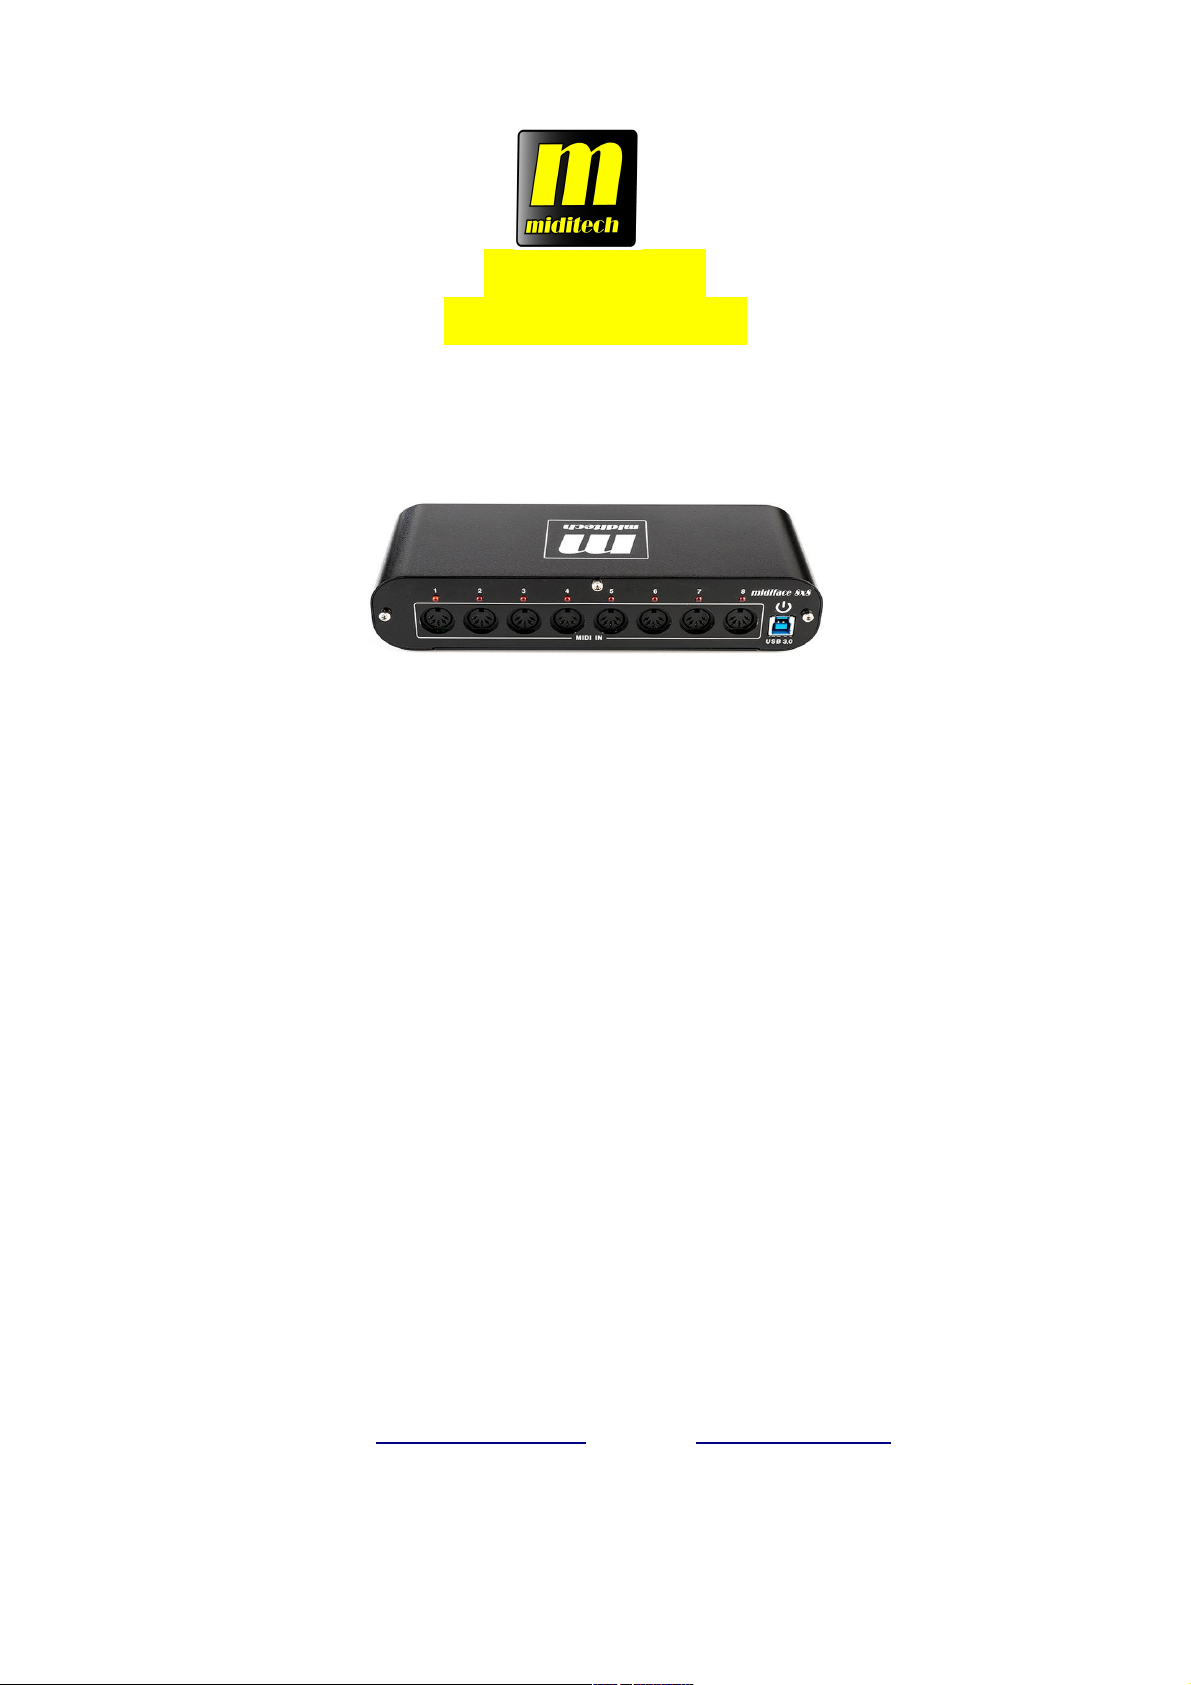
Das Gehäuse des Midiface 8x8 ist eindeutig beschriftet!
Sie finden an der Frontseite die MIDI Eingänge 1 bis 8, auf der Rückseite die MIDI Ausgänge 1-8. Hier können Sie mit
handelsüblichen MIDI Kabeln Ihre MIDI Hardware ankabeln. Bitte beachten Sie, das immer MIDI In- an MIDI Out
Buchsen verkabelt werden müssen.
Auf der Frontseite finden Sie 8 LEDs für die Input Aktivität. Diese zeigen den Betriebszustand und jeweils übertragene
MIDI Daten an.
Auf der Frontseite finden Sie auch den USB Anschluss des Midiface 8x8 – bitte verbinden Sie diesen mit dem
mitgelieferten USB Kabel an einen freien USB Port Ihres Computers. Bitte verwenden Sie das Midiface 8x8 NICHT an
einem USB Hub.
2
Page 3

Auf der Rückseite des Midiface 8x8 finden Sie die 8 MIDI Outs und deren Aktivitäts-LEDs.
Die Installation und Erkennung des Midiface 8x8 erfolgt durch das Betriebssystem – das Midiface 8x8 ist "class
compliant". Das heisst, Sie müssen keinen Treiber installieren.
Sollte das Midiface 8x8 nicht richtig erkannt werden, aktualisieren Sie bitte Ihre USB Chipsatztreiber, bei Intel
Systemen ebenso den intel.inf Treiber oder bei AMD Systemen die AMD Chipsatztreiber.
Das Midiface 8x8 ist voll USB-powered, dh. es ist zum Betrieb keine weitere Stromversorgung oder Batterien
notwendig.
Änderungen der technischen Daten und des Designs sind möglich- Für Druckfehler wird keine
Haftung übernommen
3
Page 4

miditech
midiface 8x8
8In-/8 Out USB MIDI Interface
8 x MIDI In / 8 x MIDI Out USB MIDI Interface
128 MIDI channels
8 LEDs for MIDI Input
8 LEDs for MIDI Output
USB Powered,
USB 1, 2 and 3 compatible
Highclass Aluminium cabinet
Class Compliant – works without drivers with Windows XP SP 3, Vista, Windows 7,
Windows 8 & Mac OS X )
eMail: info@miditech.de Internet: www.miditech.de
4
Page 5

Owners manual
Many thanks for purchasing our Midiface 8x8 USB MIDI Interface. With the Midiface 8x8 you can easily add multiple
MIDI ports to your computer system. You can connect up to 8 MIDI keyboards or MIDI hardware to your computer
system. You have up to 128 MIDI channels you can easy and clearly arranged work with.
Technical specs of the Midiface 8x8:
● Easy to connect to your Computer with USB 1, 2 or 3
● Works driverless class compliant with Windows XP SP3, Vista 32/64 Bit, Windows 7 32/64 Bit, Windows 8 32
/64 Bit, Windows 10 32/64 bit and Mac OS X.
● 16 LEDs for MIDI Input and Output activity
● USB Powered, no additional power necessary
● Including the Miditech free software bundle
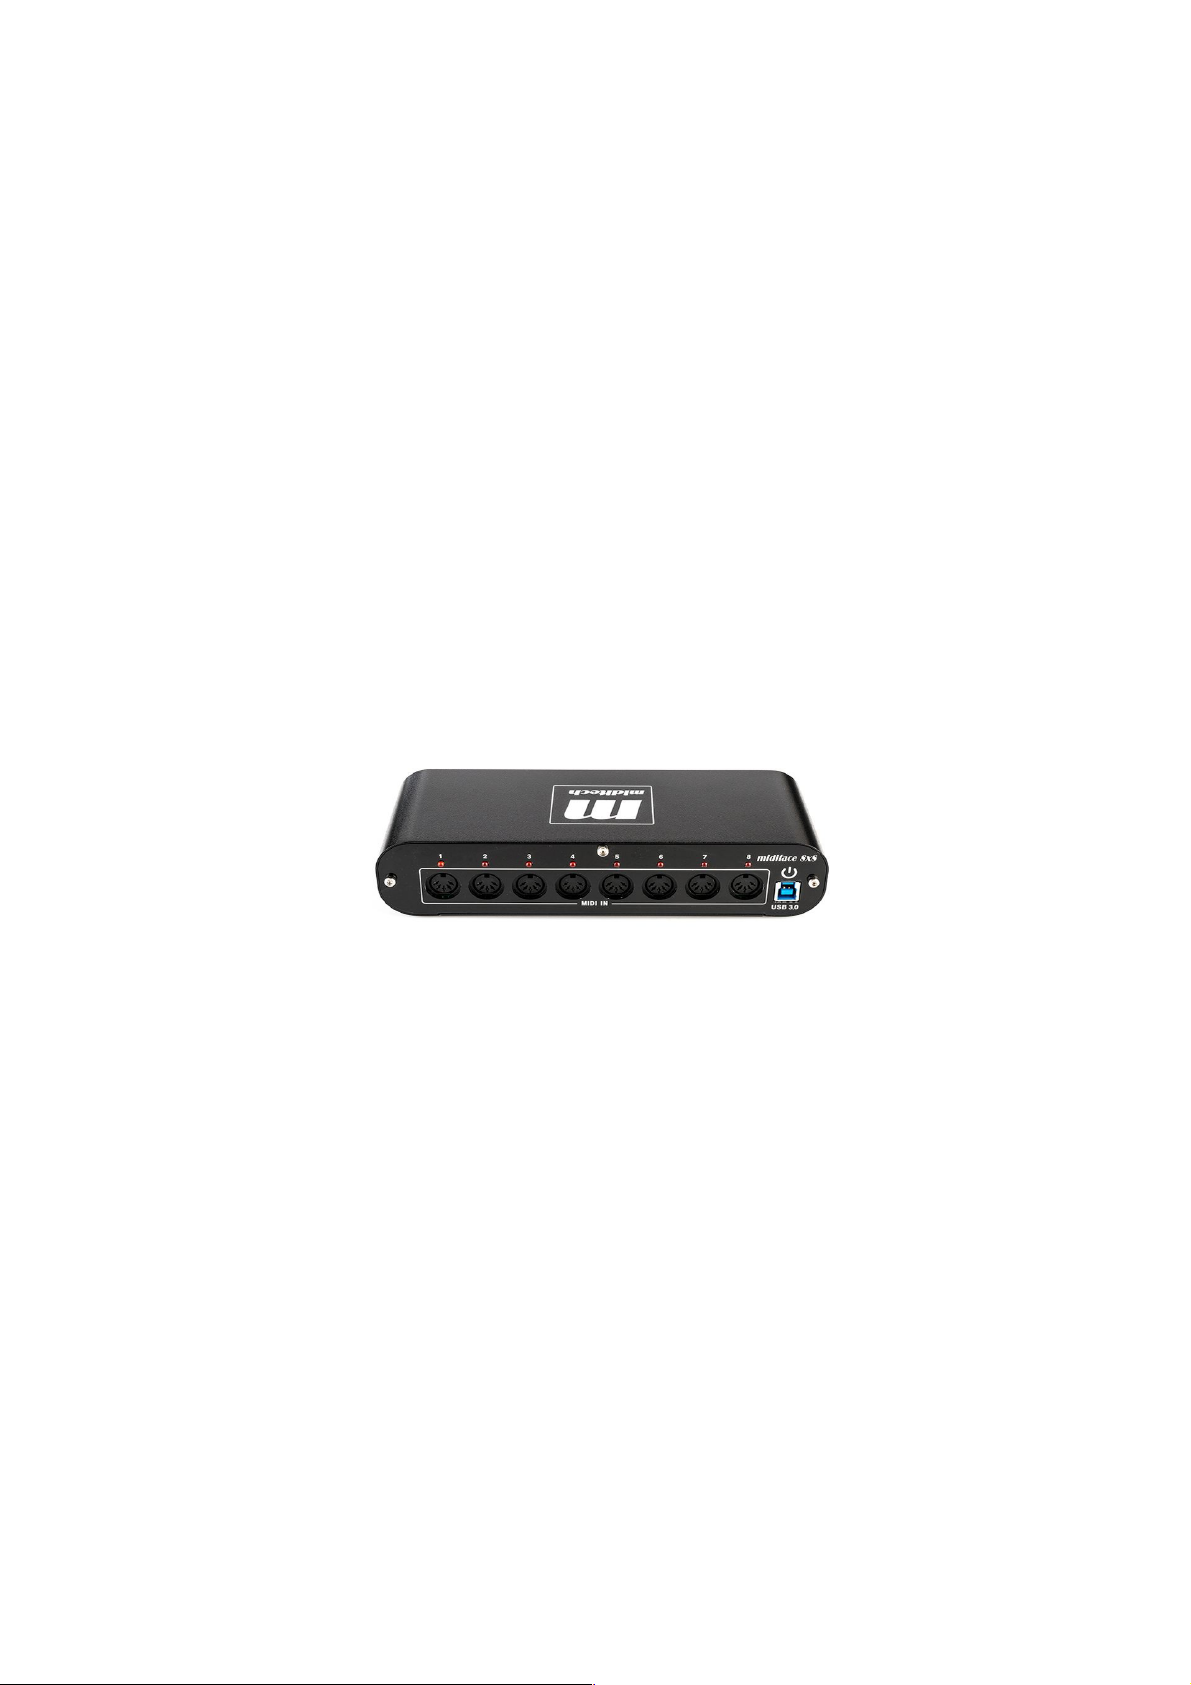
Front and rear view
The cabinet of the Midiface 8x8 is clearly marked.
On the front side you find the MIDI Inputs 1 to 8, on the back side you find the MIDI Output ports 1 to 8. At this ports
you can connect your MIDI hardware with standard MIDI cables. Please note that always MIDI In ports must be
connected to MIDI Out ports.
On the front side you see the 8 MIDI activity LEDs. They show you each Input MIDI activity.
On the front side you find also the USB port. Please connect this USB port with the USB cable to a free USB port on
your computer. Please do NOT use an USB Hub.
5
Page 6

On the back side you see the 8 MIDI activity LEDs to monitor the output activity. They show you each Output MIDI
activity.
Because the Midiface 8x8 is "class compliant", you do not need to install a driver. If the Midiface 8x8 is not recognised
correct, please update your mainboards or notebooks USB chipset drivers. Also please update for Intel system the
Intel.inf drivers, for AMD systems the AMD chipset drivers.
The Midiface 8x8 is full USB powered, you do not need additional power or batteries.
Have much fun with this poduct!
6
Page 7

Important Safety Instructions
1. Read Instructions – Be sure to read all of the safety and operating
instructions before operating this product.
2. Retain Instructions – The safety instructions and owner's manual
should be retained for future reference.
3. Heed Warnings – All warnings on your Miditech product and in the
Owner'sManual should be followed.
4. Follow Instructions – All operating and use instructions should be
followed.
5. Moisture – Water and moisture are detrimental to the continued
good health of your Miditech product. Do not install or operate your
Miditech product near sources of water or moisture such as sinks,
damp basements, leaky roofs, etc.
6. Heat – Your Miditech product should be situated away from sources
of heat such as heaters or radiators.
7. Grounding –Precautions should be taken so that the grounding
capabilities of the unit are not undermined. The Audiolink Pro 24/96
provided with a cord with an equipment grounding conductor and
grounding plug. This plug must be plugged into an outlet that is
properly installed and grounded in accordance with all local rules and
ordinances. Do not modify the plug provided with the equipment. If the
plug will not fit into your outlet, have a proper outlet installed by a
qualified electrician.
8. Power Cord Protection – Power supply cords should be routed so
that theyare unlikely to be walked on or pinched by items placed upon
or against them. Pay particular attention to protecting the plugs, outlets
and the point at which the cord exits your Miditech product.
9. Servicing–Do not attempt to service this unit yourself, as opening
the case will expose you to hazardous voltage or other dangers. All
servicing should be referred to qualified service persons.
*Design and specifications subject to change without notice
*No liability for printing mistakes
7
 Loading...