

Page 1
145x210mm 颜色 K FZ10-10JRH(CB) 说明书 369 20150918
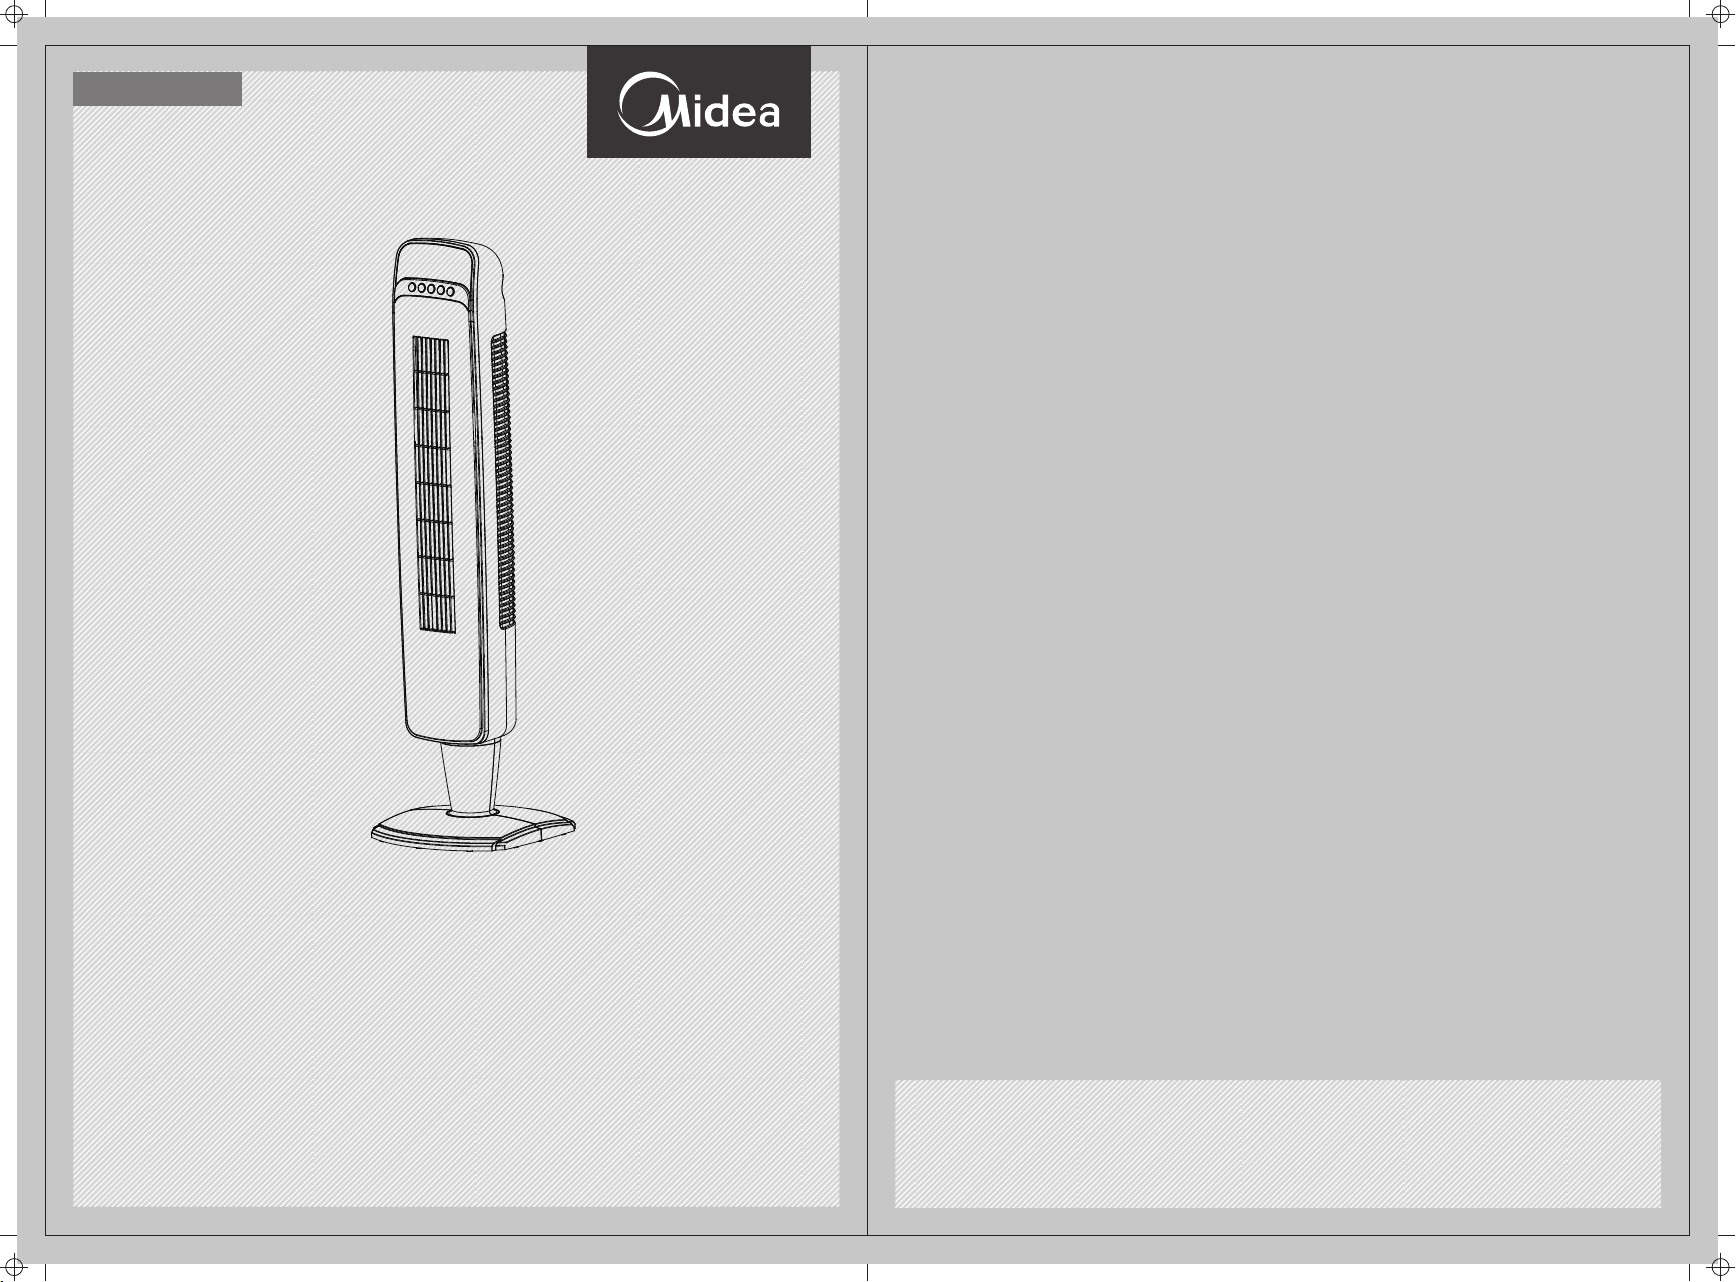
TOWER FAN
OWNER’S MANUAL
TOWER FAN
MODEL:FZ10-10JRH
Please read the instruction manual carefully before use and safekeeping.
MIDEA.COM | 4008899315
GD Midea Environment Appliances Manufacturing CO.,LTD.
Midea Industrial Park, Dongfu Road, Dongfeng Town, Zhongshan, Guangdong, China
Page 2

CAUTION
Read Rules for Safe Operation and Instructions Carefully.
WARNING
1. If the supply cord is damaged, it must be replaced by manufacturer
or its service agent or a similarly qualified person in order to avoid
a hazard.
2. To protect against the risk of electrical shock, do not immerse the
unit, cord or plug in water or other liquid.
3. This appliance is not intended for use by persons (including
children) with reduced physical, sensory or mental capabilities, or
lack of experience and knowledge, unless they have been given
supervision or instruction concerning use of the appliance by a
person responsible for their safety. Young children should be
supervised to ensure that they do not play with the appliance.
4. When the appliance is not in use and before cleaning, unplug the
appliance from the outlet.
5. Keep electrical appliances out of reach from Children or infirm
persons. Do not let them use the appliances without supervision.
6. When the fan was assembled, the rotor blade guard shall not be
taken off anymore
- Prior cleaning unplug the fan
- The rotor guard shall not be dissembled/opened to clean the
rotor blades.
- Wipe the fan enclosure and rotor blade guard with a slightly
damp cloth.
RULES FOR SAFE OPERATION
1. Never insert fingers, pencils, or any other object through the grille when fan is
running.
2. Disconnect fan when moving from one location to another.
3. Be sure fan is on a stable surface when operating to avoid overturning.
4. DO NOT use fan in window, rain may create electrical hazard.
5. Household use only.
1
Page 3

PART FIGURE
1. Body
2. Pedestal
3. Base
4. Wing Screws
5. Power cord
Note: All the pictures in this manual are for explanation purpose only. Any discrepancy between
the real object and the illustration in the drawing shall be subject to the real subject.
ASSEMBLY INSTRUCTIONS
A. Pedestal Assembly
• Line up the front and rear pedestal assembly pieces and firmly snap together.
Fig. 1. The rear piece has a screw hole opening near the top.
B. Base Assembly
• Connect the two pieces of the base together by inserting the four pins of the rear
half B into the four channeled holes for them in the front half A . Fig. 2.
C. Securing the Pedestal to the Base
• Align the 3 screw holes on the bottom of the pedestal with the 3 holes on the base
and insert pedestal into base. Fig. 3.
• Secure the base assembly to the pedestal by inserting and tightening the 3 wing
screws into the 3 holes located on the bottom of the base (Fig. 4).
D. Securing the Tower Fan to the Pedestal
• Carefully turn the fan on its side and place on a table. Feed power cord through the
center of the pedestal and base assembly.
• Insert the pedestal over the base of the fan body so that the tabs in the fan body
base fit into the slots for them in the pedestal. Rotate the pedestal slightly to secure
the tabs into the slots. When correctly secured the screw hole in the fan body base
will be aligned with the screw hole in the pedestal. Fig. 5.
• Secure the pedestal to the fan body base by inserting and tightening a wing screw
into the attachment hole. Fig. 6
2
Page 4

E. Securing the Cord to the Base
• With the fan still on its side, locate the cord holding bracket on the bottom of the
base.
• Gently pull any slack out of the power cord, and carefully work the cord into the
bracket slots and out through the exit hole in the base. Fig. 7. Be careful not to break
either of the bracket slots.
• Return the tower fan to its upright position.
Note: Do not operate the tower fan unless it is in its proper, upright position.
Fig. 1
Pedestal Assembly
Fig. 5
Fig. 2
Base Assembly
Fig. 6
Fig. 3
Positioning
Pole
Positioning
Hole
Fig. 7
Fig. 4
OPERATION INSTRUCTION
I. CONTROL PANEL
1. -ON/OFF KEY
The key is for switching on the fan. The fan will start
at low speed. The numeral 1 will appear in the screen
display.
Press this key again to turn fan off.
2. -TIMER KEY
Choose from 1 to 8 hours. Press Timer key once for 1-hour timer and
press or to increase or decrease the timer.
3. -OSCILLATION KEY
Press this key to oscillate the fan. To fix the fan direction, press this key again to
stop the oscillation when the fan body is pointing in the desired direction. DO
NOT attempt to rotate the fan body by hand! Doing so will damage the
oscillation mechanism.
4. ADJUSTING FAN SPEED
- increases the fan speed. When the fan is on, press this button to increase
the fan speed. The display screen will show the increase in speed from 1 (Low)
to 2 (Medium) to 3 (High).
3
Page 5

- decreases the fan speed. When the fan is on, press this button to decrease
the fan speed. The display screen will show the decrease in speed from 3 (High)
to 2 (Medium) to 1 (Low).
5. ADJUSTING TIMER HOURS
-increases the timer hours. After pressing the timer key , press button
to increase the timer hours.The selected number of hours will appear briefly on
the display and then the display will return to the fan speed setting. To check the
Timer setting, press the Timer key again.
- decreases the timer hours. After pressing the timer key , press button
to decrease the timer hours. The selected number of hours will appear briefly
on the display and then the display will return to the fan speed setting. To check
the Timer setting, press the Timer key again.
II. REMOTE CONTROL
1. Point the remote control at the control panel display screen
and press the desired button.
2. The remote control will work at distances of up to 16 feet
and from an angle of 30 degrees to the left or right of the
fan control panel.
3. Remove batteries from remote control if remote control is to
be discarded.
4. [ ] FAN SPEED KEY
The On/Off, Timer and Oscillation key of the remote control look
and work exactly as those on the Control Panel. However, to adjust fan speed,
press the Fan Speed Key to change the setting to 1 (Low), 2 (Medium) or 3 (High).
BATTERIES INSTRUCTIONS
(not included)
1. Press dawn on the battery compartment cover
and slide it out.
2. Insert the batteries, making sure that the positive
terminals are facing the proper way.
3. Replace the cover.
BATTERY WARNING AS BELOW
1. “Do not dispose of batteries in fire, batteries may
explode or leak.”
2. -Do not mix old and new batteries.
3. -Do not mix alkaline, standard (carbon-zinc) or
rechargeable (nickel-cadmium) batteries.
4
Page 6

HOW TO USE THE REMOTE CONTROLLER CORRECTLY
Point the remote controller at the receptor on body of the fan and press the desired
button. The remote controller will work at distances of up to roughly five meters and
the angle of 30 degree included between right and left from the receptor.
The batteries must be removed from the remote controller before it is scrapped and
that they are disposed of safely.
OVERHEAT PROTECTION OF THE MOTOR
The windings of the motor have a thermal-fuse that burns out and the fan switches
off and temperature of the motor is no longer going up so that plastic parts of the fan
don’t subject to deformation so far so to be burned by the overheat if the motor is
overheat for any unexpected reason.
MAINTENANCE INSTRUCTION
The fan requires little maintenance. Do not try to fix it by yourself. Refer it to
qualified service personnel if service is needed.
1. Before cleaning and assembling, fan must be unplugged.
2. To ensure adequate air circulation to the motor, keep vents at the rear of the
motor free of dust. Do not disassemble the fan to remove dust.
3. Please wipe the exterior parts with a soft cloth soaking a mild detergent.
4. Do not use any abrasive detergent or solvents to avoid scratching the surface.
Do not use any of the following as a cleaner: gasoline, thinner, bending.
5. Do not allow water or any other liquid into the motor housing or interior parts.
CLEANING
1. Be sure to unplug from the electrical supply source before cleaning.
2. Plastic parts should be cleaned with a soft cloth moisten with mild soap.
Thoroughly remove soap film with dry cloth.
5
 Loading...