

Page 1
READAND SAVETHESEINSTRUCTIONS
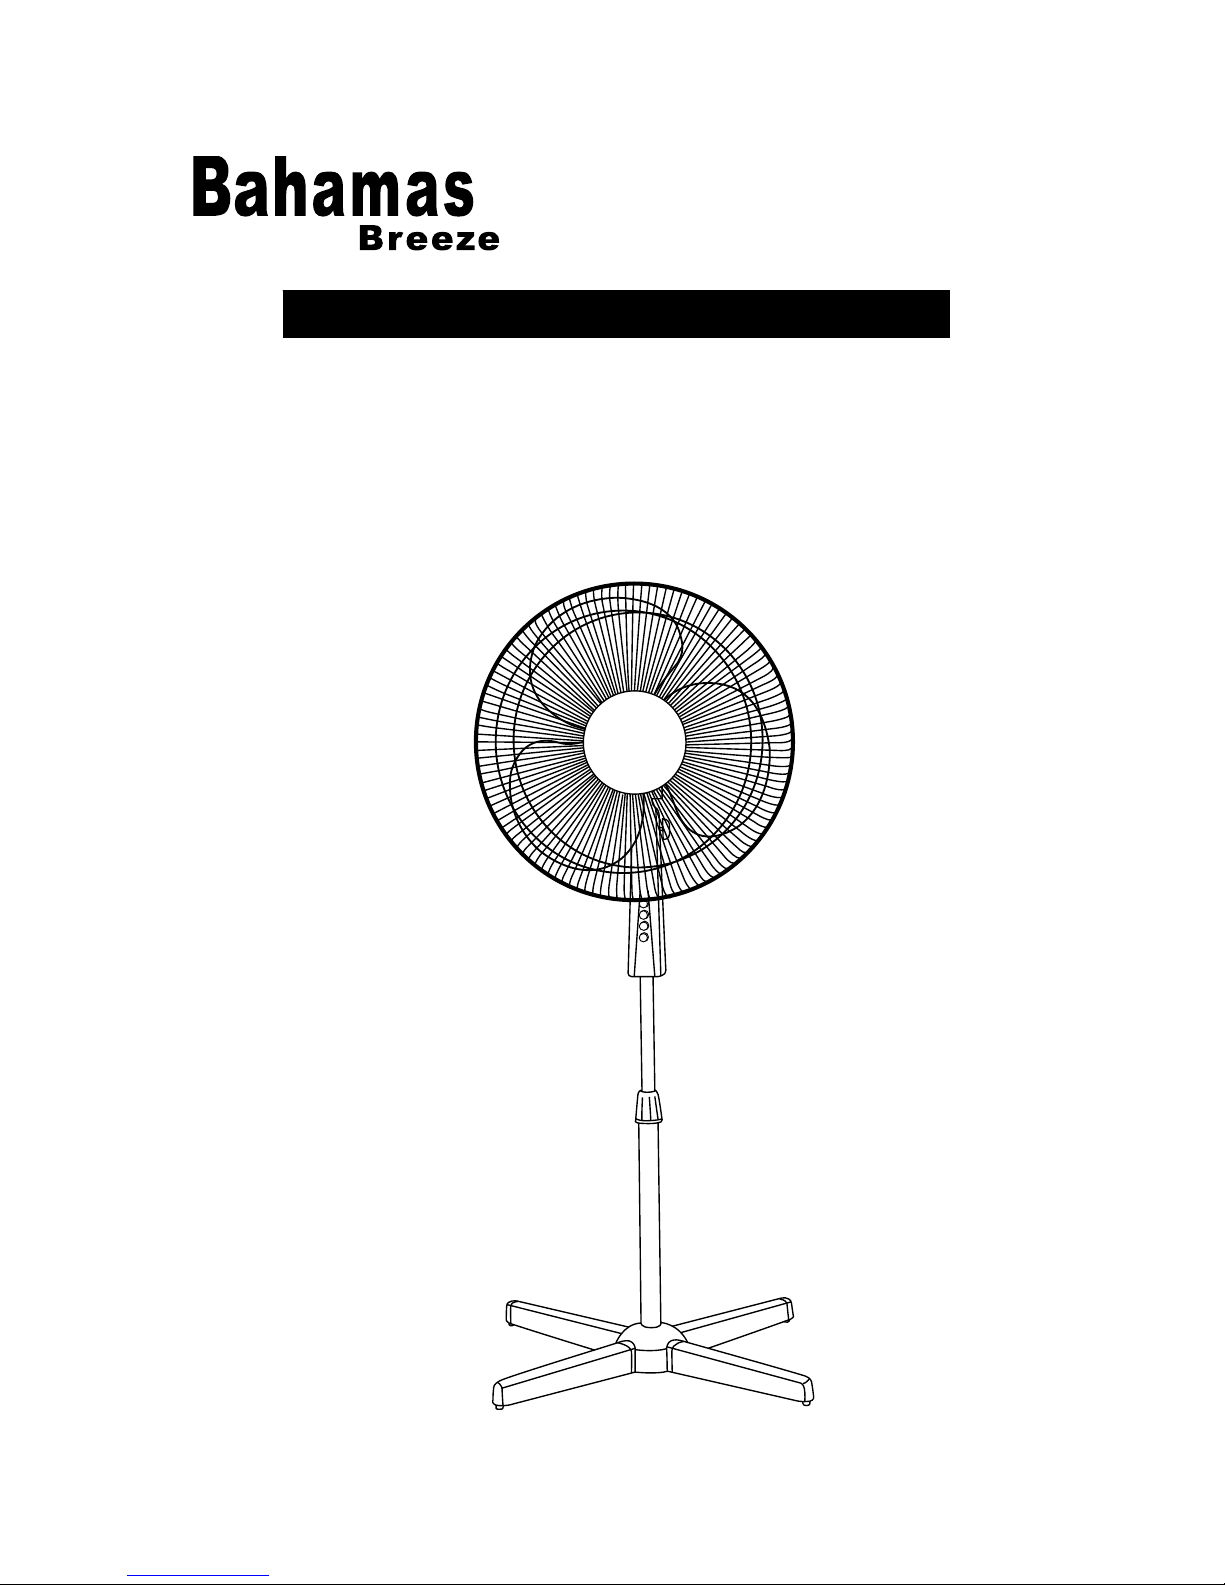
18”OSCILLATING STAND FAN
OPERATING INSTRUCTIONS
MODEL: FS45-P1
CAUTION
Read Rules for Safe Operation and Instructions Carefully.
Page 2
WARNING
1. To reduce the risk of fire or electric shock, do not use this fan with any solid state speed control device.
2. This appliance has a polarized plug (one blade is wider than the other). To reduce the risk of electric shock, this plug is
intended to fit in a polarized outlet only one way. If plug does not fit fully in the outlet, reverse plug. If it still does not fit,
contact a qualified electrician. Do not attempt to defeat this safely feature.
3. Do not leave the fan running unattended.
RULES FOR SAFE OPERATION
1. Never insert fingers, pencils, or any other object through the guard when fan is running.
2. Disconnect fan when moving from one location to another.
3. Disconnect fan when removing grilles for cleaning.
4. Be sure fan is on a stable surface when operating to avoid overturning.
5. DO NOT use fan in window. Rain may create electrical hazard.
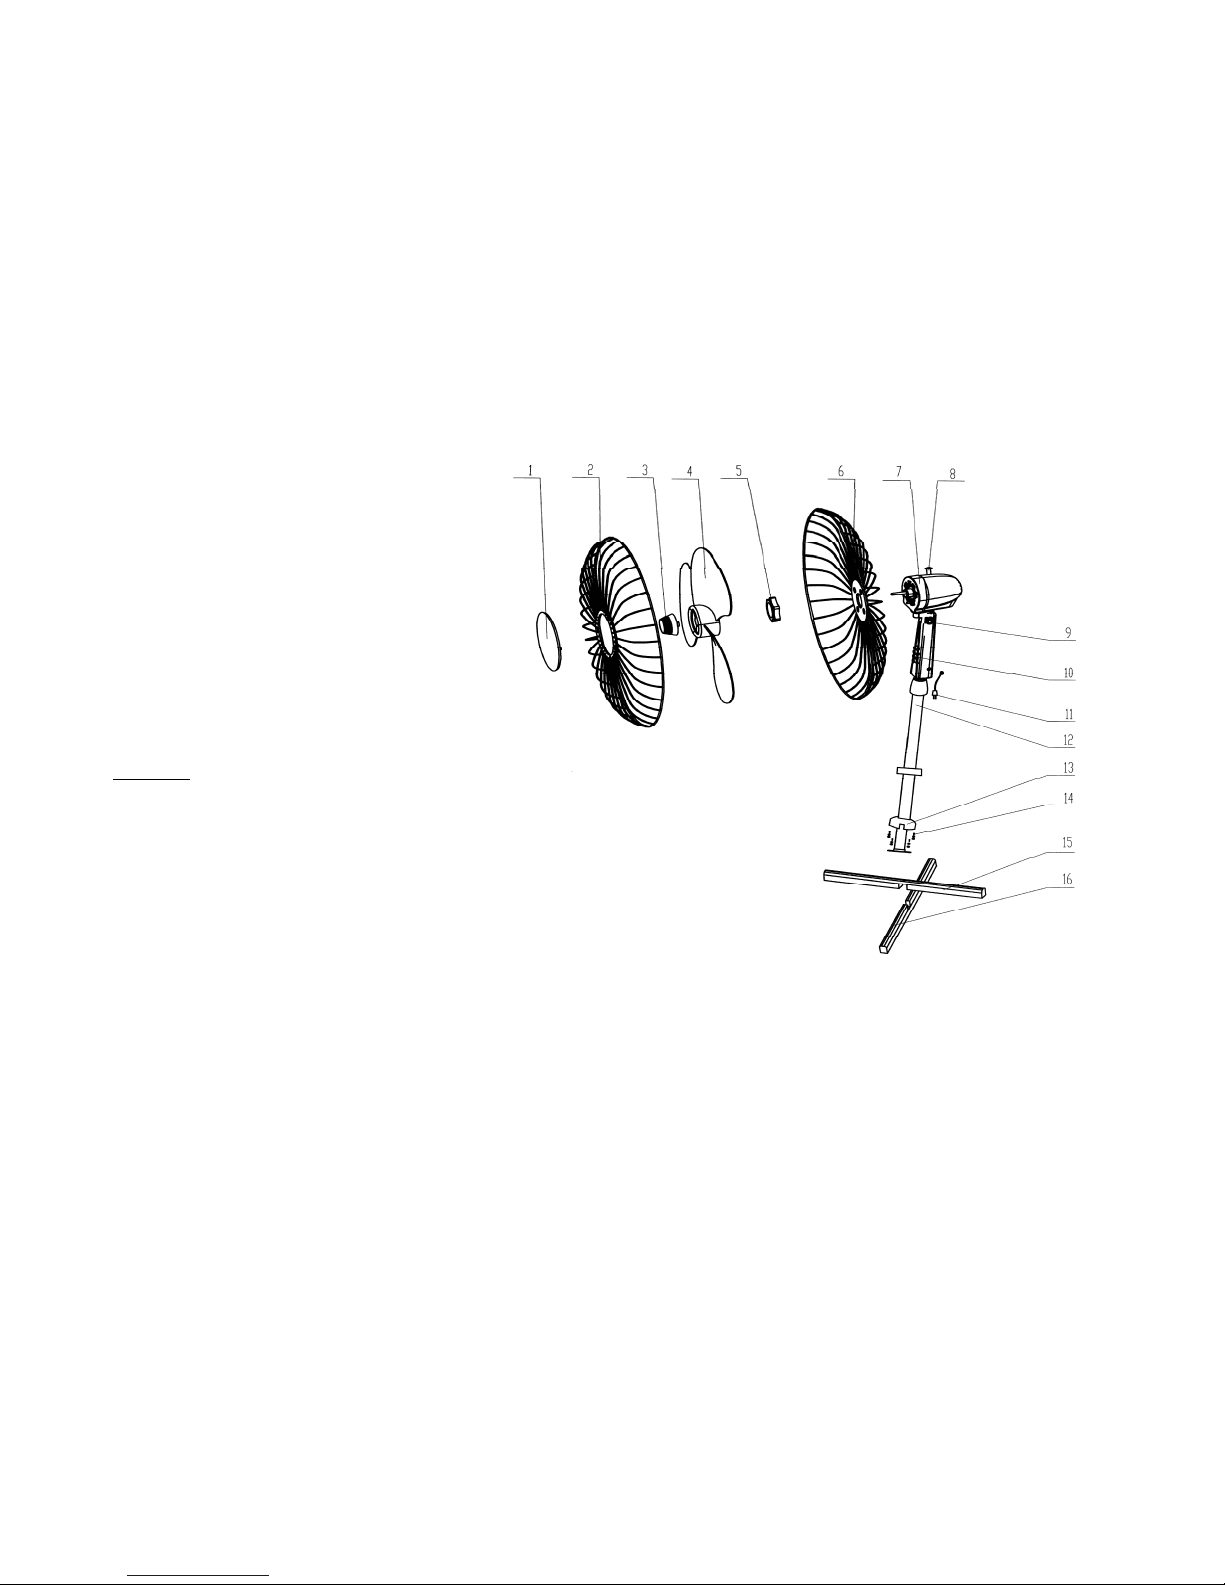
PART NAMES
1.Center Plece 2.Front Guard 3.Spinner
4.Blade 5.Plastic Nut 6.Rear guard
7.Motor 8.Oscillating 9.Knob
10.Piano key 11.Power supply cord
12.Main pole assembly 13.Decorating Cover
14.Screw 15.Upper Bracket 16.Lower Bracket
COLUMN ASSEMBLY
1. Attach column to stand with 4 screws as
shown.
2. Unscrew / take out height adjustment ring.
3. Slide stand ornament down the column to
rest on stand.
4. Pull out the extension pipe and screw/fasten
the height adjustment ring back.
CAUTION: Height adjustment ring must be fully
fastened before the assembly of the motor
sect i o n t o t h e stand.
ASSEMBLY INSTRUCTIONS
1. Unscrew the spinner clockwise and the nut
anti-clockwise then remove both of them
around motor shaft.
2. Set the rear guard in the proper position
with handle up.
3. Screw on plastic nut tightly to attach rear guard.
4. Discard plastic sleeve on motor shaft.
5. Install the blade onto the shaft until it reaches the retaining pin.
6. Screw spinner onto motor shaft counter clockwise.
7. Press the rim of the front guard onto the rear guard Intel the front guard is properly fitted. Secure both guards firmly by
tightening the fan guard locking screws and nuts.
OPERATING INSTRUCTIONS
1. Push down/pull up the clutch knob to control oscillation.
2. The air flow can be adjusted upward or downward by loosening the tilt adjustment knob and adjusting the vertical angle as
desired, retighten knob securely.
3. The height of the fan can be adjusted by loosening the height adjustment ring carefully raising or lowering the fan and
firmly retightening the ring.
4. Speed is controlled by pressing the piano keys.
5. Plug the power cord supply into a wall outlet.
CLEANING
1. Be sure to unplug from the electrical supply source before cleaning.
2. Plastic parts should be cleaned with mild soap and damp cloth or sponge. Thoroughly remove soap film with clean water.
3. Be sure not to make water or other liquid into the motor.
SERVICE & SUPPORT
In the event of a warranty claim or if service is required for this fan, please contact us at the following:
Page 3

Tel Free: 1-866-876-4332 (M-F 9:00am to 5:00pm CST)
For questions or comments, please write to:
Midea USA Inc
Att: Consumer Relations Department
1937 N. Great Southwest Parkway, Suite 100
Grand Prairie, TX 75050 USA
For your records, staple your sales receipt to this manual and record the following:
DATE OF PURCHASE:__________________________________________________
PLACE OF PURCHASE:_________________________________________________
(STAPLE SALES RECEIPT HERE)
NOTE: PROOF OF PURCHASE IS REQUIRED FOR ALL
WARRANTY CLAIMS
ONE (1) YEAR LIMITED WARRANTY
• Please read all instructions before attempting to use this product.
• Please return the Warranty Registration card within fifteen (15) days from the date of purchasing this product.
Page 4

Midea USA warrants as limited herein to the original purchaser of retail that each new FS45-P1 stand fan shall be free of
defects in material and workmanship for a period of one (1) year from the date of original purchase. This one (1) year
warranty is limited to the fan motor, fan blades, and electric control circuit board.
In the event of malfunctions or failure of your FS45-P1 stand fan, simply deliver or send the product, postage prepaid along
with PROOF OF PURCHASE, within the warranty period of one (1) year, to Midea USA. Midea USA reserves the right to
inspect the claimed defective part or parts to determine if the defect or malfunction complaint is covered by this warranty.
Midea USA shall, within sixty (60) days after receipt of the product, at its option, repair and/or replace the defective part or
parts free of charge. This warranty shall only cover defects arising from normal usage. Midea USA assumes no responsibility
whatsoever if the FS45-P1 stand fan should fail during the warranty period by reason of:
• Misuse, negligence, physical damage or accidents.
• Lack of maintenance (see instructions for proper maintenance).
• Repair by any unauthorized party during the warranty period.
• Damage caused by connection to an improper input voltage (see rating label on fan).
Midea USA makes no further warranties or representations, express or implied except those contained herein. No
representative or dealer is authorized to assume any other liability regarding the FS45-P1 stand fan. The duration of the
implied warranty granted under State law, including warranties of merchantability and fitness for particular purpose are limited
in duration should the duration of the express warranty grant it hereunder. Midea USA shall in no event be liable for direct,
indirect, special or consequential damages.
Some states do not allow limitations on how long an implied warranty lasts, and/or the above limitations or exclusion may not
apply to you. This warranty gives you specific legal rights and you may have other rights, which vary from state to state.
Should your FS45-P1 stand fan fail to operate under the terms of this limited warranty, contact Midea USA at 1-866-876-4332
(M-F 8:30am to 5:30pm CST).
 Loading...