

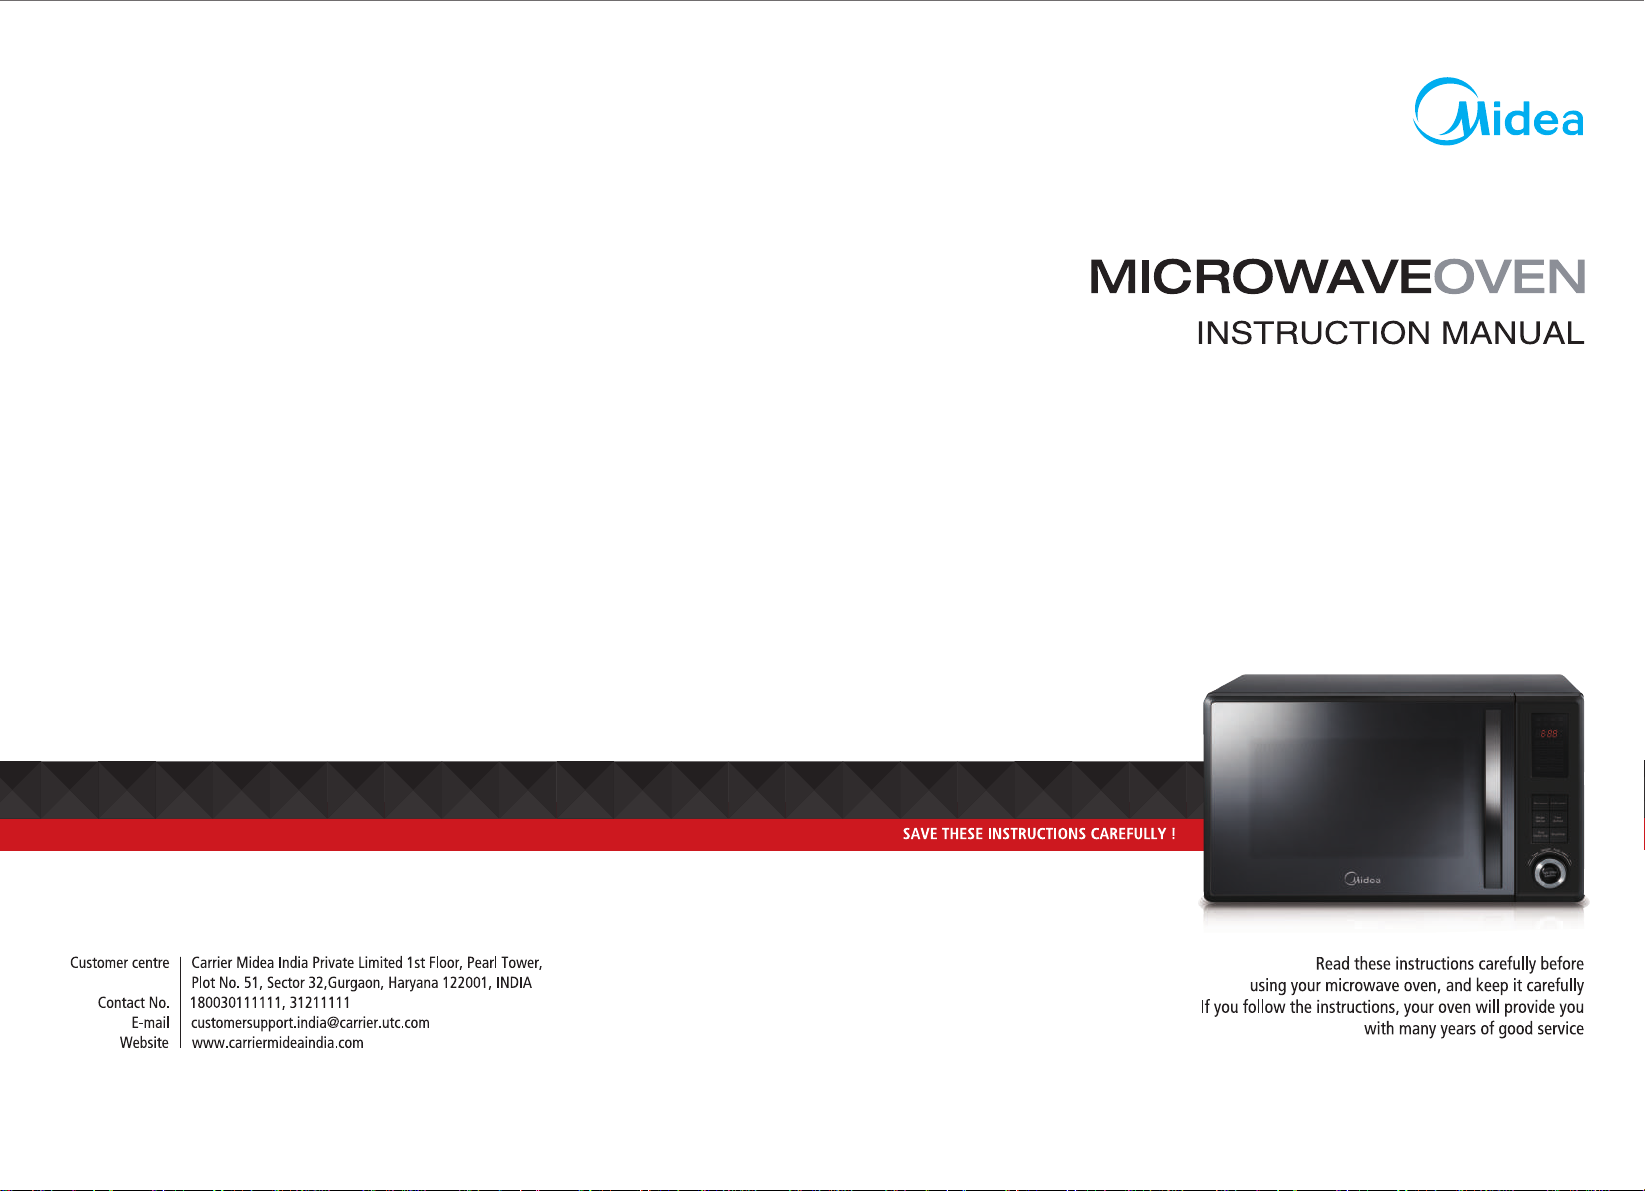
Page 1
AG823E3C-P00E
PN: 261800312
606
Page 2

PRECAUTIONS TO AVOID POSSIBLE EXPOSURE
2
TO EXCESSIVE MICROWAVE ENERGY
(a) Do not attempt to operate this oven with the door open since this can
result in harmful exposure to microwave energy. It is important not to
break or tamper with the safety interlocks.
(b) Do not place any object between the oven front face and the door or allow
soil or cleaner residue to accumulate on sealing surfaces.
(c) WARNING: If the door or door seals are damaged, the oven must not
be operated until it has been repaired by a competent person.
ADDENDUM
If the apparatus is not maintained in a good state of cleanliness, its surface could
be degraded and affect the lifespan of the apparatus and lead to a dangerous
situation.
Specifications
Model:
Rated Voltage:
Rated Input Power(Microwave):
Rated Output Power(Microwave):
Rated Input Power(Grill):
Oven Capacity:
Turntable Diameter:
External Dimensions:
Net Weight:
A
G823E3C-P00E
230V~50Hz
1 0W
25
800W
1000W
23 L
270mm
485 405 292.5 mm
Approx. kg
13.38
Page 3

IMPORTANT SAFETY INSTRUCTIONS
3
WARNING
T o reduce the risk of fire, electric shock, injury to persons
or exposure to excessive microwave oven energy when
using your appliance, follow basic precautions, including
the following:
1. Warning: Liquids and other foods must
not be heated in sealed containers since
they are liable to explode.
2. Warning: It is hazardous for anyone other
than a competent person to carry out any
service or repair operation that involves
the removal of a cover which gives
protection against exposure to microwave
energy.
3. This appliance can be used by children
aged from 8 years and above and persons
with reduced physical, sensory or mental
capabilities or lack of experience and
knowledge if they have been given
supervision or instruction concerning use
of the appliance in a safe way and
understand the hazards involved.
Children shall not play with the appliance.
Cleaning and user maintenance shall
not be made by children unless they are
older than 8 and supervised.
4. Keep the appliance and its cord out of
reach of children less than 8 years.
5. Only use utensils suitable for use in
microwave ovens.
6. The oven should be cleaned regularly and
any food deposits should be removed.
7. Read and follow the specific:"PRECAU-
TIONS TO A VOID POSSIBLE EXPOSURE
TO EXCESSIVE MICROWAVE ENERGY".
8. When heating food in plastic or paper
containers, keep an eye on the oven due
to the possibility of ignition.
9. If smoke is emitted, switch off or unplug
the appliance and keep the door closed
in order to stifle any flames.
10. Do not overcook food.
11. Do not use the oven cavity for storage
purposes. Do not store items, such as
bread, cookies, etc. inside the oven.
12. Remove wire twist-ties and metal handles
from paper or plastic containers/bags
before placing them in the oven.
13. Install or locate this oven only in
accordance with the installation
instructions provided.
14. Eggs in the shell and whole hard-boiled
eggs should not be heated in microwave
ovens since they may explode, even
after microwave heating has ended.
15.This appliance is intended to be used in
household and similar applications such
as:
-staff kitchen areas in shops, offices and
other working environments;
-by clients in hotels, motels and other
residential type environments;
-farm houses;
-bed and breakfast type environments.
16. If the supply cord is damaged, it must
be replaced by the manufacturer, its
service agent or similarly qualified
persons in order to avoid a hazard.
17. Do not store or use this appliance
outdoors.
18. Do not use this oven near water, in a
wet basement or near a swimming
pool.
19. The temperature of accessible surfaces
may be high when the appliance is
operating.
hot during use.
heated surface, and do not cover any
vents on the oven.
20. Do not let cord hang over edge of table
or counter.
21. Failure to maintain the oven in a clean
condition could lead to deterioration
of the surface that could adversely
affect the life of the appliance and
possibly result in a hazardous situation.
22. The contents of feeding bottles and
baby food jars shall be stirred or shaken
and the temperature checked before
consumption, in order to avoid burns.
The surfaces are liable to get
Keep cord away from
Page 4

23. Microwave heating of beverages can result in delayed eruptive boiling, therefore
4
care must be taken when handling the container.
24.The appliance is not intended for use by persons (including children) with reduced
physical , sensory or mental capabilities, or lack of experience and knowledge,
unless they have been given supervision or instruction concerning use of the appliance
by a person responsible for their safety.
25.Children should be supervised to ensure that they do not play with the appliance.
26.The appliances are not intended to be operated by means of an external timer or
separate remote-control system.
27. Accessible parts may become hot during use. Young children should be kept away.
28.Steam cleaner is not to be used.
29 During use the appliance becomes hot. Care should be taken to avoid touching heating
elements inside the oven.
30. Only use the temperature probe recommended for this oven.(for ovens provided with a
facility to use a temperature-sensing probe.)
31. WARNING: The appliance and its accessible parts become hot during use.Care should
be taken to avoid touching heating elements. Children less than 8 years of age shall be
kept away unless continuously supervised.
32. The microwave oven must be operated with the decorative door open.(for ovens with a
decorative door.)
33.The rear surface of appliance shall be placed against a wall.
34.The microwave oven shall not be placed in a cabinet unless it has been tested in a
cabinet.
READ CAREFULLY AND KEEP FOR FUTURE
REFERENCE
Page 5

To Reduce the Risk of Injury to Persons
5
Grounding Installation
DANGER
Electric Shock Hazard
T ouching some of the interna components
can cause serious personal injury or death.
Do not disassemble this appliance.
WARNING
Electric Shock Hazard
Improper use of the grounding can result in
electric shock. Do not plug into an outlet until
appliance is properly installed and grounded.
This appliance must be grounded. In the
event of an electrical short circuit,
grounding reduces the risk of electric
shock by providing an escape wire for
the electric current. This appliance is
equipped with a cord having a grounding
wire with a grounding plug. The plug must
be plugged into an outlet that is properly
installed and grounded.
Consult a qualified electrician or
serviceman if the grounding instructions
are not completely understood or if doubt
exists as to whether the appliance is
properly grounded. If it is necessary to
use an extension cord , use only a 3-wire
extension cord.
1. A short power-supply cord is provided
to reduce the risks resulting from becoming
entangled in or tripping over a longer cord.
2. If a long cord set or extension cord is
used:
1)The marked electrical rating of the cord
set or extension cord should be at least as
great as the electrical rating of the appliance.
2)The extension cord must be a groundingtype 3-wire cord.
3)The long cord should be arranged so that
it will not drape over the counter top or
tabletop where it can be pulled on by
children or tripped over unintentionally.
CLEANING
Be sure to unplug the appliance from the
power supply.
1. Clean the cavity of the oven after using
with a slightly damp cloth.
2. Clean the accessories in the usual way
in soapy water.
3. The door frame and seal and
neighbouring parts must be cleaned
carefully with a damp cloth when they
are dirty.
4. Do not use harsh abrasive cleaners
or sharp metal scrapers to clean the
oven door glass since they can
scratch the surface, which may
result in shattering of the glass.
5. Cleaning Tip---For easier cleaning of the
cavity walls that the food cooked can
touch:
Place half a lemon in a bowl, add 300ml
(1/2 pint) water and heat on 100%
microwave power for 10 minutes.
Wipe the oven clean using a soft, dry cloth.
Page 6

UTENSILS
6
CAUTION
Personal Injury Hazard
It is hazardous for anyone
other than a compentent person
to carry out any service or repair
operation that involves the removal
of a cover which gives protection
against exposure to microwave
energy.
See the instructions on "Materials you can use in
microwave oven or to be avoided in microwave oven."
There may be certain non-metallic utensils that are not
safe to use for microwaving. If in doubt, you can test the
utensil in question following the procedure below.
Utensil Test:
1. Fill a microwave-safe container with 1 cup of cold
water (250ml) along with the utensil in question.
2. Cook on maximum power for 1 minute.
3. Carefully feel the utensil. If the empty utensil is
warm, do not use it for microwave cooking.
4. Do not exceed 1 minute cooking time.
Materials you can use in microwave oven
Utensils Remarks
Aluminum foil Shielding only. Small smooth pieces can be used to cover thin parts of
meat or poultry to prevent overcooking. Arcing can occur if foil is too
close to oven walls. The foil should be at least 1 inch (2.5cm) away from
oven walls.
Browning dish
Dinnerware
Glass jars
Glassware
Oven cooking
bags
Paper plates
and cups
Paper towels
Parchment
paper
Plastic
Plastic wrap
Thermometers Microwave-safe only (meat and candy thermometers).
Wax paper Use as a cover to prevent splattering and retain moisture.
Follow manufacturer’s instructions. The bottom of browning dish must be
at least 3/16 inch (5mm) above the turntable. Incorrect usage may cause
the turntable to break.
Microwave-safe only. Follow manufacturer's instructions. Do not use
cracked or chipped dishes.
Always remove lid. Use only to heat food until just warm. Most glass jars
are not heat resistant and may break.
Heat-resistant oven glassware only. Make sure there is no metallic trim.
Do not use cracked or chipped dishes.
Follow manufacturer’s instructions. Do not close with metal tie. Make
slits to allow steam to escape.
Use for short–term cooking/warming only. Do not leave oven unattended
while cooking.
Use to cover food for reheating and absorbing fat. Use with supervision
for a short-term cooking only.
Use as a cover to prevent splattering or a wrap for steaming.
Microwave-safe only. Follow the manufacturer’s instructions. Should be
labeled "Microwave Safe". Some plastic containers soften, as the food
inside gets hot. "Boiling bags" and tightly closed plastic bags should be
slit, pierced or vented as directed by package.
Microwave-safe only. Use to cover food during cooking to retain
moisture. Do not allow plastic wrap to touch food.
Page 7

Materials to be avoided in microwave oven
7
Utensils Remarks
Aluminum tray
Food carton with
metal handle
Metal or metaltrimmed utensils
Metal twist ties
Paper bags
Plastic foam
Wood
May cause arcing. Transfer food into microwave-safe dish.
May cause arcing. Transfer food into microwave-safe dish.
Metal shields the food from microwave energy. Metal trim may
cause arcing.
May cause arcing and could cause a fire in the oven.
May cause a fire in the oven.
Plastic foam may melt or contaminate the liquid inside when exposed
to high temperature.
Wood will dry out when used in the microwave oven and may split
or crack.
SETTING UP YOUR OVEN
Names of Oven Parts and Accessories
Remove the oven and all materials from the carton and oven cavity.
Your oven comes with the following accessories:
Glass tray 1
Turntable ring assembly 1
Instruction Manual 1
F
A
E
G
Grill Rack( Only be used in grill
function and be placed on the glass tray )
C B
D
A) Control panel
B) Turntable shaft
C) Turntable ring assembly
D) Glass tray
E) Observation window
F) Door assembly
G) Safety interlock system
Page 8

Turntable Installation
8
Hub (underside)
Glass tray
Turntable shaft
Turntable ring assembly
a. Never place the
tray should never be restricted.
b. Both
always be used during cooking.
c. All food and containers of food are always placed
on the
d. If
glass tray
breaks, contact your nearest authorized service
center.
Countertop Installation
Remove all packing material and accessories.
Examine the oven for any damage such as
dents or broken door. Do not install if oven is
damaged.
Installation
1.
Select a level surface that provide
enough open space for the intake
and/or outlet vents.
30cm
0cm
20cm
min85cm
(1) The minimum installation height is
85cm.
(2) The rear surface of appliance shall
be placed against a wall.
Leave a minimum clearance of
30cm above the oven, a minimum
clearance of 20cm is required
between the oven and any adjacent
walls.
(3) Do not remove the legs from the
bottom of the oven.
20cm
glass tray
glass tray
or
glass tray
and
for cooking.
turntable ring assembly
upside down. The glass
turntable ring assembly
cracks or
Cabinet: Remove any protective film found
on the microwave oven cabinet surface.
Do not remove the light brown Mica cover
that is attached to the oven cavity to
protect the magnetron.
(4) Blocking the intake and/or outlet openings
can damage the oven.
(5) Place the oven as far away from
radios and TV as possible.
Operation of microwave oven may
cause interference to your radio or TV
reception.
2. Plug your oven into a standard household
outlet. Be sure the voltage and the
frequency is the same as the voltage
and the frequency on the rating label.
WARNING: Do not install oven over a
range cooktop or other heat-producing
appliance. If installed near or over a heat
source, the oven could be damaged and
the warranty would be void.
The accessible surface
may be hot during
operation.
must
Page 9

OPERATION INSTRUCTION
9
This microwave oven uses modern electronic control to adjust cooking parameters
to meet your needs better for cooking.
1.Clock Setting
When the microwave oven is electrified,the oven will display "0:00", buzzer will ring
once.
1) Press " CLOCK/KITCHEN TIMER " once. The hour figures will flash.
2) Turn " " to adjust the hour figures, the input time should be within 0--23(24-hour).
3) Press " CLOCK/KITCHEN TIMER ", the minute figures will flash.
4) Turn " " to adjust the minute figures, the input time should be within 0--59.
5) Press " CLOCK/KITCHEN TIMER" to finish clock setting. ":" will flash.
Note: 1) If the clock is not set, it would not function when powered.
2) During the process of clock setting, if you press " STOP/CLEAR ", the oven
will go back to the previous status automatically.
2. Kitchen Timer
(1) Press " CLOCK/KITCHEN TIMER " twice, LED will display 00:00.
(2) Turn " " to enter the correct timer.(The maximum cooking time is 95 minutes.)
(3) Press " START/+30SEC./CONFIRM " to confirm setting.
(4) When the kitchen time is reached, the buzzer will ring 5 times.
If the clock has been set (24-hour system), LED will display the current time.
Note: The Kitchen Time is different from 24-hour system. Kitchen Timer is a timer.
3. Microwave Cooking
Press " Microwave " the LED will display "P100". Press " Microwave " for times
or turn " "to choose the power you want, and "P100", "P 80" "P 50", "P 30" or
"P10" will display for each added press. Then press "START/+30SEC./CONFIRM " to
confirm, and turn " " to set cooking time. Press
again to start cooking.
" START/+30SEC./CONFIRM "
Page 10

Example: If you want to use 80% microwave power to cook for 20 minutes, you can
10
operate the oven as the following steps.
1) Press " Microwave " once, the screen displays "P100".
2) Press "Microwave " once again or turn" " to choose 80% microwave power.
3) Press "Start/+30Sec./Confirm " to confirm, and the screen displays "P 80".
4) Turn " " to adjust the cooking time until the oven displays "20:00".
5) Press " Start/+30Sec./Confirm" to start cooking .
NOTE: The step quantities for the adjustment time of the coding switch are as follow:
0---1 min : 5 seconds
1---5 min : 10 seconds
5---10 min : 30 seconds
10---30 min : 1 minute
30---95 min : 5 minutes
Microwave Power Chart
Press
Once Twice Thrice 4 times 5 times
Microwave Power
80% 50% 30% 10%100%
4. Grill or Combi. Cooking
Press " Grill/Combi. " the LED will display "G",and press "Grill/Combi. " for times
or turn the " " to choose the power you want, and "G","C-1" or "C-2" will
display for each added press. Then press "Start/+30Sec./Confirm " to confirm,
and turn " " to set cooking time. Press again to start
cooking.
Example: If you want to use grill power to cook for 10 minutes, you can operate the
oven as the following steps.
1) Press " Grill/Combi. " once, the screen display "G".
2) Press " Start/+30Sec./Confirm " to confirm.
3) Turn " " to adjust the cooking time until the oven displays "10:00".
4) Press " Start/+30Sec./Confirm " to start cooking .
Note:If half the grill time passes, the oven sounds twice, and this is normal. In order
to have a better effect of grilling food, you should turn the food over,
close the door, and then press"START/ +30SEC./ Confirm" to continue cooking.
If no operation, the oven will continue working.
"Start/+30Sec./Confirm"
Page 11

11
7.Multi-Stage Cooking
Two stages can be maximumly set. If one stage is defrosting, it should be put in the first
stage. The buzzer will ring once after each stage and the next stage will begin.
Note: Auto menu and preheating cannot be set as one of the multi-stage.
Example: If you want to defrost the food for 5 minutes, then to cook with 80%
microwave power for 7 minutes. The steps are as following:
1) Press "TIME DEFROST ", the screen will display "d
2) Turn " " to adjust the defrost time of 5 minutes;
3) Press "MICROWAVE" once;
4) Turn " " to choose 80% microwave power till "P 80" display ;
5) Press "START/+30SEC./CONFIRM" to confirm;
6) Turn " " to adjust the cooking time of 7 minutes;
7) Press "START/+30SEC./CONFIRM" to start cooking.
EF2";
s
8. Speedy Cooking
1) In waiting state, press "START/+30SEC./CONFIRM" key to cook with 100% power
level for 30 seconds. Each press on the same key can increase 30 seconds. The
maximum cooking time is 95 minutes.
2) During microwave, grill and combination states, press
"START/+30SEC./CONFIRM" key to .
Each press on the same key can increase 30 seconds.
Note: This function cannot work under weight defrost and auto menu cooking.
in asecre the cooking time
9. Speedy Microwave Cooking
In waiting state, turn " " left to choose cooking time directly then press
"START/+30SEC./CONFIRM" key to cook with 100% microwave power.
Page 12

12
10. Auto Menu
1) In waiting state, turn " " right to choose the function wanted,
and " ,"A ","A "...."A will be displayed.
2) Press "START/ +30 SEC./CONFIRM" to confirm the menu you need.
3)
4) Press "
5) Turn "
6) Press "
A-1" -2 -3 -8"
Turn "
" to choose the
START/ +30 SEC./CONFIRM" to confirm.
" to choose the weight of menu.
START/ +30 SEC./CONFIRM" to start cooking.
type of menu.
11. Defrost by W.T.
1) Press " " pad, the oven will display "d
2) Turn " " to select the weight of food. At the same time, "g" will light,
The weight should be 100-2000g.
3) Press "START/+30SEC./CONFIRM" key to start defrosting.
WEIGHT DEFROST
EF1".
12. Defrost by Time
1) Press "TIME DEFROST " key, the oven will display "d 2"
2) Turn " " to select the cooking time. The maximum setting time is 95 minutes.
EF
.
3) Press " START/+30SEC./CONFIRM" key to start defrosting.
13. Inquiring Function
(1) During cooking state, press "CLOCK/KITCHEN TIMER" to check the current time. It will be
displayed for 2-3 seconds.
(2) In cooking state, press "MICROWAVE"
2-3 seconds.
, the current
power will be displayed for
Page 13

14. Lock-out Function for Children
13
Lock: In waiting state, press "STOP/CLEAR" for 3 seconds, there will be a long "beep"
denoting entering into the children-lock state and " " indicator will light. LED will display
current time if the time has been set. Otherwise, LED will display " ".
Lock quitting: In locked state, press "STOP/CLEAR" for 3 seconds, there will be a long "beep"
denoting that the lock is released, and " " indicator will disapear.
15. Specification
(1) The buzzer will sound once when turning the knob at the beginning;
(2) "START/+30 SEC./CONFIRM" must be pressed to continue cooking if the door is opened
during cooking;
(3) Once the cooking programme has been set, "START/+30 SEC./CONFIRM" is not pressed
in 1 minutes. The current time will be displayed. The setting will be cancelled.
(4) The buzzer sounds once by efficient press, inefficient press will be no responce.
(5) The buzzer will sound five times to remind you when cooking is finished.
Page 14

14
Auto menu Chart
Menu-1 Menu-2 Weight Display Power
A-1
250 g 250
REHEAT
400 g 400
A-2
Deserts
-
d1
Suji Halwa
d2
Gajjar Halwa 500 g 500 Microwave
d3
Coconut Burfi 200 g 200 Microwave
d4
Burfi 200 g 200 Microwave
d5
saviya Kheer 200 g 200 Microwave
d6
Kesari Kheer 200 g 200 Microwave
d7
Orange Kheer 200g 200 Microwave
d8
Milk Cake
d9
Shahi Tukdha 300 g 300
150 g 150
Microwave
350 g 350
200 g 200 Microwave
300 g 300 Microwave
400 g 400 Microwave
300 g 300 Microwave
500 g 500 Microwave
Microwave
+Girll
Page 15

15
A-3
Soups
A-4
Breakfast
S1
Veg Sweet Corn
Soup
S2
Chicken Sweet
Corn Soup
S3
Green Peas Soup
S4
Mushroom Soup
S5
Vegitable Soup
b1
Tea 2 Cups 2 Microwave
b2
Coffee 2 Cups 2 Microwave
b3
Rice Idli 8 nos. 8 Microwave
b4
Rava Idli 8 nos. 8 Microwave
b5
Poha
b6
Mix Fruit Jam 500 g 500 Microwave
b7
Apple Jam 500 g 500 Microwave
b8
Pineapple Jam 500 g 500 Microwave
b9
Daliya 200g 200 Microwave
200 g 200 Microwave
400 g 400 Microwave
600 g 600 Microwave
200 g 200 Microwave
400 g 400 Microwave
600 g 600 Microwave
200 g 200 Microwave
400 g 400 Microwave
600 g 600 Microwave
200 g 200 Microwave
400 g 400 Microwave
600 g 600 Microwave
200 g 200 Microwave
400 g 400 Microwave
600 g 600 Microwave
200 g 200 Microwave
300 g 300 Microwave
400 g 400 Microwave
Page 16

16
A-5
Snacks
A-6
Continental
Sn1
Dhokla 200g 200 Microwave
Sn2
Pav Bhajji
Sn3
Noodles (Maggi) 300 g 300 Microwave
Sn4
Corn Chat 300 g 300 Microwave
Sn5
Paneer Tikka
Sn6
Baked Veg 500 g 500 Grill
Sn7
Veg Kabab 500 g 500 Grill
Sn8
Cutlet 300 g 300 Grill
Sn9
Chicken Tikka
Sn10
Mutton Tikka
Sn11
Fish Tikka 0.5 Kg 500 Grill
c1
Macroni
c2
Pasta
c3
Cheese Sandwich
c4
Chicken Club
Sandwich 2 slices 2 Grill
c5
Grilled Sandwich 2 slices 2 Grill
500 g 500 Microwave
800 g 800 Microwave
300 g 300 Grill
500 g 500 Grill
300 g 300 Grill
500 g 500 Grill
300 g 300 Grill
500 g 500 Grill
200 g 200 Microwave
400 g 400 Microwave
100 g 100 Microwave
200 g 200 Microwave
300 g 300
2 slices 2 Grill
Microwave
Page 17

17
c6
Stuffed Sandwich
c7
Cheese Pizza 1 no 1 Grill
c8
Chicken Pizza 1 no 1 Grill
c9
Onion Capcicum
Pizza
c10
Veg Pizza
2 slices 2 Grill
1 no 1 Grill
1 no 1 Grill
A-7
Main Course
L1
Bhindi Masala
L2
Ghobi Masala
L3
Aloo Masala
L4
Baigan Masala
L5
Dal 200 g 200 Microwave
L6
Chicken Masala 500 g 500 Microwave
L7
Shahi Paneer
L8
Paneer Makhni
300 g 300 Microwave
400 g 400 Microwave
500 g 500 Microwave
300 g 300 Microwave
400 g 400 Microwave
500 g 500 Microwave
300 g 300 Microwave
400 g 400 Microwave
500 g 500 Microwave
300 g 300 Microwave
400 g 400 Microwave
500 g 500 Microwave
300 g 300 Microwave
500 g 500 Microwave
300 g 300 Microwave
500 g 500 Microwave
Page 18

18
L9
Chole
L10
Prawns Masala
L11
Fish Masala
r1
Veg Biryani 200 g 200 Microwave
r2
A-8
Rice Delight
Note: The oven will beep twice ofter each stage during menu cooking with micromave only.
And it will not stop.
The oven will beep twice ofter each stage during menu cooking with grill cooking.
It will stop, " " must be pressed to continue cooking.
Chicken Biryani 200 g 200 Microwave
r3
Mutton Biryani
r4
Sweet Rice 200 g 200 Microwave
START/+30 SEC./CONFIRM
200 g 200 Microwave
300 g 300 Microwave
400 g 400 Microwave
300 g 300 Microwave
500 g 500 Microwave
300 g 300 Microwave
500 g 500 Microwave
200 g
200 Microwave
Page 19

Trouble shooting
19
It is forbidden to run the unit without any food inside.
It is very dangerous.
According to Waste of Electrical and Electronic Equipment
(WEEE) directive, WEEE should be separately collected and
treated. If at any time in future you need to dispose of this
product please do NOT dispose of this product with household
waste. Please send this product to WEEE collecting points
where available.
 Loading...