

Page 1
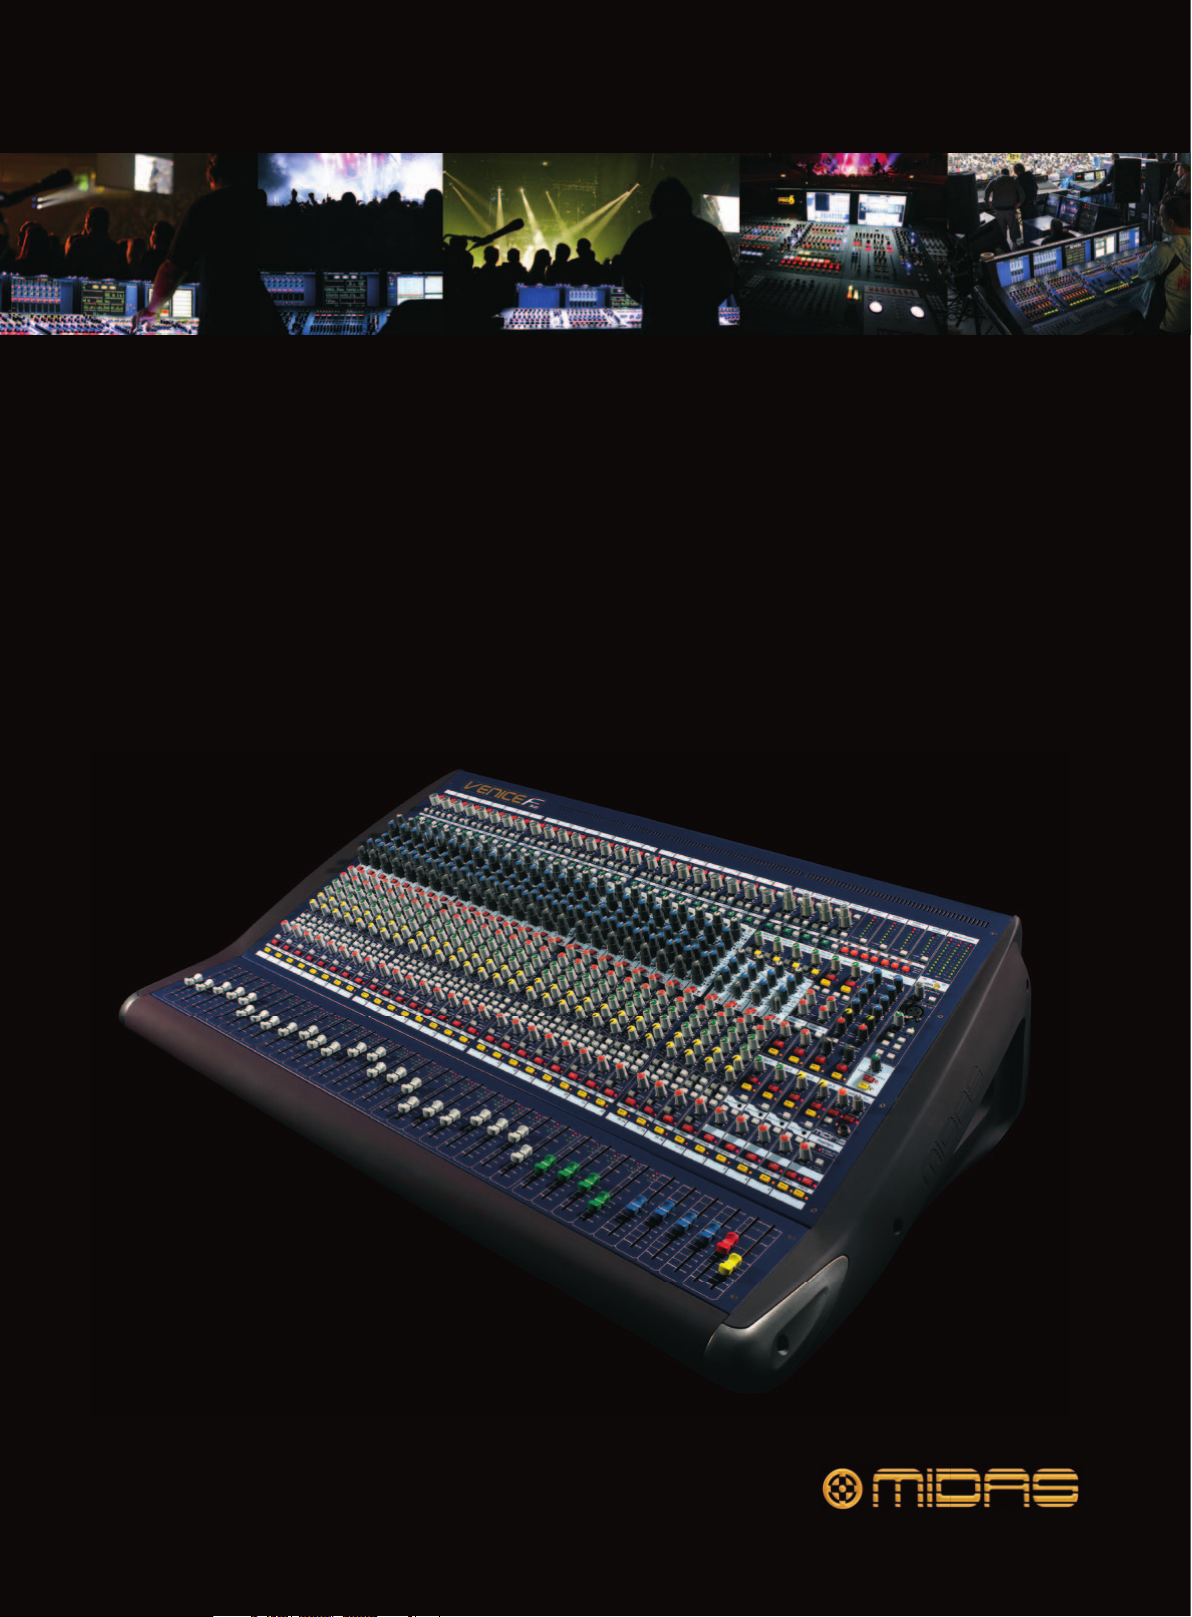
VeniceF16/VeniceF16R/
VeniceF24/VeniceF32
Quick Start Guide
midasconsoles.com
Page 2
2 VeniceF16/VeniceF16R/VeniceF24/VeniceF32 Quick Start Guide 3VeniceF16/VeniceF16R/VeniceF24/VeniceF32 Quick Start Guide
9. Do not defeat the safety purpose of the polarized
or statement contained herein. Technical speci cations,
Important Safety
Instructions
Terminals marked withthis symbol
carryelectrical currentof su cient
magnitude to constitute risk of electric
shock. Useonly high-quality commercially-available
speaker cables with plugs pre-installed. Allother
installation or modi cation should be performed only by
quali edpersonnel.
This symbol, wherever it appears,
alertsyou to the presence of uninsulated
dangerous voltage inside the
enclosure-voltage that may be su cient to constitute a
risk ofshock.
This symbol, wherever it appears,
alertsyou to important operating and
maintenance instructions in the
accompanying literature. Please read the manual.
Caution
To reduce the risk of electric shock, donot
remove the top cover (or the rear section).
No user serviceable parts inside. Refer servicing to
quali ed personnel.
Caution
To reduce the risk of re or electric shock,
do not expose this appliance to rain and
moisture. The apparatus shall not be exposed to dripping
or splashing liquids and no objects lled with liquids,
suchas vases, shall be placed on the apparatus.
Caution
These service instructions are for use
by quali ed ser vice personnel only.
Toreduce the risk of electric shock do not perform any
servicing other than that contained in the operation
instructions. Repairs have to be performed by quali ed
servicepersonnel.
1. Read these instructions.
2. Keep these instructions.
3. Heed all warnings.
4. Follow all instructions.
5. Do not use this apparatus near water.
6. Clean only with dry cloth.
7. Do not block any ventilation openings. Install in
accordance with the manufacturer’s instructions.
8. Do not install near any heat sources such as
radiators, heat registers, stoves, or other apparatus
(including ampli ers) that produce heat.
or grounding-type plug. A polarized plug has two blades
with one wider than the other. A grounding-type plug
has two blades and a third grounding prong. The wide
blade or the third prong are provided for your safety. Ifthe
provided plug does not t into your outlet, consult an
electrician for replacement of the obsolete outlet.
10. Protect the power cord from being walked on or
pinched particularly at plugs, convenience receptacles,
and the point where they exit from the apparatus.
11. Use only attachments/accessories speci ed by
themanufacturer.
12. Use only with the
cart, stand, tripod, bracket,
or table speci ed by the
manufacturer, orsold with
the apparatus. When a cart
is used, use caution when
moving the cart/apparatus
combination to avoid
injury from tip-over.
13. Unplug this apparatus during lightning storms or
when unused for long periods of time.
14. Refer all servicing to quali ed service personnel.
Servicing is required when the apparatus has been
damaged in any way, such as power supply cord or plug
is damaged, liquid has been spilled or objects have fallen
into the apparatus, the apparatus has been exposed
to rain or moisture, does not operate normally, or has
beendropped.
15. The apparatus shall be connected to a MAINS socket
outlet with a protective earthing connection.
16. Where the MAINS plug or an appliance coupler is
used as the disconnect device, the disconnect device shall
remain readily operable.
17. Correct disposal of this
product: This symbol indicates that
this product must not be disposed
of with household waste,
according to the WEEE Directive
(2002/96/EC) and your national
law. This product should be taken
to a collection center licensed for the recycling of waste
electrical and electronic equipment (EEE). The
mishandling of this type of waste could have a possible
negative impact on the environment and human health
due to potentially hazardous substances that are generally
associated with EEE. At the same time, your cooperation
in the correct disposal of this product will contribute to
the e cient use of natural resources. For more
information about where you can take your waste
equipment for recycling, please contact your local city
o ce, or your household waste collection service.
LEGAL DISCLAIMER
MUSIC Group accepts no liability for any loss which
may be su ered by any person who relies either
wholly or in part upon any description, photograph,
appearances and other information are subject to
change without notice. All trademarks are the property
of their respective owners. MIDAS, KLARK TEKNIK,
TURBOSOUND, BEHRINGER, BUGERA and DDA are
trademarks or registered trademarks of MUSIC Group IP
Ltd. © MUSIC Group IP Ltd. 2014 All rights reserved.
LIMITED WARRANTY
For the applicable warranty terms and conditions
and additional information regarding MUSIC Group’s
Limited Warranty, please see complete details online at
music-group.com/warranty.
Page 3

4 VeniceF16/VeniceF16R/VeniceF24/VeniceF32 Quick Start Guide 5VeniceF16/VeniceF16R/VeniceF24/VeniceF32 Quick Start Guide
Using your VeniceF as a
FireWire audio interface
IMPORTANT! Do not connect or disconnect the
FireWire cable to your VeniceF when the console
is powered up, as this may result in damage to
sensitive components. Always switch o the
console before co nnecting or disconnecting the
FireWire cable!
PC version
This is the Quick Start Guide for the VeniceF consoles.
It shows you how to get your console and Windows PC
ready to use the FireWire serial bus. For full details, see the
VeniceF Operator Manual.
It is strongly recommended that when
connecting or disconnecting the VeniceF to a PC/Mac/
Laptop computer you do so in the following manner:
When Connecting the VeniceF
• Ensure that the computer is turned OFF
• Ensure that the VeniceF is turne d OFF
• Connect your VeniceF FireWire port to your
computer’s FireWire port
• Turn ON your VeniceF
• Turn ON your Compu ter
• Turn ON your Monitor Speakers
When disconnecting the VeniceF
• Shut down record sof tware
• Turn OFF your monitor speakers
• Turn OFF your VeniceF
• Disconnect your VeniceF
Step A — Installing the device driver
Do not connec t the FireWire cable to your
PC before installing the device driver.
(1) Visit www.midasconsoles.com to downlo ad the
latest drivers.
(2) Launch MidasFWInstaller.exe to start the setup
wizard. In the Setup - Midas FW win dow,
click Next.
(3) In the Select Destination Location window,
click Next.
(4) Click Next.
(5) In the Ready to Install window, click Install.
(If a release notes Window opens, clo se it.) The
Installing window of the Setup - Midas FW
window will display the installation progress.
(6) If the Windows “Logo testing” compatibility window
appears, click Continue Anyway.
(7)
To complete the inst allation, select the Ye s, restart
the computer now option and then click Finish.
You must restart your PC before using
the VeniceF driver you have just ins talled.
After your PC has restar ted, go to Step B.
Step B — Installing the hardware device
Do not attempt the following procedure
until you have com pleted Step A.
The VeniceF must be s witched o before the FireWire cable
is connected to it.
(1) Switch o the VeniceF.
(2) Connect the VeniceF to your PC using the appropr iate
FireWire cable, while observing the following
precautions. Plug the 6-pin connector into the
FireWire socket of the FireWire se ction on the rear
of the console. Connect the other end of the cable
into the PC.
When plugging the FireWire connector
into your PC, make sure the conne ctor is the correc t
way up and take gr eat care not to exert too much force.
Some typical examples of FireWire connec tors are
shown below.
4-pin
(3) In the Found New Hardware Wizard w indo w,
select the No, not this time option and then
click Next.
(4) Select the Install the software automatically
(Recommended) option, and then click Next. The
wizard will perform a s earch.
(5) When the Windows “Logo testing” compatibility
window appears, click Continue Anyway.
(6) After the wizard has nished installing the device
hardware, click Finish.
You should see the following balloon on yo ur desktop.
You are now ready to use Fir eWire with th e VeniceF console.
The default settings of the Midas FW
soft ware you have just installed should be
adequate for use. However, if you want to
change these settings, open the settings
window by click ing the Midas FW desktop icon. For full
details, refer to the VeniceF Operator Manual.
6-pin
(VeniceF)
9-pin
Mac computer version
This is the Quic k Start Guide for the VeniceF conso les.
It shows you how to get your console and Mac computer
ready to use FireWire. For full details, see the VeniceF
Operator Manual.
It is strongly recommended that when
connec ting or disconnec ting the VeniceF to a PC/ Mac/
Lapt op comput er you do so in the follow ing manner:
When Connecting the VeniceF
• Ensure that the computer is turned OFF
• Ensure that the VeniceF is turne d OFF
• Connect your VeniceF FireWire port to your
computer’s FireWire port
• Turn ON your VeniceF
• Turn ON your Compu ter
• Turn ON your Monitor Speakers
When disconnecting the VeniceF
• Shut down record sof tware
• Turn OFF your monitor speakers
• Turn OFF your VeniceF
• Disconnect your VeniceF
Step A — Installing the device driver
Do not connec t the FireWire cable to your
Mac computer before installing the device driver.
(1) Visit www.midasconsoles.com to downlo ad the
latest drivers.
(2) Launch MidasFWInstaller.exe to start the setup
wizard. In the Setup - Midas FW window, click Next.
(3) Double-click the “MidasFW-x.x.x.xxxx.pkg” le.
(4) At the Introduction stage, click Continue.
(If your Mac computer has another hard dr ive connected,
the Destination Select stage will let you selec t another
install location.)
(5) At the Installation Type stage, click Install.
(If a password message appears, enter your password
and continue.)
(6) At the Installation stage, click Continue.
(7) After the driver has been installed successfully,
click Restart.
Your Mac computer should switch o and on again
automatically to nish the installation procedure.
Your Mac computer must restart before
you can use the device driver you have just installed.
After your Mac computer has res tarted, go to Step B.
Step B — Connecting the VeniceF to
your Mac computer
Do not attempt the following procedure
until you have com pleted Step A.
The VeniceF must be s witched o before the FireWire cable
is connected to it.
(1) Switch o the VeniceF.
(2) Connect the VeniceF to your Mac computer using
the appropriate FireWire cable, while observing the
following precautions. Plug the 6-pin connector
into the FireWire socket of the FireWire section on
the rear of the console. Connect t he other end of the
cable into the Mac computer.
Make sure you us e the correct FireWire
cable connector with your Mac computer.
When plugging the FireWire co nnector
into your Mac computer, make sure the connector is
the correct way up and take great care not to exert too
much force.
Some typical examples of FireWire connec tors are
shown below.
4-pin
You are now ready to use FireWire with the
VeniceF console.
The default settings of the Midas FW
soft ware you have just installed should be
adequate for use. However, if you want to
change these settings, open the settings
window by click ing the Midas FW desktop icon. For full
details, refer to the VeniceF Operator Manual.
If you encounter unwanted audio artefacts, such as
humming, this is probably an indic ation of ground loop
problems—refer to the Operator Manual for details.
6-pin
(VeniceF)
9-pin
Make sure you us e the correct FireWire
cable connector with your PC.
If you encounter unw anted audio artefac ts, such as
humming, this is p robably an indication o f ground loop
problems—refer to the Operator Manual for de tails.
FireWire an d Mac are tradema rks of Apple In c. Windows is a re gistered tr ademark of Micr osoft Corp oration in the U nited States an d other countri es.
Page 4

6 VeniceF16/VeniceF16R/VeniceF24/VeniceF32 Quick Start Guide 7VeniceF16/VeniceF16R/VeniceF24/VeniceF32 Quick Start Guide
Other important information
Important information
1. Register online. Please register your new
MUSIC Group equipment right after you purchase it by
visiting behringer. com. Registering your purchase using
our simple online form helps us to process your repair
claims more quickly and eciently. Also, read the terms
and conditions of our warranty, ifapplicable.
2. Malfunction. Should your MUSICGroup
Authorized Reseller not be located in your vicinity, you
may contact the MUSIC Group Authorized Fulller for
your country listed under “Support” at behringer. com.
Shouldyour country not be listed, please check if your
problem can be dealt with by our “OnlineSupport” which
may also be found under “Support” at behringer. com.
Alternatively, please submit an online warranty claim at
behringer. com BEFORE returning theproduct.
3. Power Connections. Before plugging the
unit into a power socket, please make sure you are using
the correct mains voltage for your particular model.
Faultyfuses must be replaced with fuses of the same
typeand rating without exception.
FEDERAL COMMUNICATIONS
COMMISSION COMPLIANCE
INFORMATION
MUSIC Group Research UK Limited
VeniceF16/ Venice F16R/
VeniceF24/VeniceF32
Responsible Party Name: MUSIC Group Research
UK Limited
Address: Klark Industrial Park,
WalterNashRoad,
Kidderminster. Worcestershire.
DY11 7HJ. England.
Phone Number: Phone: +44 1562 741515
VeniceF16/VeniceF16R/VeniceF24/ VeniceF32
complies with the FCC rules as mentioned in the following paragraph:
This equipment has been tested and found to comply with the limits for a Class A
digital device, pur suant to Part 15 of the FCC Rules. These limits are designed to
provide reasonable protection against harmful interference when the equipment
is operated in a commercial environment. This equipment generates, uses, and can
radiate radio frequency energy and, if not installed and used in accordance with
the instruction manual, may cause harmful interference to radio communications.
Operation of this equipment in a residential area is likely to cause harmful
interference in which case the user will be required to correct the interference at his
own expense.
Important information:
Changes or modications to the equipment not expressly approved by MUSIC Group
can void the user’s authority to use the equipment.
Page 5

Klark Industrial Park, Walter Nash Road,
Kidderminster. Worcestershire. DY11 7HJ. England.
Tel: +44 1562 741515, Fax: +44 1562 745371
Email: mkt.info@music-group.com
Website: midasconsoles.com
© 2012 MUSIC Group IP Limited
 Loading...