

MICROVITEC TOUCHTECH 501 User Manual
USING
A
501
TOUCHTECH
MONITOR
WITH
A
BBC
MASTER
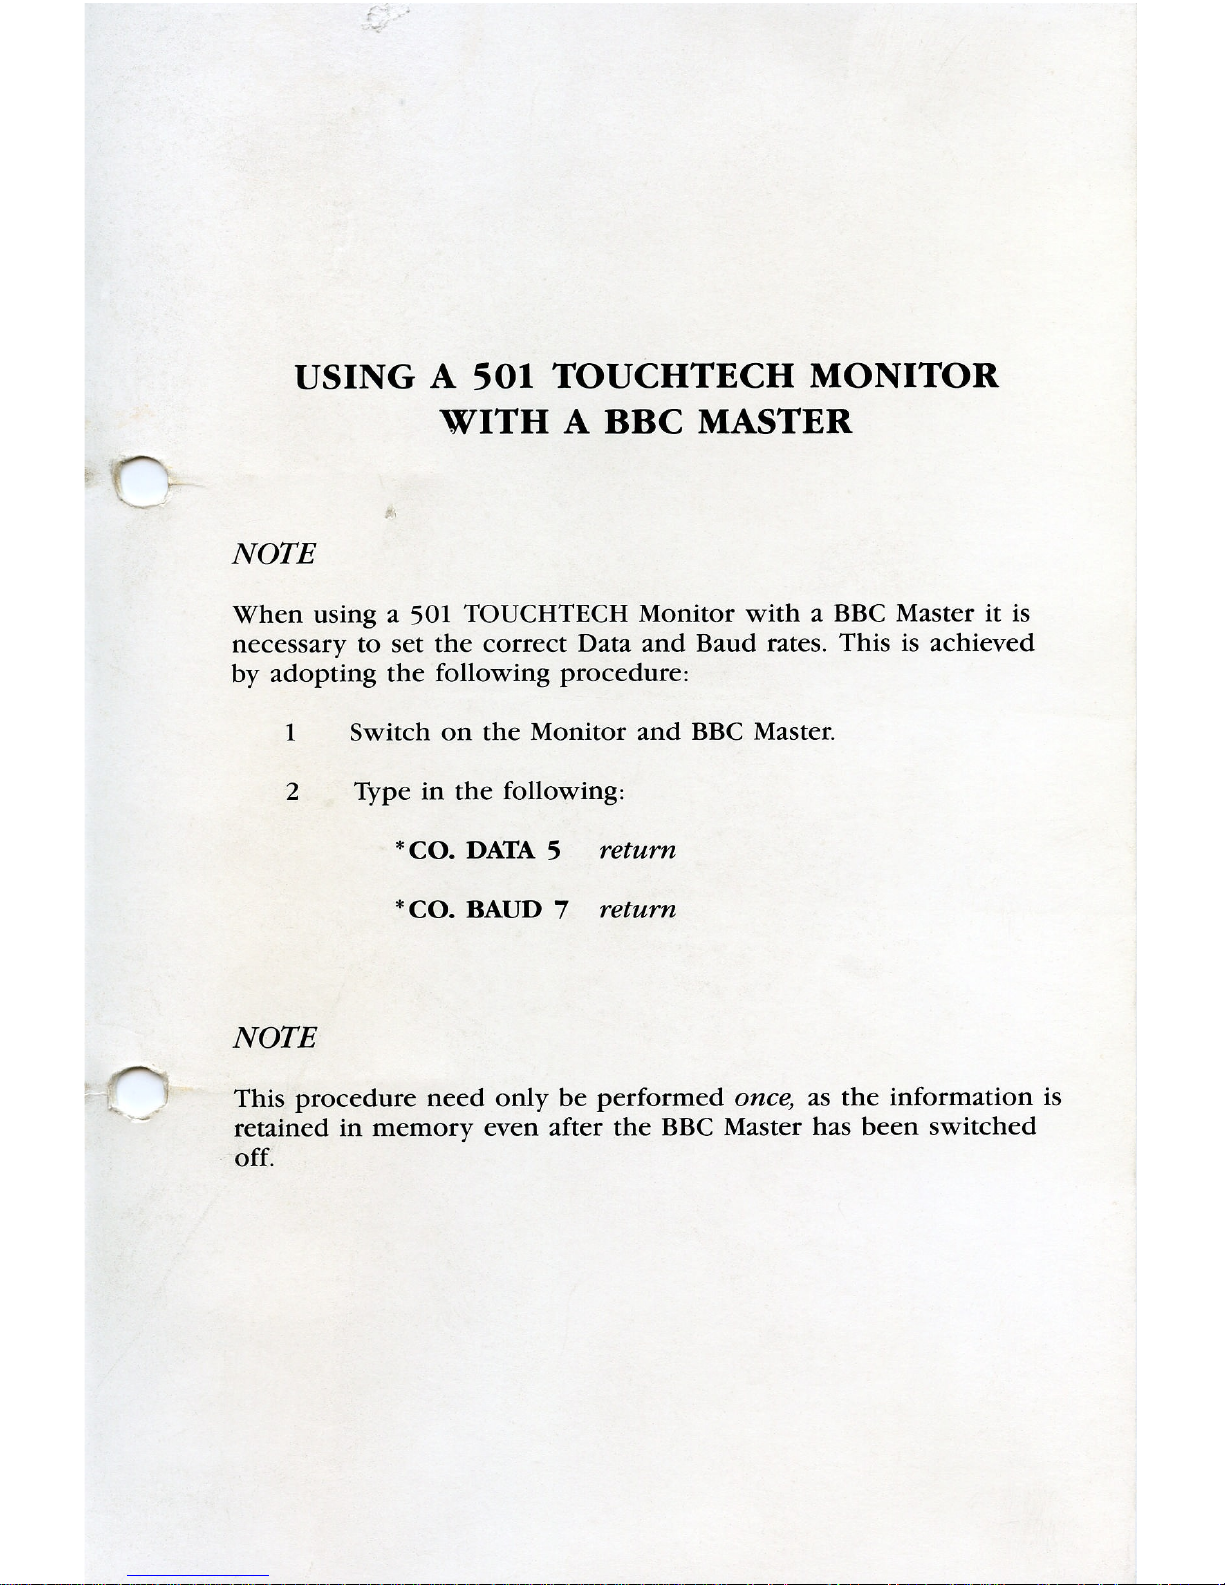
NOTE
When
usinga501
TOUCHTECH
Monitor
with
a
BBC
Master
it
is
necessary
to
set
the
correct
Data
and
Baud
rates.
This
is
achieved
by
adopting
the
following
procedure:
1
Switch
on
the
Monitor
and
BBC
Master.
2
Type
in
the
following:
*
C0.
DATA
5
return
*C0.
BAUD
7
return
NOTE
This
procedure
need
only
be
performed
once,
as
the
information
is
retained
in
memory
even
after
the
BBC
Master
has
been
switched
off.
MICROVITEC
"
OPERATING
INSTRUCTIONS
FOR
TOUCHTECH
501
ACKNOWLEDGEMENTS
The
TOUCHTECH
501
Touch
Screen
and
introductory
programs
have
been
developed
asaco-operative
project
involving
Microvitec
PLC,
the
Microelectronics
Education
Programme
and
the
Department
of
Trade&Industry
and
Trowbridge
College,
Wiltshire.
Microvitec
PLC
would
like
to
thank
the
following
for
their
assistance
in
the
TOUCHTECH
50]
PROJECT-
Mike
Bostock
and
Anthony
Lucas
MEP
John
Sanderson
Syscroft
Ltd.
Alun
Maddocks
and
Paul
Seemayer
Trowbridge
College,
Ian
Robinson
John
McCann
Department
of
Trade&Industry
Microvitec
PLC,
Bolling
Road,
Bradford,
West
Yorkshire
BD4
7TU
Tel:
(0274)
390011
Telex:
517717
GPOOSSAAS
INTRODUCTION
Welcome
to
the
new
and
important
concept
involving
the
interaction
of
man
with
machine
The
TOUCHTECH
501.
Your
TOUCHTECH
501
provides
you
with
a
powerful
alternative
to
the
standard
keyboard
for
communicating
with
the
computer.
The
TOUCHTECH
501
is
based
on
the
latest
infra-red
scanning
technology
which
enables
it
to
detect
a
finger
or
object
placed
within
the
plane
of
the
monitor
screen
and
communicate
the
co-
ordinates
of
this
position
to
the
computer
with
great
accuracy.
It
is
this
facility
that
permits
a
unique
and
direct
interaction
between
the
computer
user
and
the
computer
program,
without
the
need
for
the
user
to
turn
away
from
the
screen
in
order
to
select
one
key
or
another
during
the
course
of
the
program.
Many
applications
are
possible
using
the
TOUCHTECH
501.
These
will
range
from
use
with
young
children,
where
Touch
Screen
operation
will
be
particularly
useful
in
providing
a
completely
natural
way
to
interact
with
educational
programs
on
a
microcomputer,
through
to
business-style
application
programs
like
database
or
spreadsheets,
or
for
other
applications
that
benefit
from
a
menu
driven
approach.
The
programs
supplied
with
your
TOUCHTECH
501
are
general
examples
chosen
to
illustrate
some
of
the
possibilities.
The
programs
demonstrate
several
styles
of
use.
However
the8modes
of
operation
within
TOUCHTECH
501
permit
many
other
possibilities.
For
those
users
with
‘BASIC’
programming
skills,
adapting
existing
programs
for
use
with
the
TOUCHTECH
501
is
relatively
straight-
forward.
This
involves
the
addition
of
two
small
‘BASIC’
routines
to
the
existing
program.
Full
details
of
these
routines
are
provided
within
the
handbook.
A
Utilities
program
‘BOXMAKE’
is
provided
to
facilitate
this.
We
wish
you
success
with
your
TOUCHTECH
501
and
we
are
sure
you
will
find
that
it
offers
a
new
and
exciting
dimension
to
the
computer
and
for
software
development.
GETTING
STARTED:-
ASSEMBLY
INSTRUCTIONS
ELECTRICAL
CONNECTIONS
RE-SET
SWITCH
CHECKLIST
PAGE
NO.
1
3
4
5
GETTING
STARTED
GETTING
STARTED
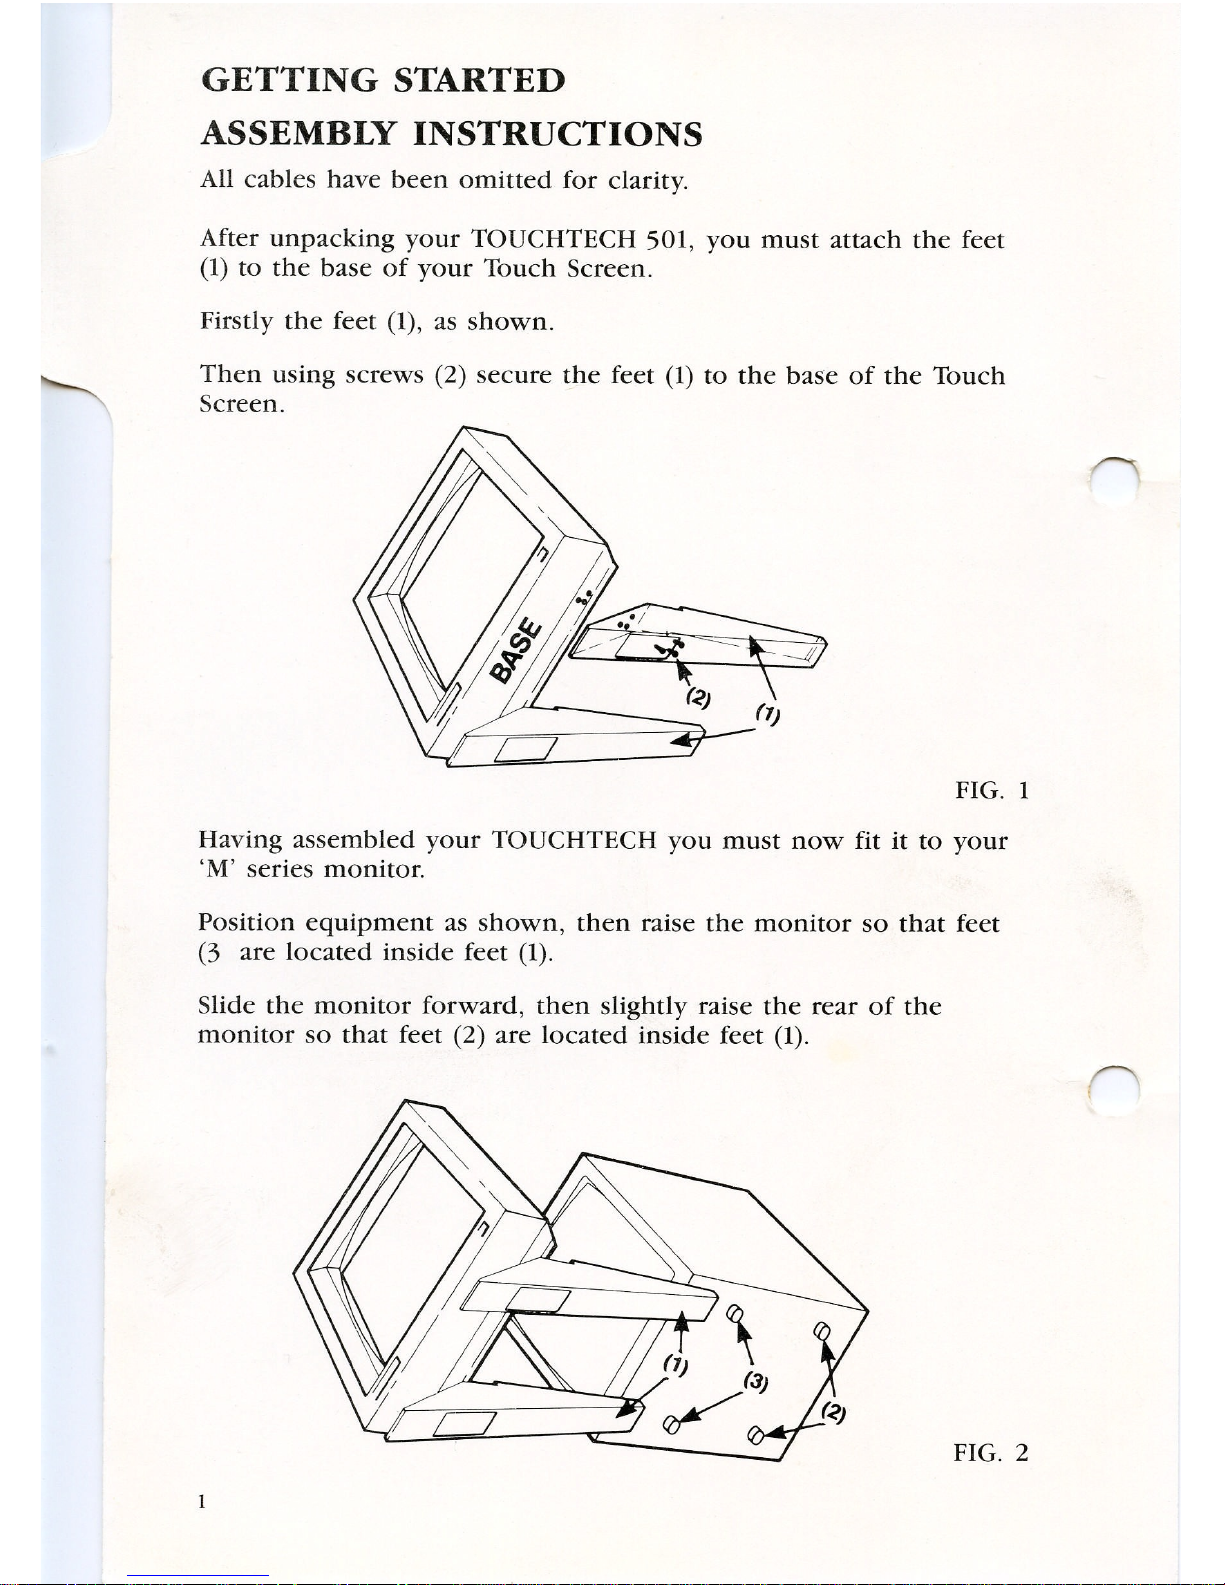
ASSEMBLY
INSTRUCTIONS
All
cables
have
been
omitted
for
clarity.
After
unpacking
your
TOUCHTECH
501,
you
must
attach
the
feet
(1)
to
the
base
of
your
Touch
Screen.
Firstly
the
feet
(1),
as
shown.
Then
using
screws
(2)
secure
the
feet
(1)
to
the
base
of
the
Touch
Screen.
FIG.
1
Having
assembled
your
TOUCHTECH
you
must
now
fit
it
to
your
‘M’
series
monitor.
Position
equipment
as
shown,
then
raise
the
monitor
so
that
feet
(3
are
located
inside
feet
(1).
Slide
the
monitor
forward,
then
slightly
raise
the
rear
of
the
monitor
so
that
feet
(2)
are
located
inside
feet
(1).
FIG.
2
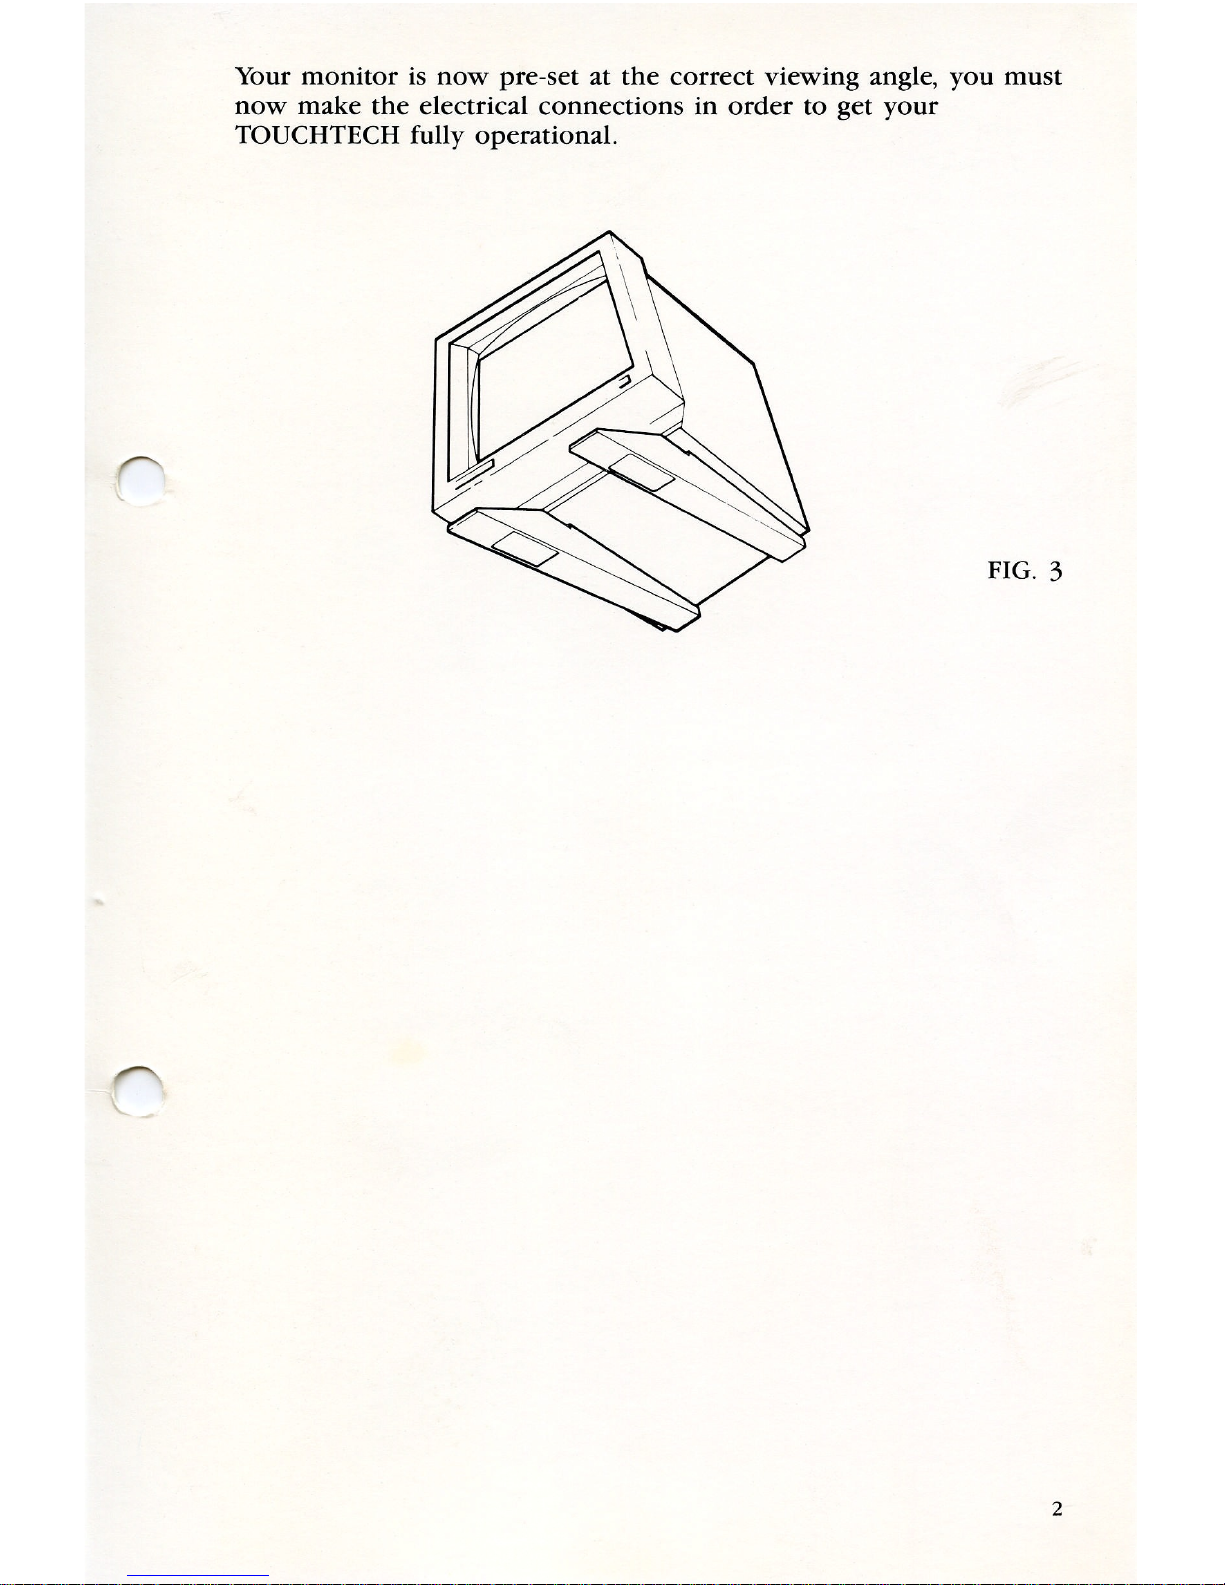
Your
monitor
is
now
pre—set
at
the
correct
viewing
angle,
you
must
now
make
the
electrical
connections
in
order
to
get
your
TOUCHTECH
fully
operational.
FIG.
3

ELECTRICAL
CONNECTIONS
We
will
now
look
at
the
electrical
connections
required
in
order
to
get
your
TOUCHTECH
501
fully
operational.
1.
There
are
two
leads
to
be
connected,
the
first
is
the
power
lead
(1).
This
plug
fits
into
the
disc
drive
power
port
(2)
on
the
underside
of
your
micro,
and
provides
:5
volts
d.c.
2
The
plug
(3)
connects
to
your
disc
drive
power
plug
(4).
3.
The
only
other
connection
is
to
your
socket
marked
‘Disc
Drive’
(5).
1.
The
second
lead
connects
toa5
pin
din
plug
(1)
which
is
fitted
to
the
RS423
port
(2)
at
the
rear
of
your
micro.
Note:
The
plug
must
be
fitted
with
the
gap
(3)
in
the
plug
uppermost.
2
The
lead
(4)
to
your
monitor
connects
in
the
normal
way.
RGB
(micro
to
TTL
(monitor).
Now
all
that’s
left
to
do
is
to
switch
‘ON’
your
monitor
and
micro
and
enjoy
your
TOUCHTECH
501.
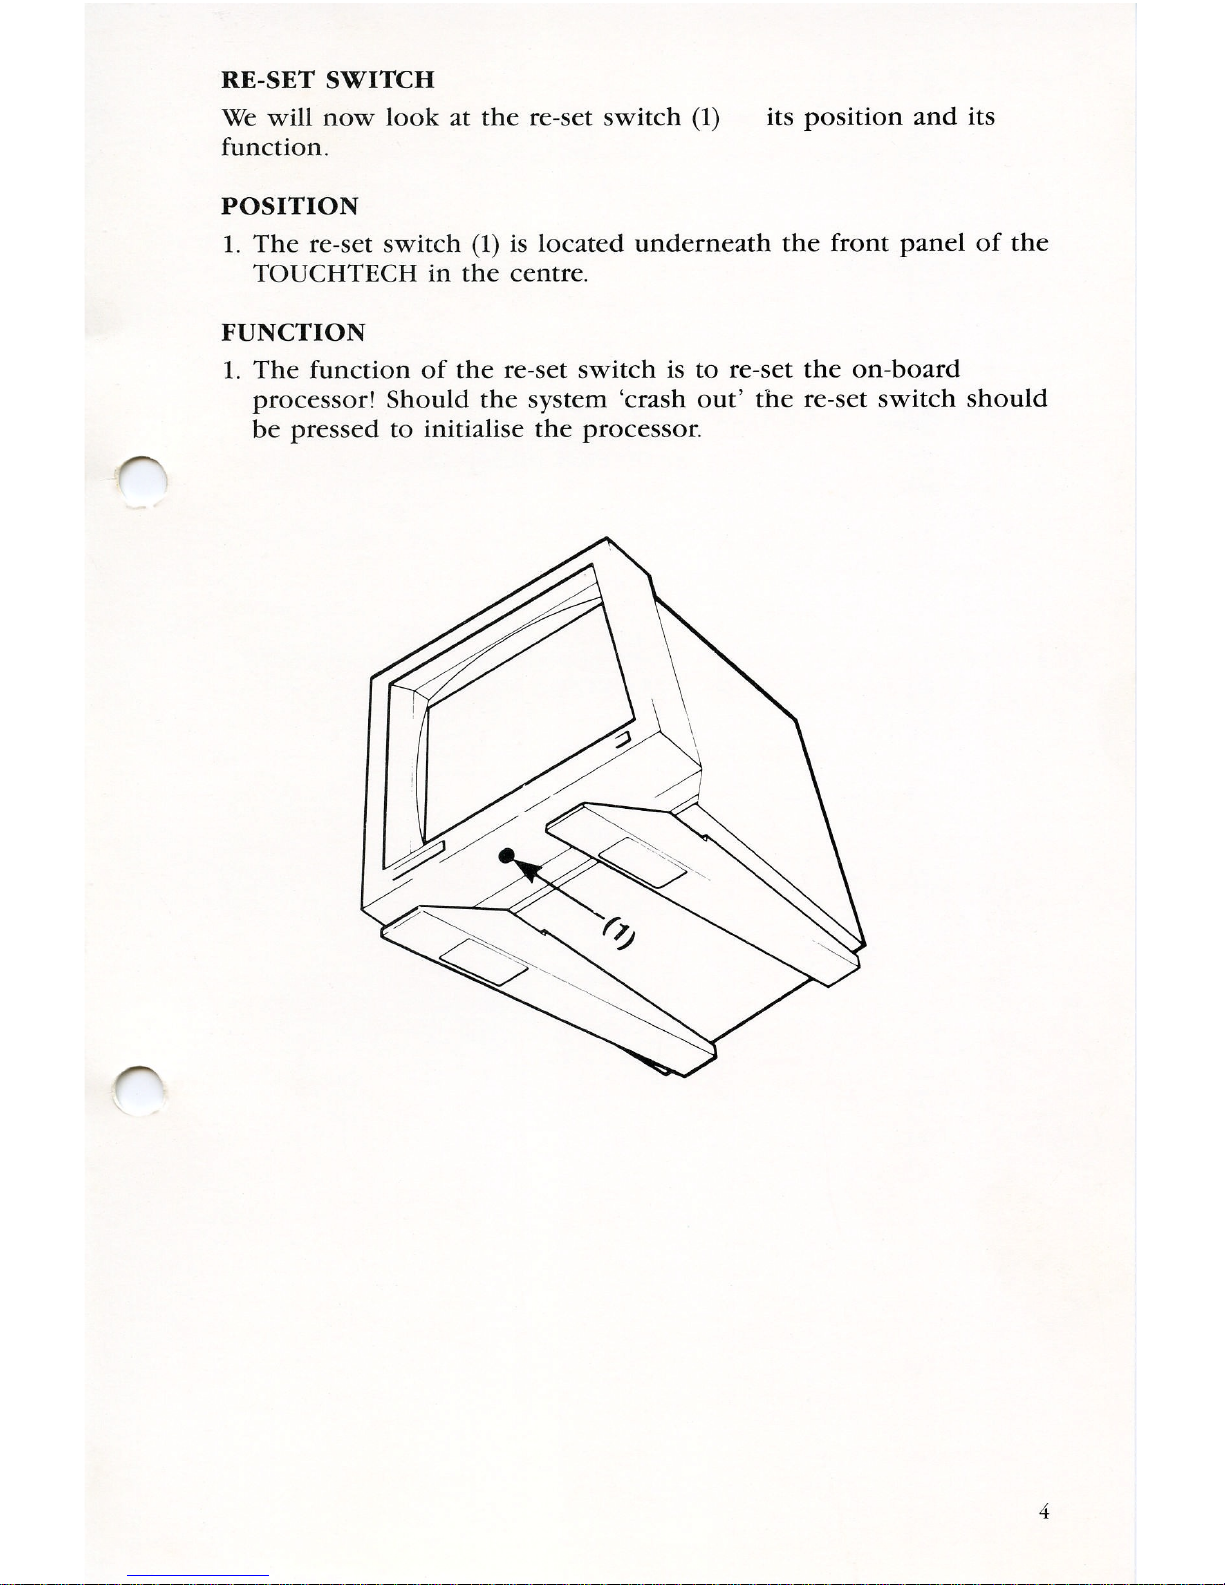
RE-SET
SWITCH
We
will
now
look
at
the
re—set
switch
(1)
its
position
and
its
function.
POSITION
1.
The
re—set
switch
(1)
is
located
underneath
the
front
panel
of
the
TOUCHTECH
in
the
centre.
FUNCTION
1.
The
function
of
the
re—set
switch
is
to
re-set
the
on—board
processor!
Should
the
system
‘crash
out’
the
re-set
switch
should
be
pressed
to
initialise
the
processor.

CHECK
LIST
If
your
new
TOUCHTECH
501
does
not
operate
the
following
steps
will
establish
whether
the
TOUCHTECH
is
faulty.
It
is
important
that
you
carry
out
these
checks
before
returning
the
equipment
for
Warranty
repair.
1.
Ensure
that
the
supply
voltage
is
‘ON’
(the
LED
on
the
front
of
the
TOUCHTECH
should
be
illuminated).
2
Ensure
all
electrical
connections
are
correctly
fitted
(refer
to
‘ELECTRICAL
CONNECTIONS
section
of
this
handbook).
Some
of
the
possible
fault
causes
are:-
A.
Check
input
lead
is
correctly
fitted,
ensure
plug
is
not
upside
down
in
the
RS423
socket.
B.
Ensure
that
the
diskette
is
correctly
loaded
(see
instructions
on
diskette).
3
Press
the
re—set
switch.
4
If
possible
try
the
TOUCHTECH
with
another
micro,
disk
drive
or
monitor
(‘M’
series
only)
to
establish
location
of
fault.
DEMONSTRATION
PROGRAMS
TOUCH
ARTIST
CUBES
MONEY
ODDMAN
SIMONE
MUSIC
WORDS
OXO
PAGE
NO.
6
10
11
12
14
17
18
DEMONSTRATION
PROGRAMS
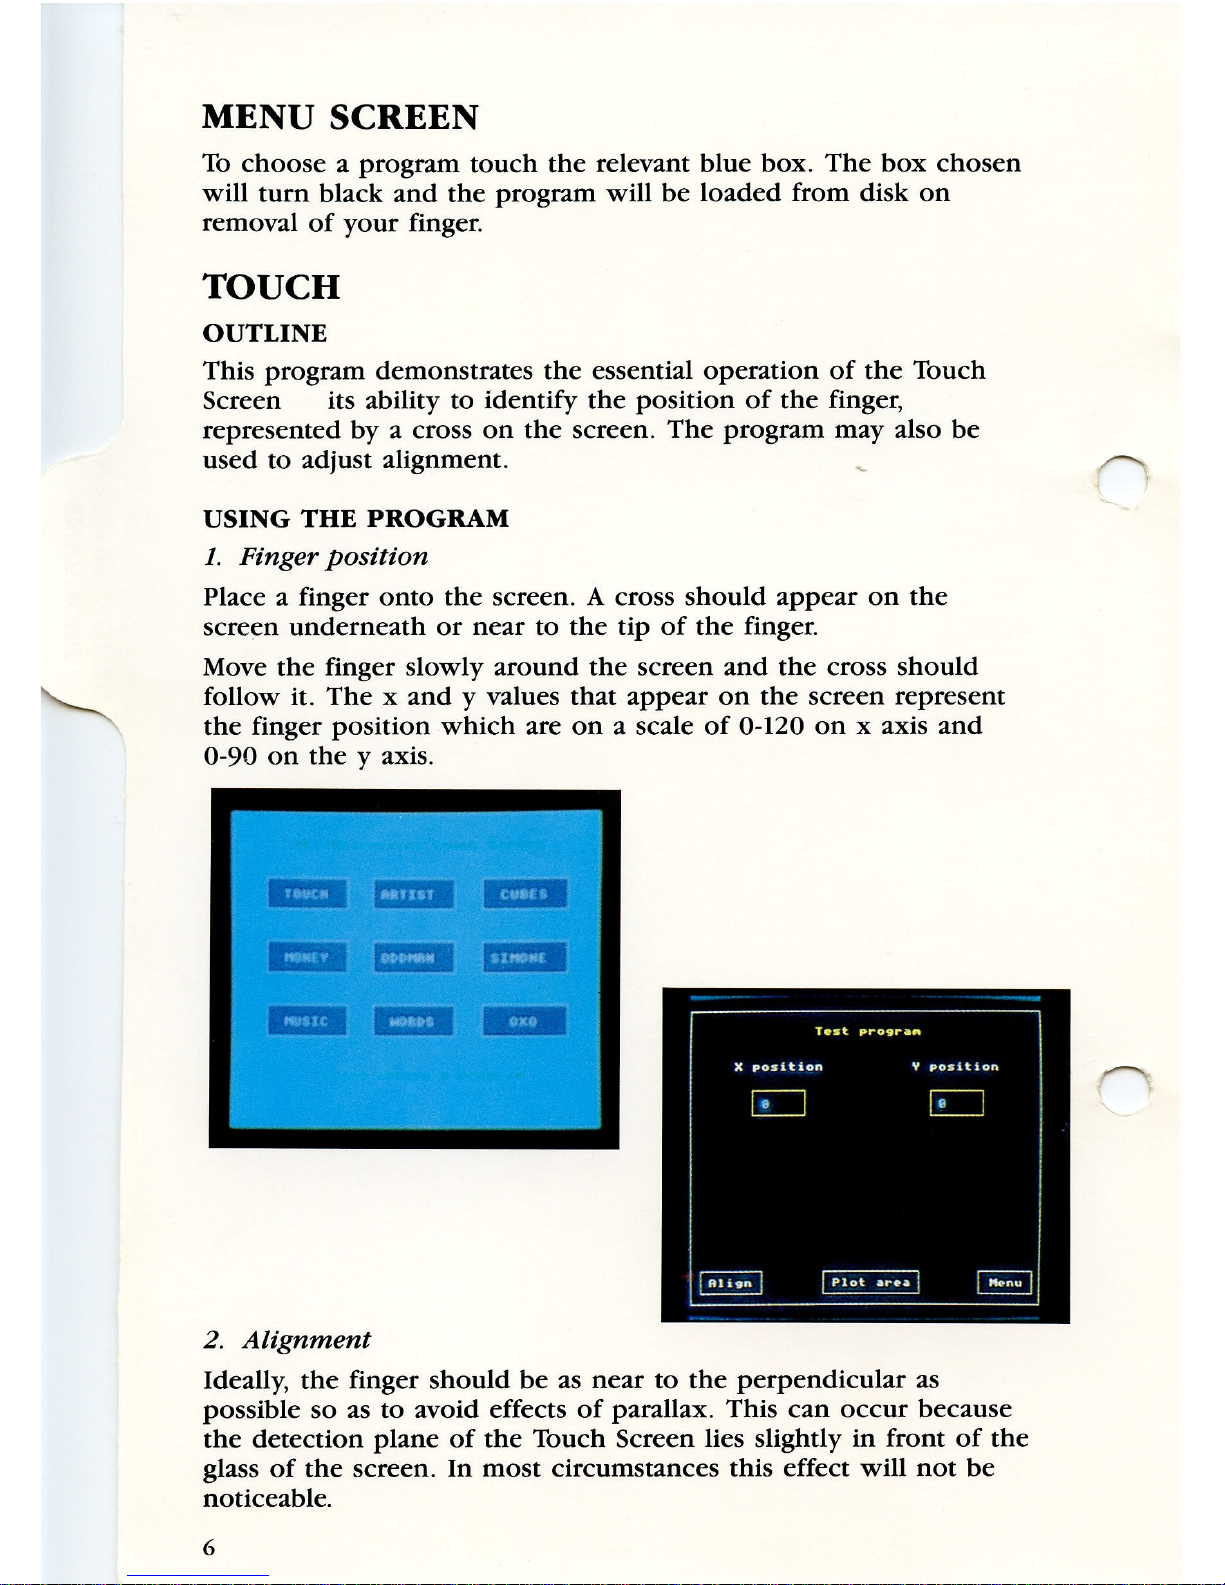
MENU
SCREEN
To
choose
a
program
touch
the
relevant
blue box.
The
box
chosen
will
turn
black
and
the
program
will
be
loaded
from
disk
on
removal
of
your
finger.
TOUCH
OUTLINE
This
program
demonstrates
the
essential
operation
of
the
Touch
Screen
its
ability
to
identify
the
position
of
the
finger,
represented
byacross
on
the
screen.
The
program
may
also
be
used
to
adjust
alignment.
USING
THE
PROGRAM
1.
Finger
position
Place
a
finger
onto
the
screen.
A
cross
should
appear
on
the
screen
underneath
or
near
to
the
tip
of
the
finger.
Move
the
finger
slowly
around
the
screen
and
the
cross
should
follow
it.
Thexand
y
values
that
appear
on
the
screen
represent
the
finger
position
which
are
on
a
scale
of
0-120
on
x
axis
and
0-90
on
the
y
axis.
2.
Alignment
Ideally,
the
finger
should
be
as
near
to
the
perpendicular
as
possible
so
as
to
avoid
effects
of
parallax.
This
can
occur
because
the
detection
plane
of
the
Touch
Screen
lies
slightly
in
front
of
the
glass
of
the
screen.
In
most
circumstances
this
effect
will
not
be
noticeable.
6
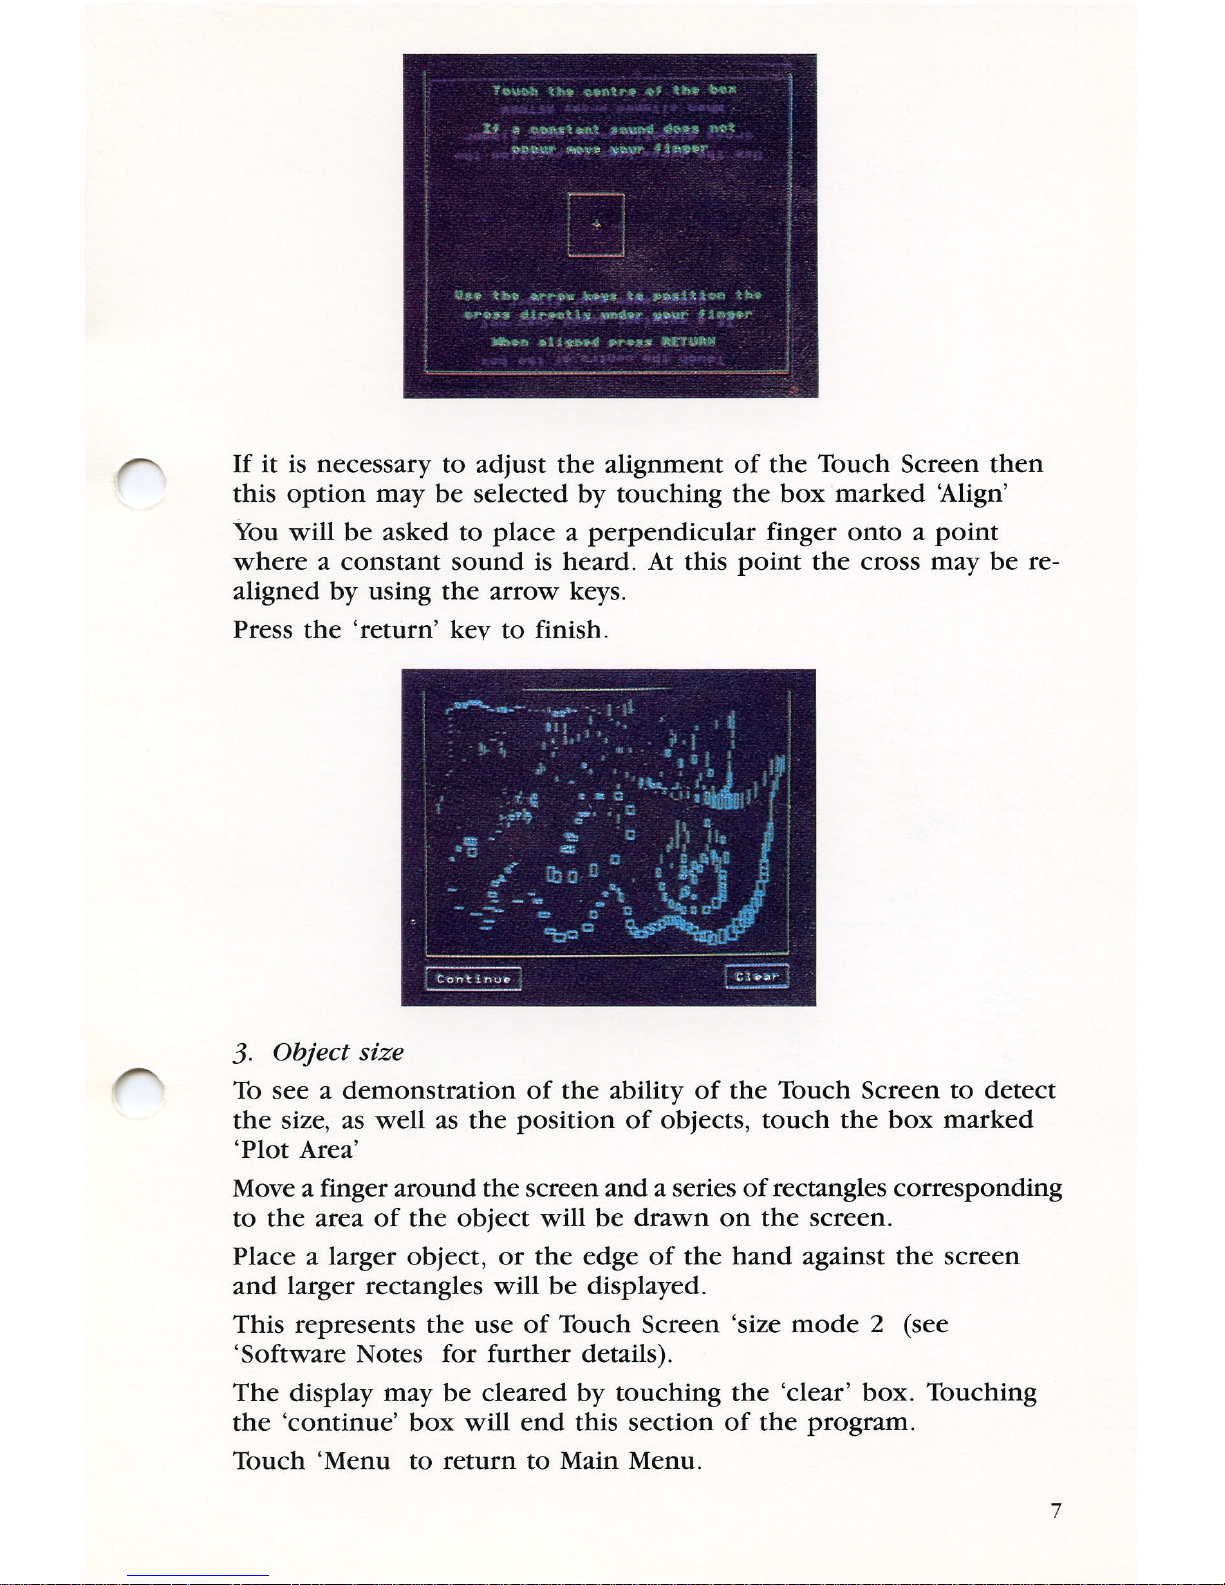
If
it
is
necessary
to
adjust
the
alignment
of
the
Touch
Screen
then
this
option
may
be
selected
by
touching
the
box
marked
‘Align’
You
will
be
asked
to
place
a
perpendicular
finger
ontoapoint
where
a
constant
sound
is
heard.
At
this
point
the
cross
may
be
re-
aligned
by
using
the
arrow
keys.
Press
the
‘return’
kev
to
finish.
3.
Object
size
To
seeademonstration
of
the
ability
of
the
Touch
Screen
to
detect
the
size,
as
well
as
the
position
of
objects,
touch
the
box
marked
‘Plot
Area’
Moveafinger
around
the
screen
andaseriesofrectangles
corresponding
to
the
area
of
the
object
will
be
drawn
on
the
screen.
Placealarger
object,
or
the
edge
of
the
hand
against
the
screen
and
larger
rectangles
will
be
displayed.
This
represents
the
use
of
Touch
Screen
‘size
mode
2
(see
‘Software
Notes
for
further
details).
The
display
may
be
cleared
by
touching
the
‘clear’
box.
Touching
the
‘continue’
box
will
end
this
section
of
the
program.
Touch
‘Menu
to
return
to
Main
Menu.
 Loading...