

MicroStrain EH-Link Quick Start Manual
Quick Start Guide
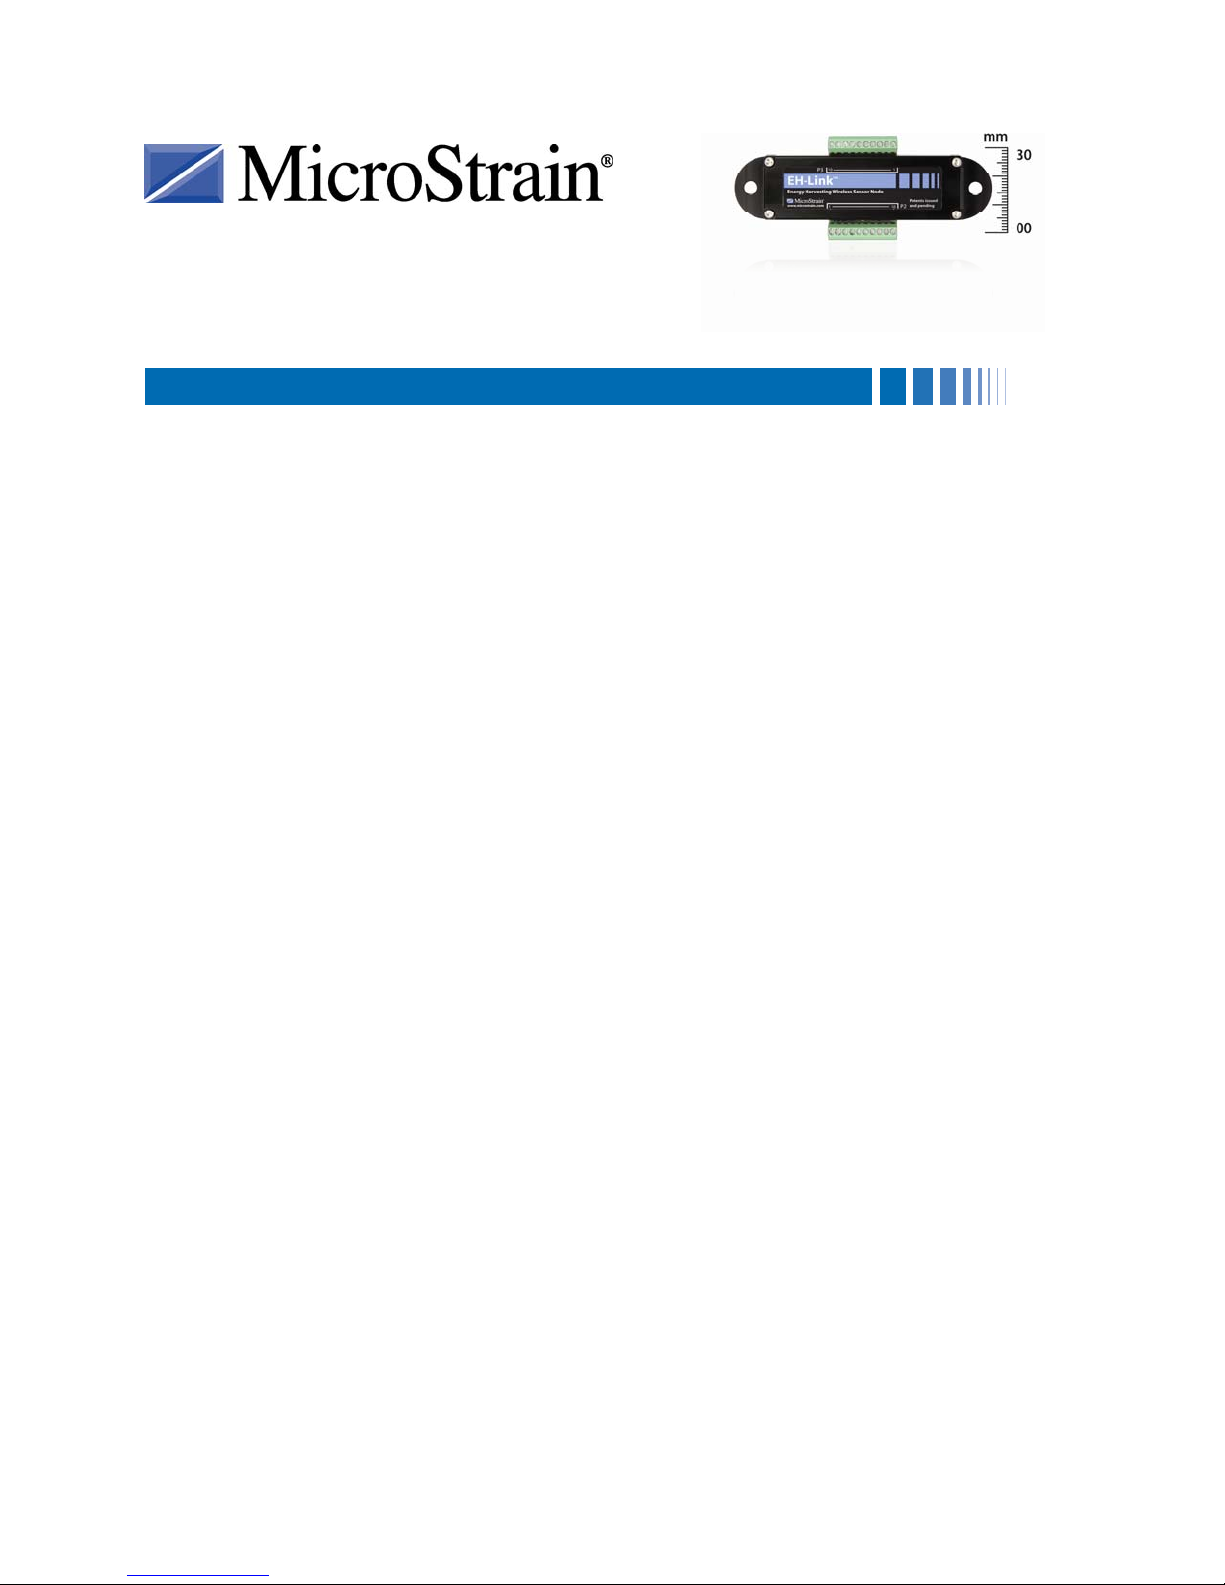
EH-Link
Version
• EH-Link
• USB Base Station firmware 2.09
• Node Commander
Starter Kit
The EH-Link
• EH-Link
• USB Base Station with Antenna
• Thermal Electric Generator (TEG)
• Solar Demo Board
• Node Commander
• 9 volt Alkaline Battery
• Battery Clip
• EH-Link
• 1000 uF Capacitor
• Small Screw Driver (for green terminal blocks)
Software Installation
• Insert the Node Commander
• Launch Node Commander
• The Node Commander
Base Station Installation
• Install the antenna on the USB Base Station.
• Plug the USB Base Station into any USB port on your PC.
• The blue LED on the Base Station will illuminate continuously.
• After a moment Node Commander
• Note: The X, as shown in the figure, indicates the communication port number to which
™
Energy Harvesting Wireless Sensor Node
™
firmware 1.07
®
software 2.3.0
™
starter kit contains:
™
Energy Harvesting Wireless Sensor Node
®
Software and Manuals CD (Windows® XP, Vista, 7)
™
1000 ohm Tester Board
®
software CD into your CD-ROM drive and follow the on-
screen instructions to install the software.
®
software.
®
Main screen will appear as shown in Figure 1.
®
will recognize the Base Station and display it as Base
Station Com X in the Controller frame as shown in Figure 1.
the Base Station has been assigned. In our example we see communication port 16.
1

Figure 1
Establish Communication with the EH-Link
™
• Install the Battery Clip on the EH-Link™ by connecting the red lead to pin 9 and the
black lead to pin 10 on the P2 connector as shown in Figure 2. Use the small screw
driver provided to tighten the screw terminals.
• Install the 9 volt Alkaline Battery on the Battery Clip.
Figure 2
• In Node Commander
®
, right-click the Base Station Com X in the Controller frame.
• A drop-down menu will appear as shown in Figure 3.
Figure 3
2
 Loading...