

Microsport X-SPEED Instruction Manual
GPS Speedometer and Tracker for Skiing
by
Instruction Manual

Content
1. Introduction
2. Components of the X-SPEED Speedometer
3. microSD Card
4. Computer-Software
4.1. Installation of the Computer Software
4.2. Running the Computer-Software
5. X-SPEED – Mounting the Baseplate
6. X-SPEED - Handling
6.1. On/Off
6.2. Display
6.2.1. Actual speed less than 20km/h (12 M/h)
6.2.2. Actual speed more than 20 km/h (12 M/h)
6.3. Functions
6.4. Setup
6.4.1. Language
6.4.2. Units
6.4.3. Time diffenrence
6.4.4. Contrast of the Display
6.4.5. Displaytime per function
6.4.6. Record GPS data on the SD card
6.5. Charging the X-SPEED module
6.5.1. Replacing the rechargeable battery
7. Accessories
8. Warranty

1. Introduction
Thank you for choosing Microsports X-SPEED
Speedometer and Tracker.
The X-SPEED is the first GPS-Speedometer worldwide
which has been developed especially for skiining and
mounting on the ski.
The data from the GPS satelites is analysed and displayed
by the X-SPEED module.
This allows you the check data about your position, your
speed, altitude and other info relevant for your security in
your field of view. At the same time all GPS data can be
stored on the integrated microSD card for later evaluation.
The computer software on the included microSD card allows
you to transfer your tour data to your computer for
analysation and visualisation of your tour. Additionally you
can view your tour in Google Earth™, generate speed and
altitude profiles and import your digital photos.
MICROSPORT wishes you memorable skiing days with your
new X-SPEED.
ATTENTION! Please mount the baseplate of the X-SPEED
at least 24 hours before you go skiing the first time. This
guarantees the stronges glueing force for the baseplate.
Don’t let the X-SPEED mislead you to fast and reckless
skiing. Protect yourself and other skiers by respectfull skiing.
SAFETY FIRST!

2. Components of the X-SPEED Speedometer
Please check the completeness of your X-SPEED
Speedometer box.
Original contents:
• X-SPEED modul
• Silicon skin (pre-installed
• Baseplate for mounting on the ski
• Cleaning tissue for preparing the ski prior to
glueing the baseplate.
• ACDC powersupply with microUSB connector
• MicroSD memory card with X-SPEED computer
software and SD adapter
• 2 strips of double sided tape
• Instruction Manual
If you find your X-SPEED system is incomplete please
contact the seller of the X-SPEED for getting a full system.
3. microSD Card
Pre installed on the microSD card is the X-SPEED
Computer-Software, a PDF of this instruction manual and a
lot of free memory for storing your tour data with the XSPEED.
ATTENTION! You can only use Microsport microSD cards.
The usage of unauthorized microSD cards can cause the
loss of tour data.
Without mounted microSD card the X-SPEED module can
not work. It can’t be switches On/Off without the microSD
card inserted in the slot on the module.
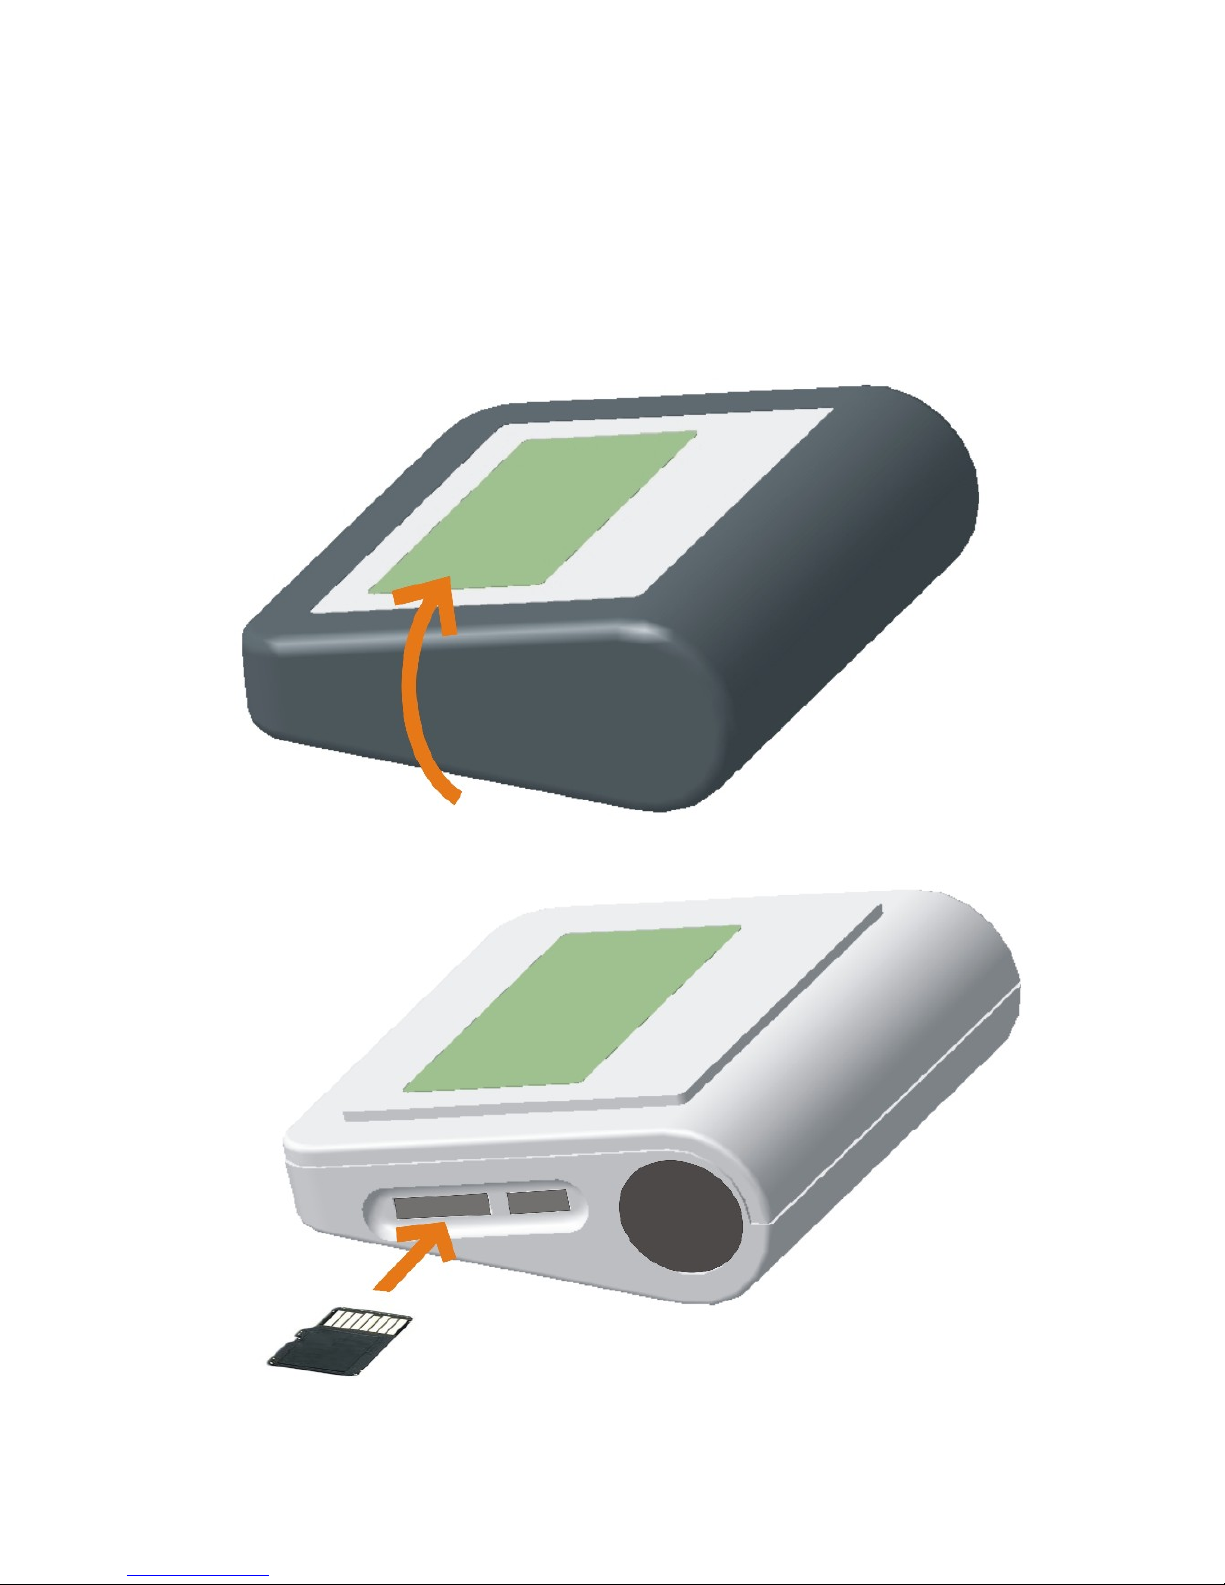
To mount the microSD card remove the silicon skin first and
then insert the microSD card like shown in the picture below.
ATTENTION! The microSD can must be mounted with the
printing on the bottom. The gold contacts are visible on the
top when mounting.
Push in the microSD card all way to the catch. The microSD
card will lock itself into the X-SPEED then.
When you can switch on the X-SPEED after mouning and
the display is activated the microSD card is installed
correctly.
4. Computer Software
The inclueded Computer software is pre installed on the
microSD card of the X-SPEED.
ATTENTION! The software is working under the Windows
operating systems Windows XP, Windows VISTA und
Windows 7 only. Versions for newer versions of Windows
operating systems can be downloaed from the interne.
Please visit our website www.microsport.eu for download
and possible updates.
4.1. Installation of the Computer Software
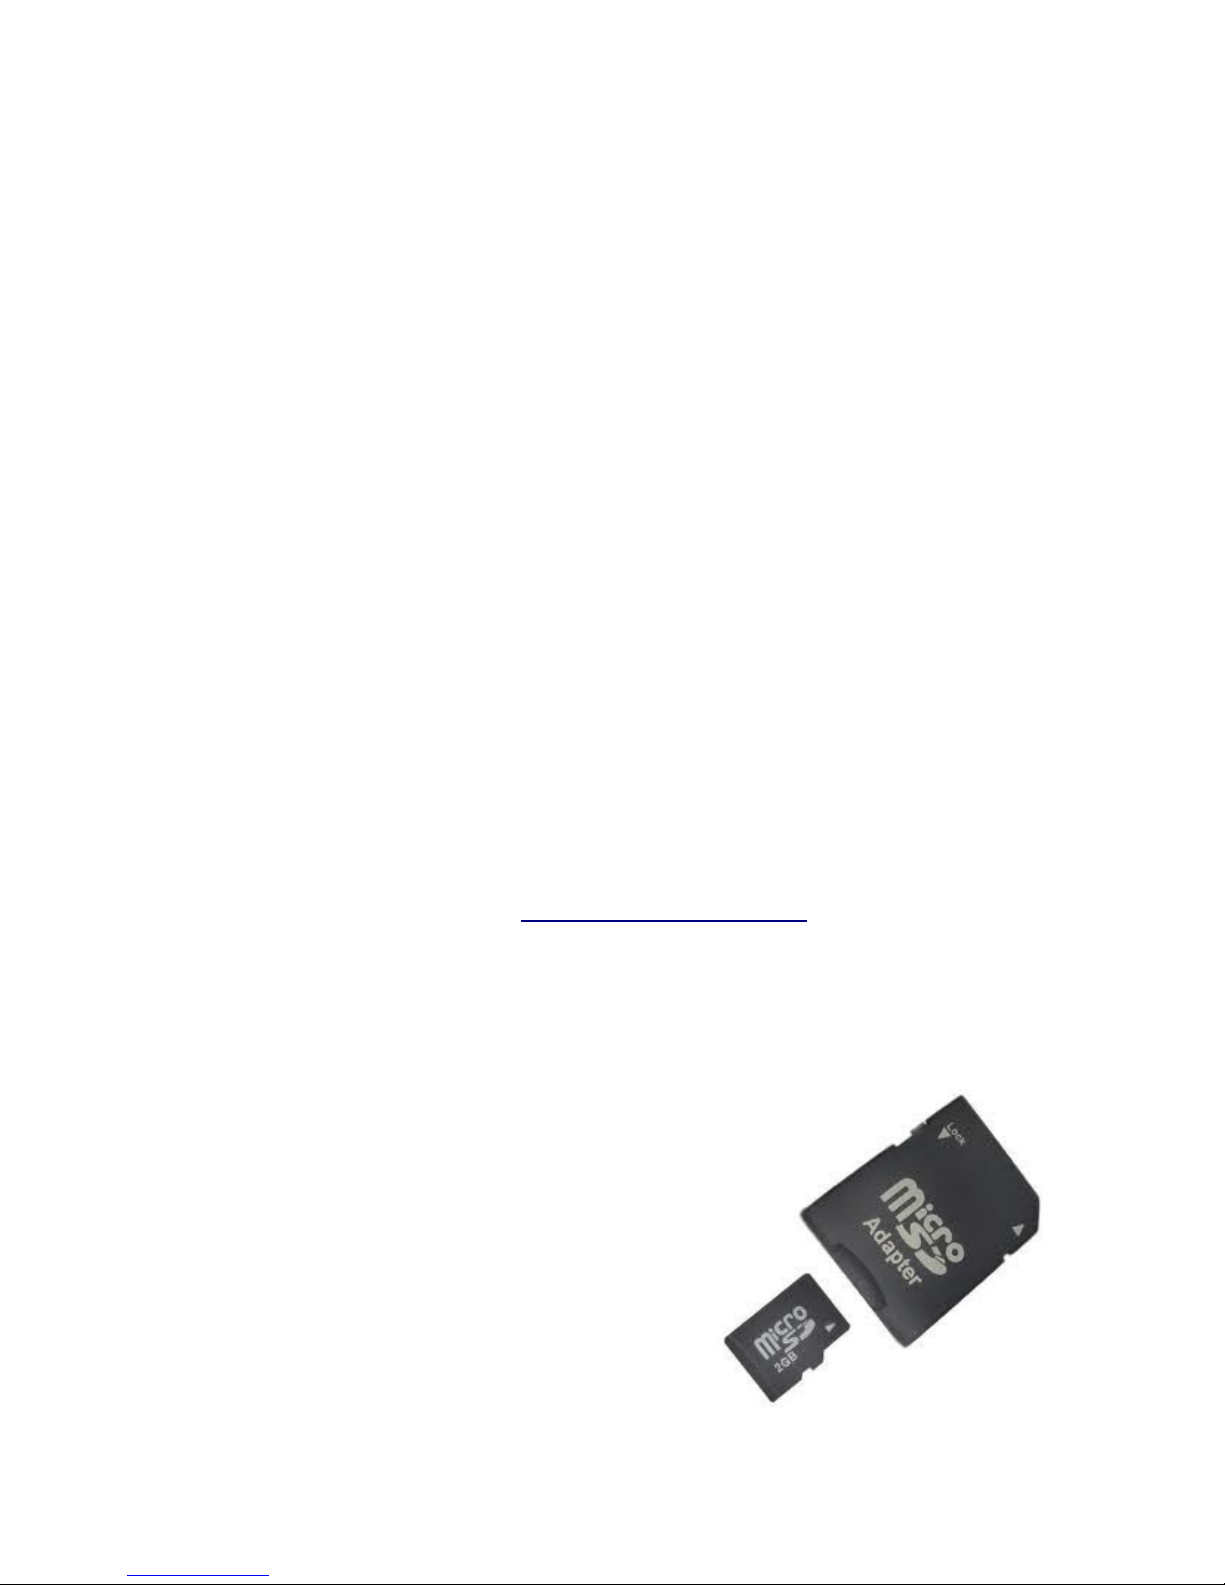
Insert the microSD card into the
bigger SD card adapter. Now
insert the adapter into the card
reader slot of your computer or
laptop.
The SD card is normally
automatically recognized by your
computer.
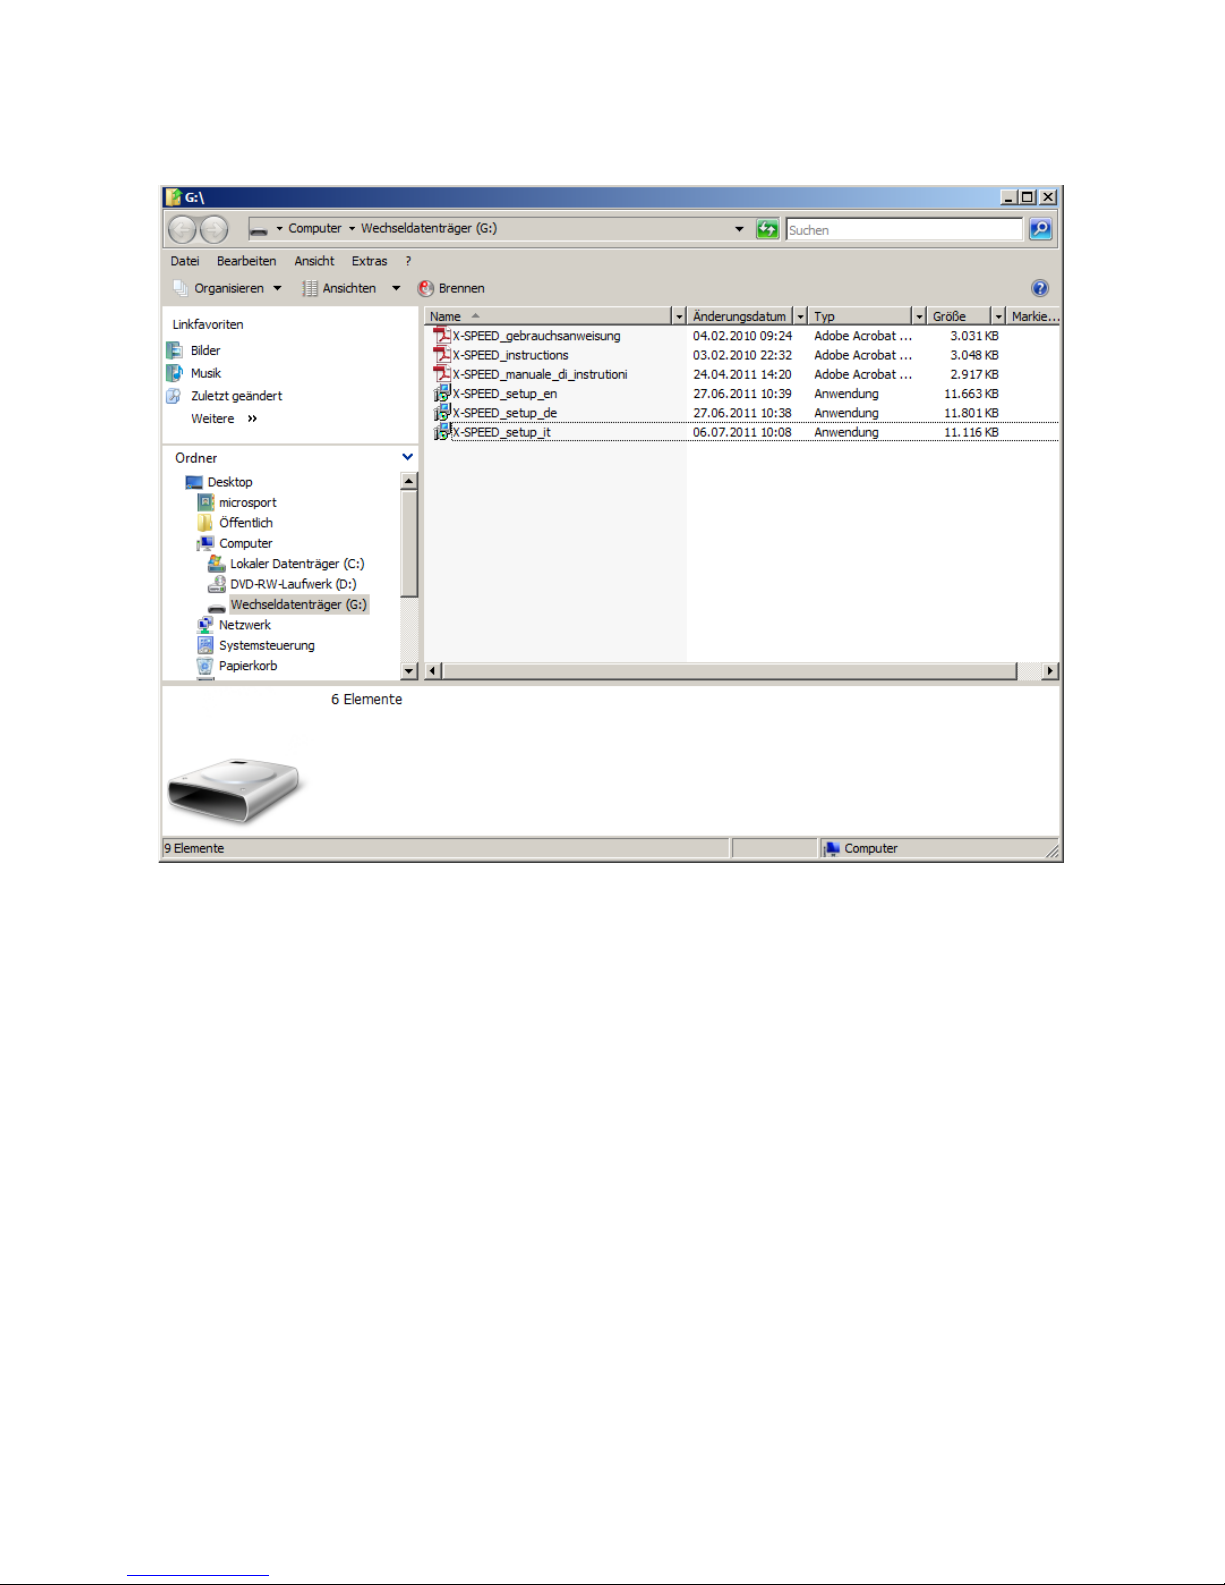
Open the window with the content of the microSD card.
In order to install the computer software please double-click
the correct setup file in your preferred language.
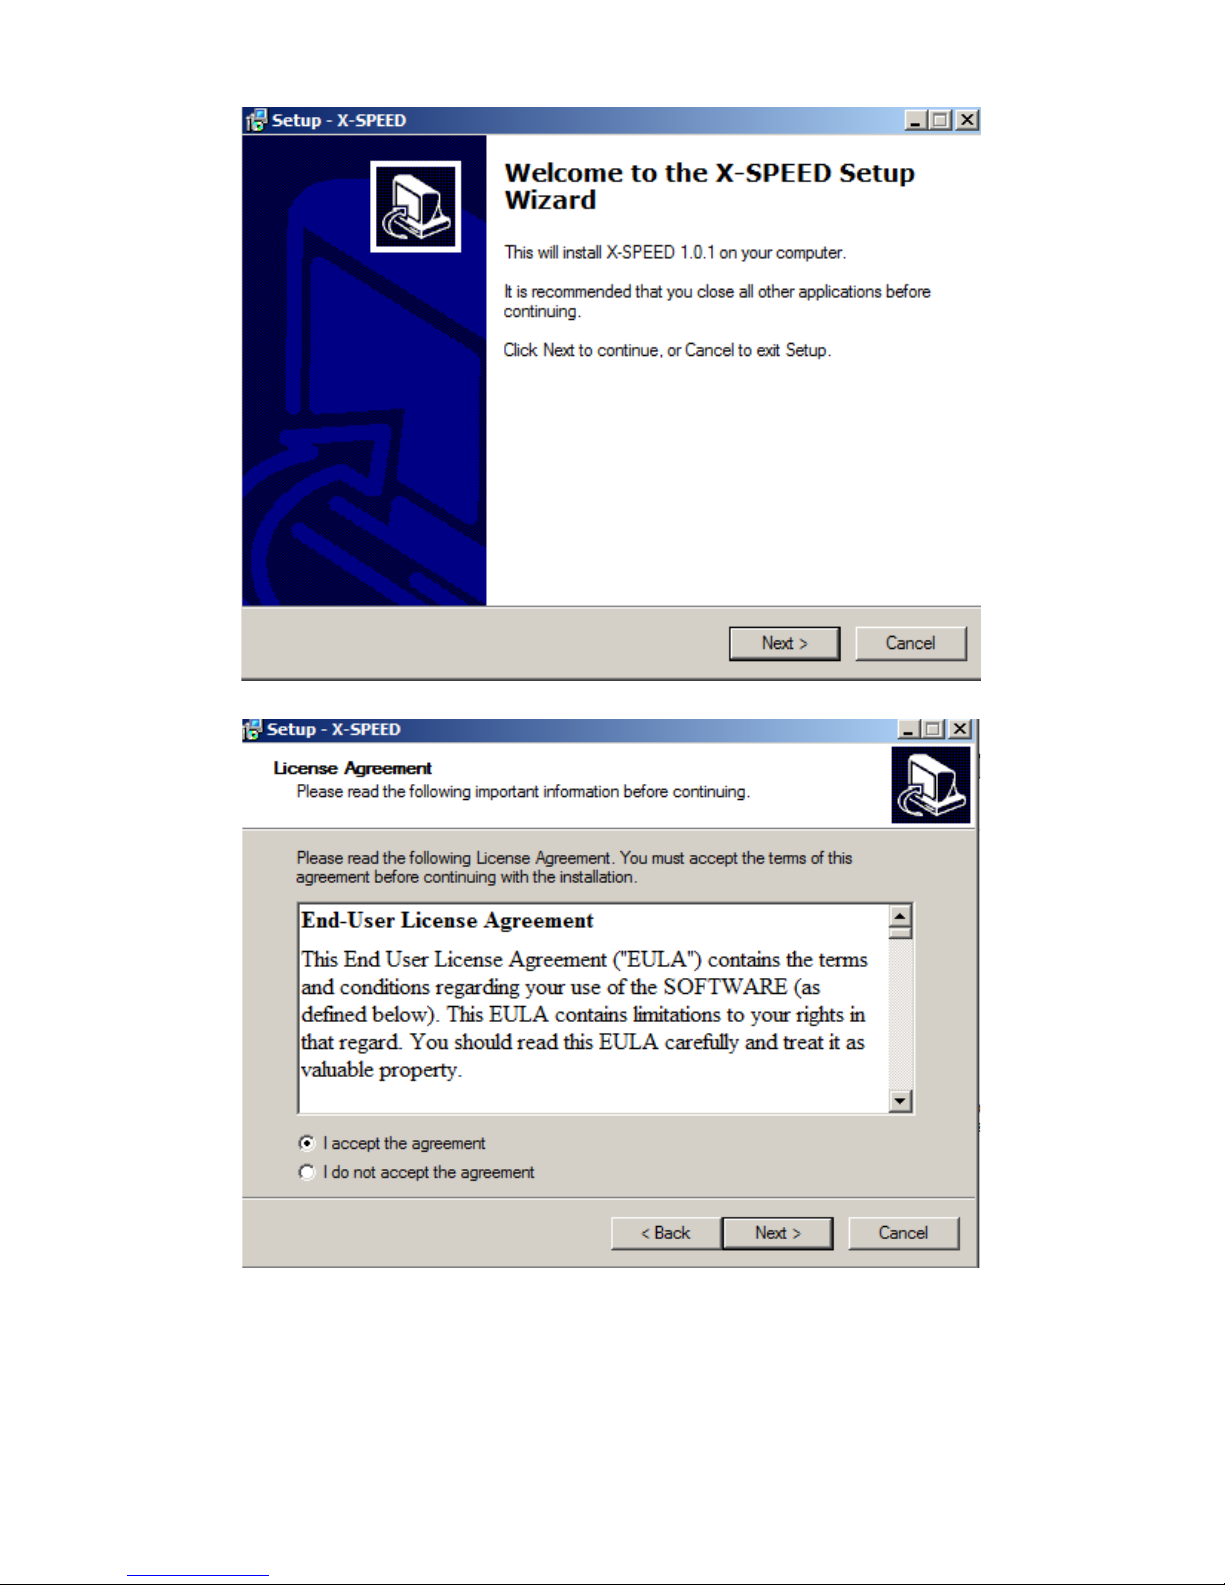
The installer with then start automatically and guide you in a
few easy steps through the installation.
To be able to install the program on your computer you must
accept the “end user licence agreement”
Please choose the folder to which the program files should
be copied.
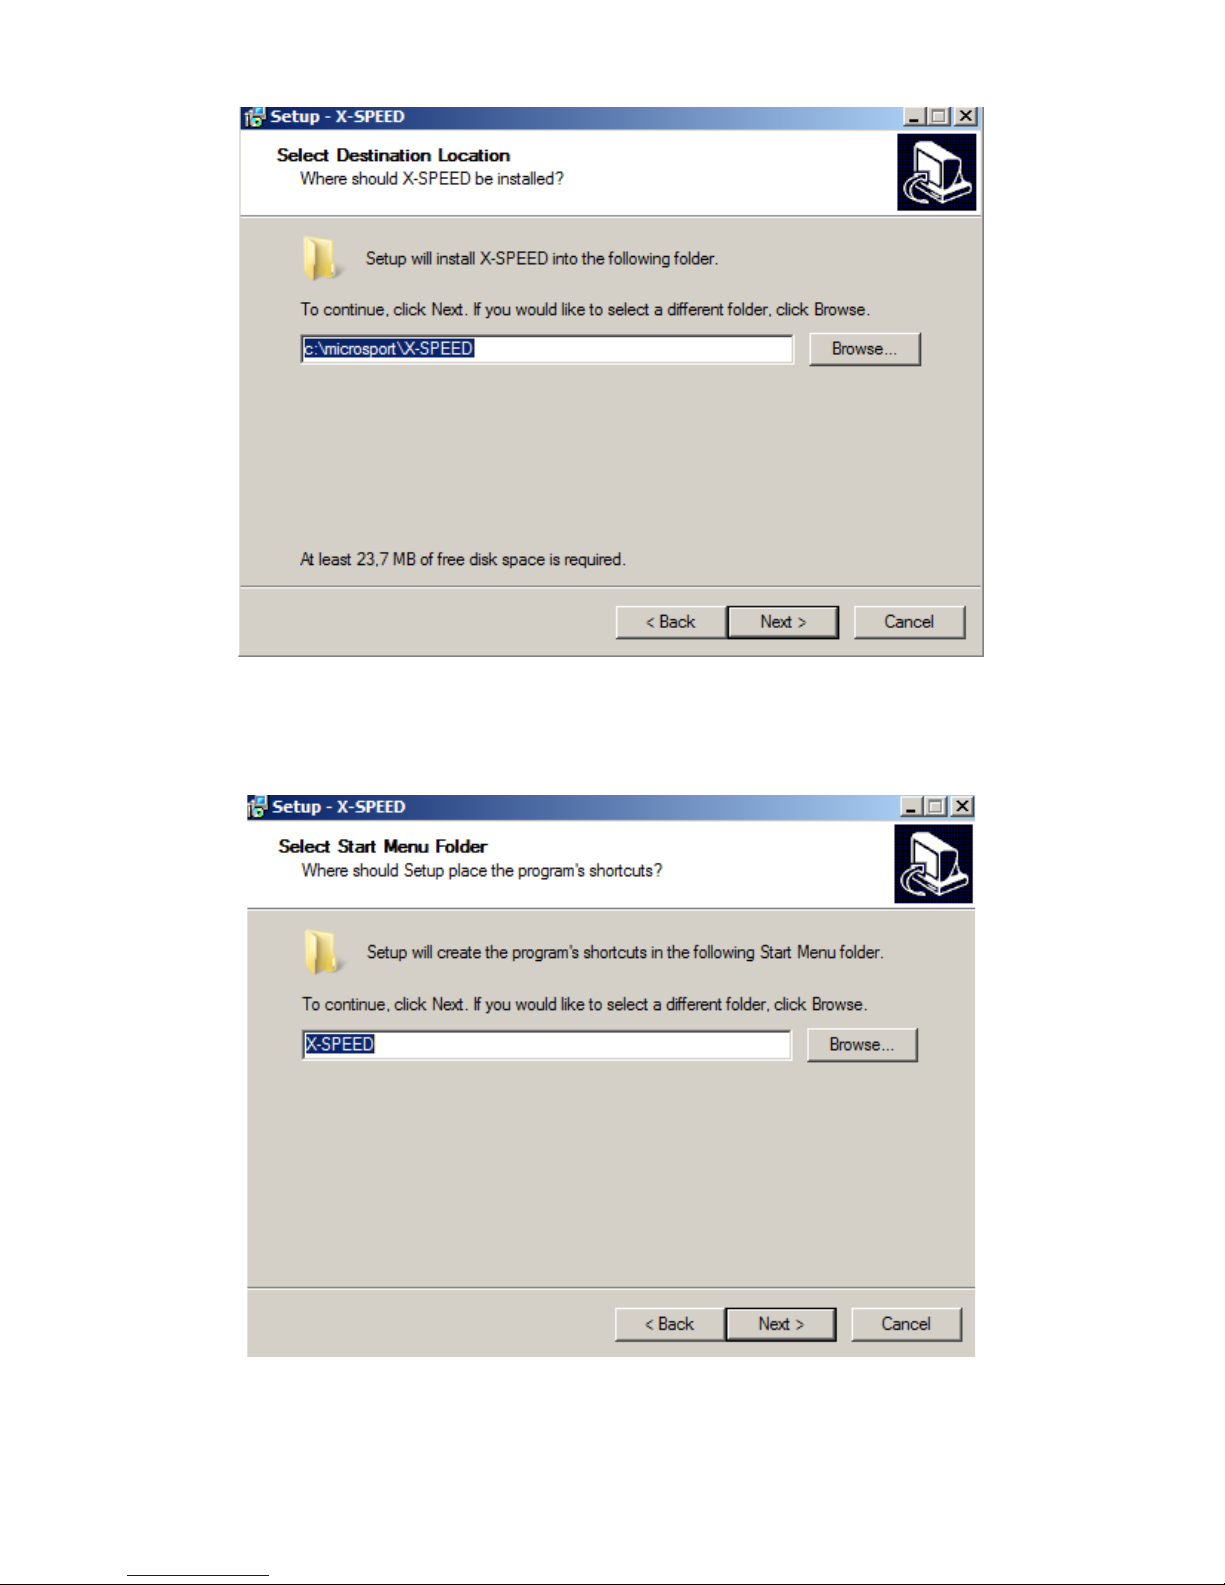
Now choose the name under which the software should be
installed.
Decide, if a desktop icon shall be generated.
 Loading...