

Microsport Snowsport Speedometer User Manual
Snowsport Speedometer
User Manual
Snowsport Speedometer
Table of Contents:
1. Quick Start Guide
2. Wrist Strap Installation/Removal
3. Setting the Time
4. Time Mode
T
5. Speed Mode
S
6. Distance Mode
D
7. Heart Rate Mode ♥
8. Memory Mode
M
9. Calibration Methods
10. Changing the Batteries
11. Trouble Shooting
12. Remarks
Snowsport Speedometer
1. Quick Start Guide
READ THIS FIRST
If at any point in these instructions you
have questions, please call +49 (0)89
30725599 or write an e-mail to
service@microsport.de.
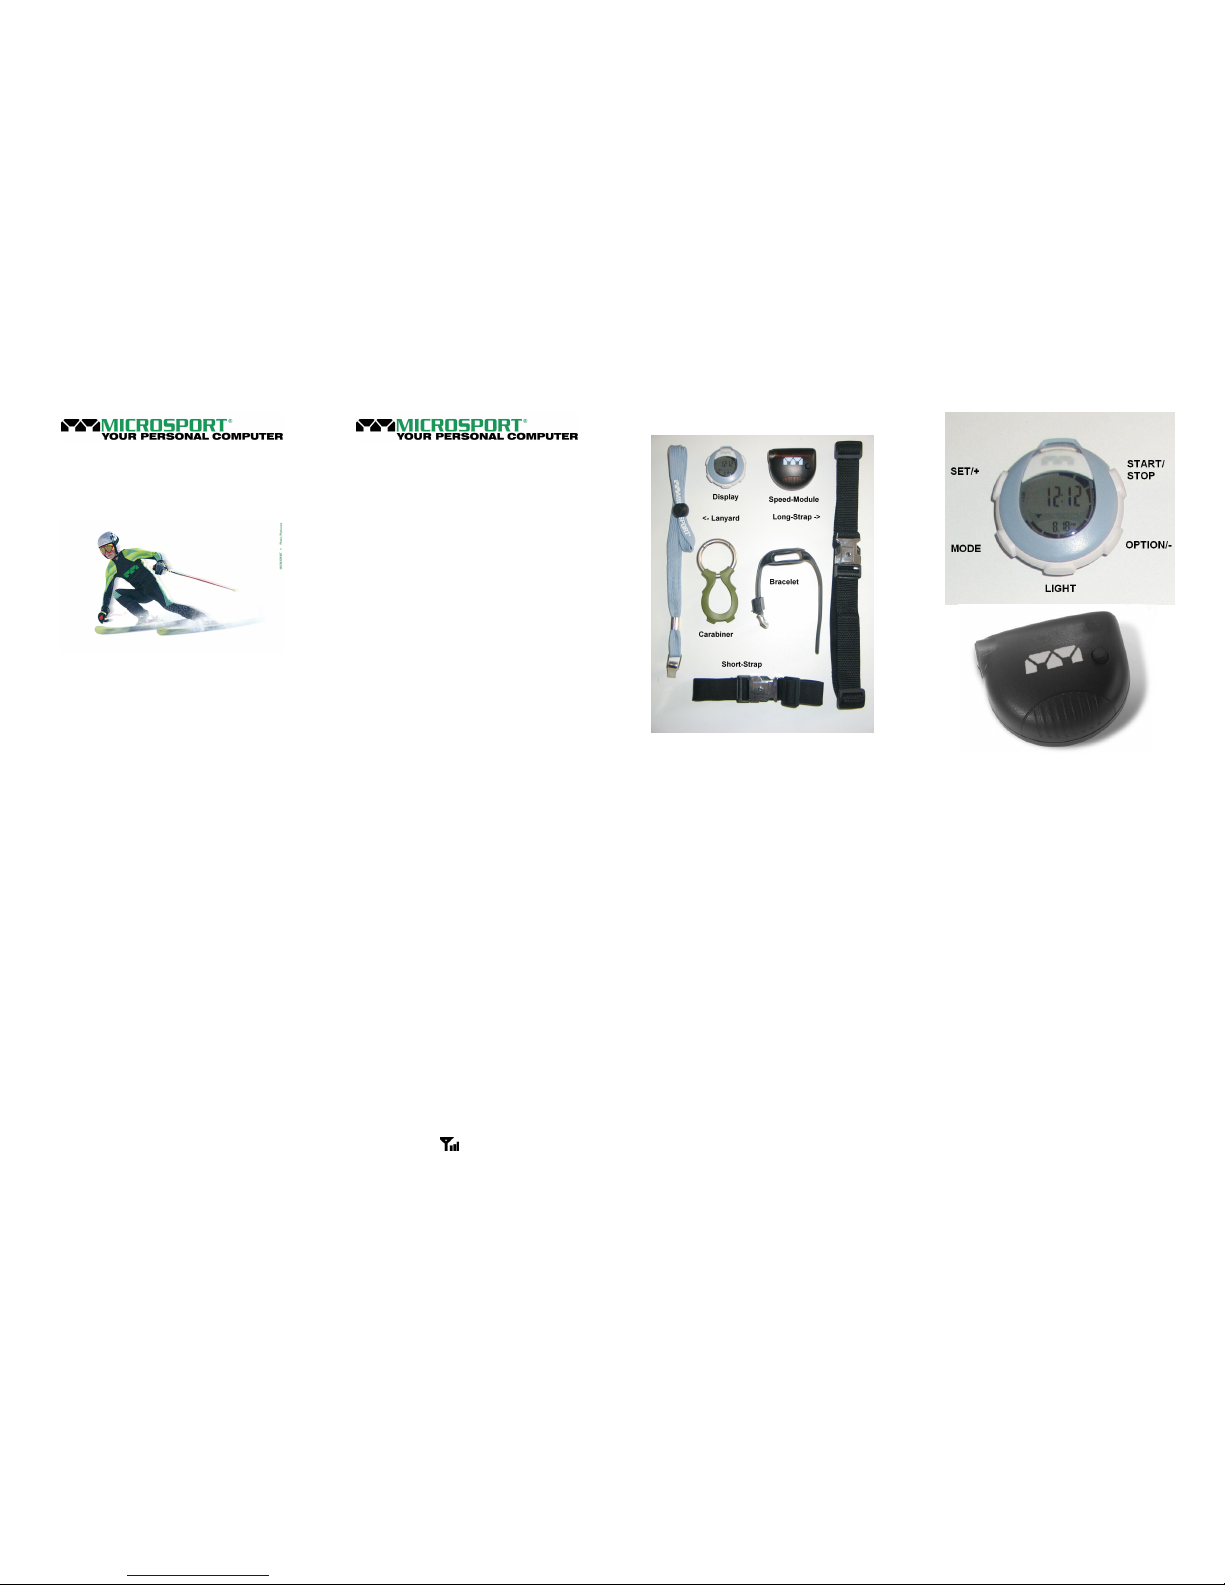
Display:
a. To begin, reset your receiver/watch
by pressing all four outer buttons until the screen goes blank.
b. In Time Mode T, press
SET
button -
upper left.
c. To change a value, press + button
(upper left) and - button (lower right).
d. Press
START/STOP
button (upper
right) to save the changes and continue to the next option- 12/24hr
time, time, date, etc.
e. You can always exit the Setup by
pressing
MODE
Reading the Heart Rate
(for optional
heart rate monitor only)
a. Fit the heart rate strap on your chest
with the logo right side up. Wet the
flexible rubber bands
b. Toggle to the heart rate mode ♥
c. Press
START/STOP
to activate the
transmission
d. Your heart rate will display after
approx. 30 seconds.
Speed and Distance:
a. The button of the Speed-Module
toggles the unit on/off. Press and
holf the button on the Speed-Module
until the red light flashes.
b. Press
MODE
(lower left on the
watch) and scroll to the S Speed or
D
Distance setting.
c. Press
START/STOP
(upper right) to
begin data collection- as indicated by
the Symbol
below the status bar.
d. If the speed module could connet to
the display all data and functions are
displayed.
nCon:
This means the receiver is not able to
establish a wireless connection with the
accelerometer module. To correct this:
a. Make sure the Speed-Module is
switched on.
b. Press all four buttons until the screen
goes black and an r appears followed by a number. Press
START/STOP
; this clears all mem-
ory and time.
c. Change the battery in the acceler-
ometer module and the display. See
section 11.
Getting Started:
Your receiver/watch has a user friendly
menu system. The lower left button
toggles through the MODES, and the
lower right button toggles through the
OPTIONS within each MODE. The different Modes are:
T
TIME
S
SPEED
D
DISTANCE
♥
HEART RATE
M
MEMORY
Locate the lower left button and toggle
through the five modes. The OPTIONS
within each MODE are listed below.
When in a particular mode, press the
OPTION/-
button to view the various
options. Press
MODE
to return to the
main view at any time. The functions are
divided into the different main modes as
follows:
T
: Time/date, Alarm 1, Alarm 2, Count-
down Timer, Stopwatch, Stopwatch
History, 2
nd
Time Zone
S
: Actual-, Average-, Maximum Speed,
Actual-, Average Pace
D
: Trip Distance, Trip Time, Totsl Dis-
tance, Trip Calories, Total Calories,
Lap Counter
♥: Actual-, Average-, Maximum Heart
Rate
M
: Memory for the last 7 active days for
the following functions:
Distance, Average-, Maximum
Speed, Average-, Maximum Heart
Rate, Trip Time, Average Pace, Day
Calories
By pressing
MODE
in any sub-function
you return to the corresponding main
mode.
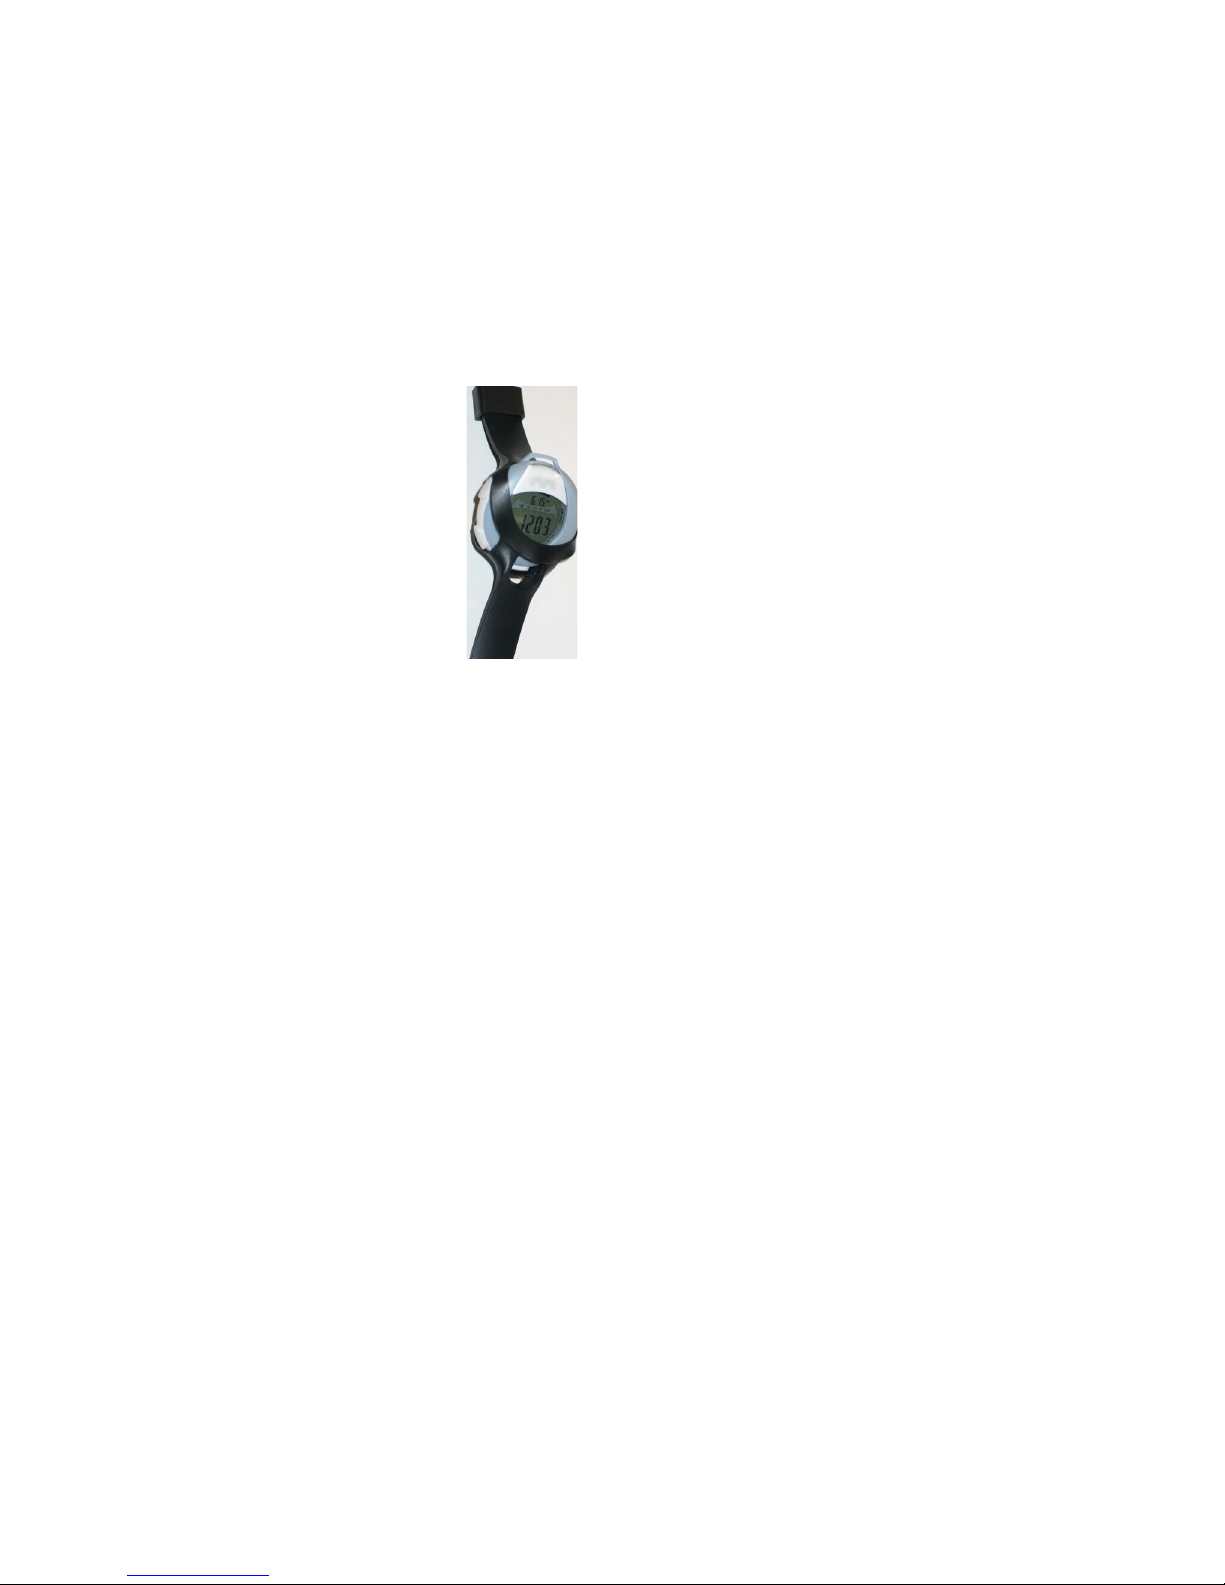
2. Wrist Strap Installation/Removal:
Your receiver/watch has an innovative
removable strap system that allows
use with a
watch style
wrist band,
lanyard, or
carabiner boot.
It is important to
take care when
removing or
installing the
receiver into the
watch band.
This should
always be done
from the front.
Insert the
LIGHT (bottom)
button into the
band first and
then work your way up both sides to the
top. Once the bottom button and the
lower left and lower right buttons are in
the strap, pull the top of the band to fit
the receiver into the band. This band is
designed and tested to last over 1000
times - if installed and removed properly.
3. Setting the Time
a. Press
MODE
until you have reached
the Time Mode T
b. Press
SET
(upper left) to activate the
Setup. Hr:12 or Hr:24 will appear.
c. Press + (upper left) or - (lower right)
to select; (the watch is pre-set to 12
Hr.)
d. Press
START/STOP
(upper right) to
confirm. Actual time will display and
the hour digit will flash.
e. Press + or - to change the hour digit.
Confirm with
START/STOP
(upper
right). The minute digits will flash.
f. Adjust using the same method and
confirm.
g. Adjust the date and confirm.
4. Time Mode T
In the time main mode the display shows
you the actual time and the date. Additionally there are 6 submodes of the time
mode
Alarm 1, Alarm 2, Countdown; Stopwatch, Stopwatch History, 2
nd
Time
Zone
4a. Setting the Alarms:
a. In Time Mode T, press
OPTION/-
(lower right) once to view Alarm 1.
b. Press
START/STOP
again to turn
the alarm on (A1 on) or (A1 off).
c. Press
SET
(upper left) to change the
time, select a time using the + & (upper left and lower right).
d. Press
START/STOP
(upper right) to
confirm each time (hr/min) selection.
e. Set Alarm 2 (A2 on) or (A2 off) using
the same method.
4b. Using the Countdown Timer:
a. In Time Mode T press
OPTION/-
(lower right) to view the countdown
timer.
b. Press the
SET
(upper right) then
press + & - to change the hours,
minutes and seconds.
c. Press
START/STOP
(upper right) to
confirm.
d. Press
START/STOP
again to acti-
vate countdown timer.
4c. Stopwatch
The stopwatch feature of your speedometer is very powerful and will store up
to twelve intermediate or lap times.
a. In the main stopwatch mode, press
SET
(upper left) to select either in-
termediate or lap times.
b. Press
OPTION/-
to toggle between
either int or lap.
c. Press
START/STOP
(upper right) to
confirm.
Stopwatch Basic Functions
a. In the stopwatch mode, press
START/STOP
to activate and start
logging data.
b. Press
SET
to log a second set of
data- lap or intermediate time. The
circumference ring displays the
number of data sets you have stored
(the ring normally acts as a second
hand). There is a twelve set maximum. Once the twelve sets are full,
the stopwatch will overwrite the earliest data points, one at a time.
c. To end the stopwatch press
START/STOP
d. To reset the stopwatch to zero press
SET
(upper left) to enter the setup
and
START/STOP
to reset. memory
at any time.
4d. Stopwatch History
When you log the various lap and split
times into the stopwatch mode, they also
log into the stopwatch stored data mode.
You can address the stored data as
follows:
a. When in the Time Mode T, press
OPTION/-
five times and you will see
data.
b. Press
START/STOP
(upper right) to
view stored data in this mode.
c. You can now see the first lap/int
time.
d. While in Stopwatch History you can
toggle between lap and intermetiate
times by pressing
SET
e. if you have recorded speed and
distance information – by skiing/skating while the stopwatch is on
– you can now review this data by
pressing
OPTION
f. You can view the following informa-
tion:
a. Distance of the period
b. Average Speed of the period
c. Average Pace of the period
g. Press
START/STOP
while viewing to
advance to the next lap or intermediate time.
h. by pressing
MODE
you can always
exit the Stopwatch History and return
to the time main mode.
4e. Second Time Zone
Your Speedometer is equipped with an
alternate time zone clock. This is the
sixth option in the Time Mode.
a. Press
OPTION/-
six times to toggle
to the second time zone.
b. Press
SET
and then press + & - to
adjust the hours and minutes.
c. Press
START/STOP
to confirm each
selection.
 Loading...