

Microsport In-Line Skate Operating Instructions Manual
In-Line Skate
Speedometer
BASIC
MICROSPORT
®
FCC-ID: OWUOK622-7
The devices comply with Part 15 of
the FCC rules. Operation is subject to
the following two conditions:
This device may not cause harmful
interferences and this device must
accept any interference received,
including interference that may
cause undesired operation.
Microsport_Basic_11/02 11.11.2002 15:16 Uhr Seite 41

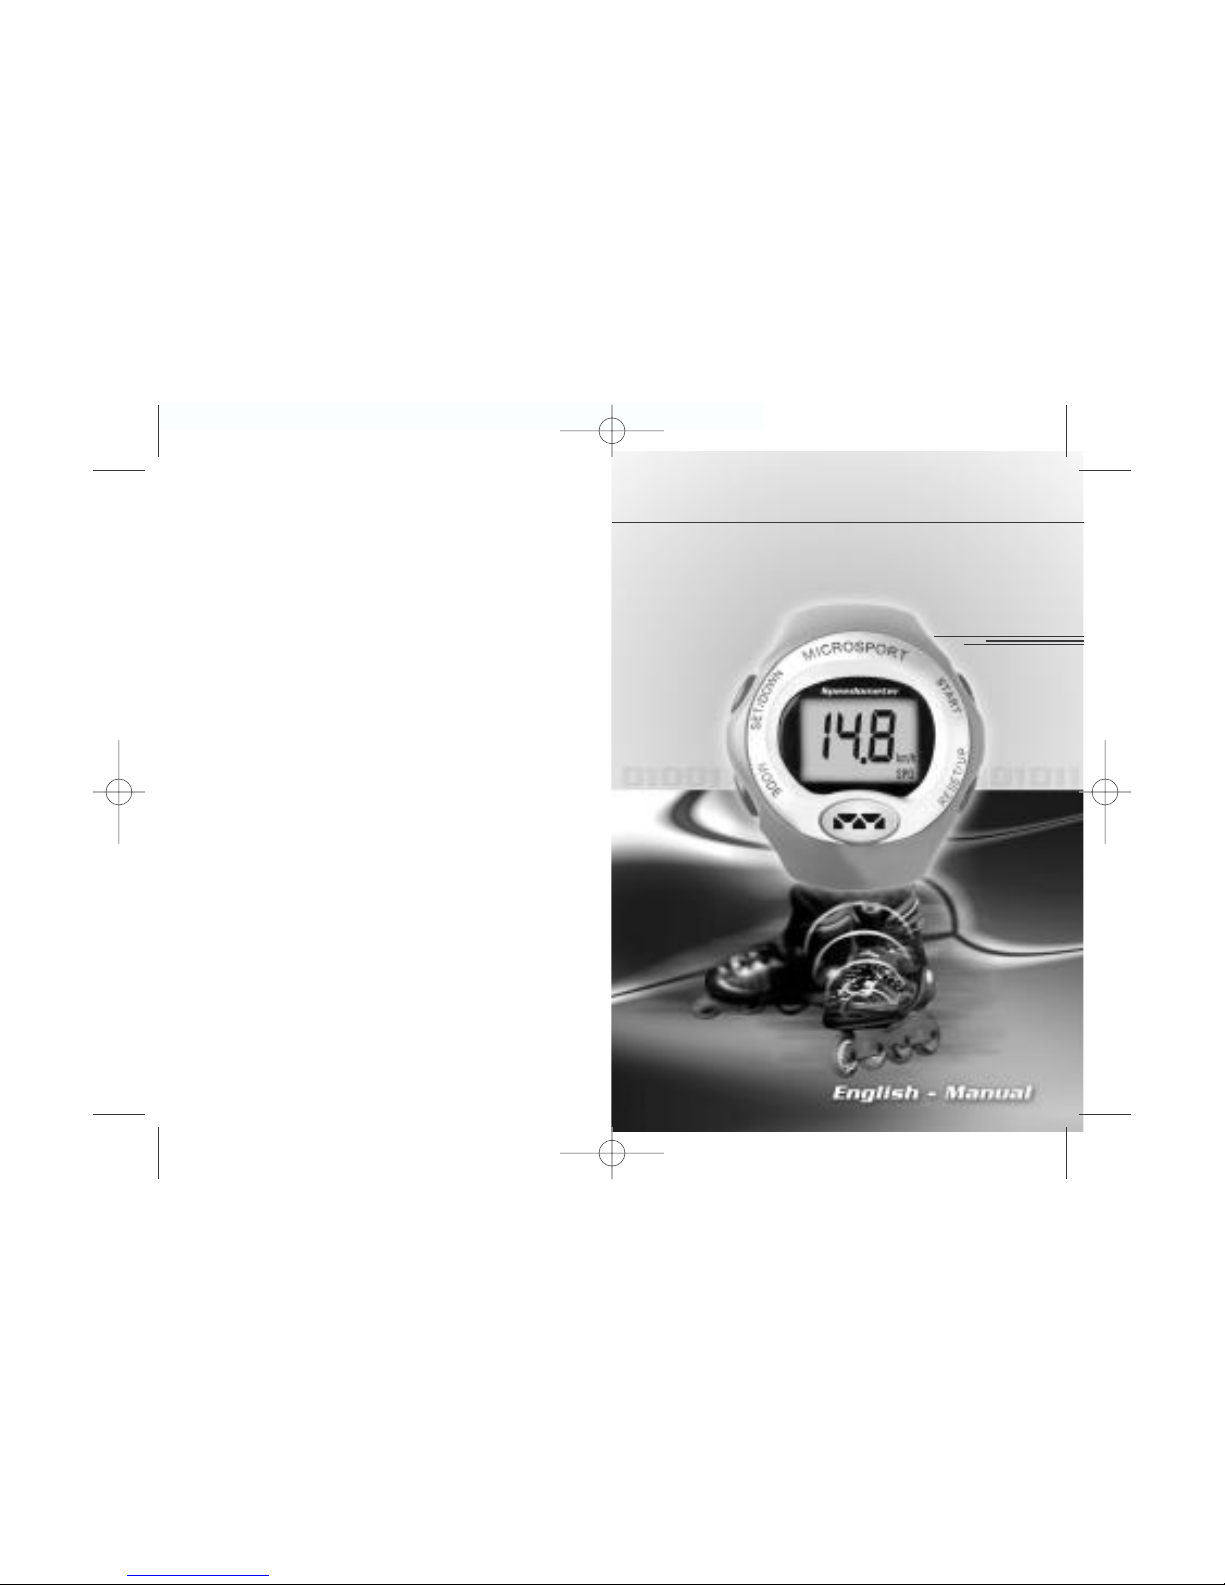
Thank you very much for choosing the
MICROSPORT In-Line Skate Speedometer.
This Speedometer is recommended because of the easy installation and handling as well as its outstanding accuracy.
Don’t expose your Speedometer to direct
sunlight for a long period and protect the
display from extreme cold and hot temperatures. Handle your display carefully
and keep it in a clean and dry state.
Before you start using your Speedometer
please read this operating manual carefully. The actual installation procedure will
not take you longer than 10 minutes.
Attention:
1. The Skate Speedometer contains some
small components which can be swallowed and can cause death by suffocation.
2. Always check the equipment before
skating. Check the bearings and the
fitting of the axle to avoid blocking or
loosening of a wheel.
In-Line Skate
Speedometer BASIC
Operating Instructions
1. Components of the In-Line Skate
Speedometer
2. The keys of the display and their
functions
3. Installation
3.1. Installation of the Wheel
3.2. Display and Wheel Size
4. Operating the In-Line Skate
Speedometer
5. Changing of the Batteries
5.1. Changing the display battery
5.2. Changing the battery of the computer
puck
6. Trouble Shooting
7. Remarks
8. Warranty
Microsport_Basic_11/02 11.11.2002 15:16 Uhr Seite 43
B.One spacer for skates with 8 mm axle
diameter.
C.One spacer for skates with 6,4 mm axle
diameter.
D.One distance ring.
And this instruction manual.
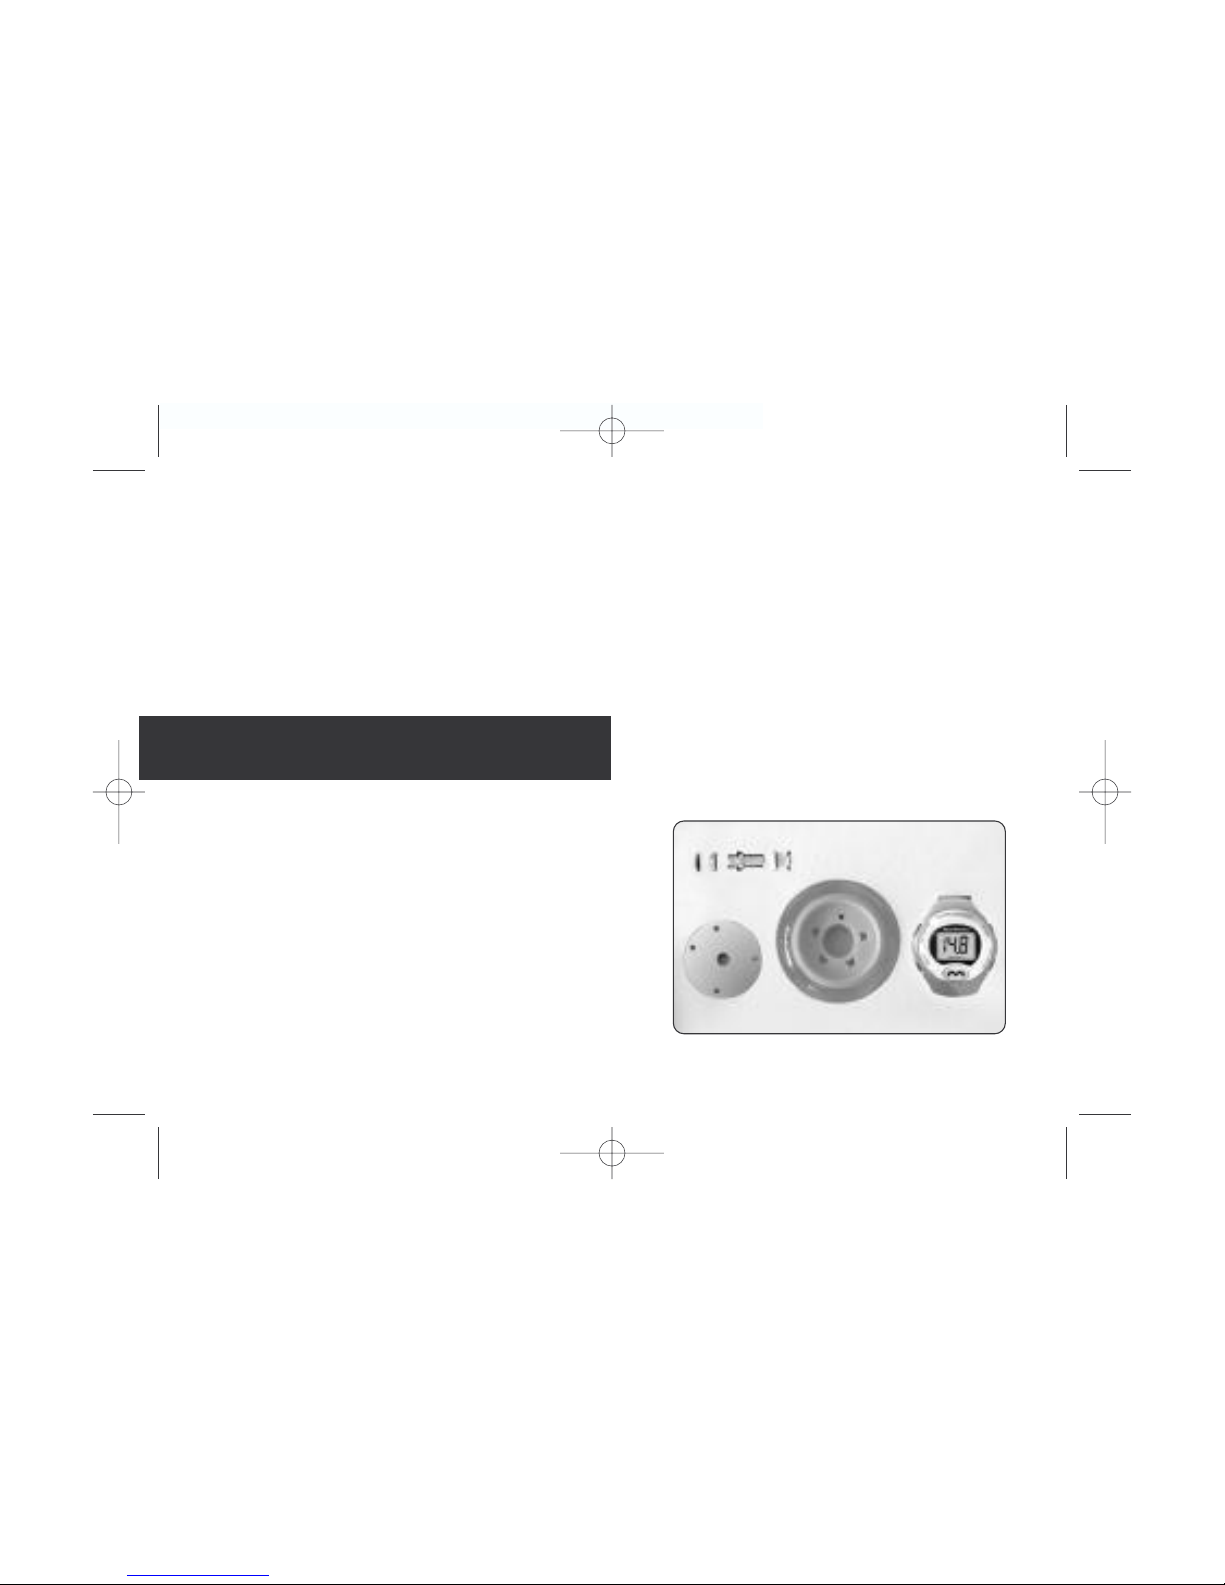
The different components of your
speedometer are shown in picture 1.
A) Outer spacer
B) Ring spacer
C) Cylindrical spacer
D) Distance ring
3. Skating accidents can always happen,
even to experienced skaters. To avoid
serious damage always wear the complete protective gear.
4. Skating needs the full attention of the
skater, so don’t let the Skate Speedometer disturb you from the traffic
around you.
1. Components of the In-Line Skate
Speedometer
Before you start please check the completeness of your Speedometer package.
Your Speedometer consists of:
1. A puck, housing the skate computer.
The puck is approximately 1 cm high
and has a 5 cm diameter
2. A skate wheel with an internal magnet
3. A watch like Display
The package contains five different spacers:
A.Two outer spacers to fit the In-Line Skate
Speedometer Wheel in wider frames.
Wheel
Puck
Display
Picture 1
Content of the packaging
A B C D A
1 2 3
Microsport_Basic_11/02 11.11.2002 15:16 Uhr Seite 45
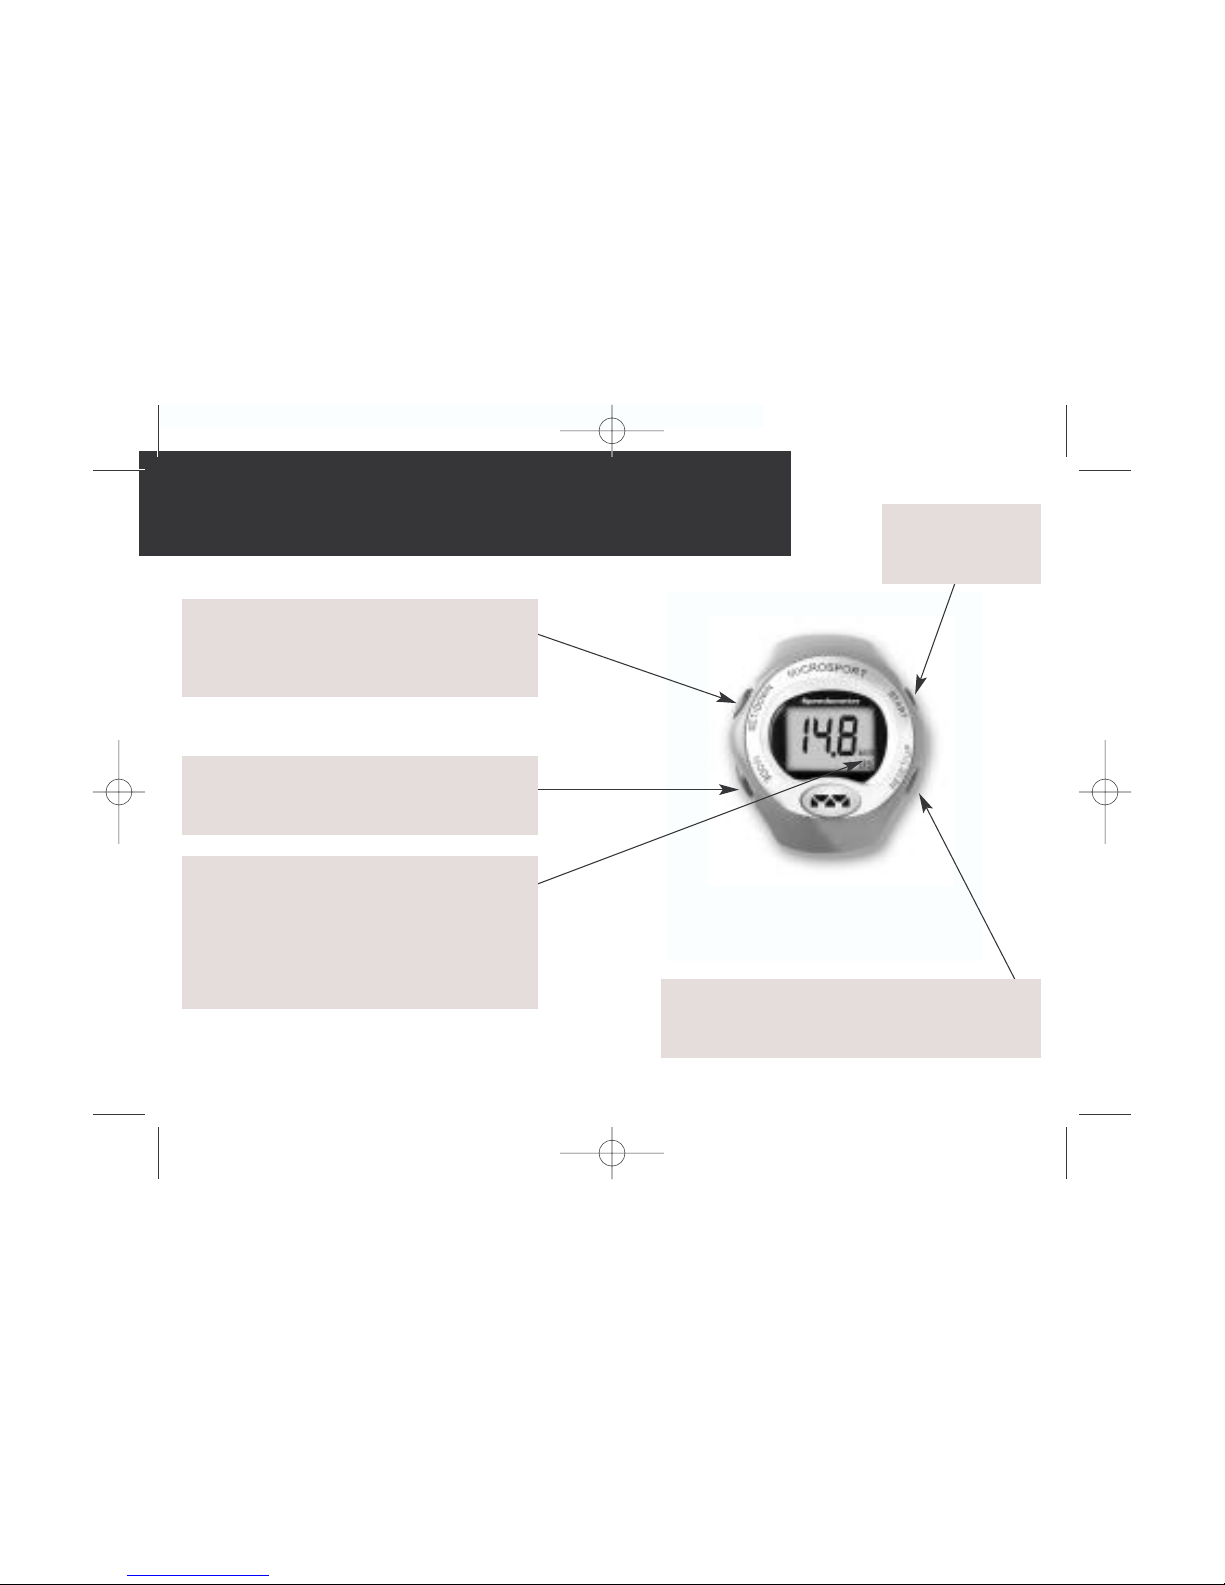
2. The keys of the display and their functions
SET/DOWN
SET activates the Programming-Mode.
DOWN - the value programmed is
reduced by one
MODE
By pressing MODE the following
functions can be displayed:
SPD – actual speed
MX SPD – maximum speed
AV SPD – average speed
TRP TIME – trip time
TRP DST – trip distance
DST – total distance
PM – wheel ware rate
RESET
RESET erases all data except the total
distance and the wheel wear rate
START
START activates
the Data-Mode.
Microsport_Basic_11/02 11.11.2002 15:16 Uhr Seite 47
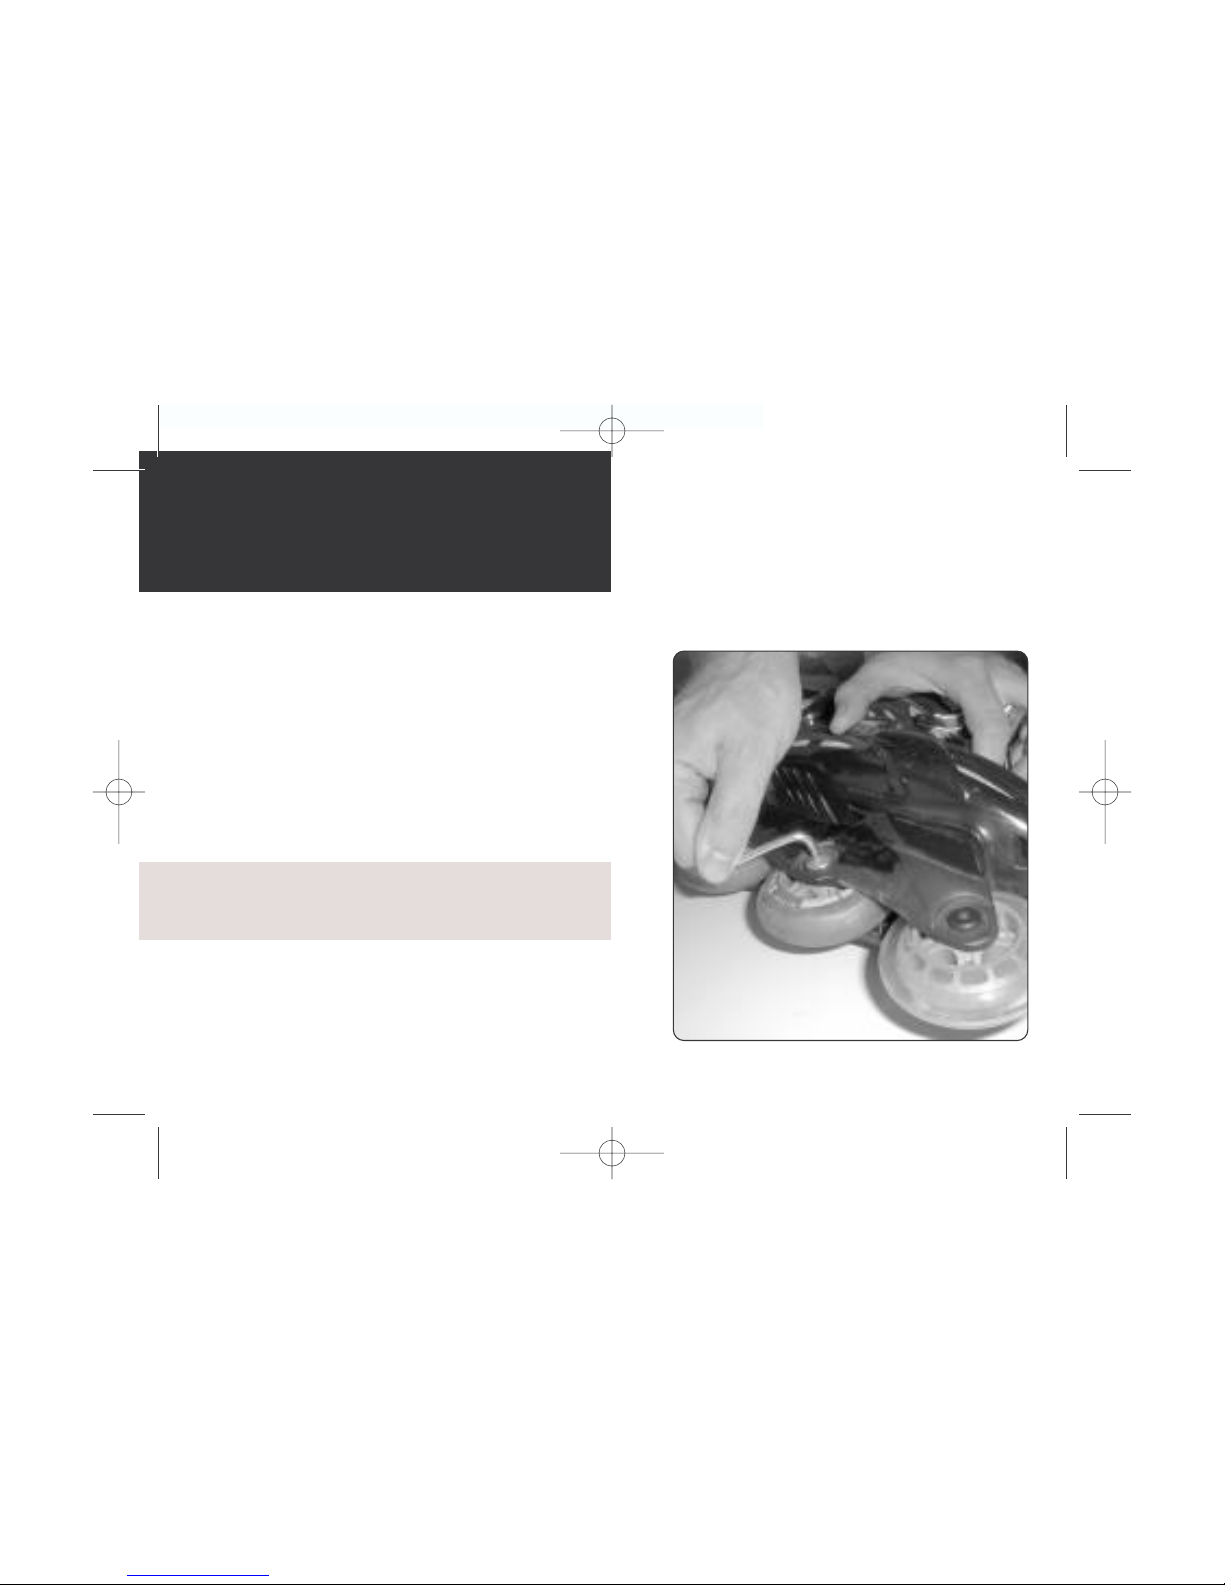
screw keep an eye on the other screw
as well. If the other screw begins to turn
freely please fix it with you hand or another tool. Store the two screws carefully
(Picture 2) for reassembling.
Picture 2
3. Installation
3.1. Installation of the Wheel
First you have to replace one of your current wheels with the Skate Speedometer
Wheel. In principal it does not matter
which wheel of your skates you replace,
but we recommend that you choose the
second or the third wheel. This guarantees
the best protection of your Speedometer
by the frame of your skate. Also we recommend that you replace a wheel on the
left skate if you want to wear the display
on the right wrist and vice versa.
Attention: Please use adequate equipment to replace the wheel, e.g. a special
Skate-Tool (not included in this package).
1. Disassemble the axle of the wheel to be
replaced. The wheel is fixed to the frame
of your skates by two screws to the left
and the right of the frame. These screws
form the axle. While you turn out one
Microsport_Basic_11/02 11.11.2002 15:16 Uhr Seite 49
press. The second bearing can then be
pushed out from the inside (Picture 4).
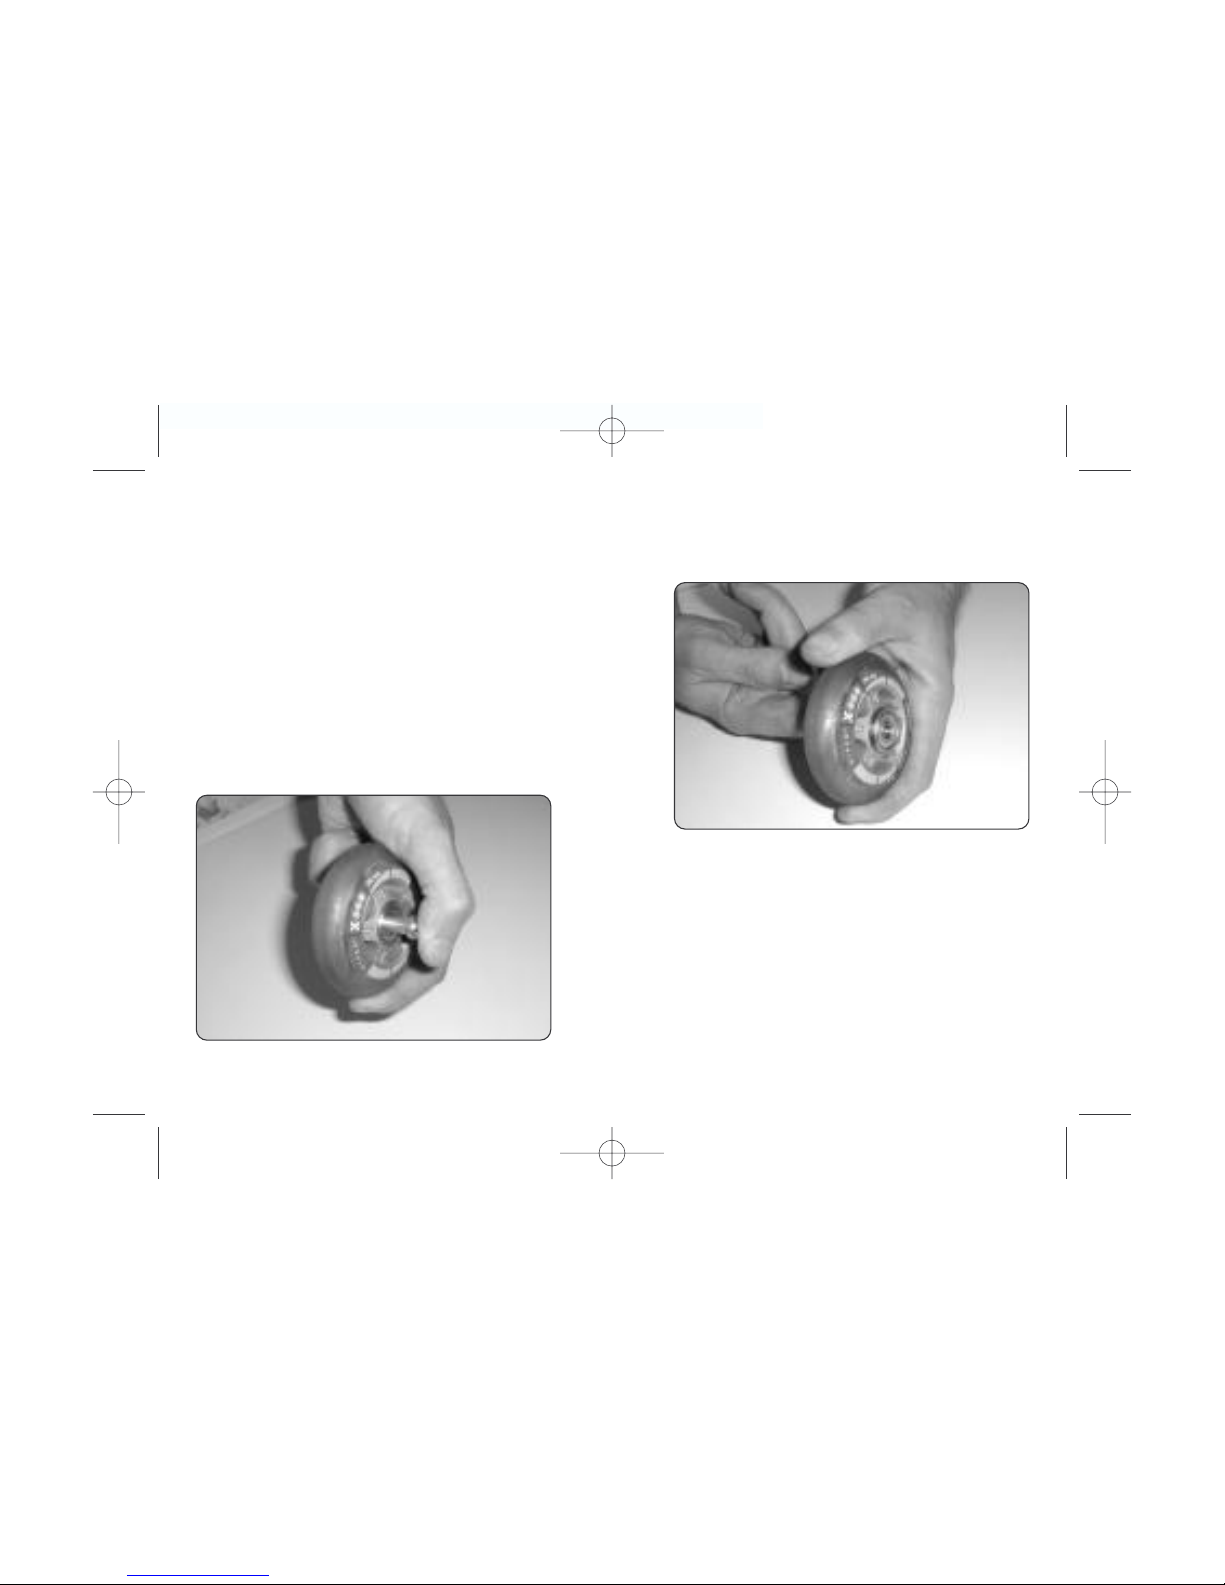
2. Extract the bearings of the wheel. In the
wheel you have disassembled you find two
bearings and one spacer in the middle. You
now have to take these bearings and the
spacer out of the wheel. This is most easily
done with a special skate tool. If you don’t
have such a tool you can also use the cylindrical spacer (C in picture 1) in combination with a small screwdriver. If your skate
uses a cylindrical spacer you can push out
the first bearing by placing the cylindrical
In-Line Skate Speedometer Spacer C on
top of the original spacer (Picture 3) and
If your skate is operating with ring spacers
(B in picture 1) put the screwdriver through
the cylindrical In-Line Skate Speedometer
Spacer C and insert it nearly half way into
the wheel hole for the axle. By bending the
screwdriver to the side you can extract the
first bearing. Again the second bearing can
then be pushed out from the inside without
a problem. Store the bearings carefully.
Picture 3
Picture 4
Microsport_Basic_11/02 11.11.2002 15:16 Uhr Seite 51
 Loading...