

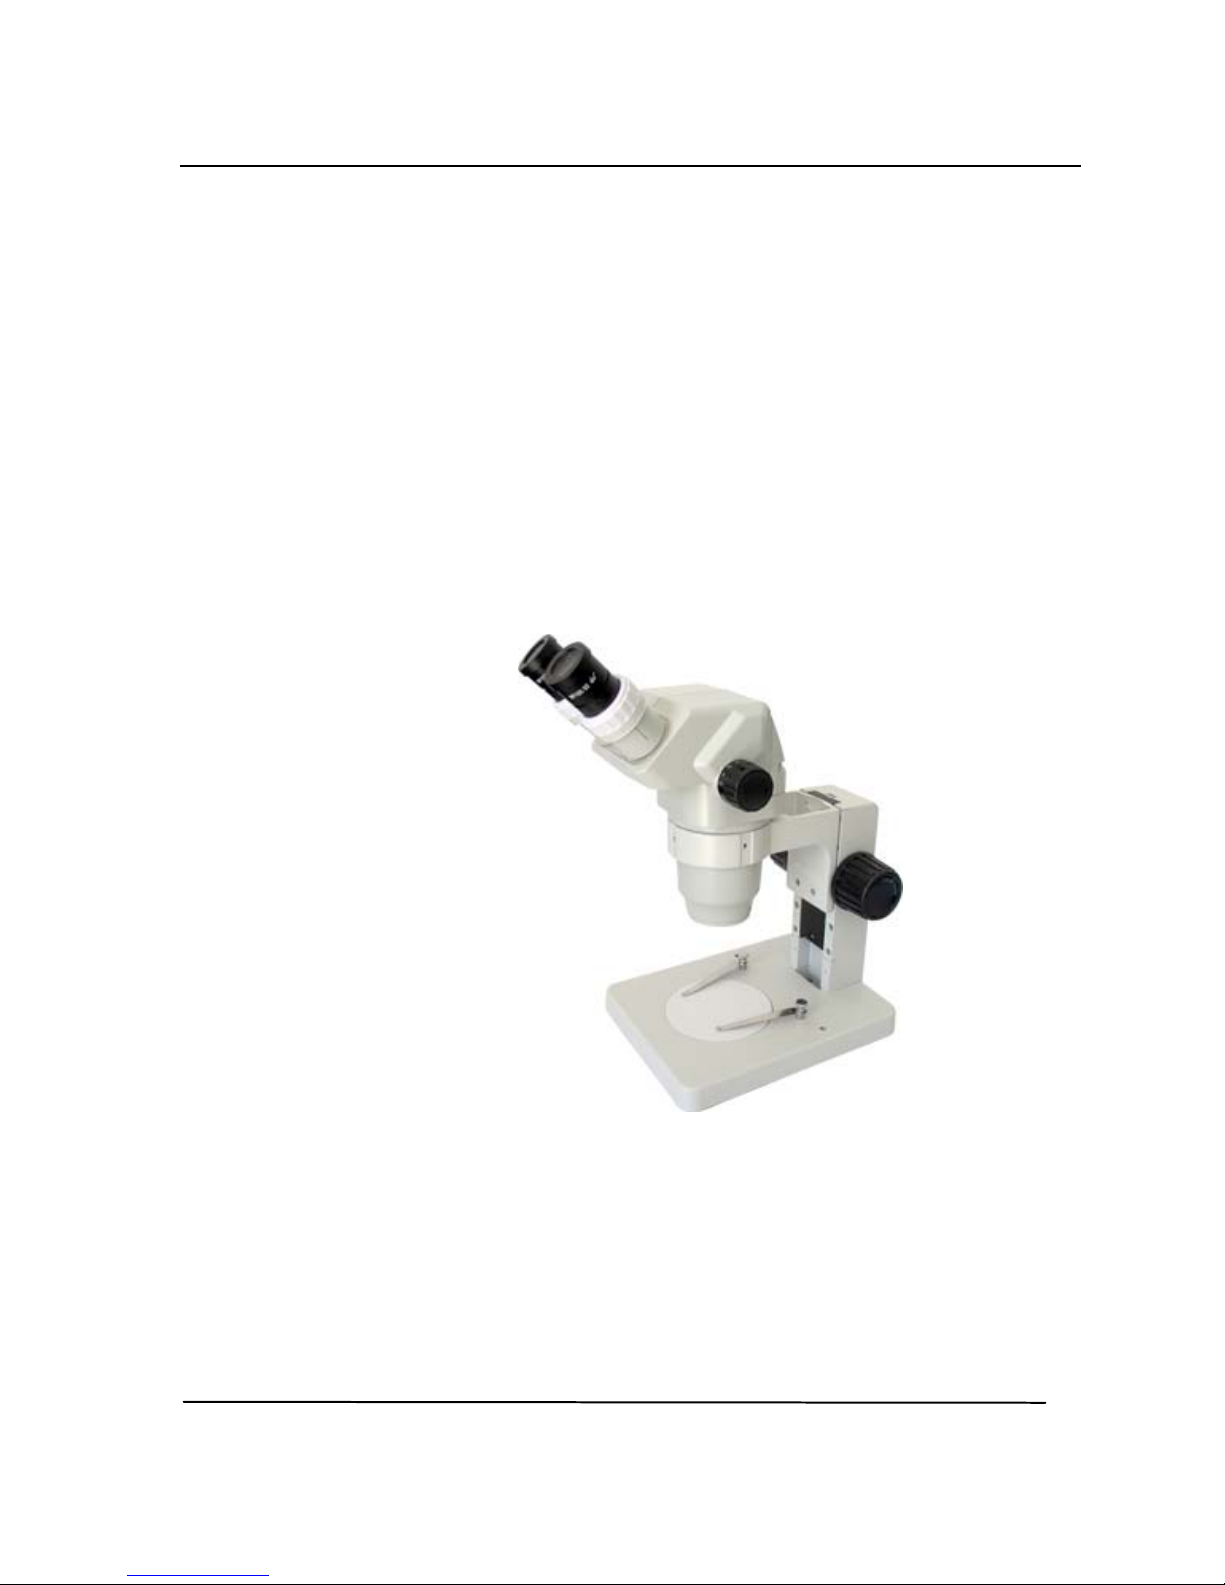
SZ Series Stereo Microscope
Please read the Instruction Manual carefully before installation and keep it for future use.
INSTRUCTION MANUAL
SZ Series
Stereo Microscope
Instruction Manual

SZ Series Stereo Microscope
INSTRUCTION MANUAL
1
Table of Contents
1. Before use ……………………………………………………………………………….2
2. Diagrams………………………………………………………………………………….2
3. Installation...………………………………………………………………………………3
4. Operation…………………………………………………………………………………3
5. Optical Data………………………………………………………………………………4
6. Troubleshooting…………………………………………….........................................5

SZ Series Stereo Microscope
1 Bef
ore use
NOTICE
1) Microscope should be placed in a dry and clean place. Do not expose the microscope to direct sunlight. Avoid
high temperature and violent vibration.
2) As microscope is a precision instrument, so handle with care to avoid abrupt movement during transportation.
3) To keep the image clear, do not leave fingerprints or stains on the surfaces of the lenses.
4) Never turn the left and right focusing knob in the adverse direction at the same time, otherwise the microscope
will be damaged.
1-1 MAINTENANCE
1) All lenses must be kept clean. Fine dust on surface of the lens should be blown off with hand blower or wiped
off gently with a soft lens tissue; Use a soft cloth with a little bit mild cleaner to clean fingerprints or oil marks on
the lenses.
2) Never use the strong solution to clean the surface of microscope body (especially the plastic surfaces). If
necessary, please choose the mild detergent.
3) Don’t disassemble the microscope body.
4) Cover the microscope with dust cover and store it in a dry and clean place.
2 Diag
rams (Your models may be
diff
erent depending on the stands.
)
INSTRUCTION MANUAL
2

SZ Series Stereo Microscope
3 I
nstallation ★Mount the C-mount to the video camera, and
p
ut on the video adapter.
This diagram shows the parts and order for installing SZ series stereo microscopes. Make sure the surface of the unit
is clean before installation.
4 Op
eration
4-1 Adjust the diopter
(1) Maximize the magnification power by turning the zoom control knob.
(2) Turn the diopter adjustment ring to “0” position.
(3) Look through the right eyepiece, and make the image clear by turning the
focusing knobs.
(4) Turn the zoom control knob to the minimum magnification.
(5) Look through the right eyepiece again. If the specimen goes out of focus,
readjust the focus by turning the right diopter adjustment ring only.
(6) Do the step(1) and look through the right eyepiece. If the image is not clear,
Re-do the step (3)~(5) and make the adjustment more precise.
(7) Do the step (4) and look through the left eyepiece and make the image clear
by turning the left diopter adjustment ring.
4-2 Adjust the interpupillary Distance
(1) Hold the right and left eyepiece tubes, and turn the tubs in the
direction of the ARROWS until the observation is comfortable.
4-3 Mount the C-mount video Adapter and Video camera
(1) Loosen the right and left body lock screws ① , and mount the video adapter by
INSTRUCTION MANUAL
3

SZ Series Stereo Microscope
aligning the positioning grooves of the video adapter with the positioning pins
of the microscope body.
(2) Fix the video adapter by tightening the lock screws.
★ Make sure to tighten the screw.
(3) Loosen the lock screw ②, and remove the C-mount ③ from the video adapter.
(4) Screw the C-mount into the video camera.
(5) Mount the video camera with the C-mount into the video adapter, and tighten
the lock screw ②.
4-4 Select the Light Path
(1) For binocular observation, slide the light path selecting lever ① to the “OUT”.
(2) Slide the light path selecting lever ① to the “IN” for photo and capture.
This allows the light to go into both the observation tube and the photo
Equipment or camera
★ Make sure to slide the light path selecting level as far as it can go.
.
4-5 Focus the video camera
(1) Slide the light path selecting lever ① to the “IN” position.
(2) Turn the zoom control knob to the maximum magnification. Viewing the video
Monitor, make the image clear by turning the focusing knob.
(3) Turn the zoom control knob to the minimum magnification. Adjust the focusing
ring ② to get the clear image.
(4) Turn the zoom control knob to the maximum again. If the image is not clear,
re-do step (2) and (3) until the clear image appears.
5 Optical data
Eyepiece
WF10(Φ22mm) WF15(Φ16mm) WF20(Φ12mm)
Zoom
mag.
Working
Distance (mm)
Total Mag. Filed of View Total Mag. Filed of View Total Mag. Filed of View
0.67X 6.7X 32.8 10.05X 23.9 13.4X 17.9
0.7X 7X 31.4 10.5X 22.86 14X 17.1
0.8X 8X 27.5 12X 20 16X 15
1X 10X 22 15X 16 20X 12
1.5X 15X 14.7 22.5X 10.7 30X 8
2X 20X 11 30X 8 40X 6
3X 30X 7.3 45X 5.3 60X 4
4X 40X 5.5 60X 4 80X 3
4.5X
100
45X 4.9 67.5X 3.6 90X 2.7
INSTRUCTION MANUAL
4

SZ Series Stereo Microscope
Auxiliary
objective
Magnification Working Distance
(mm)
Auxiliary Objective Magnification Working Distance
(mm)
SZ303101 0.3X 287 SZ303104 1.5X 47
SZ303102 0.5X 217 SZ303105 2.0X 26
SZ303103 0.75X 117
Working distance is fixed regardless of the magnification factor.★
★When an auxiliary objective is being used, Total mag. =Zoom mag. × Eyepiece mag. × Auxiliary objective mag.
Diameter of field of view (mm) = ★ Field number of eyepiece
Zoom mag. X Auxiliary objective mag.
Photo adaptor mag. = Zoom mag. (×Auxiliary objective mag.)×Eyepiece mag. ★
★ Video adaptor mag. = Zoom mag. (×Auxiliary objective mag.)× C-mount Video adaptor
6 T
roubleshootin
g
Trouble Cause Remedy
(1) Too bright or dark The brightness is not appropriate Adjust the brightness correctly
Dirt on the specimen Clean the specimen
Dirt on the eyepieces’ surfaces Clean the surface
(2) Dirt appears in the field of view
Dirt on the objectives’ surfaces Clean the surface
Wrong pupillary distance Readjust pupillary distance
Wrong diopter adjustment Readjust it
(3) Double image
Different magnification Mount the same size eyepiece
(4)Image not clear Dirt on the objectives’ surface Clean the objectives
Wrong diopter adjustment Readjust it (5)Image blurs when zooming
Wrong focusing adjustment Readjust it
(6)Incision image appears in the field
of view or the video view
Light path selecting lever is not in
correct position
Set it up to right position
(7)When adjusting focus, the image on
the monitor is not clear
Wrong focal depth of the video Readjust the focal depth by adjusting
the adjust ring on TV adapter
INSTRUCTION MANUAL
5
 Loading...