

Micromega M-One 150 operation manual
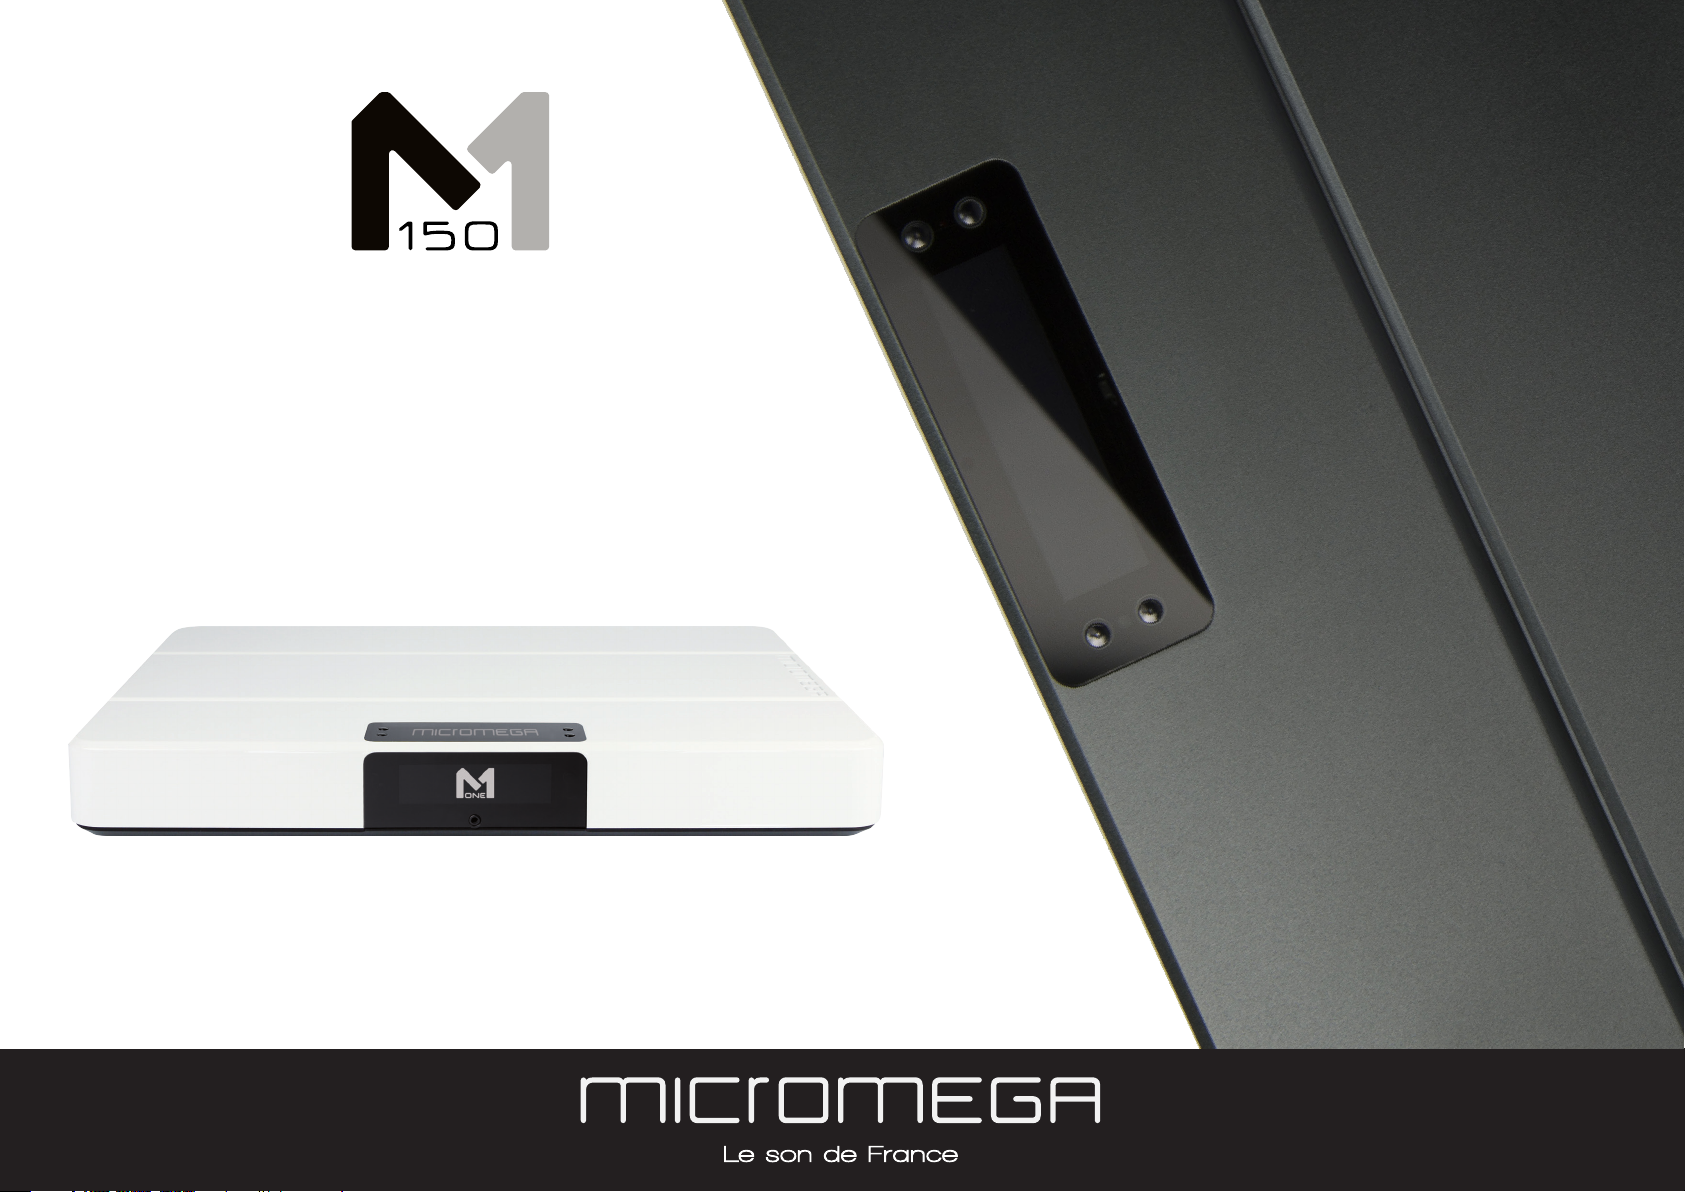
Integrated Amplifier
M-150 USER’S MANUAL
RESEARCH, INNOVATE, CREATE
“Whenever I speak about my company I speak with the passion we have. Located in the Paris region of France, I have ensured that Micromega has the best elements of my industrial group at their availability. In an age where music is dematerializing, we are committed to staying at the forefront of technology and growing
under our ‘made in France’ banner.
The M-one programme, with its incredible audio quality, technical capacity and sleek design represents a major advance in the history of our company. The result
of three years of research by our team, we are proud to introduce to you what we believe is the most effective and complete integrated stereo amplifier of its kind.
Micromega is synonymous with technological advances, expertise, reliability and sound clarity. All of our products reflect these demands.”
Didier HAMDI, CEO Micromega
The advantages of the M-One amplifier series :
• High quality, A/B class amplification
• Resonant power supply
• Symmetrical design
• Asahi Kasei AK4490 DAC converter
• Acoustic correction in situ using ROOM EQ
• Binaural processing of the headphone output
• Cover and remote control machined from aluminium block
• Android and iOS compatible control app
2

1 - OVERVIEW ..............................................................................................4
2.10 LAN connection ................................................................................... 19
1.1 Front and top ........................................................................................ 4
1.2 Back .......................................................................................................... 5
1.3 Sides (ventilation) ............................................................................... 6
1.4 Bottom .................................................................................................... 7
1.5 Infrared remote control ..................................................................... 8
2 - CONNECTIONS .............................................................................................. 9
2.1 Phono input for a vinly turntable ................................................... 9
2.2 RCA line input ...................................................................................... 10
2.3 Balanced XLR analogue input ......................................................... 11
2.4 Coaxial digital input ............................................................................ 12
2.5 Optical digital input ............................................................................. 13
2.6 AES-EBU input ...................................................................................... 14
2.7 USB input (Type B) ............................................................................ 15
2.8 Bluetooth aptX connection .............................................................. 16
2.11 Speaker connections .......................................................................... 20
2.12 Connecting headphones .................................................................. 21
2.13 Subwoofer output ............................................................................... 22
2.14 Pre-out .................................................................................................... 23
2.15 Trigger sockets ...................................................................................... 24
2.16 Mains power supply ........................................................................... 25
2.17 Fuse .......................................................................................................... 26
3 - USER GUIDE ................................................................................................... 27
3.1 Starting up ............................................................................................. 27
3.2 Choosing your source ........................................................................ 28
3.3 Ajusting the balance ........................................................................... 29
3.4 Ajusting sensitivity .............................................................................. 30
3.5 Renaming the sources ........................................................................ 31
3.6 Updating the M-150 ............................................................................ 32
2.9 I²S input .................................................................................................. 18
3
TABLE OF CONTENTS
3.7 Updating the network module .................................................... ... 33
4 - SPECIFICATIONS .......................................................................................... 34
1. Overview
Carefully check that the packaging is intact. If you feel it may have been tampered with or damaged please contact your vendor.
Carefully remove your device from the packaging. Store the packaging in a secure, dry place: if you need to return your device to the vendor you will
require the original packaging.
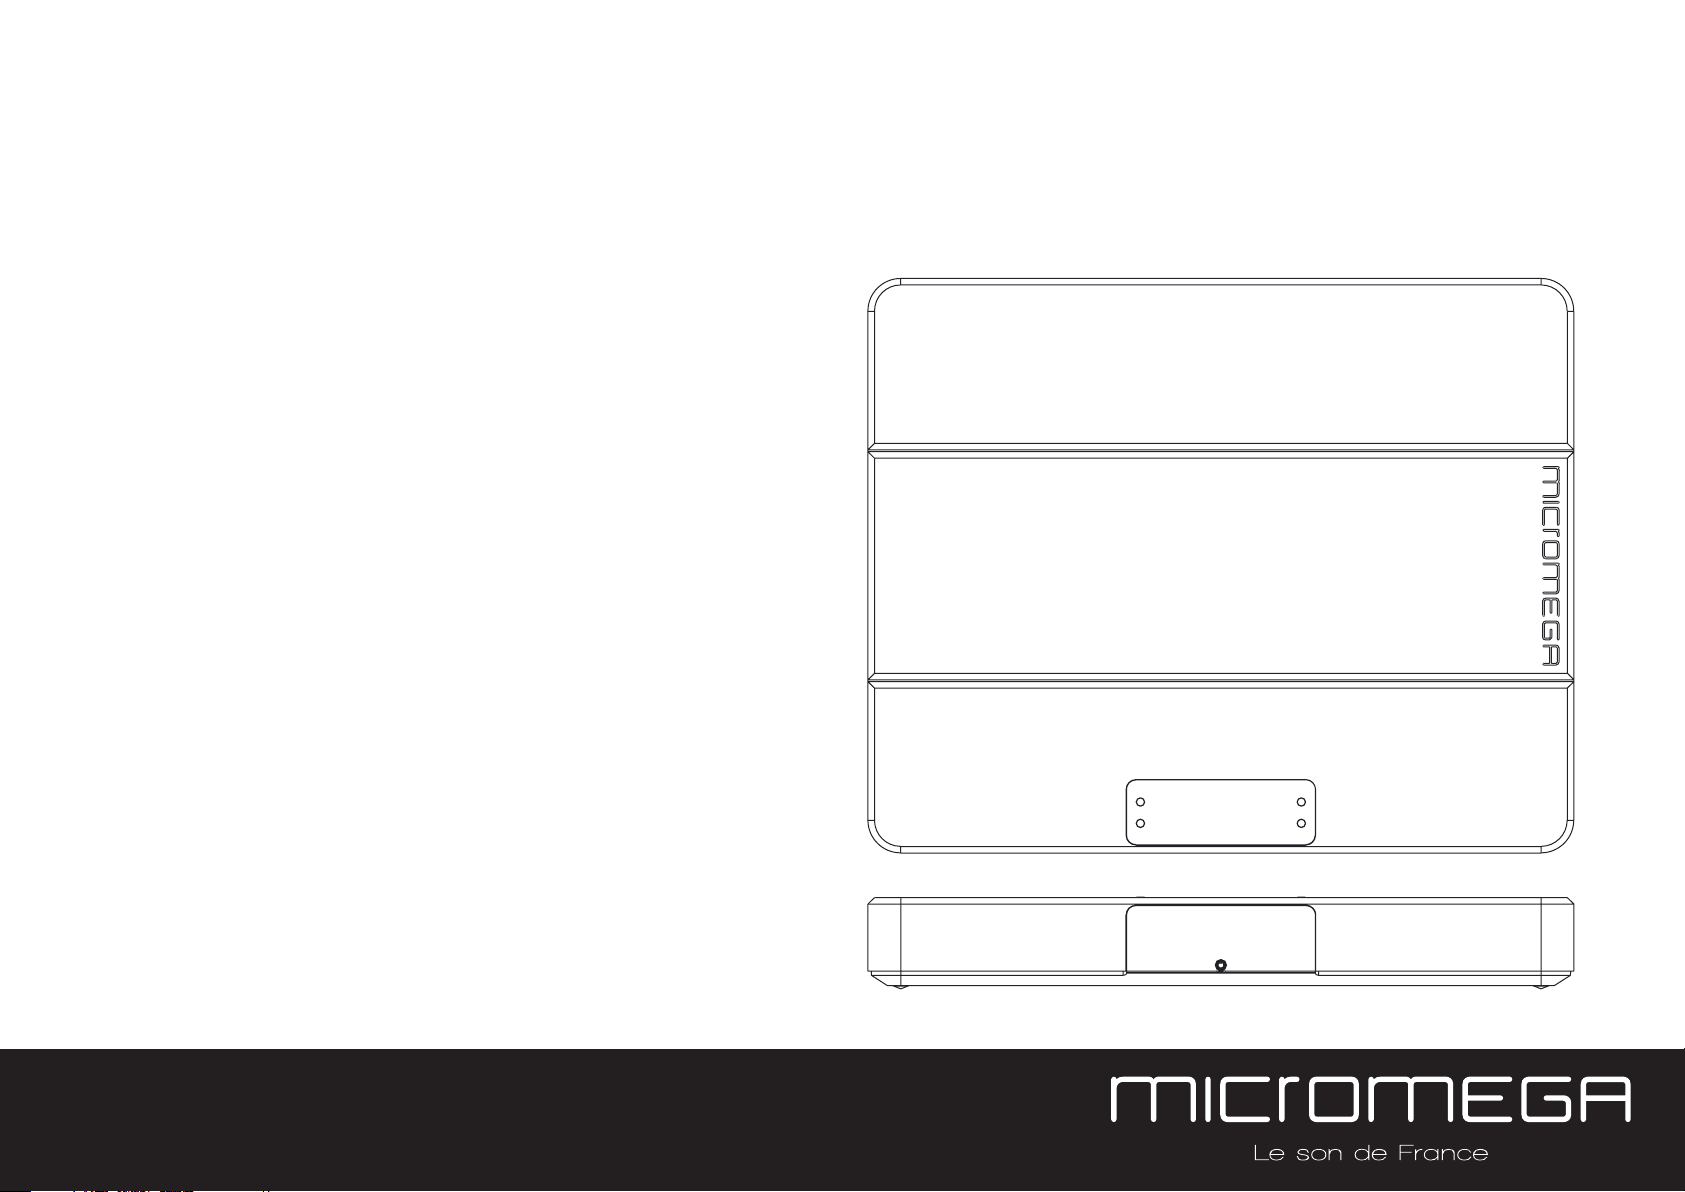
1.1 Front and top
The M-150 amplifier has two displays so that it can be
controlled from any position. The displays will automatically
adjust to whichever position the amplifier is in (e.g. flat,
attached to wall).
There is a headphone socket on the front so that you can
listen to your music in complete peace. A “Binaural” process
(as an option) allows you to re-create the 3D sound scene
through the headphones which is lost in classic stereophonic
recordings.
On the top of the device are 4 buttons which you can use to
adjust the reactions of your amplifier (see section 3.1 for more
information).
4
OVERVIEW
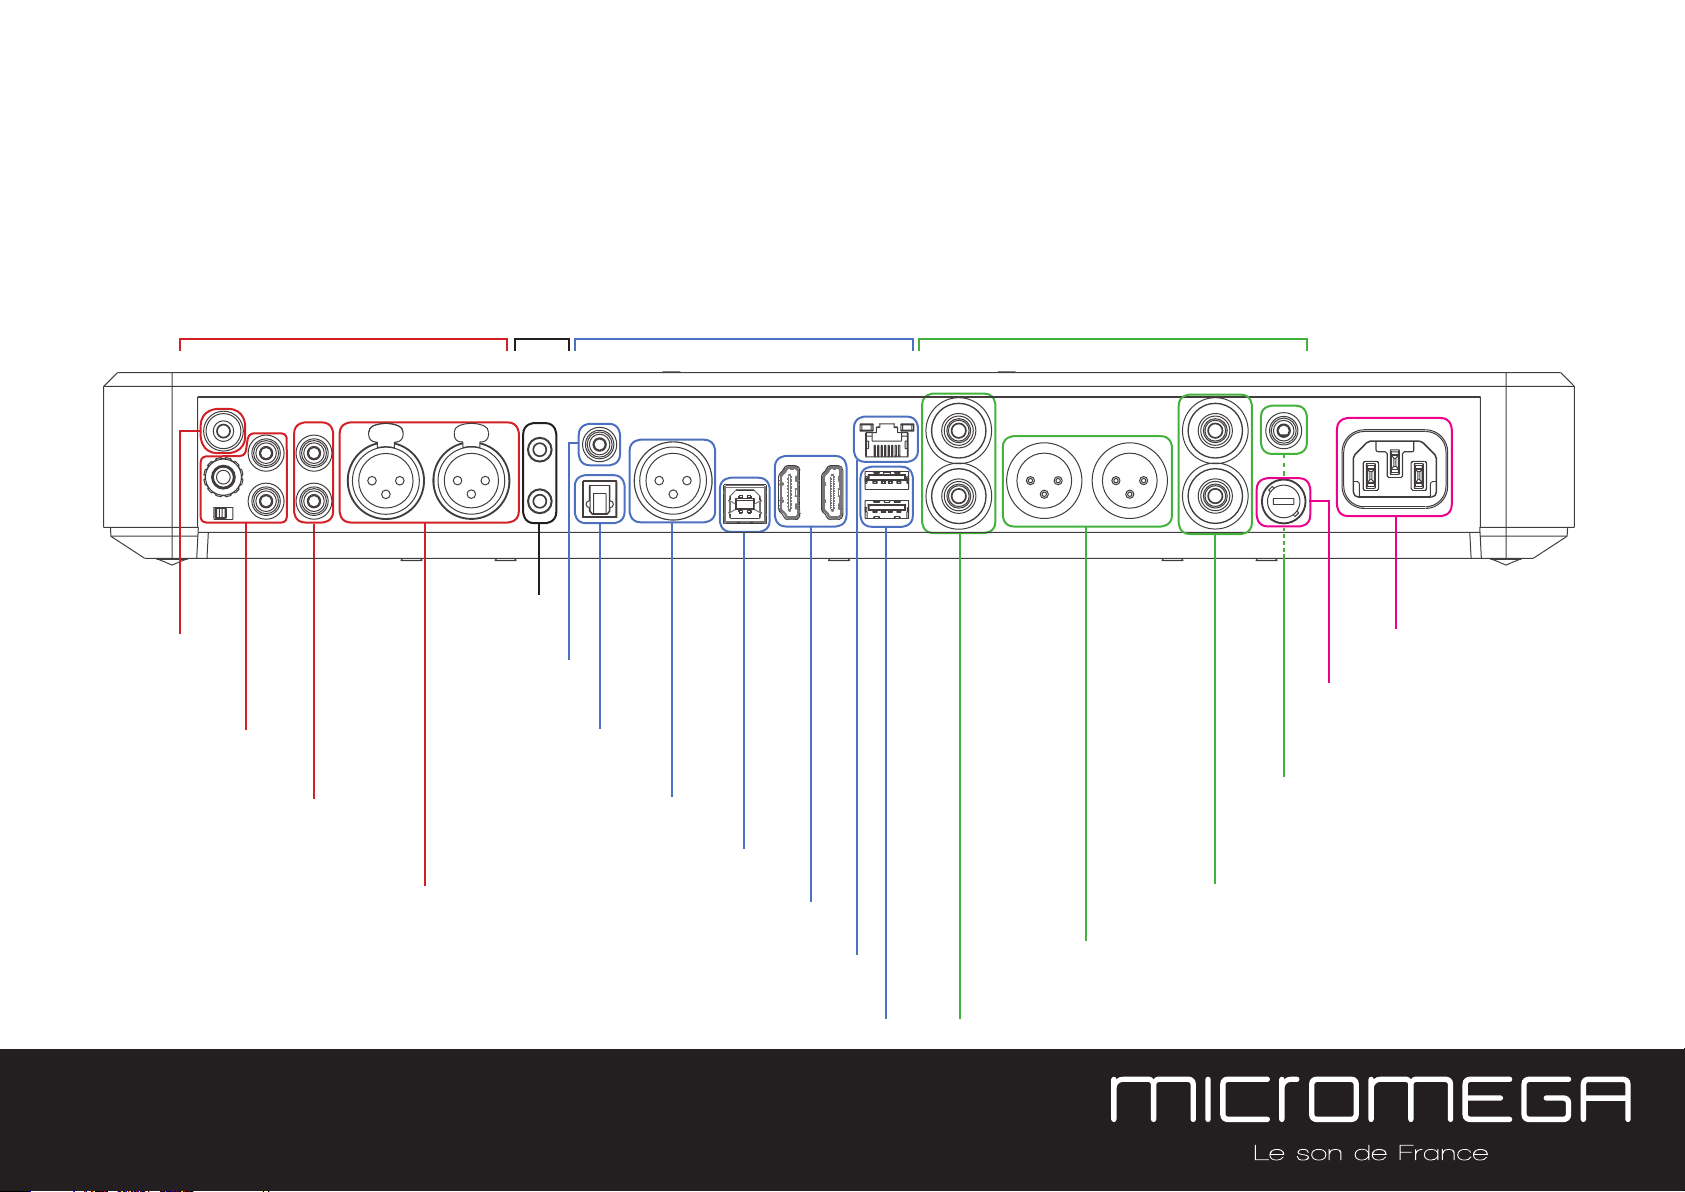
1.2 BACK
ROOM EQ
mic plug
Turntable
analog
inputs
input
Line level input
Balanced input
trigger
Trigger
Coaxial
input
Optical input
AES - EBU input
digital
inputs
USB input
I²S inputs
analog
inputs
Mains power
supply
Fuse
Sub-out
Left binding post
LAN input
USB update input
5
OVERVIEW
Right binding post
Pre-out
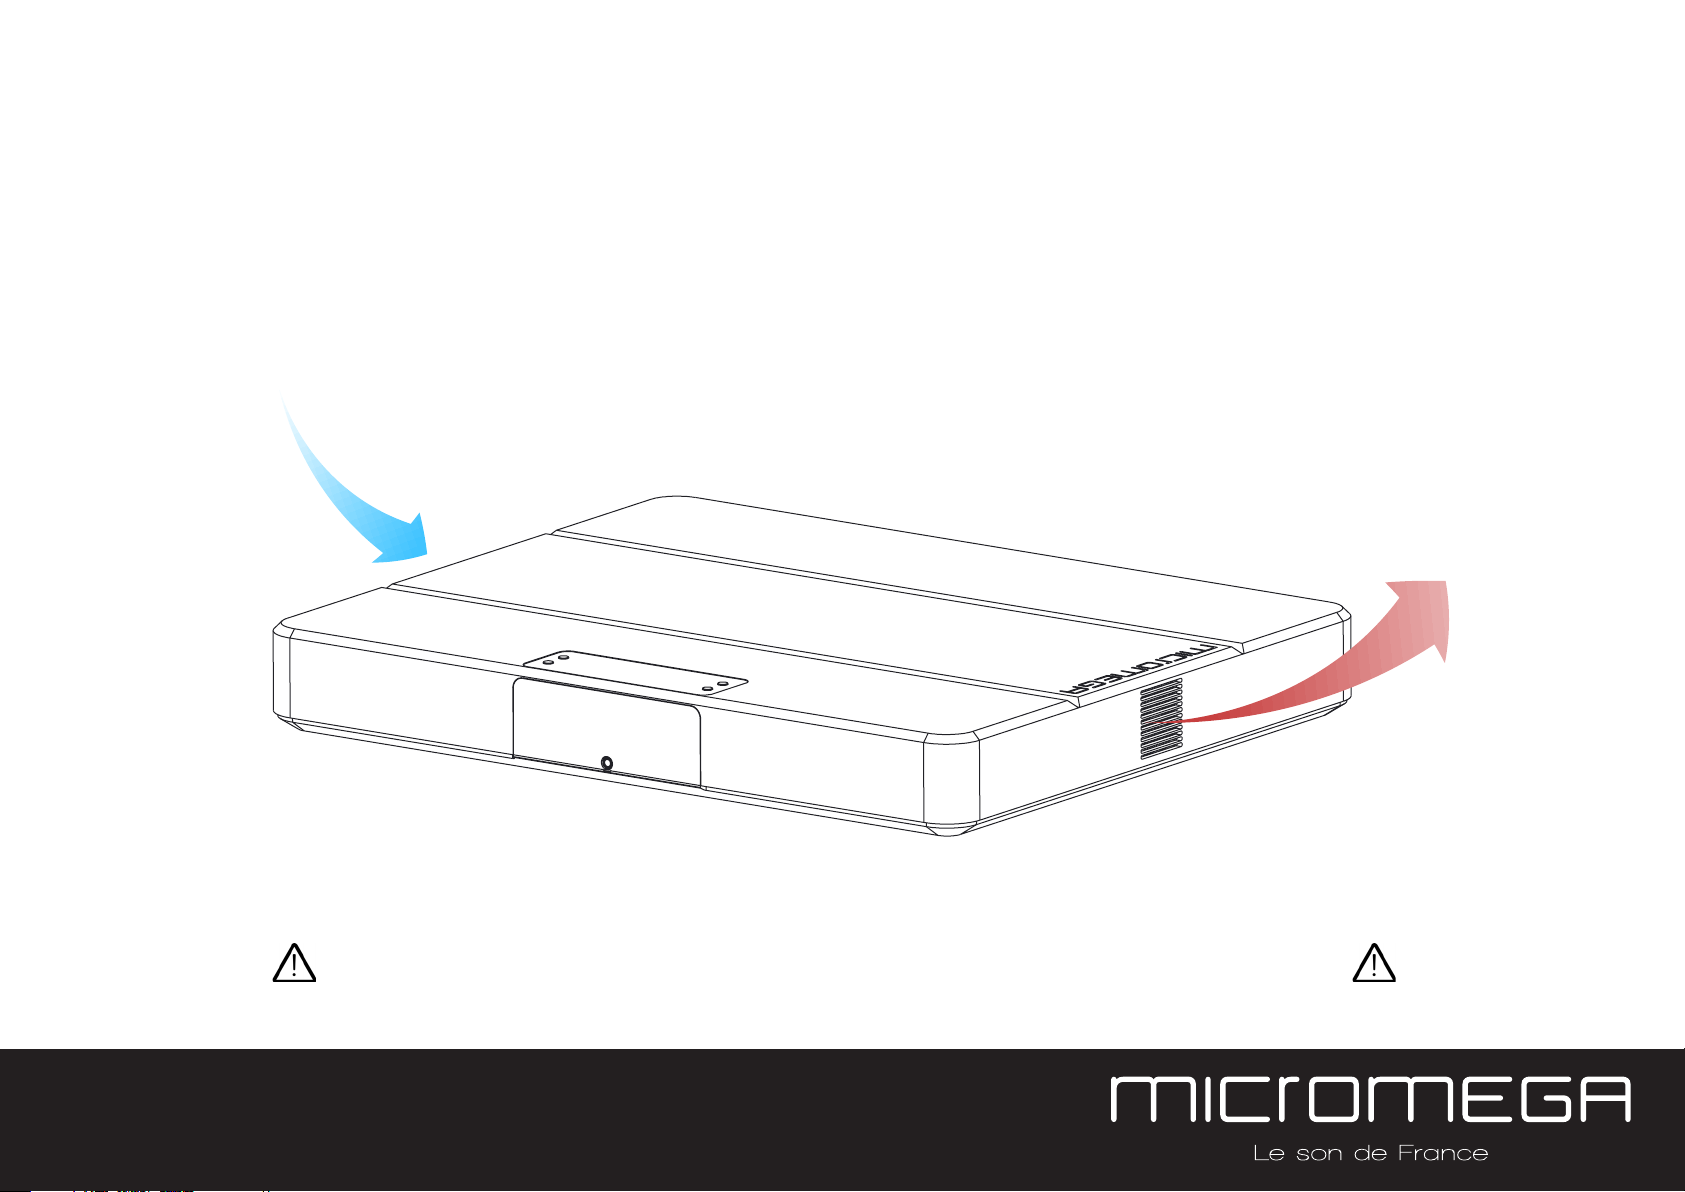
1.3 Sides (ventilation)
The M-150 amplifier should be positioned so that it can receive sufficient ventilation. Do not obstruct the air vents on the side of your amplifier. You should
leave at least 10cm of space around the air vents.
We advise against placing the M-150 inside a closed furniture or space
6
OVERVIEW
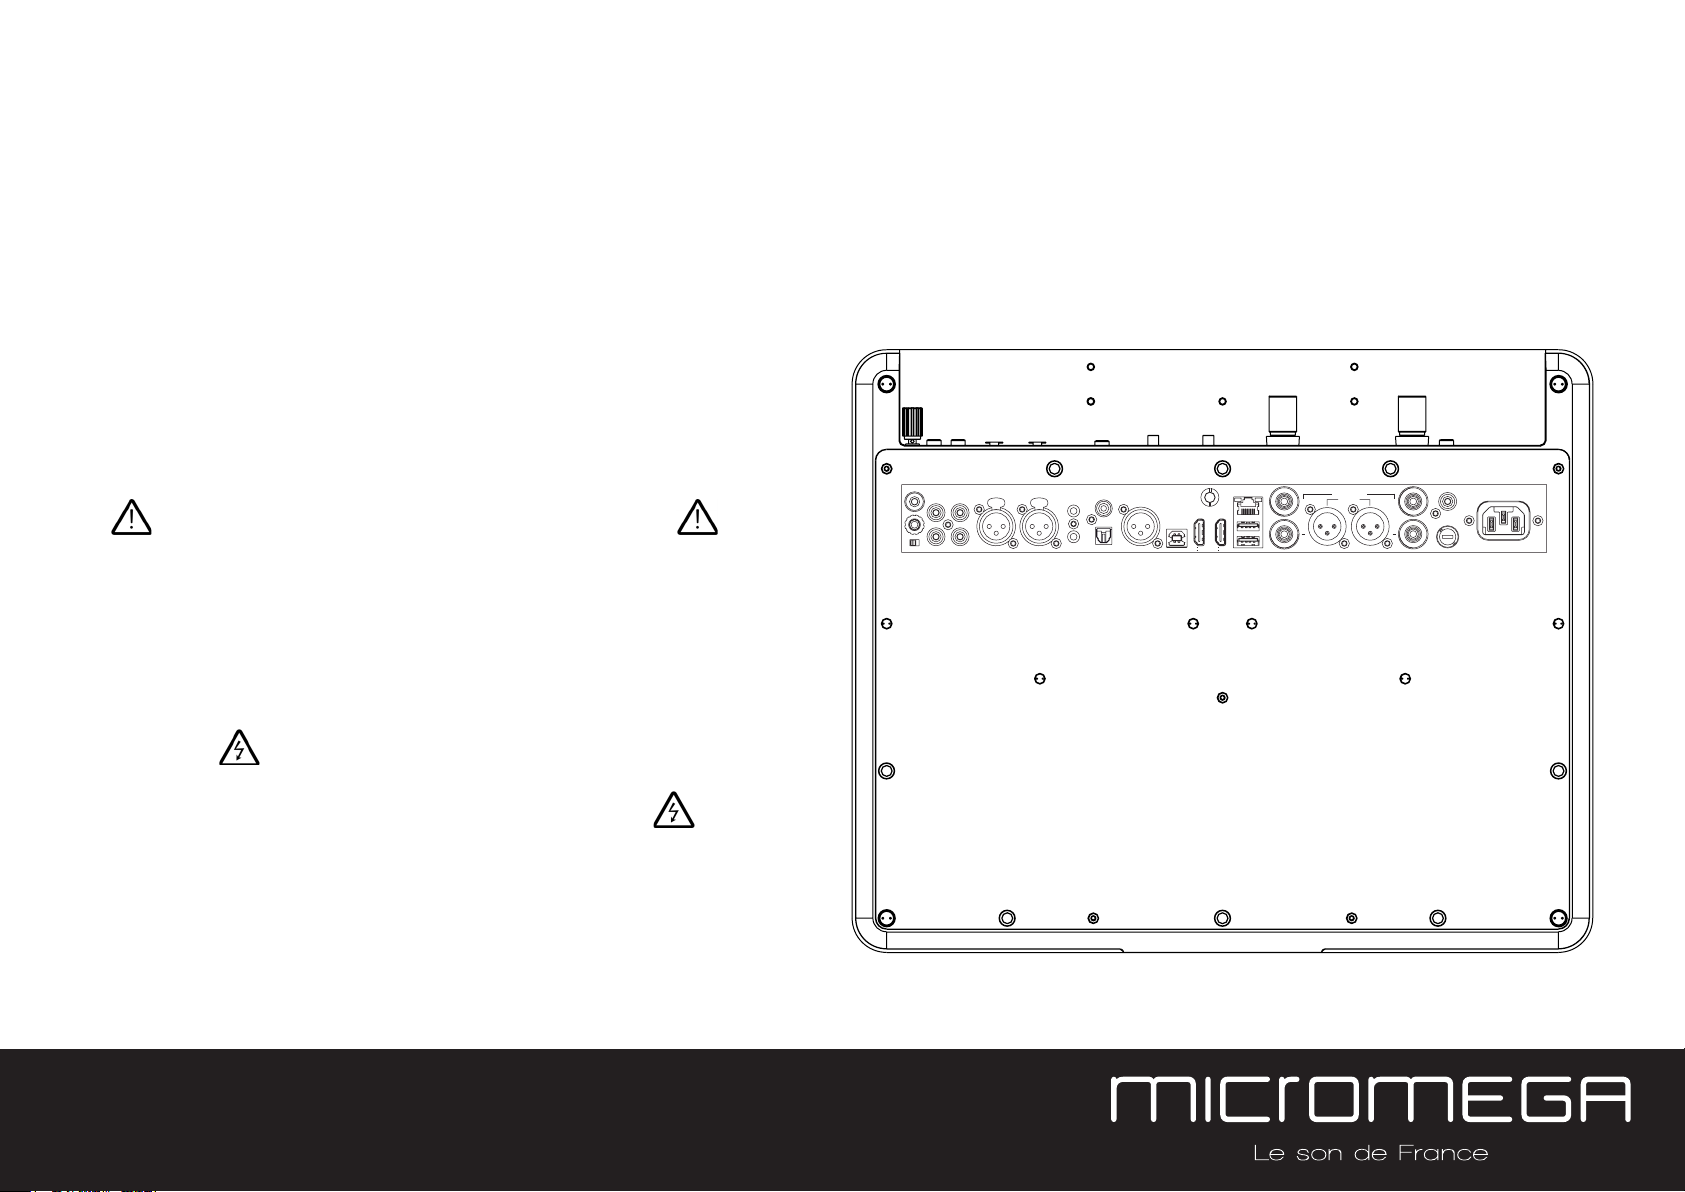
1.4 Bottom
You will find a connection guide under your M-150 amplifier which illustrates all of the input and ouput terminals available.
Take note that the M-150 has spiked feets. It can harm your
furniture. Use the included rubber pads to avoid damage.
Do not try to open the M-150
It contains potentially
life-threatening high voltage
MIC
LINE BALANCEDT RIG
PHONO
L
GND
R
MM/MC
RL
IN
OUT
COAX
USB
OPTO AES
LAN
BT
2
1
I
S1 I
S2
2
2
SPEAKER OUT
PRE OUT
++
RIGHT
SUB OUT
AC MAINS
LEFT
5x20 FUSE
85-265 Vac / 47-63 Hz
10A SLOW-BLOW
7
OVERVIEW
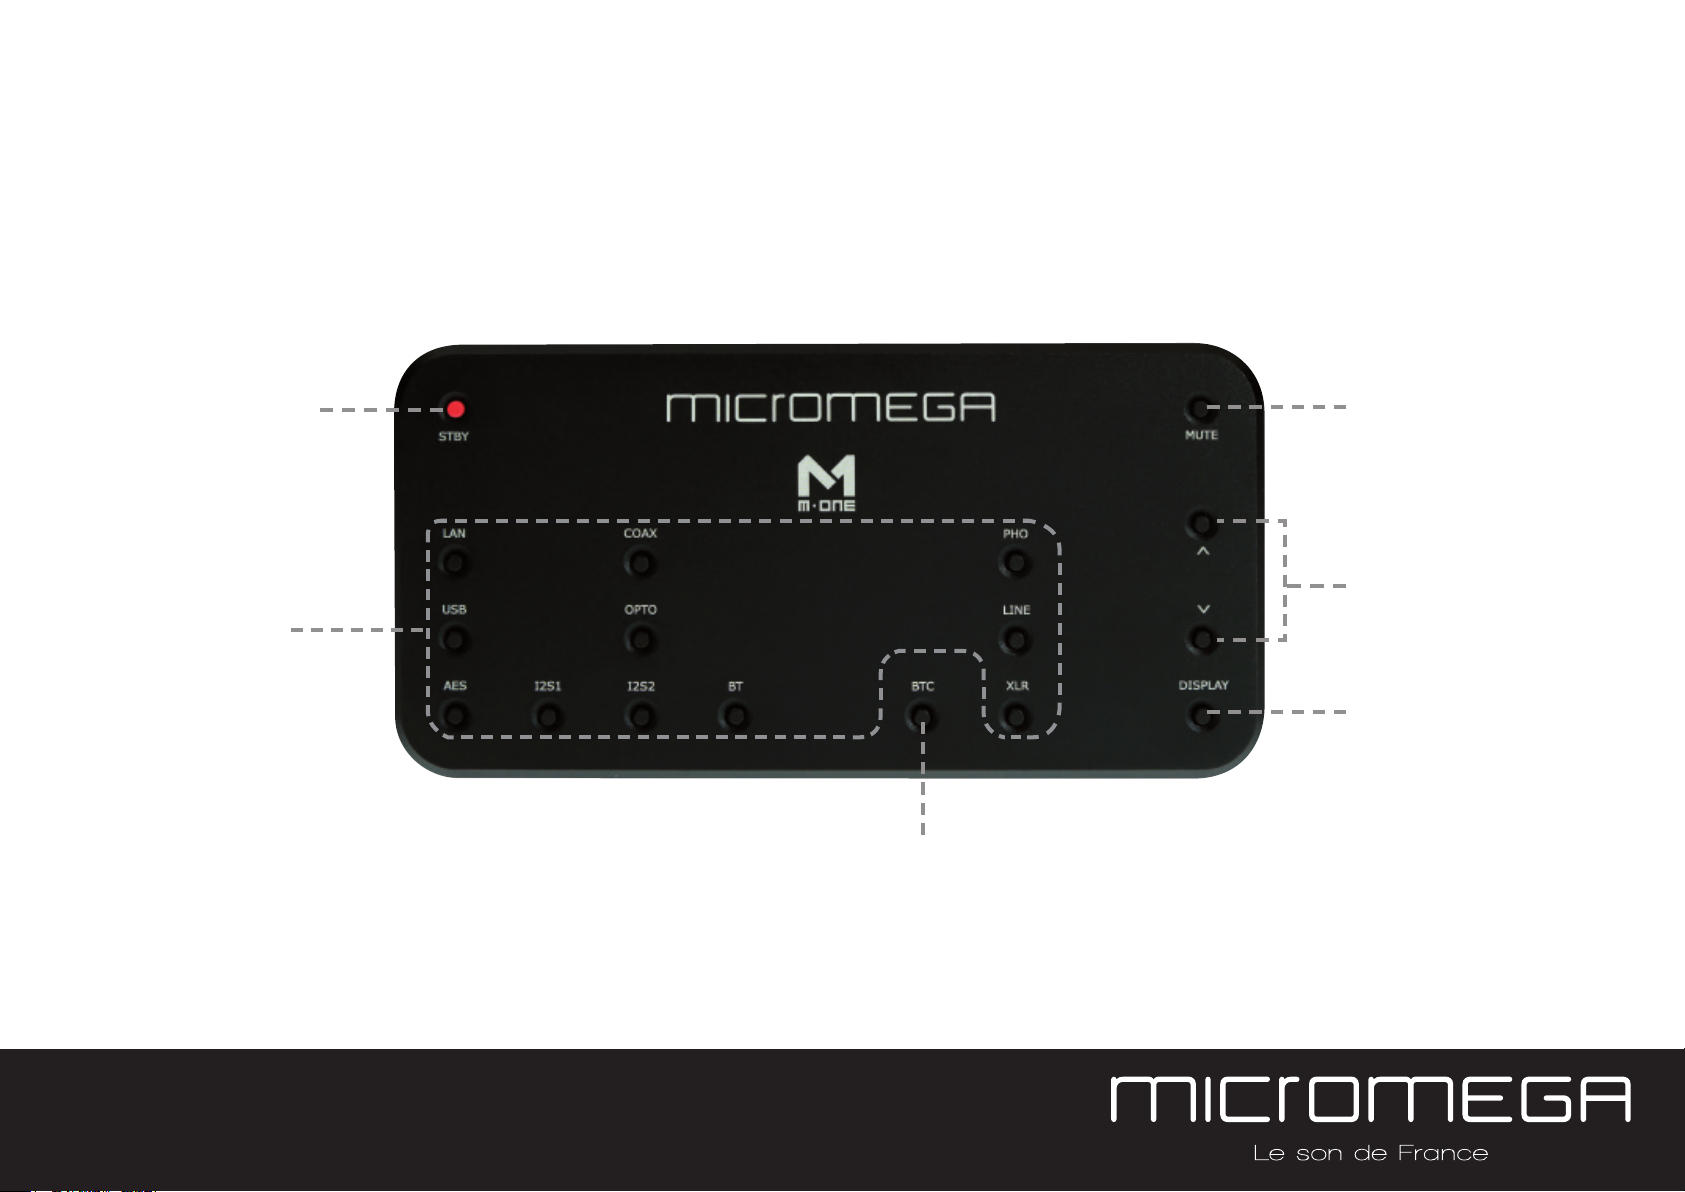
1.5 Infrared remote control
ON / OFF Mute
Ajust volume
Input selector
Change display size
« Bluetooth Connect »
- Press and release : pairing will start
- Press and hold (for 10 seconds then release) : clear Bluetooth memory
8
OVERVIEW
2. CONNECTIONS
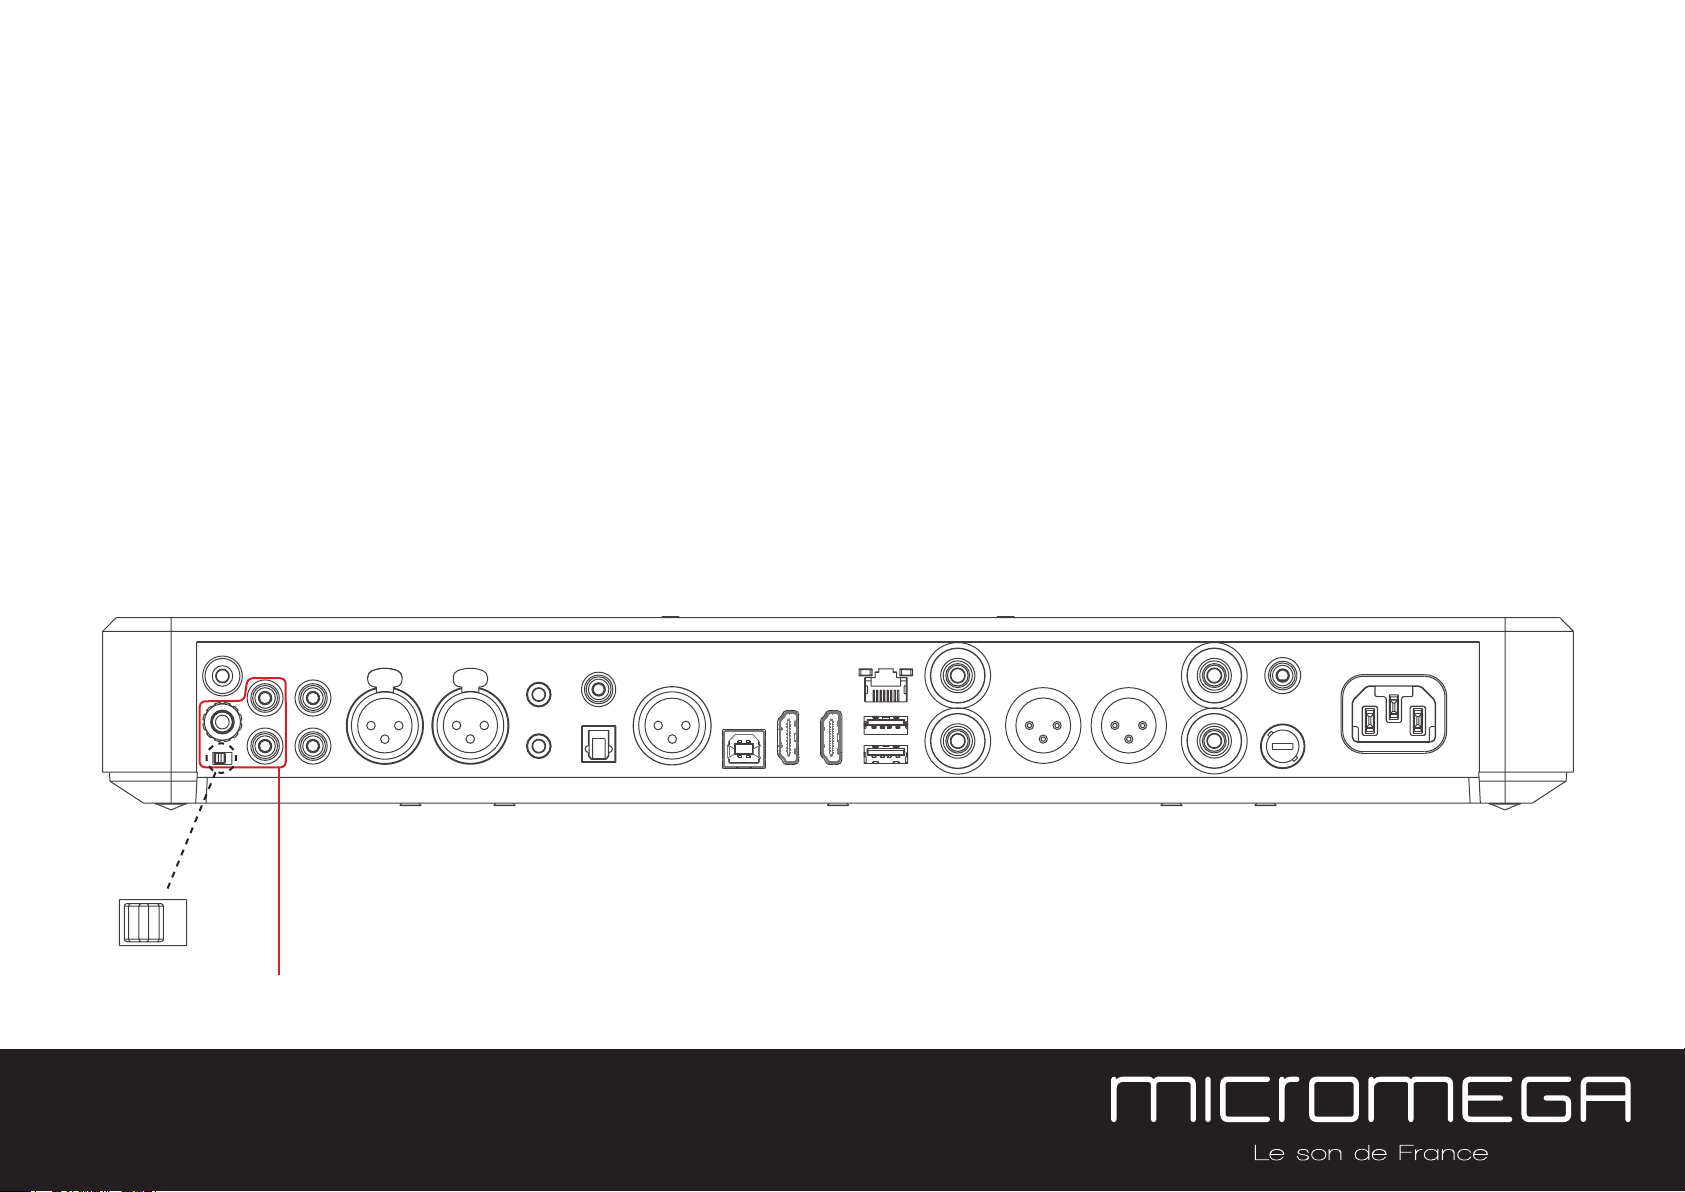
2.1 Phono input for a vinyl turntable
The « PHONO » input on the M-150 amplifier is compatible with MM and MC cartridges.
You can select the correct cartridge for your turntable using the switch located on the back of the amplifier.
• If your turntable has an MM cartridge, you should place the switch in the MM position
• If your turntable has an MC cartridge, you should place the switch in the MC position
There is a ‘GND’ grounding terminal near the Phono plugs so that you can connect the grounding terminal of your record player if
necessary.
MM MC
9
Phono
input
CONNECTIONS

2.2 RCA line input
The M-150’s « LINE » input can be used to connect any device with RCA analogue output.
10
RCA line
input
CONNECTIONS
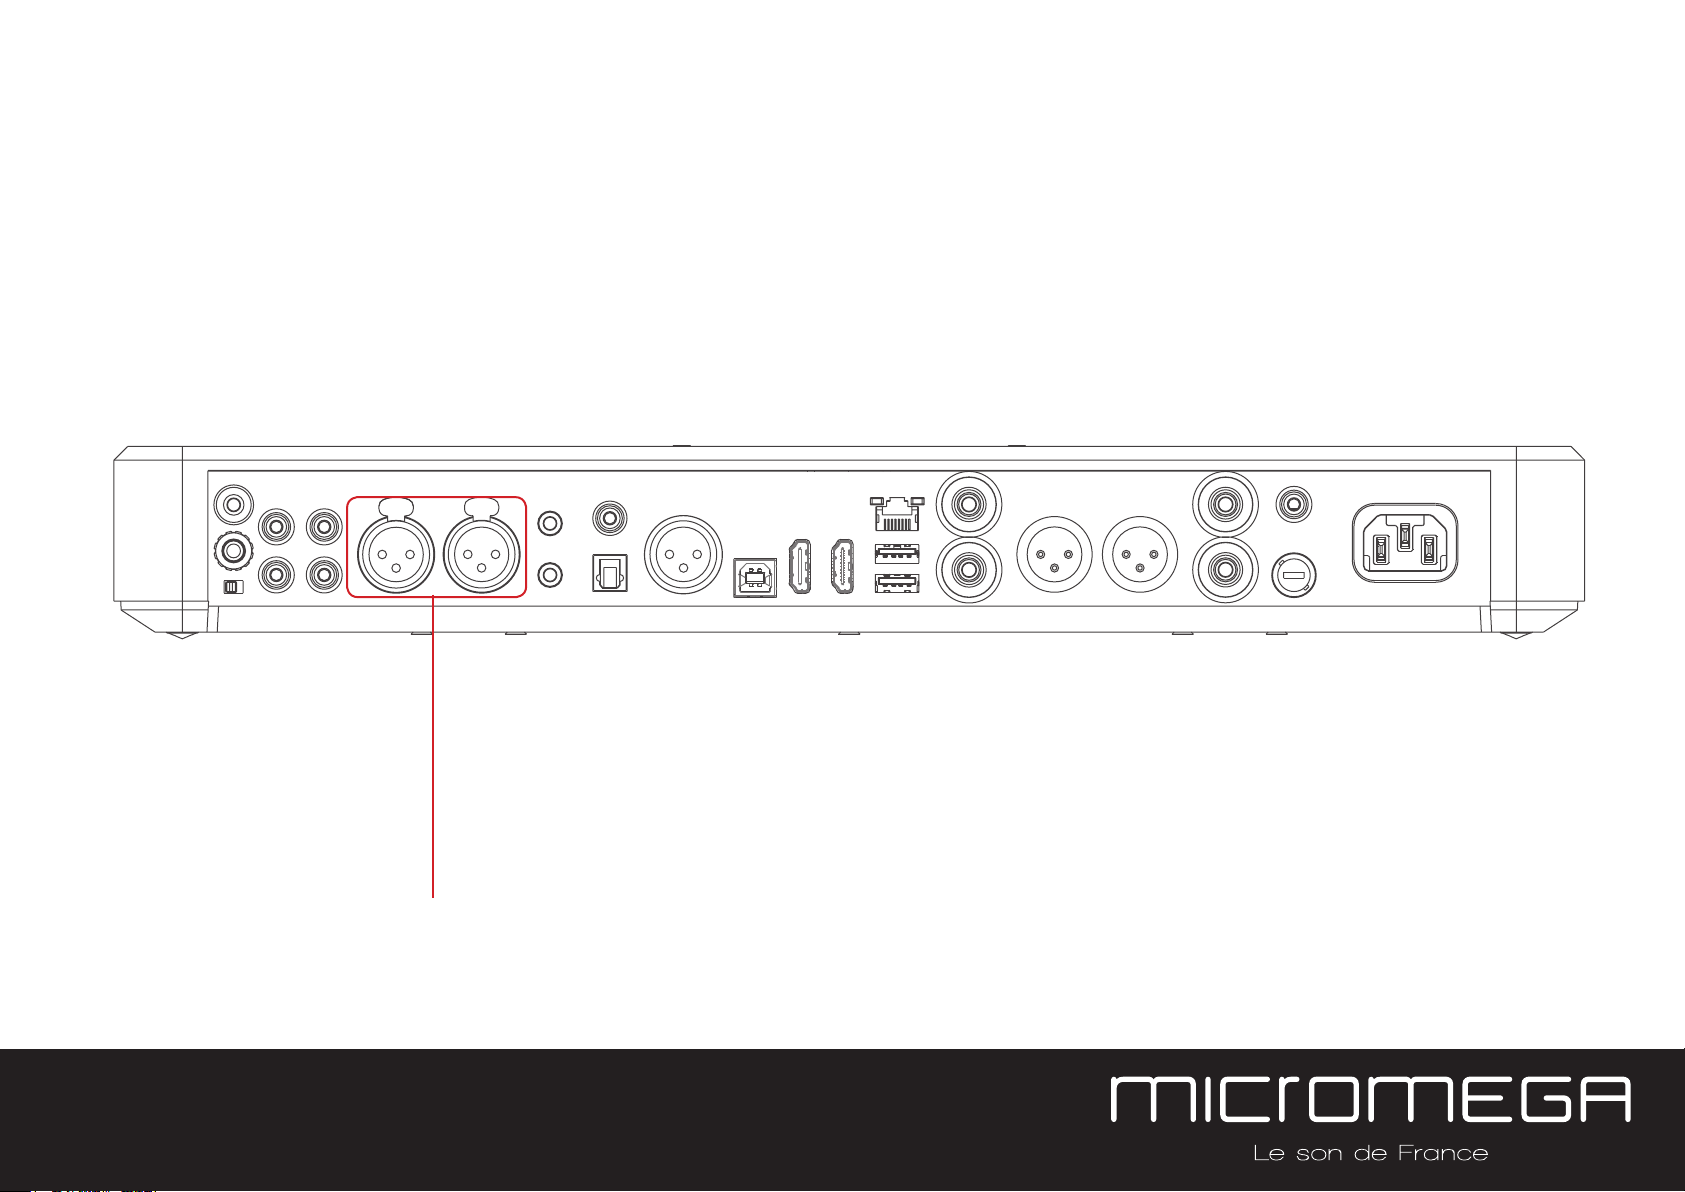
2.3 Balanced XLR analogue input
The M-150’s « BALANCED» input can be used to connect any device with symmetrical analogue output.
11
Balanced XLR
analogue input
CONNECTIONS
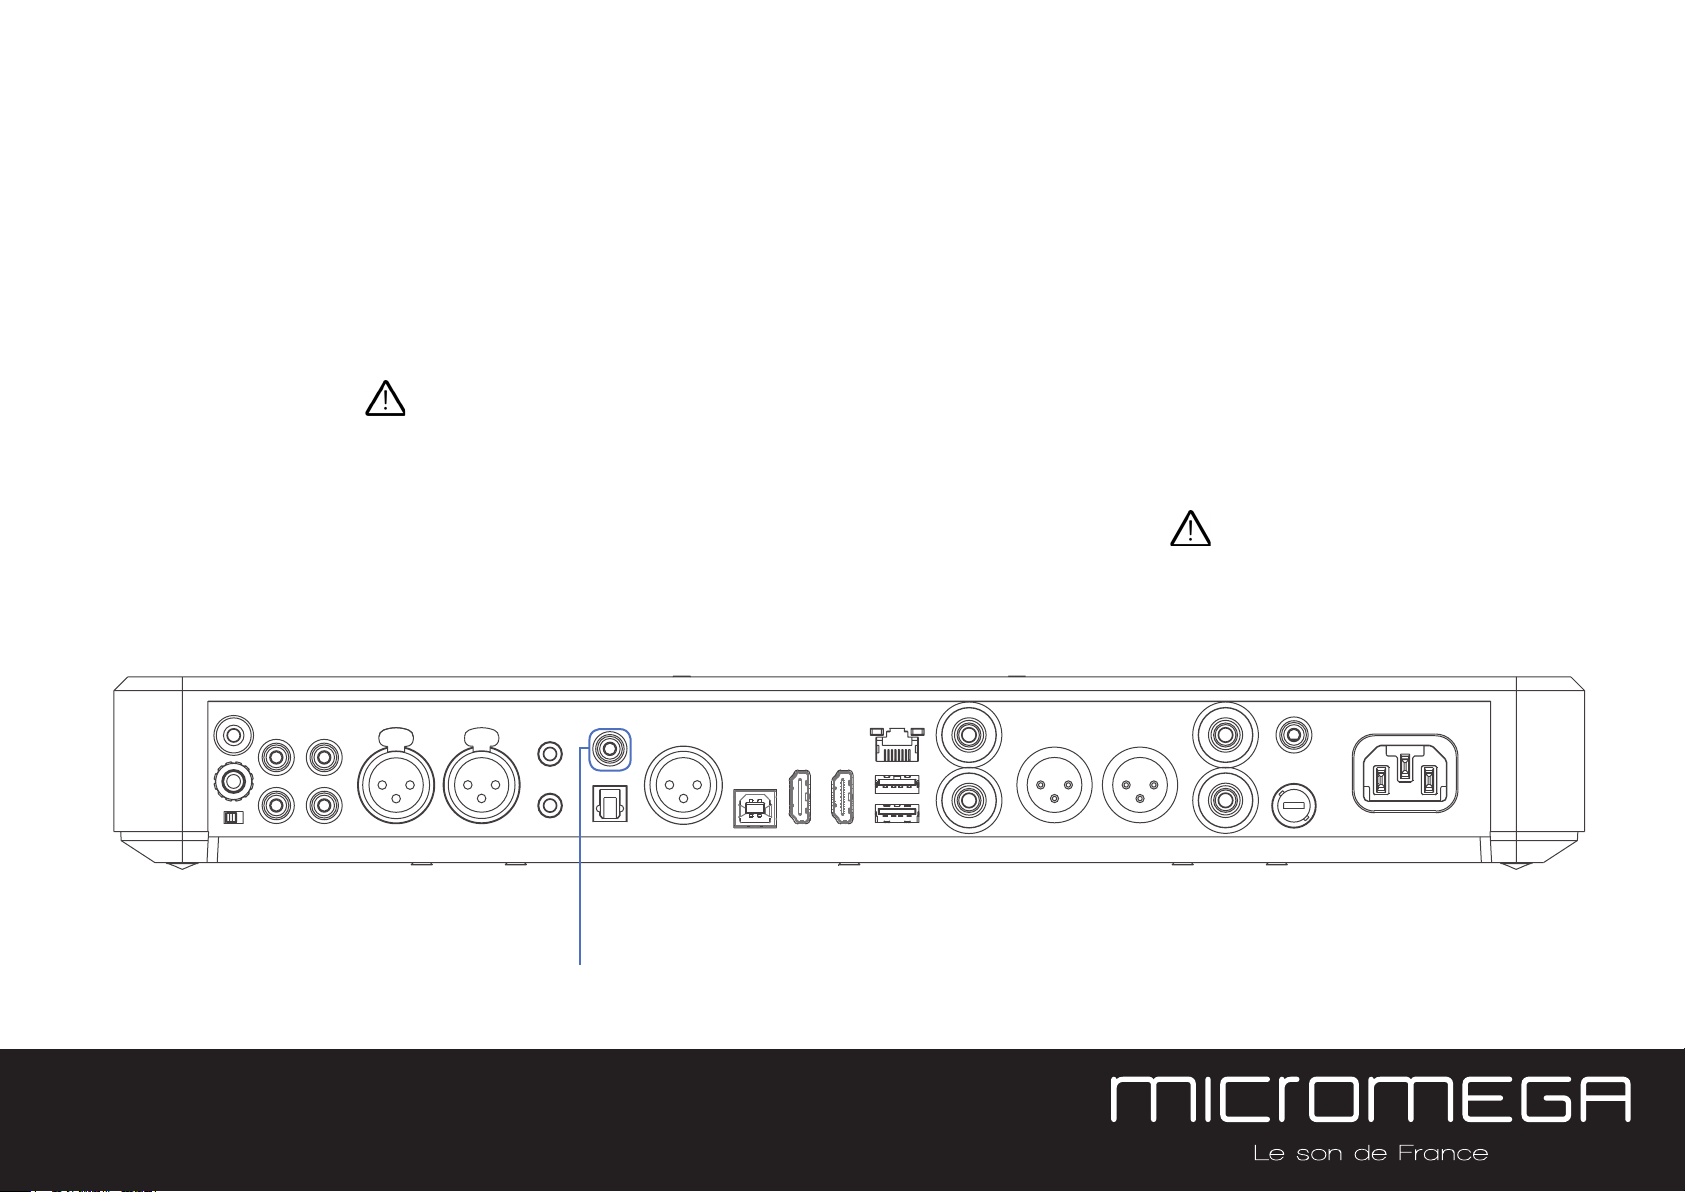
2.4 Coaxial digital input
The M-150’s « COAX » input can be used to connect any device with an SPDIF coaxial output.
The signal should be a PCM stereo signal up to 32bit/768kHz.
YOUR BLU-RAY OR DVD PLAYER MUST BE CONFIGURED
IN PCM ON THE AUDIO OUTPUT
OTHERWISE IT COULD PRODUCE AN INTENSE NOISE
IN YOUR SPEAKERS AND DAMAGE THEM
12
Coaxial
Digital input
CONNECTIONS
 Loading...