

Page 1
A109 Disassembly Procedure
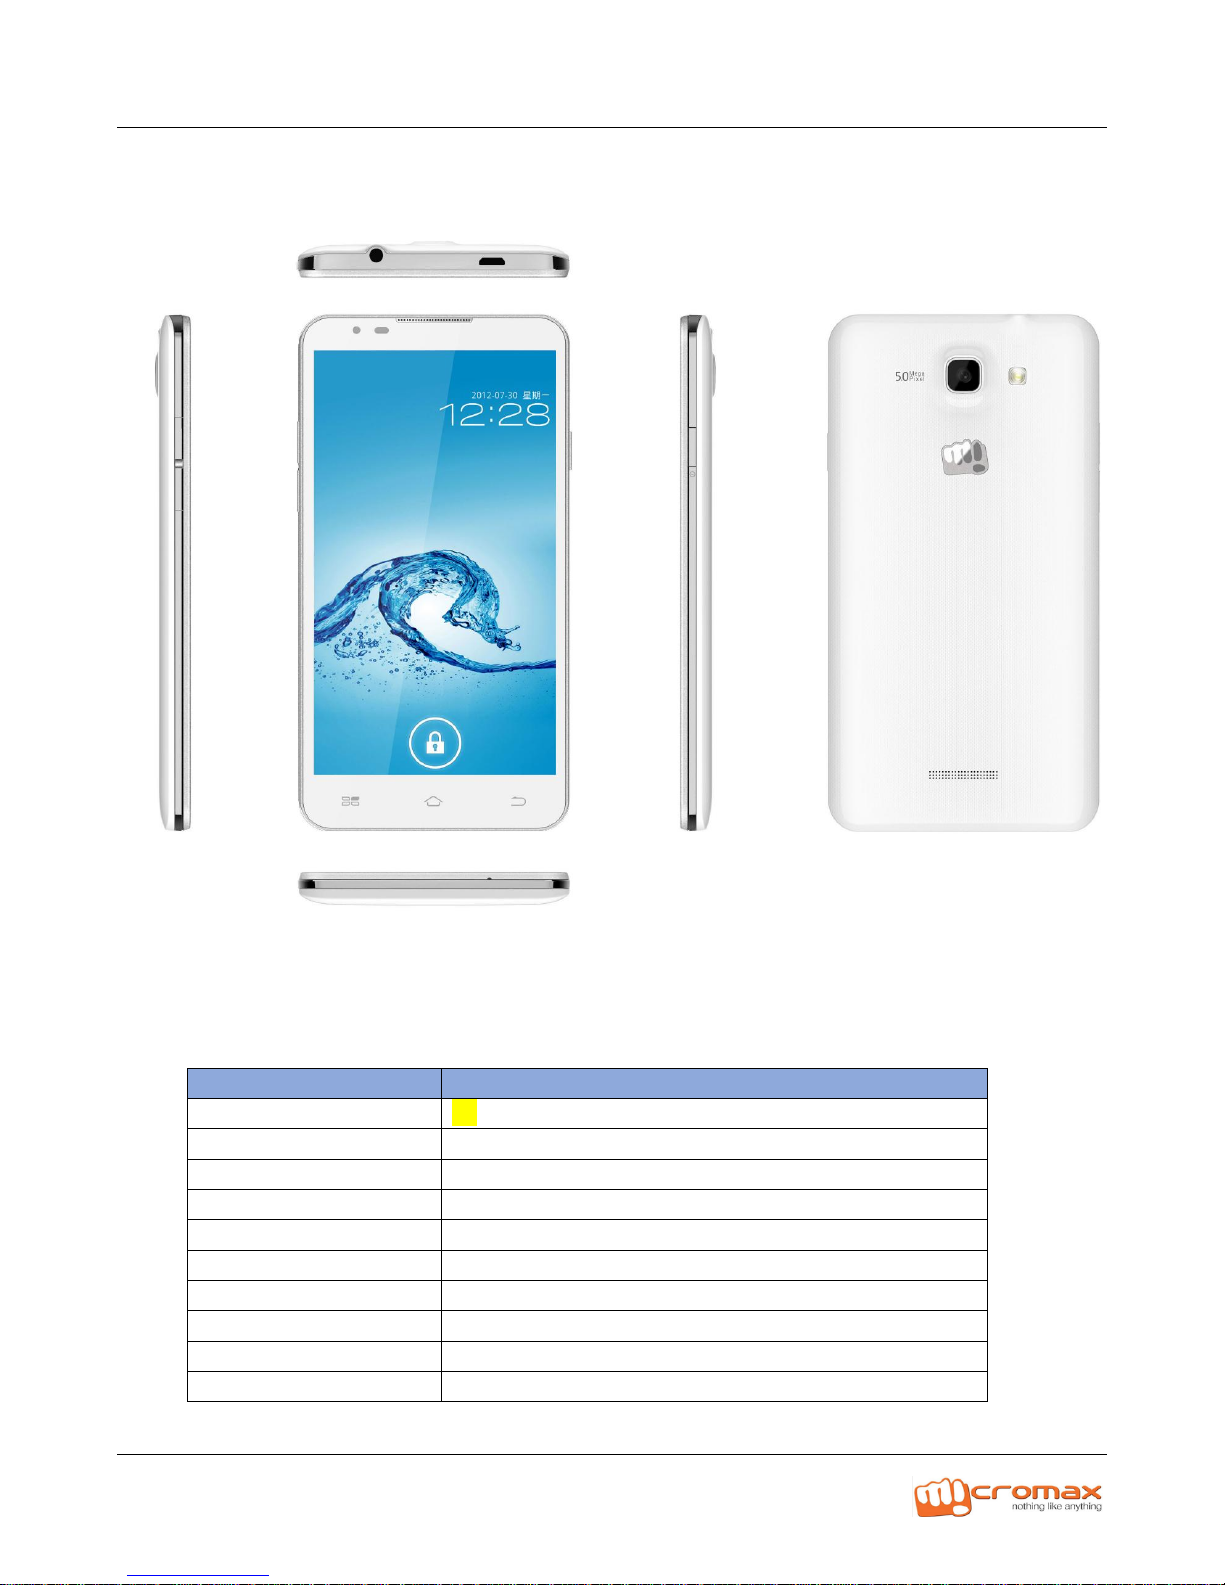
1. Technical Specifications :
Particular
Remarks
Key Matrix For Flashing
NA
Chipset
MT6589
Android Version
Android 4.4
Frequency
GSM:900/1800/1900MHz UMTS:900/2100MHz
Network Mode
Dual SIM: WCDMA+GSM
ROM
4 GB
RAM
1 GB
Internal SD Card memory
1.4GB for end user
Expandable Memory
32GB
Factory mode code
*#9527*#
Page 2
A109 Disassembly Procedure
2. CAUTIONS
I. Flashing & Servicing must be undertaken by qualified personnel only.
II. Ensure all work is carried out at an anti-static workstation and that an anti-static wrist strap is worn.
III. Use only approved Tools & components as specified in the parts list.
IV. Ensure all components, modules, screws, and insulators are correctly re-fitted after servicing and
alignment
V. Ensure all cables and wires are repositioned correctly if Handset disassembled
VI. Electrostatic discharge can easily damage the sensitive components of electronic products.
Therefore, Service Centre must adhere the precautions which mentioned above.
3. Disassembly Procedure
Device, Instrument, Fixture, Tool
NO
Name
Specification
Quantity 1 Tweezers
1 2 Screwdriver
Cross-head
1
3
Anti-static wrist strap/ anti-static
gloves
1
4
Disassembling piece
1
5
Knife
1
Page 3

A109 Disassembly Procedure
1. Mobile phone off, remove the battery cover.
2.Remove the battery, use a screwdriver to
remove the back shell 11 screws.
3. Use the disassembling piece to separate the
shells along the gap of the front shell screen of
the mobile phone, as shown in the following
picture:
4.Remove the loudspeaker.
5. Open the connectors for TW and LCD, and
use the tweezer to pick out the flat cables;
6. 3. Remove the two cross-head screws in the
mainboard.
Page 4

A109 Disassembly Procedure
7.take out the mainboard along the arrow..
8.Remove the camera and light sensor.
9. Open the rear-facing camera connector, and
remove the camera.
10. Remove the receiver and the RF line.
11. Use the heat gun to evenly heat the back
label at 150°C for about 20s to tear off the
bottom shell label.
12. Remove the main FPC.
Page 5

A109 Disassembly Procedure
13. The subboard and the front shell assembly
adopt double-sided sticking with conductive
cloth; it is suggested that the conductive cloth
should be heated evenly with the heat gun
before it is torn off.
14. A109 before the shell module.
Thanks
For any Query or suggestion, Please write to tech.help@micromaxinfo.com
 Loading...