

Page 1
Page 1 of 7 © One Stop Digital (OSD) Ltd 2005
TechTool Pro 4
Basic Guide
Introduction
This guide covers some of the basic operations of Micromat’s TechTool Pro v4. TechTool Pro
4 is similar to Norton Utilities in its features. However Symantec have discontinued support of
Norton Utilities for Mac OS X and TechTool Pro takes it place well. We would recommend all
Mac OS X users should have TechTool Pro running on their machines and to remove Norton
Utilities as it can do more damage than good.
TechTool Pro has a range of features to keep you Mac running sweetly. It can check all the
hardware as well as your drives and the files on them.
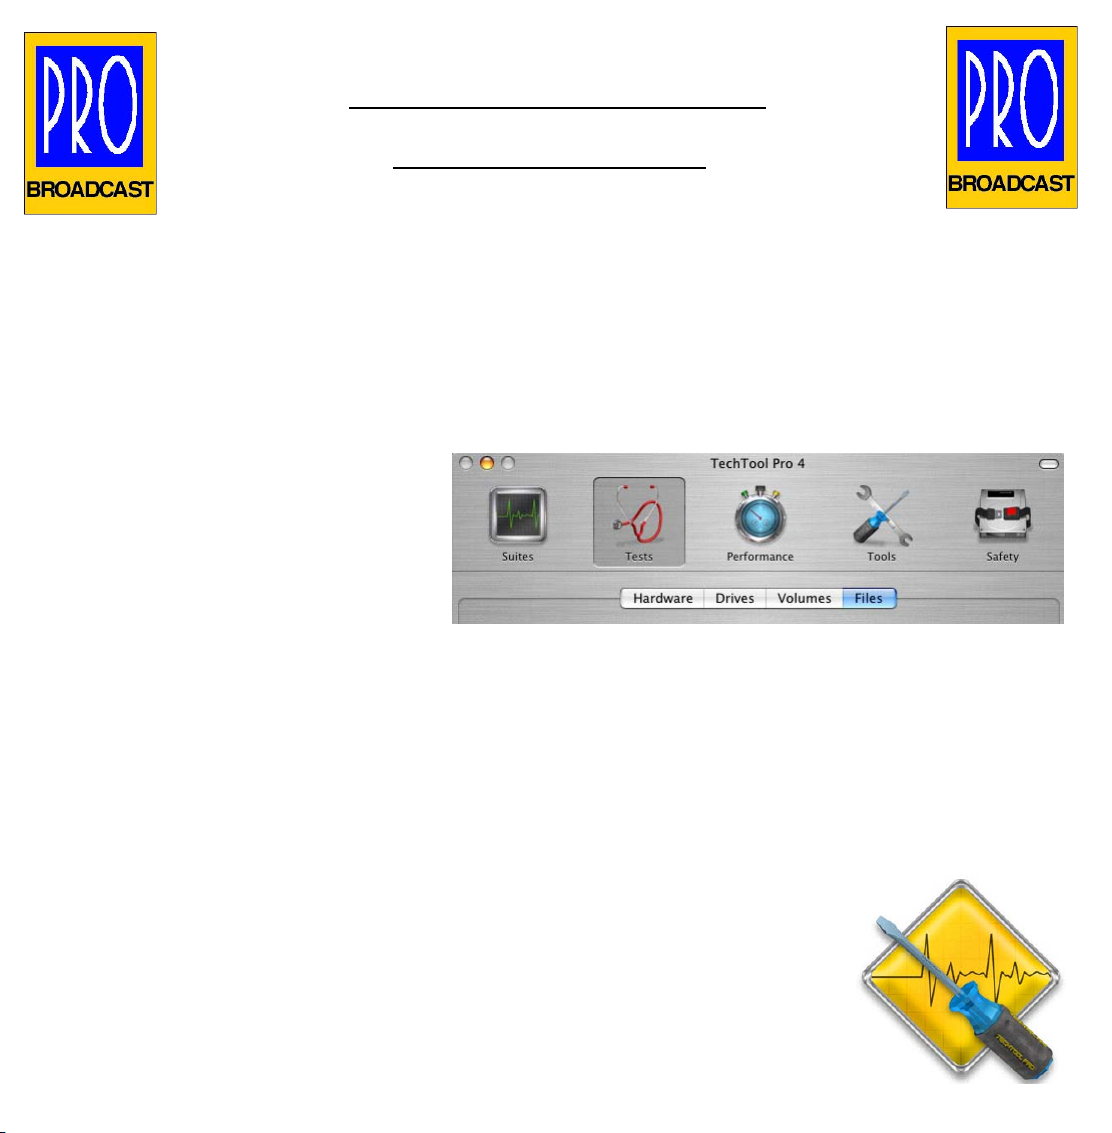
TechTool Pro has a main window
with a common Toolbar across the
top which is divided into 5
groupings and a lower section which
varies according to which section
you are in.:-
Suites - Preset combinations of tests of hardware, drives and files.
Tests - Here you can choose to do individual tests and choose which drives to test as well.
Performance - This section helps you defragment & optimise the drive (volume) directories
and files.
Tools - A selection of tools for the advanced user. Do not go in here unless you really know
what you are doing.
Safety - Where you can set up protection & Diagnostics checks. This should
not be instead of backups but as well as!
In this guide we are going to concentrate on 3 areas of TechTool Pro
Prevention & Diagnostics setup (like Norton Filesaver)
Testing Drives (like Norton Disk Doctor)
Optimising drives (like Norton Speed Disk)
Page 2
Page 2 of 7 © One Stop Digital (OSD) Ltd 2005
Protection & Diagnostics setup...
For TechTool to work well and in the future to be able to recover Files
and Drives it is very important to set up the Protection and Diagnostics
sections correctly.
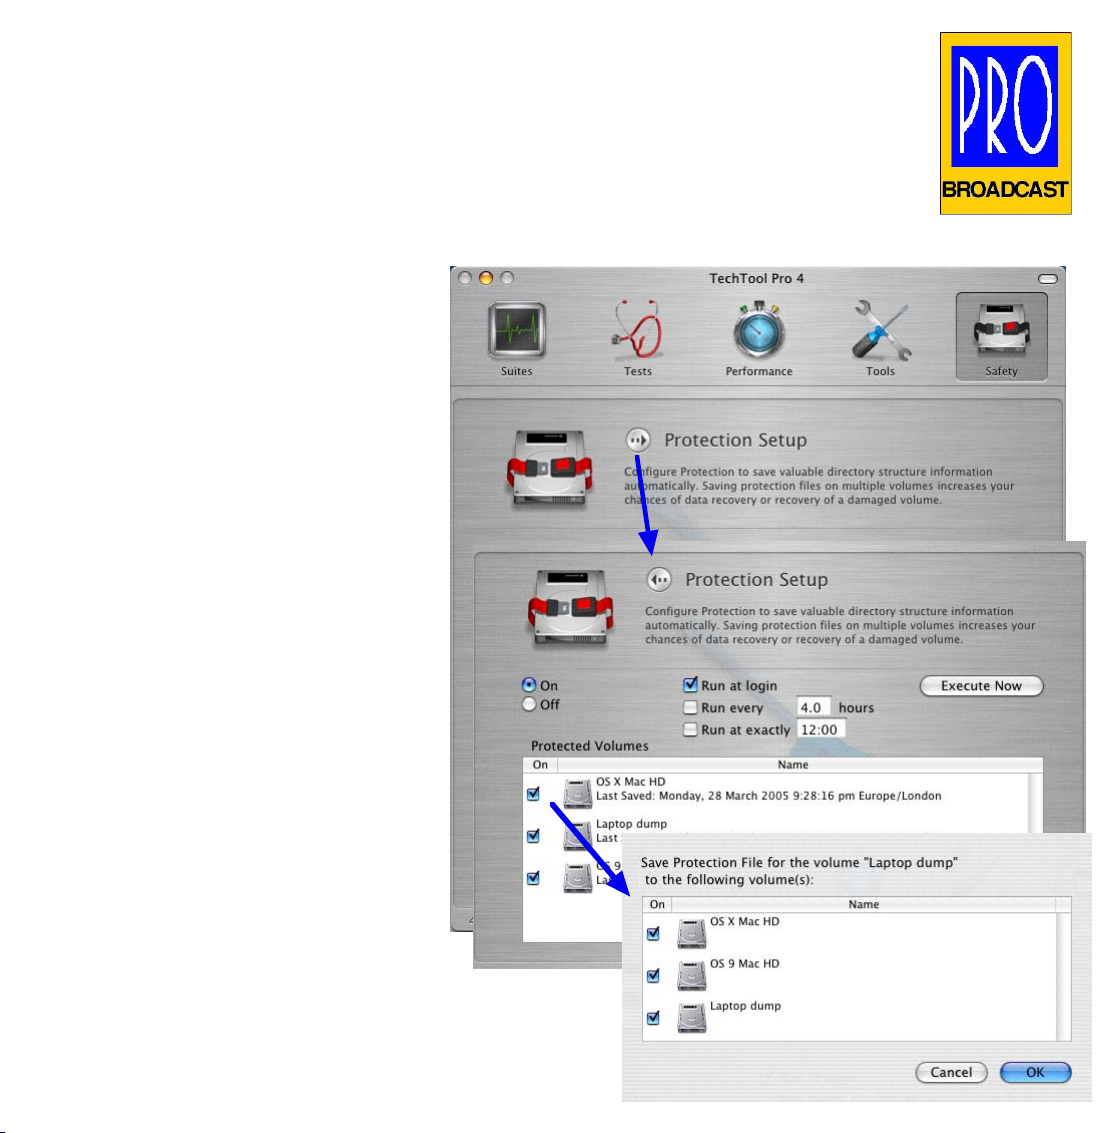
To do this go into the Safety section by clicking on the ‘Safety’ button
in the Toolbar across the top of the main TechTool window.
Select Protection Setup and click
on the arrow button. The
Protection works by saving copies
of each drives Directory files in
TechTool’s own format so that the
Recover Tool (in the Tools section)
stands a much greater chance of
recovering lost files or even the
entire drive. From here you can
setup which drives will be protected
as well as which drives you save
these backup directory files to and
it is well worth saving them to
several other drives on your
system to increase your Recovery
chances.
We recommend you don’t have it
update the Protection Files at any
other time other than Login. If
you tend to leave your machine
running 24/7 then select an
update time when the system isn’t
doing anything else say like 3 am.
Select which volume you want to
protect and a secondary window will
open. Choose which drives to save
your Protection Files on to and
click OK to return you to the main
window.
When you have completed the settings then click
on the Execute Now button to update the Protection
Files straight away.
Page 3

Page 3 of 7 © One Stop Digital (OSD) Ltd 2005
As with Prevention choose Diagnostics
Setup from the Safety Window.
The Diagnostics will run a quick check
on the selected drives and warn you if
there problems before they get so
serious it becomes impossible to fix.
Select which drives will be tested and
set it so it only runs at Login or when
the system is not active, if you leave
your system on 24/7.
Click on the Execute Now button to
run the Diagnostics tests straight
away to check there aren’t any
problems already.
With Prevention and Diagnostics set
up to routinely check the drives on
your system TechTool Pro will help
you keep your system in good
working order.
Diagnostics setup...
If the Diagnostics warn you of a problem or you suspect there are problems with a drive
then you need to be able to test and repair it.
Tips. Make sure all other applications and documents are
closed as TechTool needs to be able to unmount drives
to fully test them.
Check the ‘Repair On’ option in the Finder Info of the
Files Test section otherwise you will need to rerun the
tests with it on to fix them.
In TechTool Pro you can run a set of automated tests using the Suites option
which will run a predetermined set of tests on your hardware and all your drives.
Alternatively you can manually run specific tests using the Tests Option which
allows you to test for problems on an individual drive.
Page 4

Page 4 of 7 © One Stop Digital (OSD) Ltd 2005
If you suspect you have a problem
with one of your drives you can
either use the Intermediate Suite
but be aware that this will test your
hardware and ALL the drives on
your system so it could take quite
a long time but it will do it without
further instructions and at the end
will produce a report outlining in
detail everything it has checked.
It will show any areas that have
failed in red to make it easier to
see what needs resolving.
Suites Tests...
Page 5

Page 5 of 7 © One Stop Digital (OSD) Ltd 2005
Individual Tests...
From the Tests section of TechTool
Pro you can choose to test
individual items.
We can use this section to run
tests on individual drives either
because the Diagnostics Tool has
advised of a problem or we
suspect a drive has a problem.
Select the Tests section by clicking
on the Tests button in the Toolbar.
Select Volumes from the options.
Click on the Show Volumes Arrow
and TechTool Pro will show you all
the Volumes (Drives) are attached
to your system.
You can then click on the ‘Go’
arrow on each seperate volume
you want to test.
Once the Volume Tests are
complete you can move onto the
Files Test by clicking on the Files
in the options.
Again you can either test all the
volumes by clicking on the ‘Go’
arrow in the top section or Show
Volumes and click on the ‘Go’
arrow on each seperate volume
you want to test.
If TechTool finds any problems a
red light will start to flash in the
appropriate section. However if
you check the ‘Repair On’ button
then TechTool will fix things as it
goes.
Page 6

Page 6 of 7 © One Stop Digital (OSD) Ltd 2005
You can keep your
system performing
at its best by using
Performance
section of TechTool
Pro.
Performance
Settings...
directories that hold this information may
become inefficiently organised. Rebuilding the
directories completely reconstructs these
directories, optimising them and improving
overall system performance. Click the Arrow
button to get TechTool to scan the directory
files. Once complete it will show the possible
changes and we recommend you agree to any
changes in Green but to proceed with extreme
caution if any of the suggested changes are in
Red.
Firstly select the Maintenance tab and
optimise the Directory files of your
drives. As files and folders are added
to and deleted from a drive, the
This will improve performance when reading to or writing from the drive.
As files are written to and read from a drive, if there is not a free area large
enough to store a file, then the system will fragment the file by saving a piece
here and a piece there. This is transparent to you, but although a file appears
to you as one complete logical item, in most cases it is actually physically
scattered around the drive in many pieces.
Once this stage is complete then you
can move onto the Optimisation
section.
Optimisation has two goals:
To defragment the files on a drive.
To consolidate the free space on the
volume into one large block.
Page 7

Page 7 of 7 © One Stop Digital (OSD) Ltd 2005
The Optimisation section appears
very similar to the Maintenance
section including a graph button
you can click on which will show you
in a simplified graphical way how
fragmented the selected drive is.
An additional feature is a Files Only
option which if checked TechTool
will only defragment the files but
leave the Free Space fragmented.
Optimisation Settings...
This is quicker and so can be used as a ‘stop gap’ fix but it is
not as effective and should only be used when time is
pressing. Be prepared that a full optimisation will take some
considerable time depending on the size of your drive, how
much material is on it and how fragmented it is.
Tip. Run a full set of tests on any drive and run the
Maintenance tests of the Performance section before you
Optimise your drive otherwise you run the risk of losing some
or all of your data.
This guide has only been
able to scratch the surface as
to what TechTool Pro v4 can
do and give you some
valuable tips to get the best
out of TechTool Pro.
However help is at hand.
There is a complete help
guide available from the Help
section of the TechTool menu
bar.
Click on TechTool Pro 4 Help
and it will open in the Mac OS
X Help viewer. There are very
detailed descriptions and
explanations of all aspects of
TechTool Pro and the Mac OS
X file formats.
 Loading...