

MicroLinks Technology Co., Ltd.
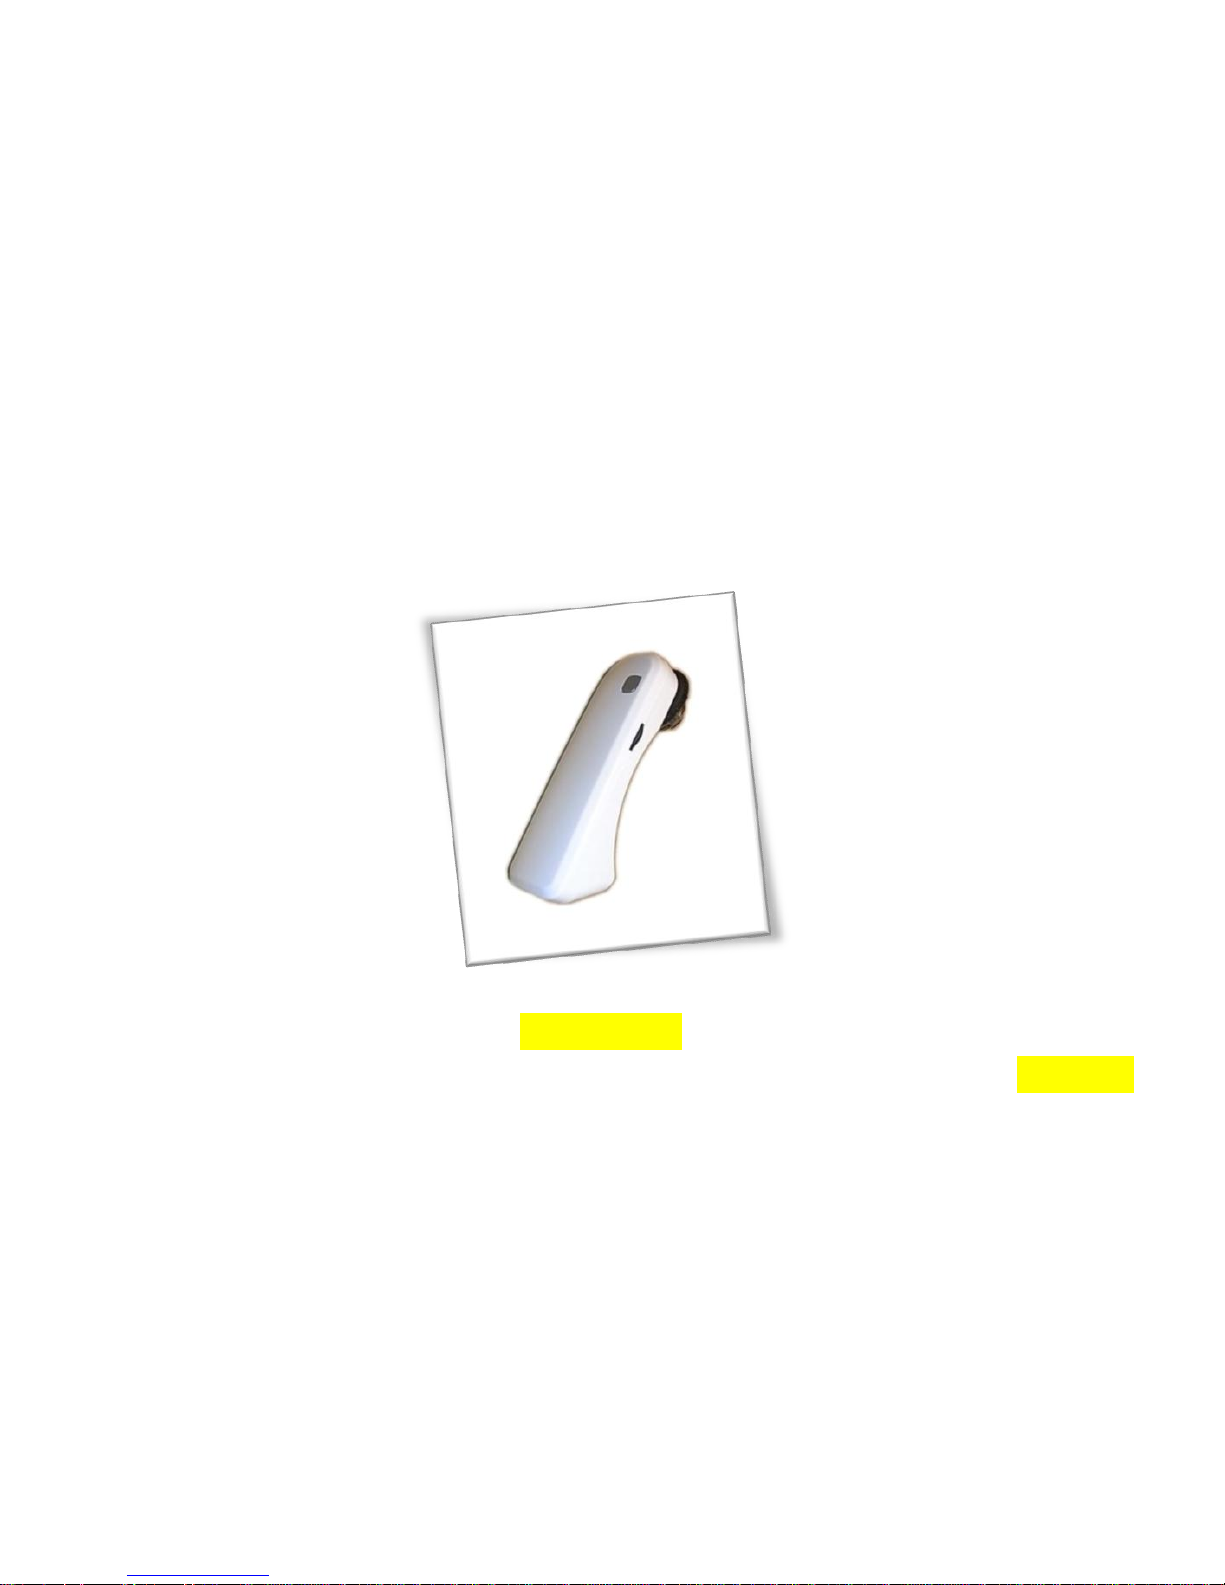
H-CAM
User’s Guide
USB Microscope
Version 2.3

MicroLinks Technology Co., Ltd.

1 MicroLinks Technology Co., Ltd.
Contents
1. Product Introduction .......................................................... 1
1.1 Packing Contents ........................................... 1
1.2 Microscope Accessories ................................ 1
1.3 Exchange Accessories .................................... 2
1.4 USB Digital Microscope Function ................... 2
1.5 USB Digital Microscope Operation ................ 3
1.6 USB Cable ...................................................... 4
2. Installation ......................................................................... 4
2.1 Insert Installation CD (Step 1) ........................ 4
2.2 Install Application Program(Step2) ................ 5
2.3 Install Driver(Step 3) ...................................... 5
2.4 Exit Installation Program (Step 4) .................. 5
3. Application Program .......................................................... 5
3.1 Video Preview Window ................................. 5
3.2 Image Preview Window ................................. 5
3.3 Main Menu .................................................... 6
3.4 Main Button .................................................. 6
3.5 Files List ......................................................... 7
3.6 video flip & control mode .............................. 7
1. Product Introduction
1.1 Packing Contents
Object
Quantity
Object
Quantity
USB Digital
Microscope
1
User’s Guide
1
Mini USB2.0 Cable
1
Installation
CD
1
Microscope
Accessories
1+5
1.2 Microscope Accessories
Except for skin-piece (a general PC material), the materials of
the other accessories are adequately for medical devices that can
touch the skins and resist steam sterilization at 120 °C .
◎Attention: Please disinfect them at first time use , which can
choose clean water, alcohol or hot water. Please do not use hot
water for Skin-piece.
a. Skin-Piece: The machine itself has this accessory called
Skin-Piece. This accessory can look at skin and hair and must
the machine flat on observed object.
b. Throat Exam: This accessory can look at Mouth and Throat.
c. Long Dental Mirror:Using Long Dental Mirror can look at the
rear teeth.
d. Short Dental Mirror: Using Short Dental Mirror can look at the
front teeth.

2 MicroLinks Technology Co., Ltd.
e. Ear-Piece: Using Ear-Piece can look at inside ear.
f. Ear Wax Removal: Ear Wax Removal can clean ear wax.
1.3 Exchange Accessories
These accessories can be changed by hand with different
types of pieces.
1.4 USB Digital Microscope Function
d. Focus Dial
b. Light Control Dial
a. Capture Button
c. USB Port
Short Dental Mirror
Ear-Piece
Ear Wax Removal
Skin-Piece
Throat Exam
Long Dental Mirror
3 MicroLinks Technology Co., Ltd.
a. Capture Button: Press the capture button to take picture,
which will pass to program.
b. Light Control Dial: Light control dial can adjust the brightest of
LED.
c. Focus Dial: Focus button、Adjust magnification and also can
adjust the distance just like a video camera.
d. USB Port: It is USB2.0 port. Please don’t connect a different
transmission line.
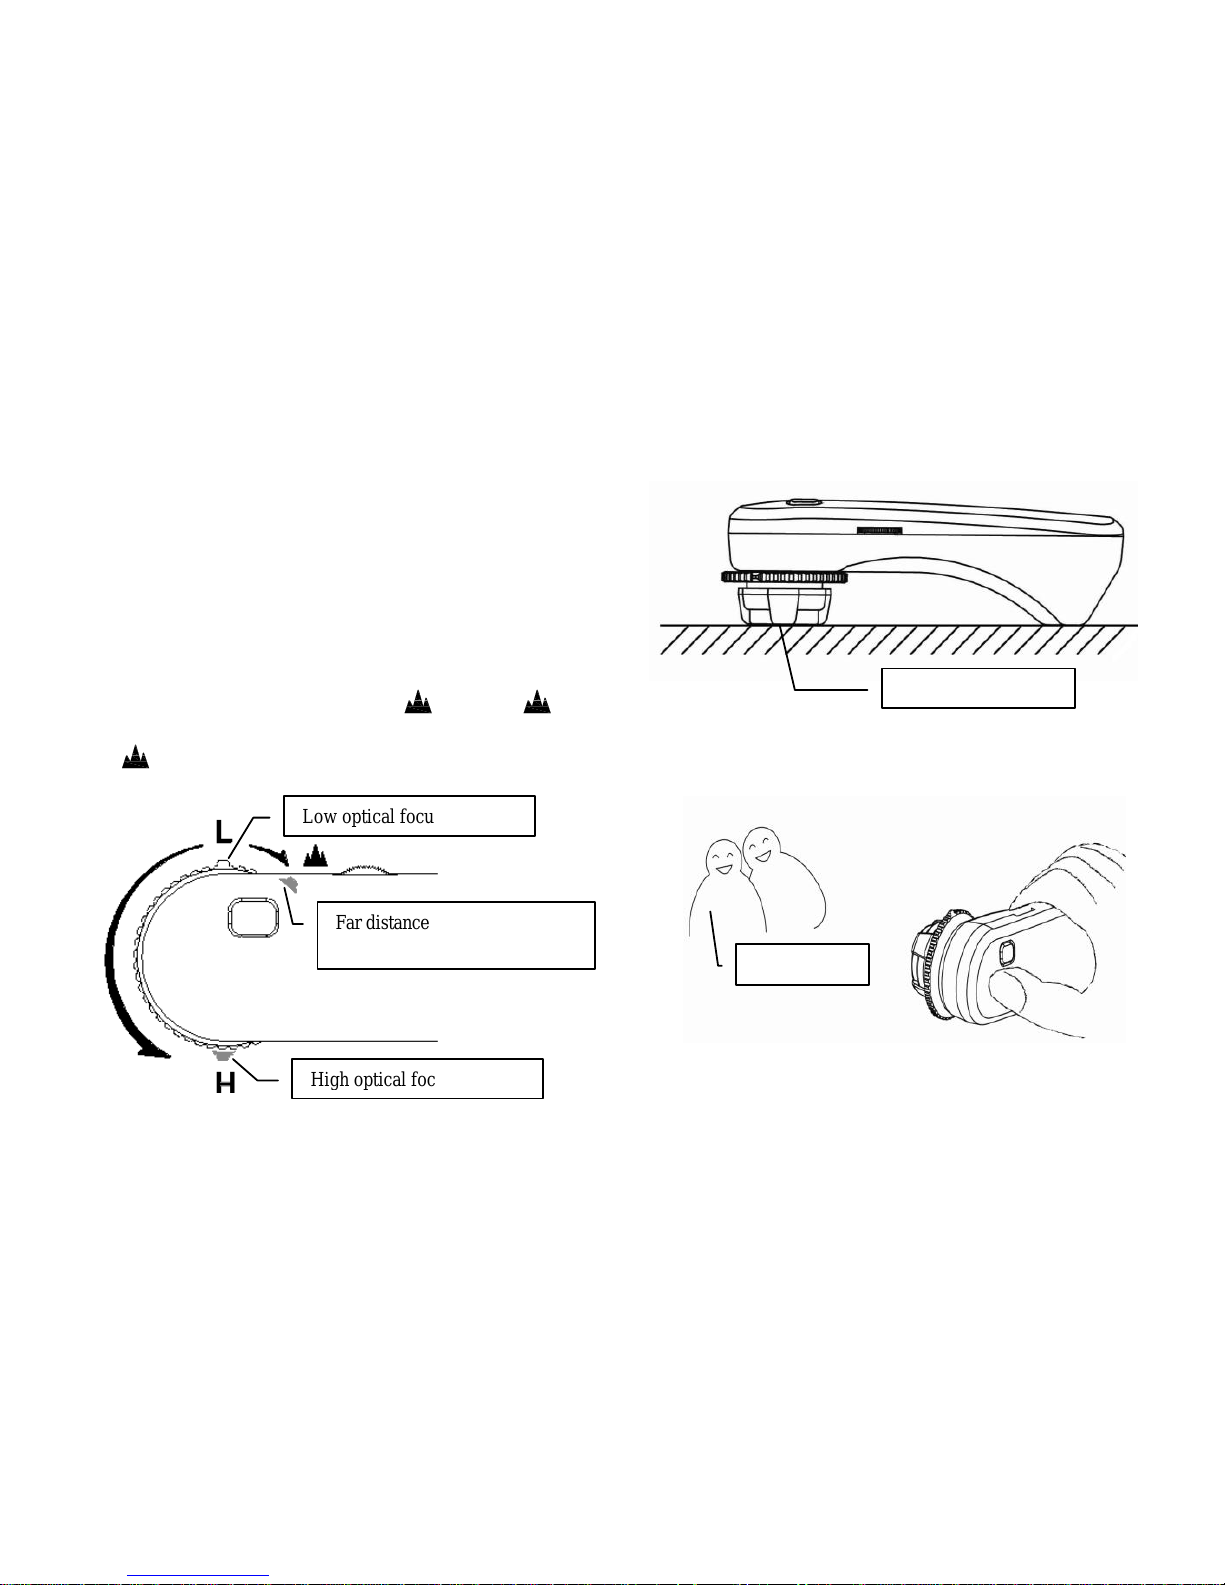
1.5 USB Digital Microscope Operation
a. Focus mode: 3 Focus points as L、H & . L, H, and are
focus positions. L is low magnification, H is high magnification
& is for far distance snapshoot.
b. Flat Mode: Adjust flat mode button to L or H to observer.
c. Distance mode: Distance mode is just like a regular video
camera to shoot.
Film object
Observation object
Far distance to focus position
High optical focus position.
Low optical focus position.

4 MicroLinks Technology Co., Ltd.
1.6 USB Cable
USB lines have two different joint, one is connected to PC
(Normal), and another one is connected to Mini 5 pin.
◎Attention: Please use the included USB 2.0 cable in the package,
and do not use the other extended USB line or transmission line.
2. Installation
For detailed program installation, please refer to the Manual
set in the Installation CD (User’s Manual). Programs shall be
installed according to the following 4 steps:
2.1 Insert Installation CD (Step 1)
Insert Installation CD provided together with the product into
CD-ROM Drive. The CD will be read by computer automatically,
and the installation window will be displayed:
If the computer does not display installation window, please open
the Installation CD and select「Autorun.exe」 as illustrated in the
following image:
Step2
Step4
Step3
Connection PC
Connection Device

5 MicroLinks Technology Co., Ltd.
If the Installation CD provided together with the product is lost
or unknown damaged, please visit http://www.vitiny.com to
download installation files.
2.2 Install Application Program(Step2)
Please click and select the position of Step 2. Press button of
Install Microscope Application Program to install H-CAM
Application Program.
2.3 Install Driver(Step 3)
Please click and select the position of Step 3. Press button of
Install Microscope Driver to install H-CAM driving program.
◎Attention: Before install diver, please connect USB Microscope
Camera to the computer. If not, you can’t install the program.
2.4 Exit Installation Program (Step 4)
After installing Application Program and Driver, please click
and select the position of Step 4. Press button of Exit to quit
image of program installation.
3. Application Program
Operation Instruction of Application Program is composed of 6
parts about primary operation functions. For detailed contents,
please refer to the Operation Instruction set in the Installation CD
(User’s Manual).
3.1 Video Preview Window
After connecting to microscope camera, the window will
show video information images, videos, played files, as well as
operations and display of special function modules.
3.2 Image Preview Window
Files List
Image Preview Window
Video Preview Window
Main Button
Main Menu

6 MicroLinks Technology Co., Ltd.
The window is applied to display shot images, edit and
process images.
3.3 Main Menu
The Main Menu of the Application Program contains the
following selections:
a. File: includes files open and storage, as well as printing images.
b. Setting: includes input device, image quality, video information
formats, sources and compression, as well as automatic
storage, etc.
c. Window: you can adjust sizes of video information windows
and switch to the single window model.
d. Tool: open different files folders, such as BMP, JPG and AVI.
Languages and path of files storage can be reproduced to
preset values of the system.
e. Language: five languages including Chinese in complex and
simple forms, English, Japanese and Germany are available for
selection.
f. About: to show the version, copyright and other relevant
information about the Application Program.
3.4 Main Button
Main Button contains more general functions as follows:
a. Connect / Disconnect :button of connecting and
disconnecting to microscope camera. Video image will be
displayed in Video Preview Window after connection.
b. Snapshot :press the button to capture image from Video
Preview Window. The captured image will be displayed in
Images Preview Window.
c. Save Image :store images in Images Preview Window
d. Editor Image / Exit Editor :to enter or quit Image
Edition function. After entering, tools of image edition are
listed below Images Preview Window as follows:
e. Delete Image :Pressing delete Icon will delete image.
f. Video Record / Stop Record :to record or stop
recording video. Recorded video will be displayed in Video
Preview Window. You can set compressed coding way by
clicking and selecting “Setting->Video Compression” in the
Main Menu. The user is suggested install DivX encoder to
achieve better compression results and quality.
g. Play Video / Stop Play :to play or stop playing
video. Video of played files will be displayed in Video Preview
Window. Playing tools are listed below the preview window as
follows:
h. Image Process / Exit Image Process : image
processing include reversed video, grey scale, black and white,
edge detection and other basic functions. After entering Image
Processing model, tools will be displayed below Images

7 MicroLinks Technology Co., Ltd.
Preview Window as follows:
i. Print Image :print images displayed in Images Preview
Window.
j. Exit :close the Application Program.
3.5 Files List
Files List is primarily applied to list all current files contained
in folders. You can select among BMP images, JPG images and AVI
videos.
3.6 video flip & control mode
After opening H-CAM program, also click connect
button.under video preview window will show「Video Control
Mode」 toolbar. In this mode, it can filp video image and adjust
contrast , brightness,and exposure.
When it applies a different accessory, it need apply a
different & suitable scene for observation. To get the clearer
observation image, the LED brightness must be adjusted to the
brightest level. The Toolbar of the Video Control Mode is as
below.
 Loading...