

Page 1

www.microlab-global.com
Microlab Electronics Co., Ltd
Made in China
Disclaimer: All symbols and logo belong to its respective brand holder or registered holder. All specifications and information are subject
to changes without further notice. Slight variations and differences might appear between the printed photos and actual product due to
product enhancement. © 2017 Microlab Electronics Co., Ltd. All rights reserved.
FCC ID: OR8-SOLO11
IC: 21231-SOLO11
Prior to initial use, please read the manual carefully
SOLO11
User Manual
Page 2
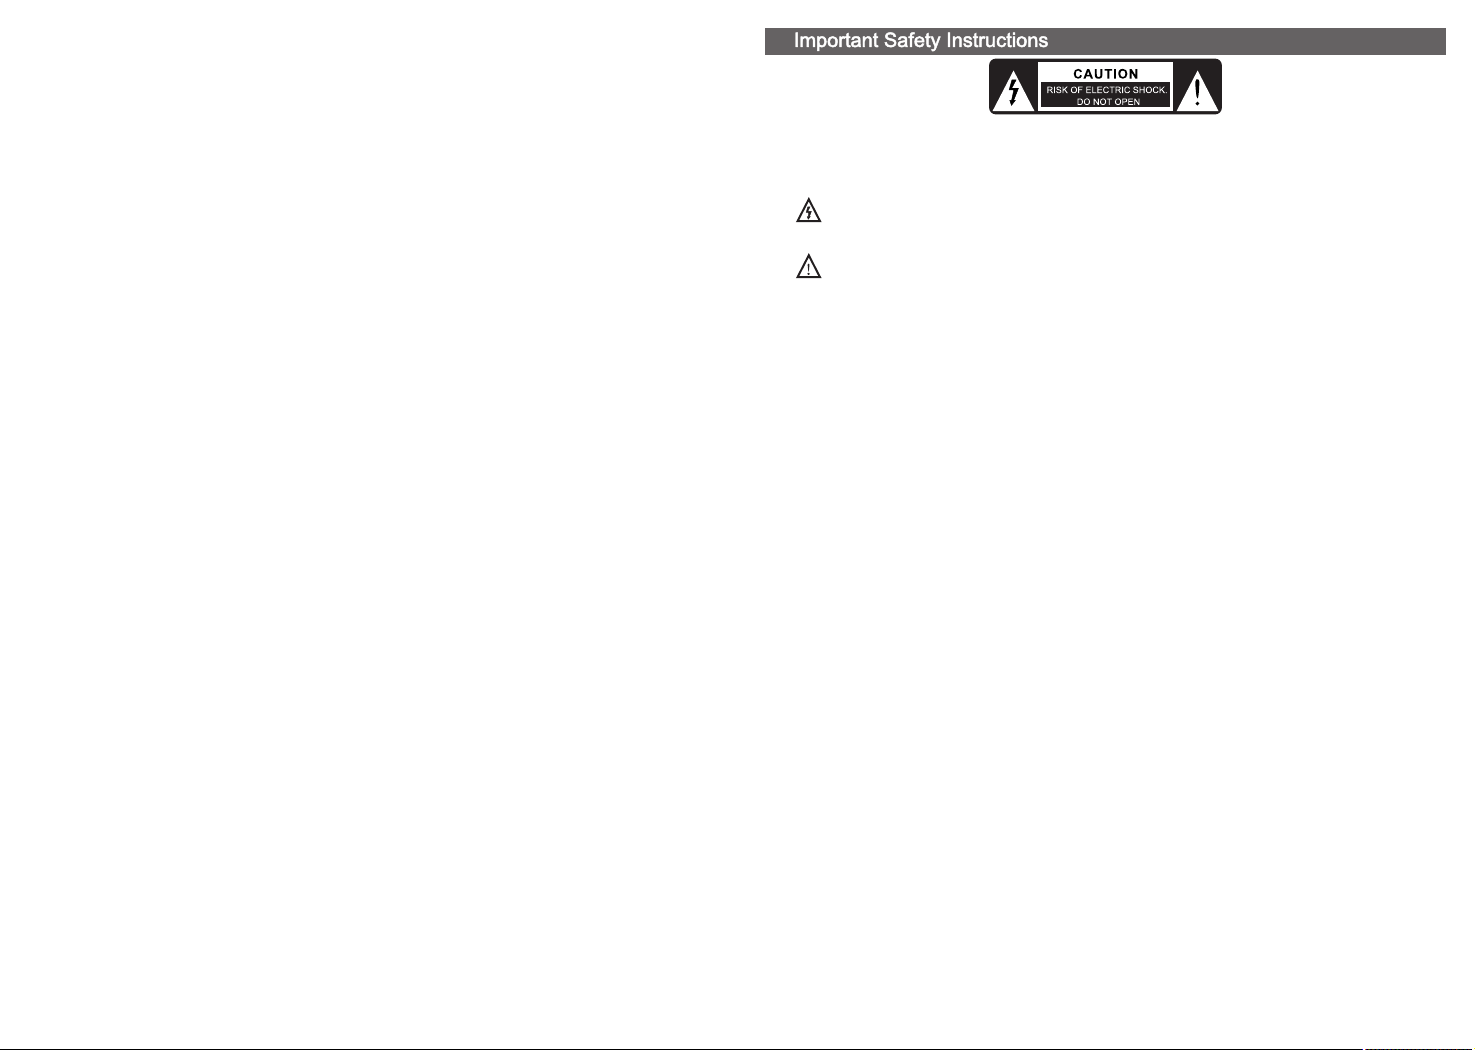
Caution:
To reduce the risk of electric shock, do not dismantle the product and do not expose the apparatus to rain or moisture. No
user-serviceable parts inside. Refer servicing to qualified personnel only.
Explanation of Graphical Symbols:
The lightning flash within an equilateral triangle is intended to alert you to the presence of uninsulated dangerous
voltage within the product's enclosure that may be of sufficient magnitude to constitute an electric shock to a
person or persons.
The exclamation point within an equilateral triangle is intended to alert you to the presence of important operating
and maintenance (servicing) instructions in the literature accompanying the product.
WARNINGS:
1. Read Instructions - All the safety and operating instructions must be read before the product is operated.
2. Retain Instructions - The safety and operating instructions should be kept with the product for future
reference.
3. Heed warnings - All warnings on the product and in the operating instructions should be adhered to.
4. Follow instructions - All operating and users’ instructions should be followed.
5. Installation - Install in accordance with the manufacturers’ instructions.
6. Power sources - This product should be operated only from the type of power source indicated by the
marking adjacent to the power cord entry. If you are not sure of the type of power supply to your home,
consult your product dealer or local power company.
7. Grounding or polarization - the product is not required to be grounded. Ensure the plug is fully inserted
into the wall outlet or extension cord receptacle to prevent blade or pin exposure. Some versions of the
product are equipped with a power cord fitted with a polarized alternating line plug (a plug having one
blade wide than the other). This plug will fit onto the power outlet only one way. This is a safety feature. If
you are unable to insert the plug fully into the outlet, try reversing the plug. If the plug should still fail to fit,
contact your electrician to replace your obsolete outlet. Do not defeat the safety purpose of the polarized
plug. When using an extension power-supply cord or a power-supply cord other than that supplied with the
product, it should be fitted with the appropriate molded plugs and carry safety approval appropriate to the
country of use.
8. Power cord protection - Power-supply cords should be routed so that they are not likely to be walked on,
kinked or pinched by items placed on or against them, paying particular attention to cords from plugs,
receptacles and the point where they exit from the appliance.
9. Overloading - Do not overload wall outlets, extension cords or multiple sockets, as this can result in a risk
of fire or electric shock.
10. Ventilation - The product must be properly ventilated. Do not place the product on a bed, sofa, or other
similar surface. Do not cover the product with any items such as tablecloths, newspapers, etc.
11. Heat - The product should be situated away from heat sources such as radiators, heat registers, stoves, or
other products including amplifiers that produce heat. No naked flame sources, such as lighted candles,
should be placed on the apparatus.
12. Water and moisture - To reduce the risk of fire or electric shock, do not expose the product to train,
dripping, splashing or excessive moisture such as in a sauna or bathroom. Do not use this product near
water, for example, near a bathtub, washbowl, kitchen sink, laundry tub, in a wet basement, or near a
swimming pool, or etc.
13. Object and Liquid Entry - Never push objects of any kind into this product through openings, as they may
touch dangerous voltage points or short-circuit parts that could result in a fire or electric shock. Never spill
liquid of any kind on the product. Do not place any object containing liquid on top of the product.
14. Cleaning - Unplug the product from the wall outlet before cleaning. The cabinet of the subwoofer may be
cleaned by dusting with a dry cloth. If you wish to use an aerosol cleaning spray, do not spray directly on
the cabinet; spray onto the cloth. Be careful not to damage the drive units.
15. Attachments - Do not use attachments not recommended by the product manufacturers, as they may cause
hazards.
16. Accessories - Do not place this product on an unstable cart, stand, tripod, bracket or table. The product may fall,
causing serious injury to a child or adult, and serious damage to the product. Use only with a cart, stand, tripod,
bracket or table recommended by the manufacturer or sold with the product. Any mounting of the product should
follow the manufacturers’ instructions and should use a mounting accessory recommended by the manufacturer.
17. Moving the product - A product and cart combination should be moved with care. Quick stops, excessive force
and uneven surfaces may cause the product and cart combination to overturn.
18. Unused periods - The power cord of the appliance should be unplugged from the outlet during lightning storms or
when the apparatus is left unused for a long period of time.
Page 3

19. Servicing - Do not attempt to service this product yourself, as opening or removing covers may expose you to
dangerous voltage or other hazards. Refer all servicing to qualified service personnel.
20. Please remove the power plug form the main power source or wall power source when not in use. When plugged in
to a power source, the system is in standby mode, so the power is not entirely cut off.
21. Replacement parts - When replacement parts are required, ensure the service technician has used replacement
parts specified by the manufacturer or have the same characteristics as the original part. Unauthorized substitutions
may result in fire, electric shock or other hazards.
22. Mains fuses - For continued protection against fire hazard, use fuses only of the correct type and rating. The correct
fuse specification for each voltage range is marked on the product.
23. Do not turn up the volume while listening to a section with very low level inputs or no audio signals. If you do, the
speaker may be damaged when a peak level section is suddenly played.
24. The only means of completely disconnecting the product from the power supply is by removing the power cord from
the wall outlet or the product. The wall outlet or the power cord entry to the product must remain freely accessible at
all times while the product is in use.
25. Try to install the product near a wall socket or extension cord and shall be easily accessible.
26. The highest environmental temperature suitable for this product is 40°C.
Illustrations
Main speaker (right)
Tweeter
Woofer
Infrared sensor
(Remote control)
Side panel
VOLUME
INPUT SEL
Master
volume
INPUT Select
INPUT LED
Treble level
Bass level
Packing list
You should find the following items while unpacking:
speakers 2 pcs
Remote control 1 pc
3.5 mm stereo - 2 RCA audio cable 1 pc
2RCA - 2RC A audio cable 1 pc
Optical SPDIF cable 1 pc
Coaxial cable 1 pc
Interconnect speaker cable 1 pc
User manual 1 pc
USB o utp ut
AUX audio input
Optical input
Coaxial input
LFE
AC IN
PC / No teb ook
TV
CD / DVD / VCD
Blu-ray players
Mp3 / Mp4
players
ConnectionsConnectionsConnections
HDD
Media
Player
LFE
Rear panel
audio output to left
speaker
Power ON/OFF switch
Remote control
Right
speaker
INPUT
Standby
INPUT
MUTE
VOL +
VOL RESET
TREBLE
LEVEL
BASS LEVEL
Left
speaker
Tablet
Sma rtp hone
To AC power supply
Interconnect cable
Page 4

Connections and Operations
CD/DVD/Blu-Ray audio output
set to LPCM for
TOSLINK and Coaxial
connections
1. Fig ure i llustrates 3.5mm to 2RCA connection. Turn on the power switch on the rear pane l, de fau lt to AU X mod e
with “AU” showed on the LED screen. Connect the audio cable via “AUX” port and start the playbac k.
2. BT M ODE : Und er AUX m ode , pre ss vo lum e kno b to en ter B T mod e wit h a pro mpt t one a nd “b t” sh owe d on LE D
scr een. Connect the Bluetooth enabled device to the speaker and start the pla yba ck. U nde r non -Bl uet oot h mod e,
the d evice gets disconnected. After switching back to BT mode , the d evi ce wi ll au tom ati cal ly ge t rec onn ect ed.
3. CO AXI AL MO DE: U nde r BT mode, press volume knob to enter COAXIAL mod e wit h “CO ” sho wed o n LED s cre en.
Connect the coaxial cable via “COAXIAL” port and start the playback.
4. OP M ODE : Und er CO AXI AL mode, press volume knob to enter “OP” mode with “OP” showed on LED screen.
Connect the optical cable via “OPTICAL” port and start the playback.
5. LF E OUT: Ou tpu t int erf ace for low frequency without amplifier function, it should be used with powered s ubw oof er.
6. VO LUME CON TROL: Located on right side of main speaker. Go clockwise to increase the volume and
anticlockwise to decrease the volume. Digit on LED screen is in sync with volume adj ust men t, ma x at “6 0” an d min
at “0 ”.
7. TR EBL E ADJU STM ENT: Lo cat ed be low t he vo lum e kno b. Go c loc kwi se to i ncr eas e the t reb le an d ant icl ock wis e to
decrease the treble. Digit on LED screen is in sync with volume adjustment, max at “06” and min at “-6”.
8. BA SS ADJUSTMENT: Located below the treble knob. Go clockwise to increase the bass and anticl ock wis e to
decrease the bass. Digit on LED screen is in sync with volume adjustment, max at “06” and min at “-6”.
9. AUTO STAN DBY MODE: Under Bluetooth mode or AUX mode, it automatically enters standby mode sho win g “-- ”
on LED screen while no signals are received for 15 min. Th en th e Blu eto oth e nab led d evi ce ge ts di sco nne cte d.
Onc e you press or rotate the “VOLUME”/”TREBLE”/”BASS” knob, re-enter the previous work mode before you
enter standby mode. If that's Bluetooth mode, the speaker will automatically reconnect to the previous conn ect ed
device. If th e device is not found in 15 seconds, it turns into manual connection mode. In this way, you ca n con nec t
to ot her Bluetooth enabled devices.
10. BLUETOO TH DI SCO NNE CTI ON OP ERAT ION : Und er Bl uet oot h mod e, lo ng pr ess V OLU ME kn ob 5s t o man ual ly
disconnect the Bluetooth enabled device. If you want to reconnect this device, it requir es re pai rin g to ge t
connected.
11. Bl uet oot h Wakeup(Under any mode): While standby, usi ng Bl uet oot h ena ble d dev ice t o sea rch a nd co nne ct th e
speaker, then it's reactivated and directly enter Bluetooth mode.
Remote controller operation
1. Standby: Press Standby in any conditions, it enters standby mode with “--” showing on LED screen. Press
once more to re-enter working mode.
2. INPUT: Input mode select.
3. VOL-: Volume down
4. VOL+: Volume up
5. MUTE: Press to enter MUTE mode, LED screen blinks with the volume amount.
6. RESET: Reset to ex-factory setting, back to “OP” mode, “30” at Volume, “00” at Treble, “00” at Bass.
7. -Treble+: Treble adjustment
8. -Bass+: Bass adjustment
Technical Specification
Amplifier
Output power, RMS
Power distribution, Watt
Harmonic distortion
Frequency response
Signal/Noise ratio, dB
Separation, dB
100 Watt RMS
20Watt x 2 + 30Watt x 2
< 0.5% 1 W 1 kHz
20 Hz - 20 kHz
> 80 dB
> 45 dB
Speaker
Tweeter driver type
Tweeter impedance
Woofer driver type
Woofer impedance
1”
6 Ohm
5”
4 Ohm
Frequently Asked Questions (FAQs)
Questions Solutions
Power L ED won' t light u p
No Soun d
One or more satellite no sound
Stati c sound h eard wh en
volum e knob is t urned
What ar e the pro ducts
suppo rted?
Sound i s disto rted
If the pr oblem s till ex ist s, plea se cont act the d ist ribut or or see k profe ssi onal ad vice.
Check if the system is powered on
Check the power plug is well connected
Check if the audio source is working well
Check if the audio and speaker cables well connected
Check if the volume is at right level
Check if the satellite cable well connected, and ensure source
connection is correctly inserted
Turn off the playback source first, then turn the speaker volume
knob several times. Playback again and monitor. The static noise
is due to dust, so simply turning the volume will remove it easily.
Any playback devices such as smartphone, tablet, PC, notebook,
CD/DVD player, media players with 3.5mm stereo plug.
Check if the source file is not corrupted, play a different song and
test. Ensure music file is of 192 kbps bitrate or higher.
Battery installation
and
replacement
Type: CR 2025
REMOTE
CONTROL
+
LITHIUM BATTERY
CR 2025
3V
+
Page 5

This device complies with part 15 of the FCC Rules. Operation is subject to the following two conditions: (1) This device may not
cause harmful interference, and (2) this device must accept any interference received, including interference that may cause
undesired operation.
Note: The Grantee is not responsible for any changes or modifications not expressly approved by the party responsible for
compliance. such modifications could void the user's authority to operate the equipment.
Note: This equipment has been tested and found to comply with the limits for a Class B digital device, pursuant to part 15 of the
FCC Rules. These limits are designed to provide reasonable protection against harmful interference in a residential installation. This
equipment generates, uses and can radiate radio frequency energy and, if not installed and used in accordance with the instructions,
may cause harmful interference to radio communications. However, there is no guarantee that interference will not occur in a
particular installation. If this equipment does cause harmful interference to radio or television reception, which can be determined
by turning the equipment off and on, the user is encouraged to try to correct the interference by one or more of the following
measures:
—Reorient or relocate the receiving antenna.
—Increase the separation between the equipment and receiver.
—Connect the equipment into an outlet on a circuit different from that to which the receiver is connected.
—Consult the dealer or an experienced radio/TV technician for help.
This device complies with Industry Canada licence-exempt RSS standard(s). Operation is subject to the following two conditions:
(1) this device may not cause interference, and (2) this device must accept any interference, including interference that may cause
undesired operation of the device.
Le présent appareil est conforme aux CNR d'Industrie Canada applicables aux appareils radio exempts de licence. L'exploitation
est autorisée aux deux conditions suivantes : (1) l'appareil ne doit pas produire de brouillage, et (2) l'utilisateur de l'appareil doit
accepter tout brouillage radioélectrique subi, même si le brouillage est susceptible d'en compromettre le fonctionnement.
 Loading...