

Page 1
Home Audio Products
Micca M-8S
8” 2-Way In-Wall Speakers
Thank you for purchasing the Micca M-8S InWall Speaker! This product has been
designed for optimal audio reproduction
performance in a variety of home
entertainment configurations, with accuracy,
clarity, and impact that discerning
audiophiles listen for.
Please take the time to become familiar with
the M-8S and the proper installation
procedures as detailed in this manual.
Installation Tools
A proper installation ensures optimal
performance from the M-8S. The following
installation tools will be needed:
1. Drywall saw
2. Screwdriver, Phillips head
3. Masking Tape – 1.8 to 2.0 inch
4. Pencil
5. Bubble or laser level
6. Tape measure
7. Stud Finder
Mounting Location
When choosing where to mount for the M-8S
speakers, be sure that there are no electrical
wires, ducts, plumbing, gas pipes, or any other
services running through the location. The M-8S
can be mounted in any orientation in order to
provide proper coverage at the listener’s position.
While it is most often mounted in wall, it can also
be mounted in ceiling. Keep the following in
mind while deciding where to mount the M-8S:
Separation – Distance between a pair of M-8S
should be shorter than the distance from the
speakers to the listener.
Height – Front speaker position should have the
center of the M-8S at ear level of the listener
when seated. Center speaker position can be
above or below the TV/Display, whichever is
closer to seated ear level. Surround locations
should be just above seated ear level. If the
surround location is very close to the listener,
the mounting height can be up to 3 feet above
seated ear level to compensate.
Tweeter Aiming – The tweeter should be aimed
towards the listener for all mounting locations.
Mounting Preparation
The M-8S requires a mounting cutout that is 8
¾” (W) x 12 ¾” (H). An additional ¾” is required
in all directions behind the wall for attachment.
Modern home construction typically utilize wall
studs spaced on 16” centers, providing
approximately 14 ⅜” between studs.
Use a stud finder to locate studs in the wall,
including horizontal braces that may interfere
with the mounting height.
Use the supplied template and a pencil to mark
the position where the cutout will be made. Use
a bubble or laser level to help ensure that the
template is straight. Cut a small square hole in
the marked location to double-check that there
are no obstructions behind the wall.
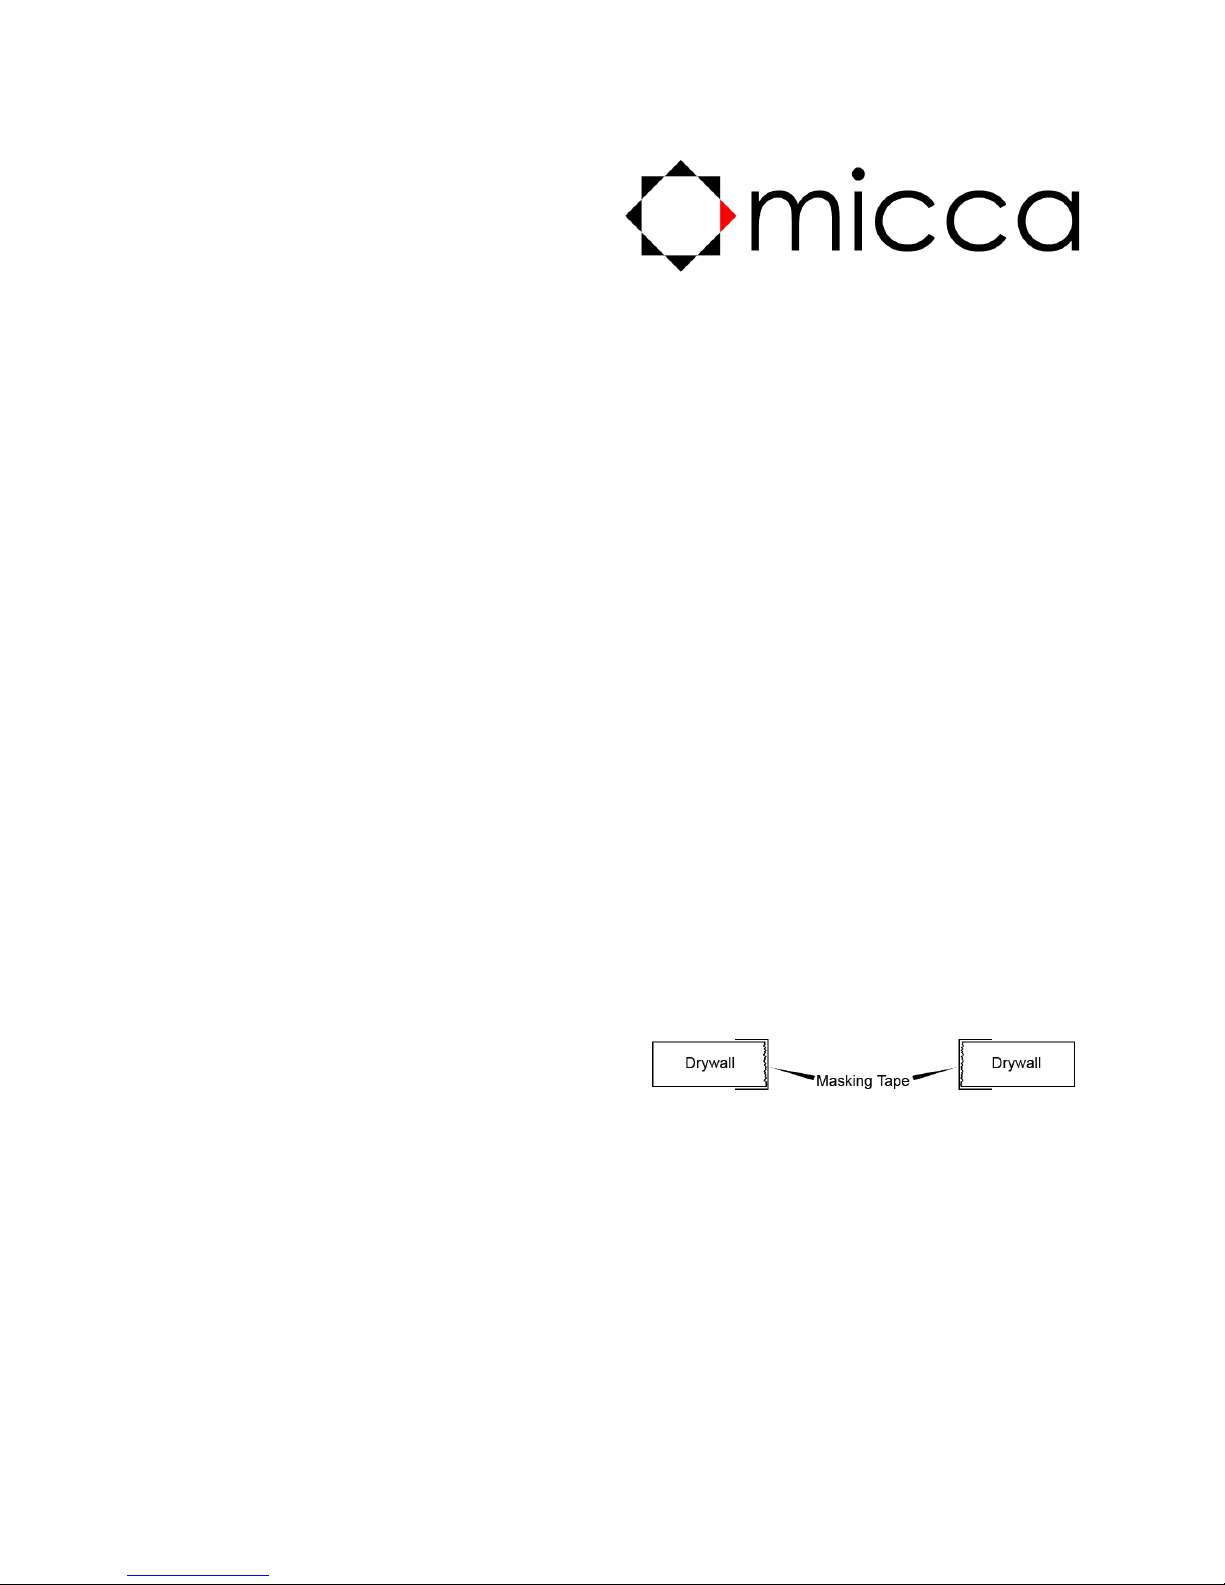
Figure 1
Using a drywall saw, make the mounting cutout
according to the template outline. Be sure to cut
through the drywall at a 90 degree angle. Trim
any jagged or loose pieces of drywall. Cover the
cut edges of the drywall with strips of masking
tape, folding over the edges on both the front
and back sides of the drywall (See Figure 1).
This will prevent the gypsum in the drywall from
being knocked loose from speaker vibration. Do
not allow the edge of the masking tape to
protrude more than ¼” beyond the cutout on the
outside wall surface. Masking tape within ¼” of
Page 2
the cutout will be hidden by the M-8S speaker
frame.
If the wall contains insulation, remove the
insulation at the cutout and approximately 1 foot
above and below it. This ensures adequate air
volume for the M-8S to operate. Secure any
loose insulation above the cutout.
If the wall is not insulated, it is recommended
that the wall cavity is stuffed with approximately
2 feet of fiberglass insulation both above and
below the cutout, starting at about 1 foot above
and below the cutout. The insulation will provide
damping to the M-8S and isolate vibrations.
Speaker Wire
In wall speakers should be connected to the
amplifier with UL rated CL2/CL3 speaker wire –
this is required by building code for most
consumers. Avoid installing speaker wire in
parallel with household AC wiring to avoid
potential hum. It is okay for speaker wire to
cross AC wiring at a right angle, however.
It is recommended that a professional or
licensed electrician perform the speaker wire
installation if you are uncomfortable with the task.
The gauge or thickness of the speaker wire can
affect the performance of the M-8S. Always
choose a CL2/CL3 rated in-wall speaker wire of
the appropriate gauge to prevent excessive
speaker wire resistance. Using undersized
speaker wire can result in lose of volume, detail,
and dynamic range. Please select speaker wire
for the M-8S based on the following minimum
recommendations:
50' or less - 16 Gauge 2 Conductor CL2/CL3
50' - 80' - 14 Gauge 2 Conductor CL2/CL3
80'-120' - 12 Gauge 2 Conductor CL2/CL3
120'-200' - 10 Gauge 2 Conductor CL2/CL3
Amplifier speaker output terminals are typically
color coded with black for negative (-) and red
for positive (+). Similarly, the M-8S have speaker
wire terminals with a black and red color coding.
When connecting speaker wire, ensure that the
positive terminal on the amplifier is connected to
the positive terminal on the M-8S. And similarly,
the negative terminal on the amplifier should be
connected to the negative terminal on the M-8S.
Speaker wires typically use at least one of
several possible methods to help maintain
correct polarity, including color coded insulation
or conductor strands, or printing of text and
symbols along one side of the wire insulation.
Mounting the Speaker
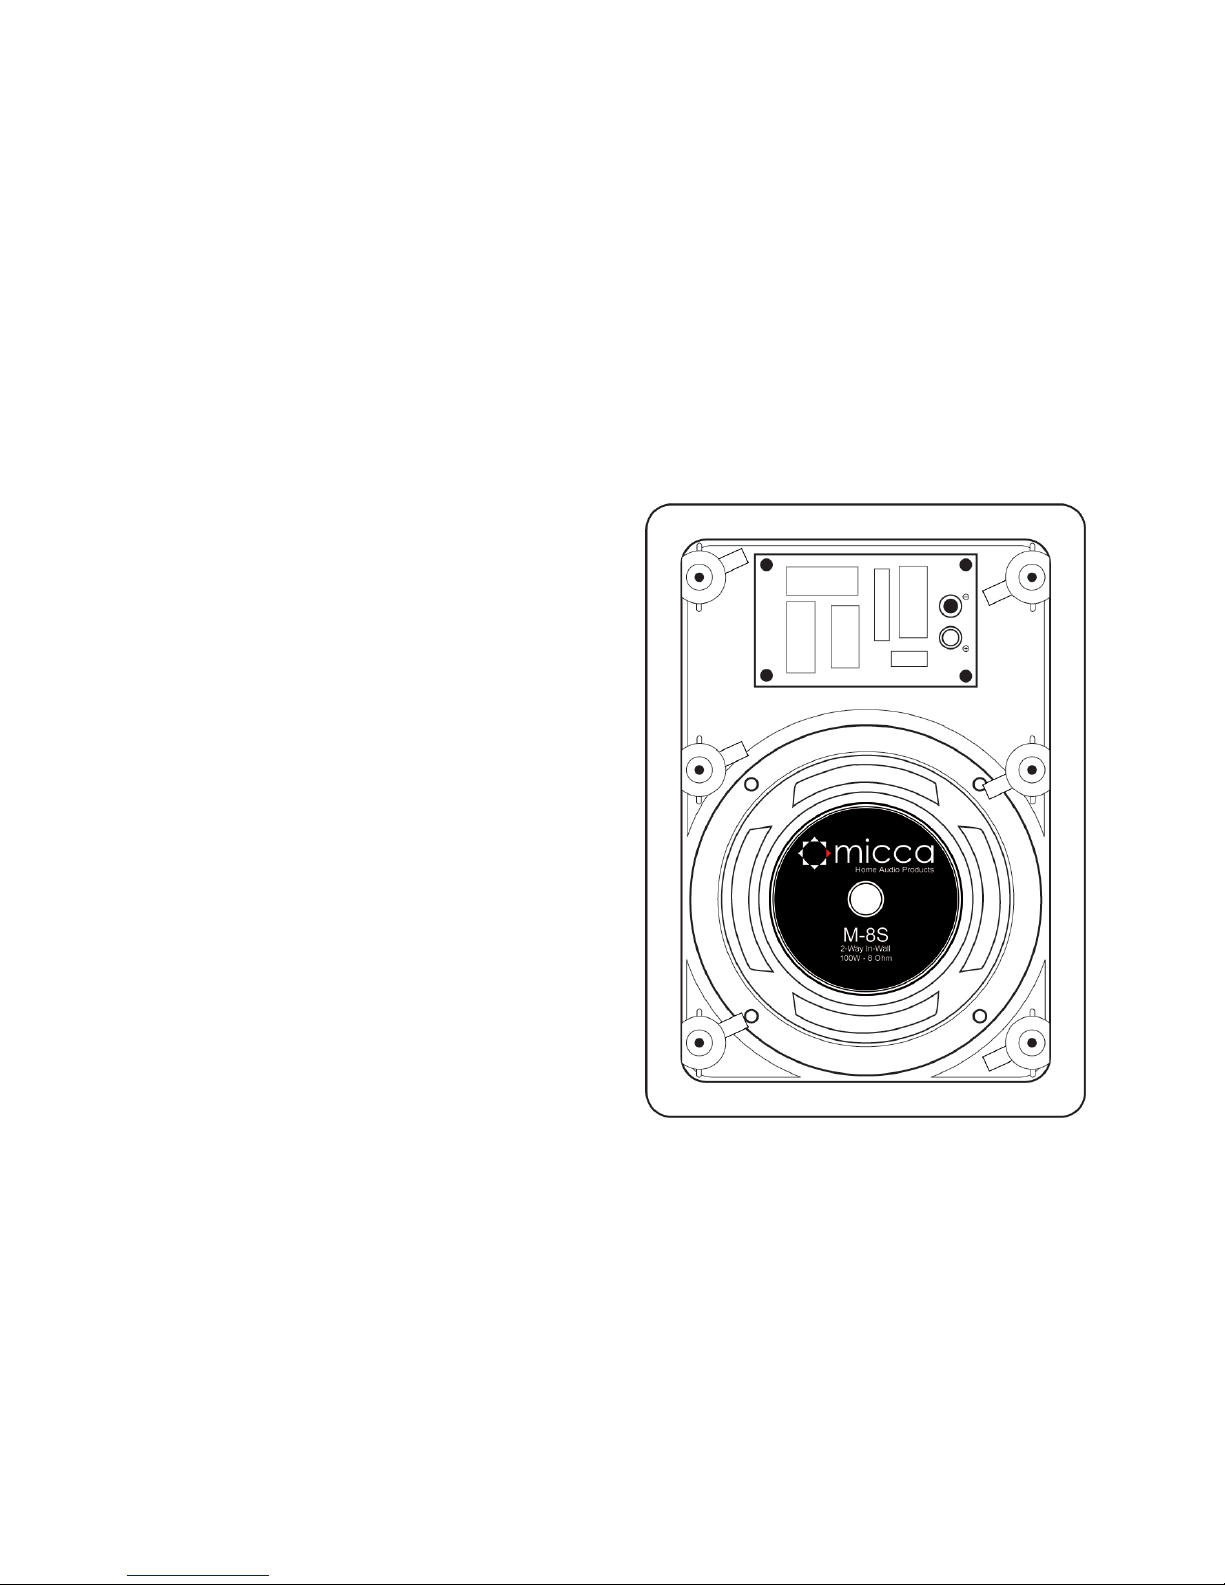
The M-8S have 6 mounting tabs on the back
that rotate. While looking at the back of the M8S, rotate the tabs fully clockwise so that they
are inside the speaker frame (See Figure 2). If a
tab does not stay rotated, tighten its screw until
it stays rotated – do not over tighten.
Figure 2
Place the speaker into the wall cutout. One at a
time, loosen each of the six screws until the tabs
can turn freely. Next tighten each screw
clockwise until the tabs press firmly against the
inner wall surface. The speaker need only be
properly aligned and held securely to the wall –
do not over tighten to break the tabs or damage
the wall.
Page 3

Painting the Frame and Grill
The supplied template can be used as a paint
shield when trimmed. Carefully trim along the
inner line and place the paint shield inside the
speaker frame with the grill removed. The frame
can now be painted to match the wall surface.
Use an appropriate primer for painting over
plastic.
Only the front of the grill should be painted, paint
on the sides will make the grill difficult to install
onto the speaker frame. Be careful not to clog
any of the grill perforations as it may affect
speaker performance by restricting airflow.
Tweeter Aiming
Speaker performance is optimal when aimed at
the listener. Because it is impractical to install inwall speakers at an angle, it is sufficient to aim
just the tweeter as it reproduces the most
directionally sensitive audio frequencies. For this
reason, the M-8S is built with a tweeter that can
be aimed towards the listening area.
To aim the tweeter, gently press on its circular
outer edge. Avoid touching the dome diaphragm
or the diffuser. It helps to listen to a familiar
piece of music with strong central image such as
vocals while aiming the tweeter. When the
tweeters are properly aimed, the center image
should be coherent and stable from the listening
position.
Speaker Removal
The M-8S can be easily removed should it ever
become necessary. Simply remove the grill and
loosen the six screws until the tabs release from
the wall and tuck back into the speaker frame.
Pull the M-8S out of the wall and disconnect the
speaker wire. The speaker can now be easily
replaced or serviced.
Page 4

M-8S Specifications
Woofer: 8” Mica-Impregnated Polypropylene Cone with Butyl Rubber Surround
Tweeter: 1” Pivoting Silk Dome, Ferrofluid Cooled
Crossover: 12dB/Octave with Compensation Network
Frequency Response: 40Hz-22kHz +/-3dB
Impedance: 8 Ohms
Sensitivity: 90dB 1W/1M
Power Handling: 200 Watts (Per Pair)
Outer Dimension: 10” (W) x 14 ⅛” (H)
Cutout Dimension: 8 ¾” (W) x 12 ¾” (H)
Mounting Depth: 3 ⅝”
Two Year Limited Warranty
Micca, LLC warrants this product against defects in materials and workmanship for a limited period of
two (2) years from date of original purchase. The limited warranty period for factory refurbished products
is ninety (90) days from date of original purchase.
During the limited period, defective products will be repaired or replaced at our option without charge for
parts or labor. Customer must pay for all labor charges associated with the removal, re-installation, and
return shipping of speakers during the limited period and all parts, labor, and shipping charges after the
limited period. Repair or replacement under the terms of this warranty does not extend the term of this
warranty. Should a product prove to be defective in workmanship or material, the customer's sole
remedies will be repair or replacement as provided under the terms of this warranty. If the defective
product is discontinued, Micca may replace the product with an equivalent or superior product at its
option.
This limited warranty only covers failures due to defects in materials or workmanship that occur during
normal use. It does not cover failures resulting from accident, fire, flood, misuse, abuse, neglect,
mishandling, misapplication, alteration, faulty installation, modification, service by anyone other than
Micca, or damage that is attributable to Acts of God. It does not cover costs of shipping to Micca or
damage in transit. The customer should return their defective product, freight prepaid and insured, to
Micca only after receiving a return authorization. Any cost of re-installation or repair of wall or ceiling is
the sole responsibility of the customer and that cost shall not be the responsibility of Micca. Under no
circumstances shall Micca be liable for loss or damage, direct, consequential or incidental, arising out of
the use of or inability to use the product.
This limited warranty applies only to purchases from authorized Micca retailers or distributors. Customers
must provide a copy of the original sales invoice from an authorized Micca retailer or distributor when
making a warranty claim. This limited warranty is extended only to the original purchaser and is valid only
to customers in the United States. There are no express warranties other than described above.
 Loading...