

MHP Grills AMCJSSP User Manual
Owner’s
Manual
Assembly and Maintenance Instructions
THIS GAS APPLIANCE IS DESIGNED FOR OUTDOOR USE ONLY.
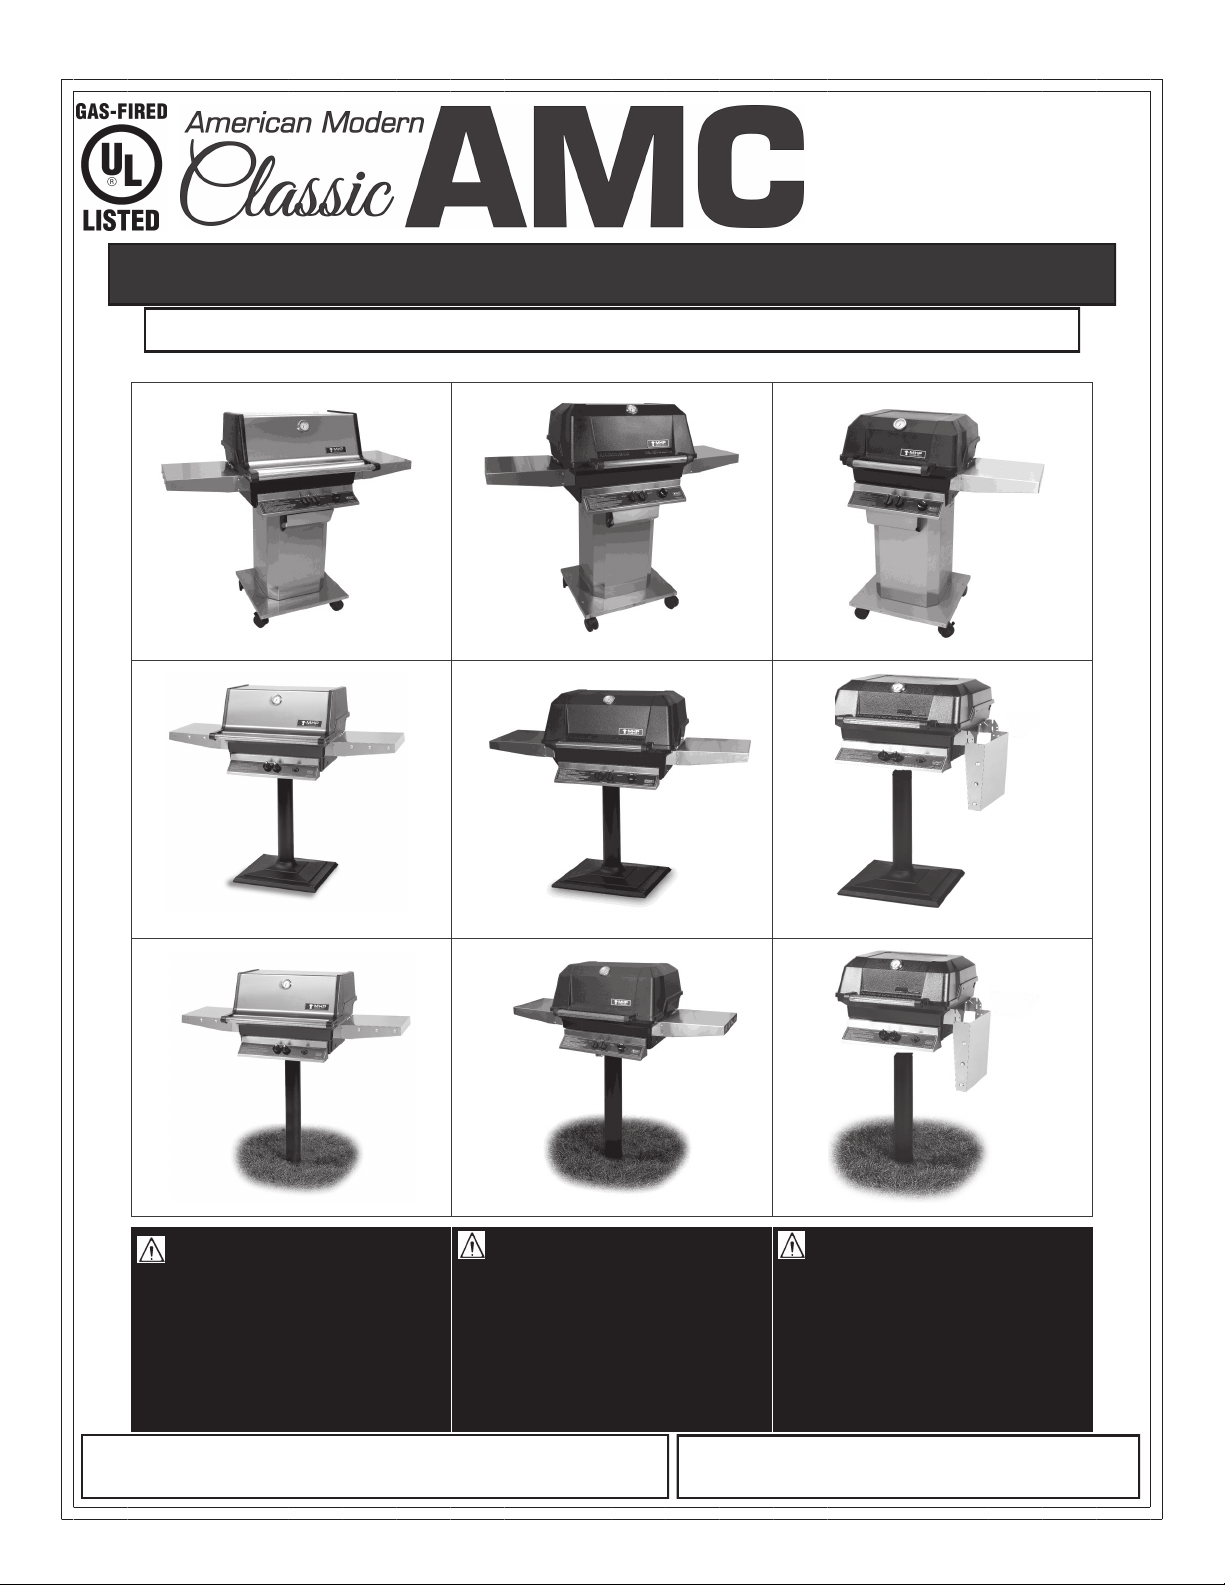
AMCTSS AMCWSS AMCJSS
AMCTMPB AMCWMPB AMCJMPB
AMCTMPP AMCWMPP AMCJMPP
FOR YOUR SAFETY
If you smell gas:
1. Shut off gas to appliance.
2. Extinguish any open flame.
3. Open Lid.
4. Of odor continues, immediately call
your gas supplier or your fire department.
5.
THESE INSTRUCTIONS SHOULD BE LEFT WITH THE CUSTOMER.
KEEP THESES INSTRUCTIONS FOR FUTURE REFERENCE.
1. Do not store or use gasoline or other
2. An LP cylinder not connected for use
FOR YOUR SAFETY
flammable vapors and liquids in the
vicinity of this or any other appliance.
shall not be stored in the vicinity of
this or any other appliance.
FOR YOUR SAFETY
Follow all leak-test procedures carefully in
this manual before using. Do this even if
the grill was dealer assembled. Do not try
to light this appliance without reading the
“Lighting” instructions in this manual.
YOU MUST READ THIS OWNERS MANUAL BEFORE
OPERATING YOUR GAS GRILL.
1/18

DANGER
WARNINGS
Safety
Failure to follow the Dangers, Warnings and Cautions contained in this Owner’s Manual may result in serious
bodily injury or death, or in a fire or an explosion causing damage to property.
CALIFORNIA PROPOSITION 65 WARNING: Chemicals known to the Sate of California to cause cancer, and birth defects or other
reproductive harm are created by the combustion of propane, charcoal, wood products, or natural gas used with this grill, and in the
preparation of grilled foods
Do not store a spare or disconnected liquid propane cylinder under or near the barbecue.
Improper assembly may be dangerous. Please carefully follow the assembly instructions in this manual.
After a period of storage, and/or nonuse, the MHP Gas Barbecue Grill should be checked for gas leaks and burner obstructions
before use. See instructions in this manual for correct procedures.
Do not operate the MHP Gas Barbecue Grill if there is a gas leak present.
Do not use a flame to check for gas leaks.
Combustible materials should never be within 18 inches of the bottom, back or sides of your MHP Gas
Barbecue Grill.
Do not put a barbecue cover or anything flammable on, or in the storage area under the barbecue.
Children should never use your MHP Gas Barbecue Grill. Accessible parts of the barbecue may be very hot. Keep young children
away while it is in use.
You should exercise reasonable care when operating your MHP Gas Barbecue Grill. It will be hot during
cooking or cleaning and should never be left unattended, or moved while in operation.
Should the burners go out while in operation, turn all gas valves off. Open lid and wait five minutes before
attempting to relight, using the lighting instructions.
Do not use charcoal or lava rock in your MHP Gas Barbecue Grill.
Never lean over open grill or place hands or fingers on the front edge of cooking box.
Do not enlarge the valve orifices or burner ports when cleaning the valves or burners.
The MHP Gas Barbecue Grill should be thoroughly cleaned on a regular basis.
Liquid propane gas is not natural gas. The conversion or attempted use of natural gas in a liquid propane
unit or liquid propane gas in a natural gas unit is dangerous and will void your warranty.
Do not attempt to disconnect any gas fitting while your barbecue is in operation.
Use heat-resistant barbecue mitts or gloves when operating barbecue.
LIQUID PROPANE GAS UNITS ONLY
Use the regulator that is supplied with your MHP Gas Barbecue Grill.
Do not attempt to disconnect the gas regulator or any gas fitting while your barbecue is in operation.
A dented or rusty propane cylinder may be hazardous and should be checked by your local liquid propane
supplier. Do not use a liquid propane cylinder with a damaged valve.
Although your liquid propane cylinder may appear to be empty, gas may still be present, and the propane
cylinder should be transported and stored accordingly.
If you see, smell or hear the hiss of escaping gas from the liquid propane cylinder:
1. Move away from the liquid propane cylinder.
2. Do not attempt to correct the problem yourself.
3. Call your fire department.
2
Contents
TABLE OF CONTENTS
Safety (Dangers & Warnings)………................................................................................................…….2
Warranty……………………………………..................................................................................................4
General Instructions…………………...............................................................................................…….5
Mountings…………………………………........................................................................................….6-7-8
In-Ground Post………………………………………………........................................................................6
Deck/Patio………………………………………..........................................................................................7
Portable Base……………………………………….....................................................................................8
Grill Head Assembly………………..............................................................................................…9-10-11
Gas & LP Tank Connections……………...........................................................................................12-13
Leak Testing & Lighting The Grill………...............................................................................................14
Maintenance……………………………….........................................................................................…15-16
Annual Maintenance…………………………...........................................................................................15
General Maintenance……………………….............................................................................................16
Tube Bending………………………………...............................................................................................12
Cooking Techniques...............................................................................................................................17
Troubleshooting……………………………..............................................................................................18
Parts Information…………………….................................................................................................……19
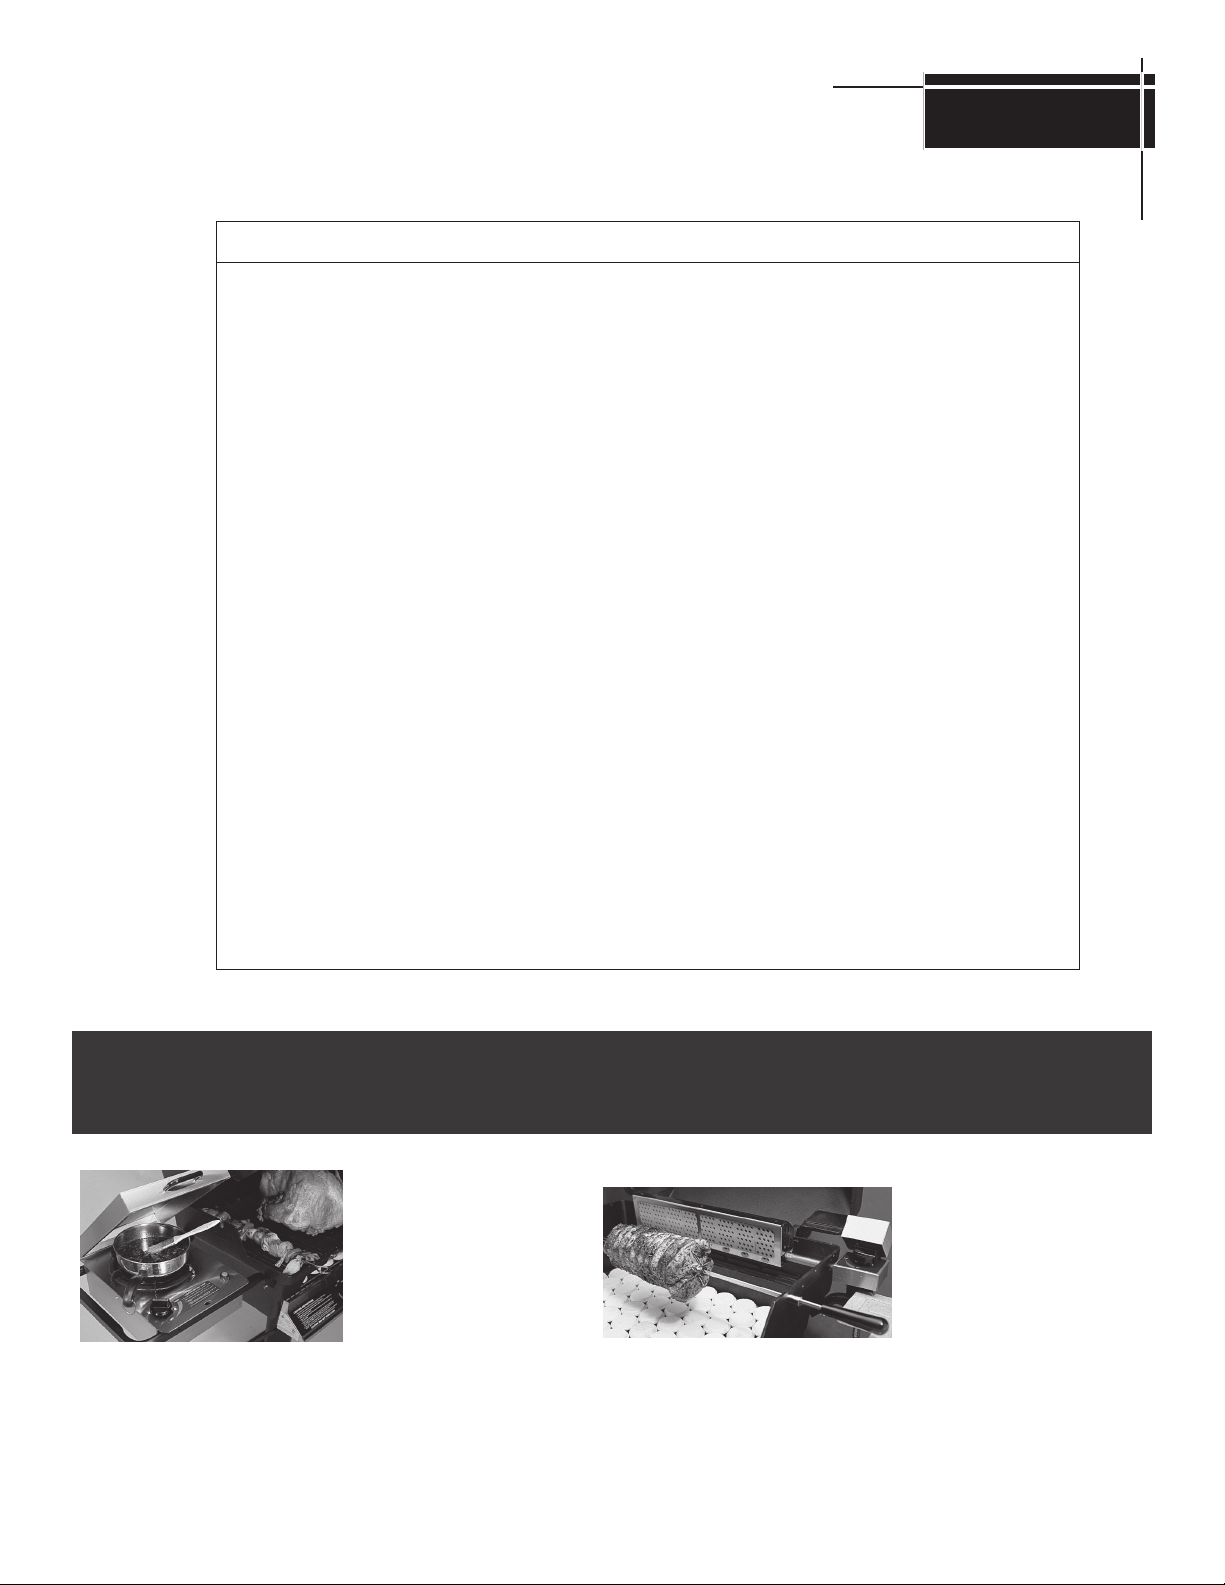
MHP Grill Upgrade Options For Added
Versatility, Convenience And Cooking Enjoyment.
Stainless Steel Side Burner.
The premium commercial grade
stainless steel side burner is
12,000 BTU rated, has its own
electronic ignition, and is factory
assembled for simple drop-in
installation.
Infra-Roast™ Rotisserie Burner
System. Infra-red rear burner heats
up fast to quickly put a seal around
meats for juicier and more moist
results. Constructed of commercial
grade stainless steel and is easy to
install or remove for normal grilling.
3
MHP
AMC Series
Warranty
LIMITED LIFETIME WARRANTY ON THE FOLLOWING:
Cast Aluminum Top Casting & Bottom Casting • Grill Posts
(Against Rust Through)
10-YEAR WARRANTY ON THE FOLLOWING:
(Against Rust Through)
Stainless Steel Burner • 3 Piece Stainless Steel Column Base • Control Panel
Stainless Steel Grill Top Insert • Stainless Steel Shelves • Stainless Steel Grids
5-YEAR WARRANTY ON THE FOLLOWING:
Porcelain Briquettes • Stainless Steel Briquette Grate
1-YEAR WARRANTY ON THE FOLLOWING:
(Against Rust Through)
All other Components Including:
Ignitor System • Gas Valves • Knobs • Wheels • Casters • Nu-Stone Patio Base
Anything not stated above falls under the 1-Year Warranty
30 Day Warranty on Paint
There is a 1 year warranty on all parts if grills are put into commercial, multi-unit or community use.
WHAT IS NOT COVERED:
Transportation and shipping cost • Labor for replacement or repairs • Damage from accident, misuse, alteration, abuse,
improper installation or storage • Removal and reinstallation costs • Finishes on surface that are damaged by improper installation, improper storage, accident, misuse, abuse or alteration • Inoperable due to improper installation or storage • The
costs of a service call to diagnose a problem • All warranties are non-transferable and apply only to the original purchaser •
This warranty does not imply or assume any responsibility for consequential damages that might result from use, misuse, or
improper installation of this cooking appliance. This warranty does not cover claims which do not involve defective work-
MODEL IDENTFICATION
Your MHP Patriot Series Grill is identified by a model number and a serial number located on the left side of the control
panel. Always use both the model and serial numbers when contacting Modern Home Products about your grill. For future
reference, take the time now to record the model and serial numbers below:
MODEL NUMBER: ______________SERIAL NUMBER: ________________DATE PURCHASED:__________________
How to contact us: phone: 1-888-647-4745, fax: 1-800-637-2918, E-mail: customerservice@mhpgrills.com or write:
Customer Service, Modern Home Products, 150 S. Ram Road, Antioch, Illinois 60002.
4
General Instructions
GENERAL INSTRUCTIONS
This installation guide provides you with easy to follow illustrations
and instructions to assemble your MHP Gas Barbecue Grill.
Before you start assembling and using your MHP Gas Barbecue Grill we recommend that you read through all precautions, safe guards and instructions to avoid any personal
injury or property damage.
Check Local Codes. Contact your local LP dealer or Natural Gas
company for recommended installation procedures and regulations. If there are no local codes, installation must conform to the
latest National Fuel Gas Code: ANSI Z 223.1. For Canada, installation must comply with local codes and/or Standard CAN/CGA-B149-1 for natural gas installation and CAN/CGA- B-149-2 for propane installation.
For LP Gas Models the supplied Regulator must be used. Any
replacement pressure regulator or hose assembly must meet or
exceed the specifications of MHP. Refer to the parts list and contact the dealer where your grill was purchased.
Only Worthington, Manchester, or Wolfdale brand cylinders should
be used with this appliance.
For Natural Gas Models the grill is designed to operate at a pres-
sure of 7” water column (W.C.) (1.75 kPa). Check your gas utility
for local pressure. Pressures other than approximately 7” W.C.
could affect the performance of your grill.
ASSEMBLY INSTRUCTIONS
There are 9 steps to assembling your MHP Gas Barbecue Grill:
The mounting, LP tank mounting, control panel, gas supply connection, grill lid, lid handle, side shelves, and rock grate, cooking
grid and warming rack.
The grill itself is partially assembled with the Burner, Venturis,
Ignitor Collector Box and the Regulator installed.
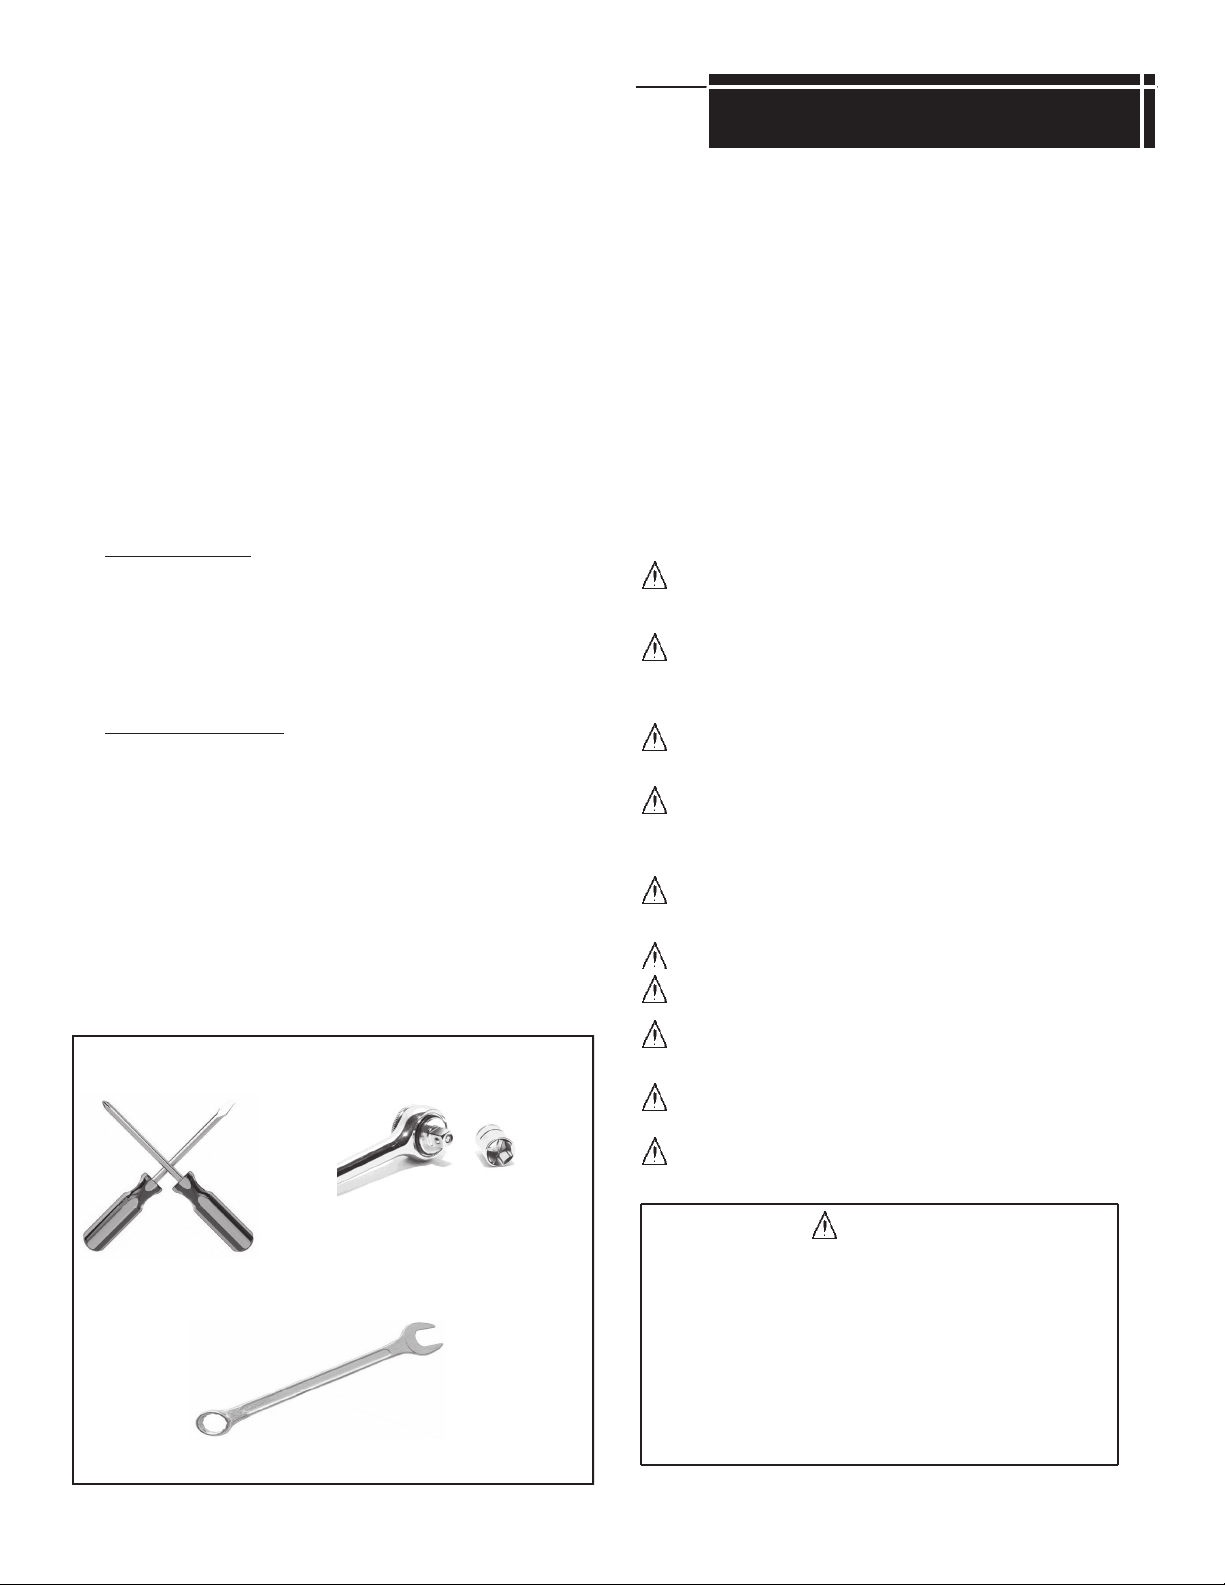
TOOLS NEEDED FOR ASSEMBLY
STORAGE
Turn gas OFF at the LP cylinder (or at the shut OFF valve in the case
of Natural Gas) when the MHP Gas Barbecue Grill is not in use.
Do not store spare LP cylinders under the MHP Gas Barbecue Grill.
Store disconnected LP cylinders outdoors in a well-ventilated area, do
not store in shed, building, garage or in any enclosed area.
Place dust cap on cylinder valve outlet whenever the cylinder is not in
use. Only install the type of dust cap on the cylinder valve outlet that
is provided with the cylinder valve. Other types of caps or plugs may
result in leakage of propane.
OPERATING SAFEGUARDS
Do not install your MHP Gas Barbecue Grill in or on
recreational vehicles and/or boats.
Never use your MHP Gas Barbecue Grill near combus-
tible surfaces, including roof overhangs, roofs, vinyl
siding and window shutters.
Use this barbecue outdoors in a well-ventilated area.
Do not use your MHP Gas Barbecue Grill in a shed, gar-
age, building, breezeway or any other confined area.
Do not use any kind of combustible material on or near
the top, bottom, back or sides of the grill. Maintain at
least an 18 inch clearance.
Leak test all gas supply line connections.
Do not let children operate a gas grill.
Keep the area around the grill clear of combustible va-
pors or liquids such as gasoline.
When operating the grill do not leave unattended. Keep
children and pets away.
Phillips and Straight
Screw Driver
7/16 Wrench
7/16 Socket or Nut
Driver
Keep fuel supply hose and electrical supply cord away
from any heated surface.
YOUR GRILL IS DESIGNED FOR OUTDOOR USE ONLY.
It should also not be used in an enclosed area such as a shed or garage
because combustion uses available oxygen and discharges carbon monoxide.
The grill must be located no closer than 18" from any combustible surface
behind or to the sides. Grill should not be located under overhead unprotected combustible surfaces.
Keep the area around the grill clear of combustible materials, flammable
vapors or liquids such as gasoline.
Do not obstruct the flow of combustion and ventilation air.
SAFETY
5
Mounting
In-Ground Post
Please check to be sure that all parts are included before proceeding. Contact your dealer if
any parts are missing.
Parts Quantity
4' Post 1
Post access door 1
28” Stainless Steel Tubing 1
Stainless Steel Grease Cup 1
Stainless Grease Cup Holder 1
¼ - 20 x ¾" Hex Head Bolts 3
¼ - 20 Kep Nuts 3
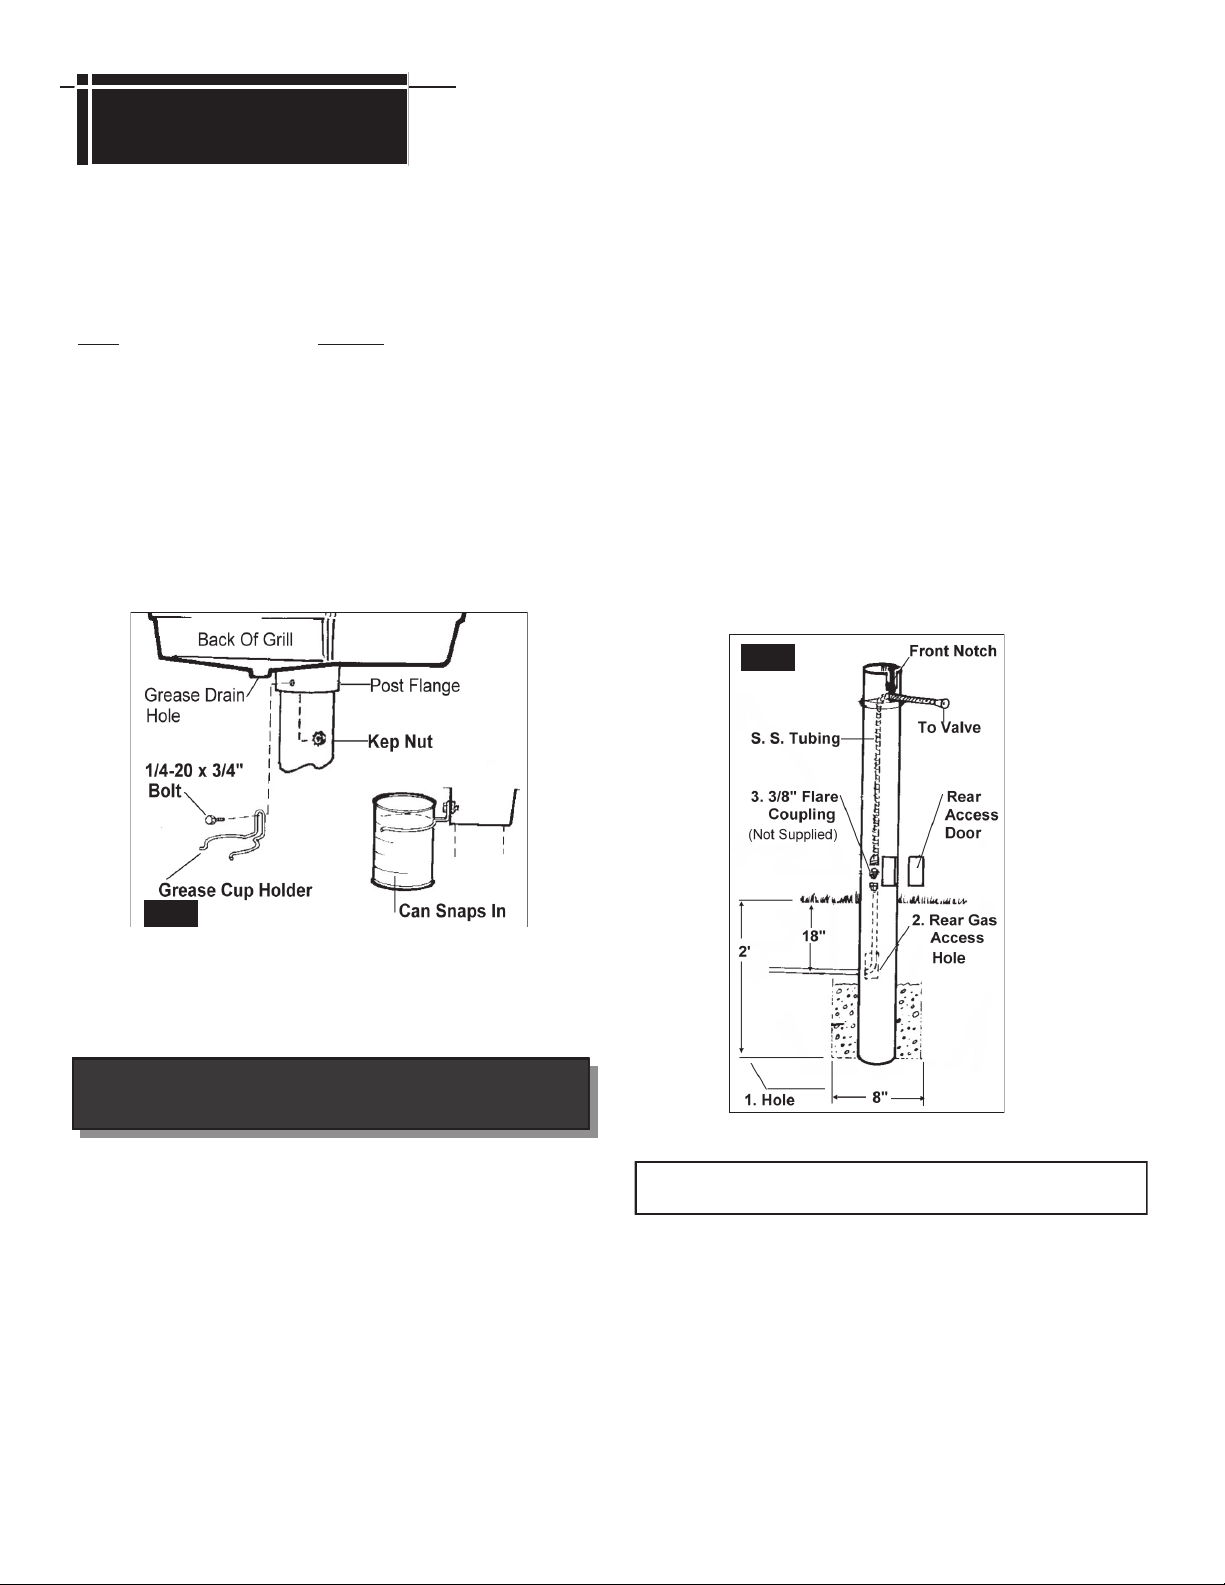
3. Mount the grease cup holder to the rear flange hole with a ¼ - 20 x
¾" bolt and ¼-20 Kep nut. The grease cup holder is supplied with
the grill head.
Keep in mind that the gas line access hole is on the back of the
post and the notch at the top if facing front. Recheck plumb and
allow cement to set.
2. Run the gas supply line into the post access hole (just above the
cement). Make a 90° bend to reach the access door opening.
The gas supply line should be trenched at least 18 inches below
the surface of the ground to prevent damage from digging. CAU-
TION: The gas supply line must be regulated (in the case of
natural gas that means connected after your gas meter and
regulator) and that you have an easily accessible shut-off
valve.
3. At the access door connect a 3/8" flare coupling (not supplied by
MHP) to the gas supply line and Stainless Steel tubing. Position
the tubing in the top notch of the post. Bend the tubing at the top
end to match the Feed Line of the grill valve. Do not kink the
tubing.
Fig. 5
Fig. 1
When you complete the mount assembly go to the appropriate
Grill Assembly Section and assemble the grill head.
In-Ground Mounting
Assembly Instructions (MPP)
•All MHP Grill Heads may be mounted on the 4 foot post for inground installation.
•The gas supply may be either LP or Natural.
•The grill head should not be attached to the post until the post
is permanently cemented in ground.
Step 1: In-Ground Mounting Installation (Fig. 5
1. Dig a posthole about 8 inches wide by 2 feet deep. Caution:
Locate the hole so that the mounted grill head has a clearance of 18 inches away from any combustible object or surface; back, left or right.
Center the post in the hole and plumb it. Pour in cement (gravel)
up to the gas line access hole.
TUBE BENDING: For proper bending of the stainless steel tubing,
see page 12 for bending instructions.
Step 2: Attaching The Grill Head Bottom To The In-Ground
Post (Fig. 1 & 2)
To attach the grill head to the post please refer to Step 3 of the Deck/
Patio installation procedures on page 7 and follow instructions.
When you complete the mount assembly Go to the Grill head
section and assemble the Grill Head.
6
 Loading...