

MHP Phoenix grill, Phoenix SearMagic Infrared Zone Maintance Manual
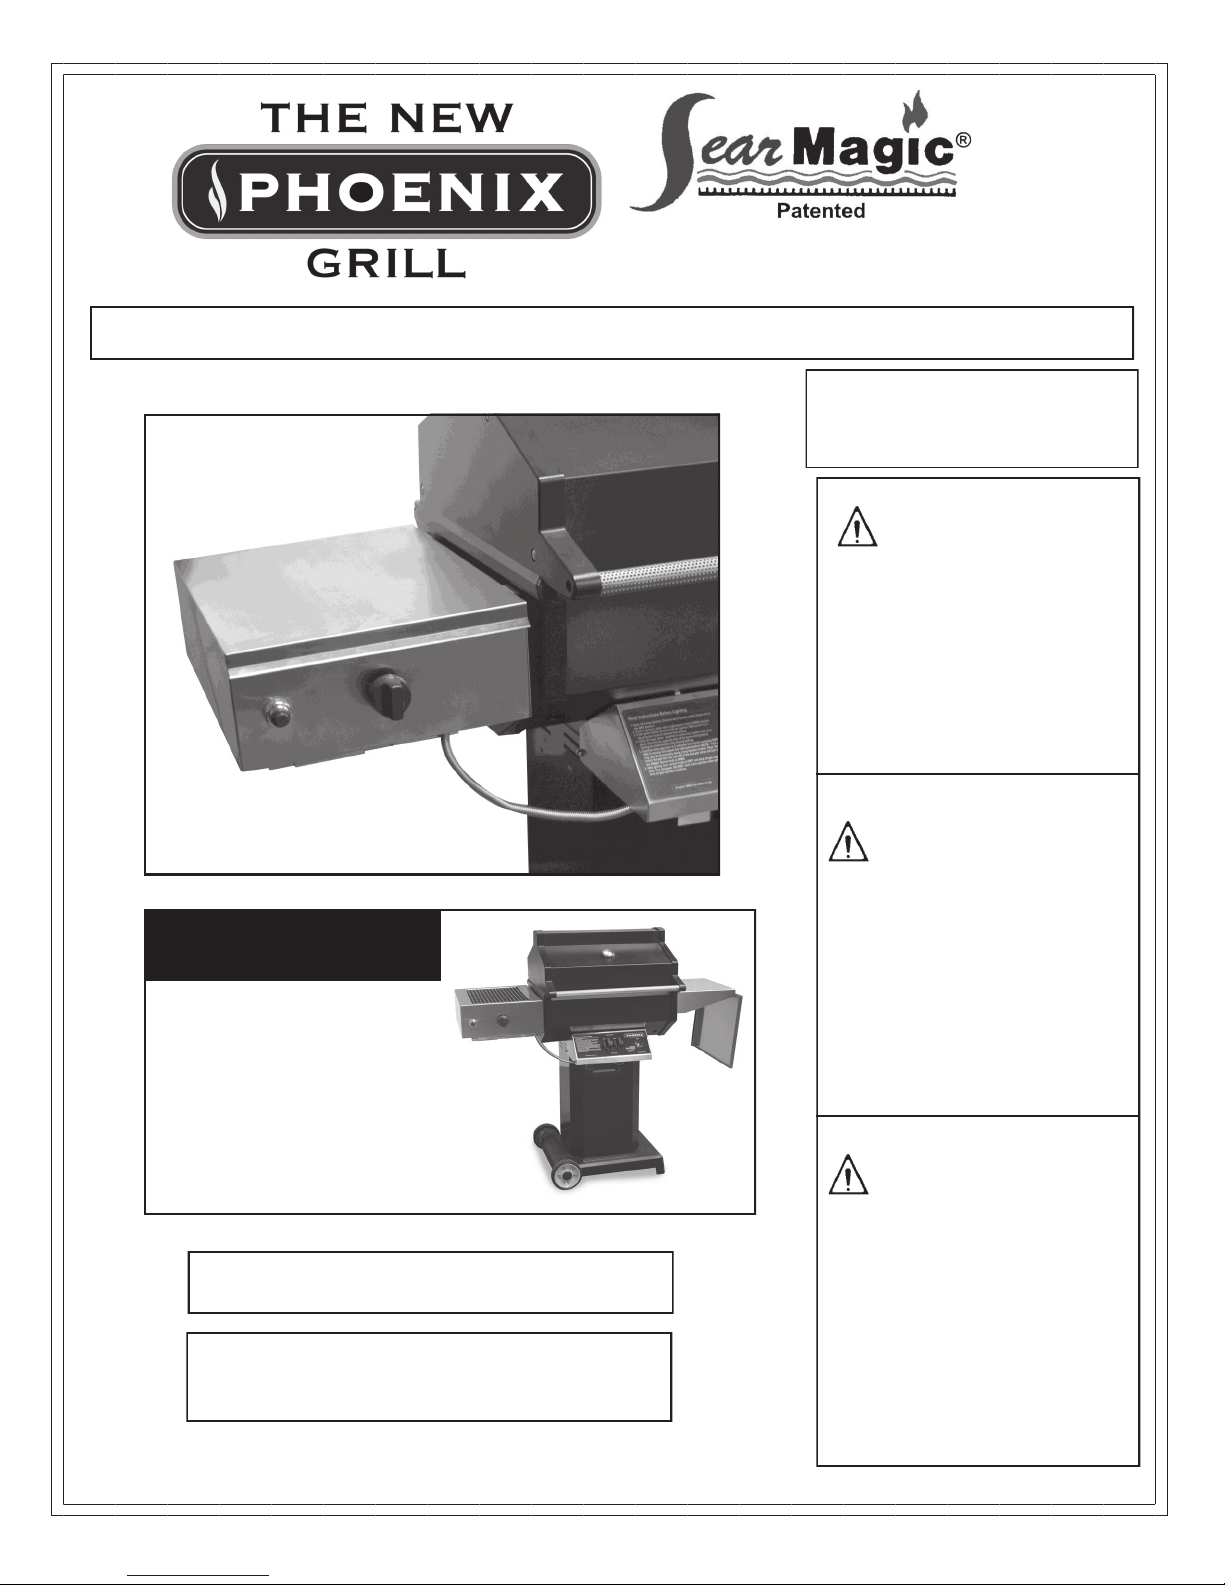
Assembly and Maintenance Instructions
Pros of SearMagic
Infrared Zone
Uniform Heating Surface
High Temperature Option
Energy Efficiency
Extremely Hot, Sealing in
Meat Juices
Tasty and Juicy Food
YOU MUST READ THIS OWNERS MANUAL
BEFORE OPERATING YOUR GAS GRILL.
THESE INSTRUCTIONS SHOULD BE LEFT
WITH THE CUSTOMER. KEEP THESES INSTRUCTIONS FOR FUTURE REFERENCE.
Infrared Zone
THIS GAS APPLIANCE IS
DESIGNED FOR OUTDOOR
USE ONLY.
FOR YOUR SAFETY
If you smell gas:
1. Shut off gas to appliance.
2. Extinguish any open flame.
3. Open Lid.
4. If odor continues, immediately call your gas supplier
or your fire department.
FOR YOUR SAFETY
1. Do not store or use gasoline
or other flammable vapors
and liquids in the vicinity of
this or any other appliance.
2. An LP cylinder not connected for use shall not be
stored in the vicinity of this
or any other appliance.
FOR YOUR SAFETY
Follow all leak-test procedures
carefully in this manual before
using. Do this even if the grill
was dealer assembled. Do not
try to light this appliance with-
out reading the “Lighting” in-
structions in this manual.
Congratulations on your purchase of Phoenix SearMagic Infrared Zone, providing your Phoenix Grill with greater versatility.
This unique searing system gets hot extremely fast sealing in meat juices quickly without drying out. Meat juices will be
sealed inside keeping the chicken, steak or additional cut of meat juicy and tender. The high intense heat reduces flare-ups
by vaporizing juices instantly. Also, with the fast heat-up and faster cooking, makes your Phoenix SearMagic Infrared Zone
more energy efficient.
Caution: Before Starting To Assembly Your SearMagic Infrared Zone. Be sure the gas
supply is turned off. Turn grill to “OFF”. Close Valve on LP Tank and disconnect the hose/regulator assembly from
tank. OR, if your grill is a natural gas unit; close valve on main gas supply going to the grill.
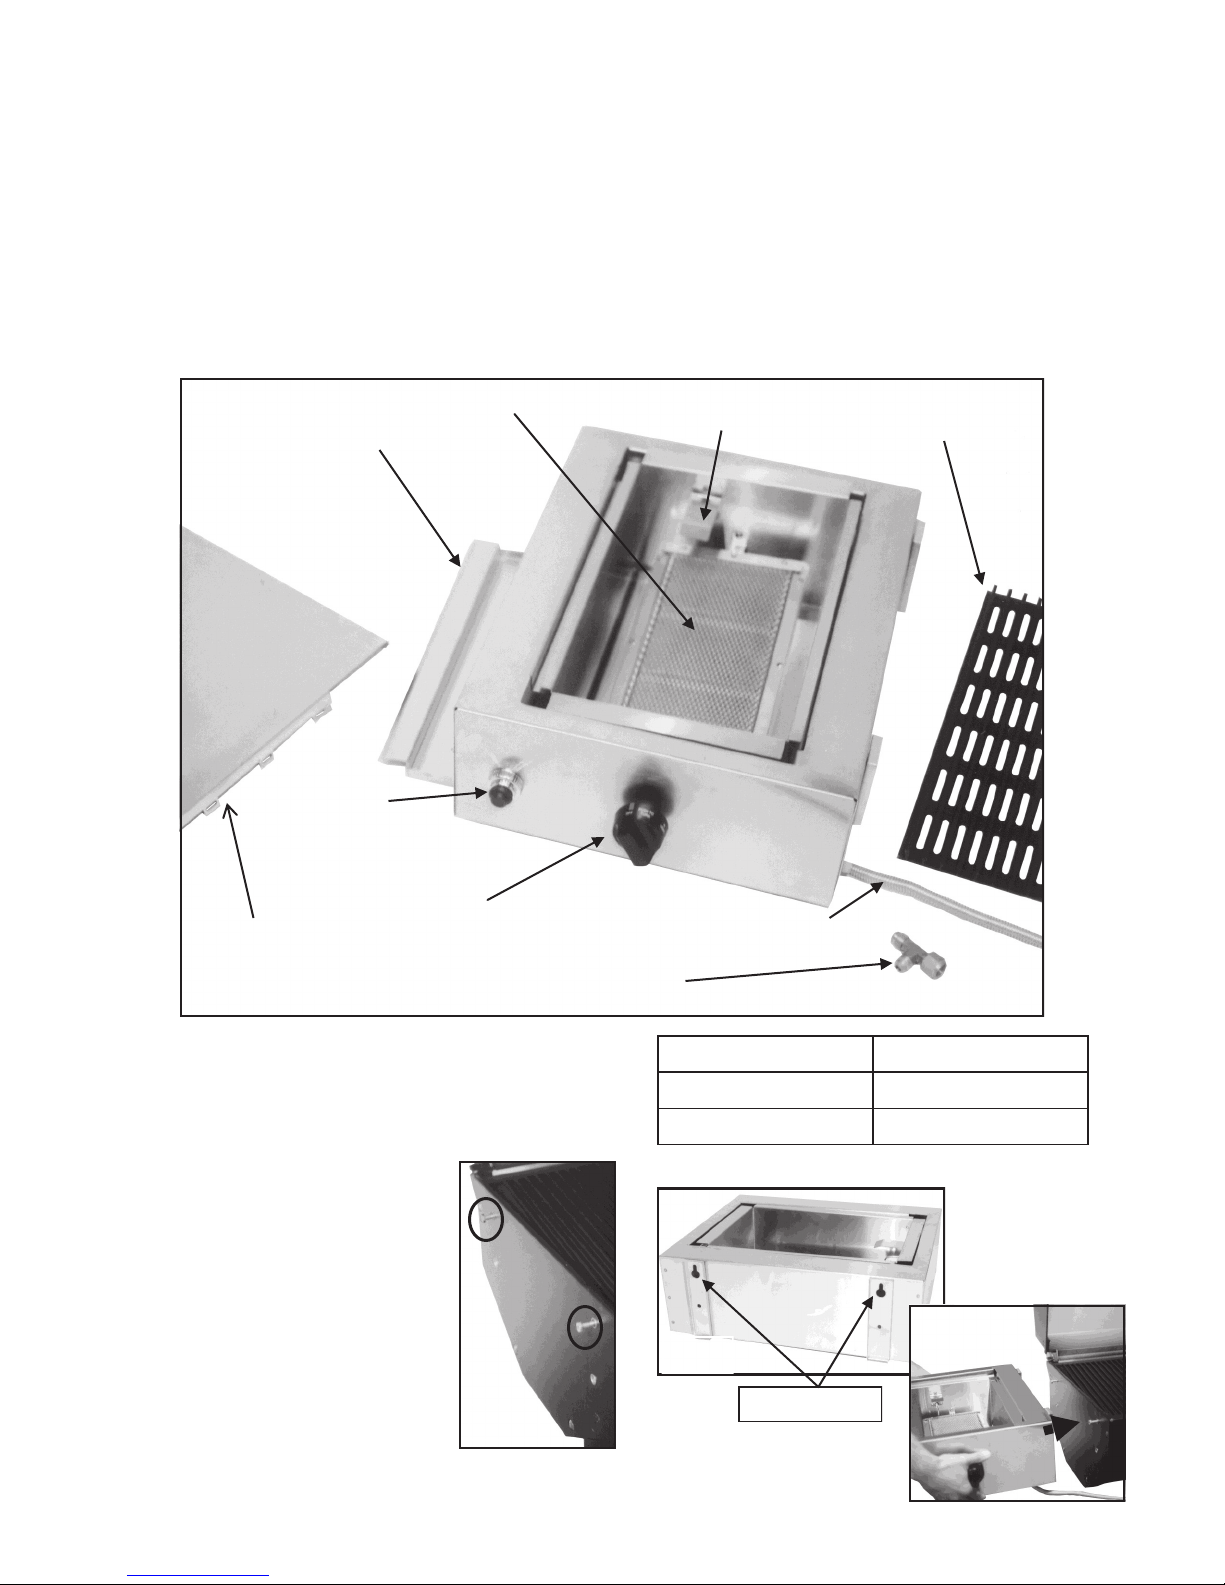
Getting to Know Your SearMagic Infrared Zone and Assembly
ELECTRONIC
COVER
DRIP PAN
IGNITER
BURNER
CONTROL
BURNER
BRASS
“T”
CONNECTOR
IGNITER
ELECTRODE
FLEX HOSE
SearMagic
COOKING GRID
SearMagic Infrared Zone Assembly
Hardware
1. If your grill has two (2) shelves, remove the left shelf
from the grill bottom (facing the grill).
2. Open Grill Lid. Screw 1/4-20 x 1 1/2" hex
bolts in the two (2) upper holes. NOTE:
Screw in leaving approx. 1" exposed.
(Fig. 1)
3. Hang SearMagic Burner key holes on
extended hex bolts and let rest (do not
tighten). (Fig. 2)
4. Secure the SearMagic bottom with the
two 1/4-20 x 1 1/2" hex bolts, lock washers, fender washers and tighten. Proceed
to tighten the 2 top bolts.
2 1 1/2" Fender Washers
2 Lock Washers
4 1/4-20 x 1 1/2" Hex Bolts
(Fig. 2)
Key Holes
(Fig. 1)
 Loading...