

MFJ-116 24/12 Hour Clock
MFJ-116 24/12 Hour Solid State Digital Clock
Operating Instructions:
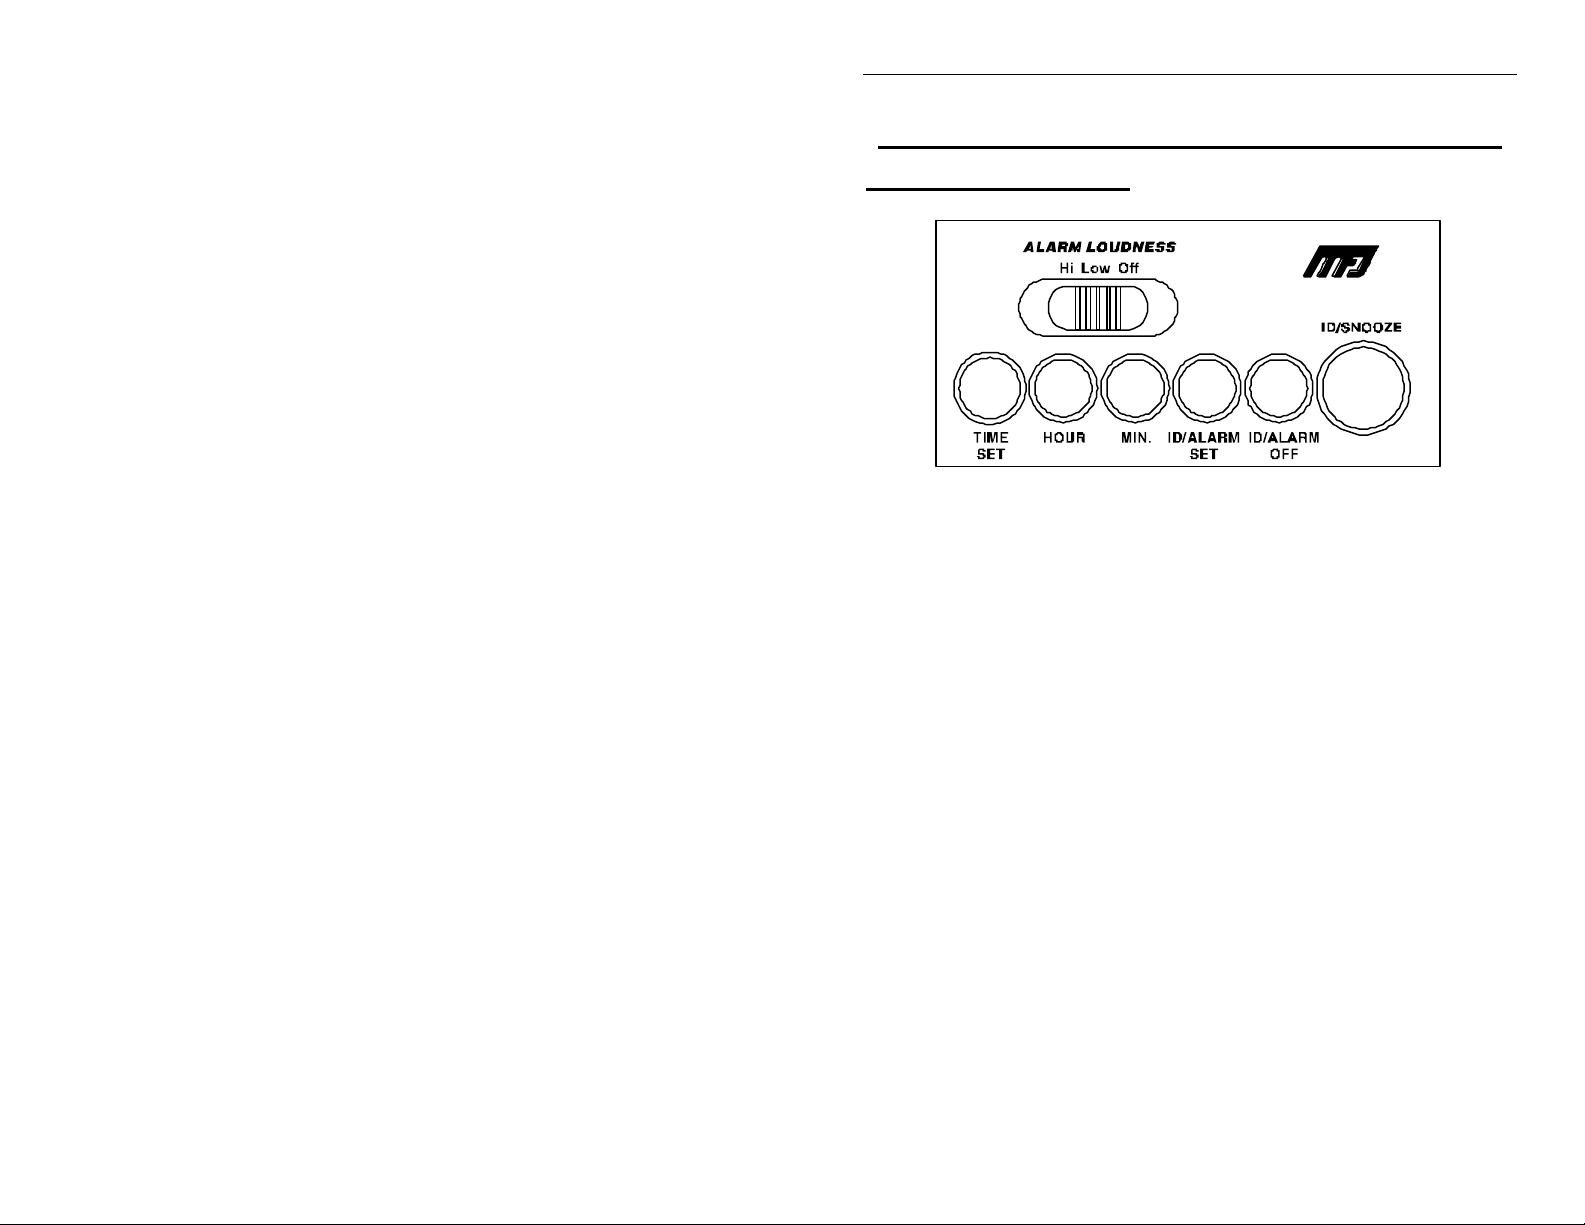
MFJ-116 Control Panel
Figure 1
24/12 Hour Switch:
This switch is located in the battery compartment on the bottom of
the clock. Remove the battery door and, if installed, pull the
battery out. Place the 24/12 Hour switch in the desired position,
and replace battery and door. In the 24 Hour mode, the clock will
display time from 00:00 to 23:59 hours. In the 12 Hour mode, the
clock will display in the normal time format with an indicator for
PM.
Alarm Loudness:
Set this switch to the HI or LOW position when alarm time is set
and alarm is desired. Set to OFF for no alarm.
WARNING: In the HI position, this alarm clock is extremely loud!
Placement of alarm too close to ears may result in
hearing damage!
Time Set:
Press and hold the TIME SET button, then press the HOUR button
to advance the hour, and the MINUTE button to advance the
minute.
1

MFJ-116 24/12 Hour Clock
ID/Alarm Set:
Press and hold the ID/ALARM SET button, then press the HOUR
button to advance the alarm hour and the MINUTE button to
advance the alarm minute.
NOTE: If using the 12 Hour mode of display, be sure that the
TIME and ALARM are set correctly to AM or PM.
ID/Alarm Off:
Press this button to turn the alarm OFF.
ID/Snooze Button:
When this button is pressed, it temporarily silences the alarm.
After 10 minutes, the alarm is reactivated. This will continue until
the ID/ALARM OFF button is pressed.
ID Timer:
The ID/SNOOZE function can be used as a 10 minute ID timer.
Set the timer as follows:
1. Note the time displayed on the clock.
2. Place the ALARM LOUDNESS switch in the HI or LOW
position.
3. Press and hold the ID/ALARM SET button, then press the
HOUR button to advance the alarm hour and the MIN. button to
advance the alarm minute to the time noted in step 1. This will
activate the alarm.
4. Silence the alarm by pressing the ID/SNOOZE button. The
alarm will repeat 10 minutes after the ID/SNOOZE button is
pressed. This will continue until the ID/ALARM OFF button is
pressed.
Power Interrupt:
A 9 Volt battery may be installed to prevent loss of time setting in
the event of a power failure. If power fails, the display will turn off
but the timer will continue to run. When power is restored, the
display will resume. To install the battery, remove the battery door
on the bottom of the clock. Insert the battery in the clip and
replace the door.
Power Requirements:
110 VAC, 60Hz
2
 Loading...