

Page 1
Drive Alignment Guide
2100 / 9100 / 3100 – 2600 / 9600 Series
&
Printer Alignment Guide
PicoJet – Prism Plus – P-55
Page 2
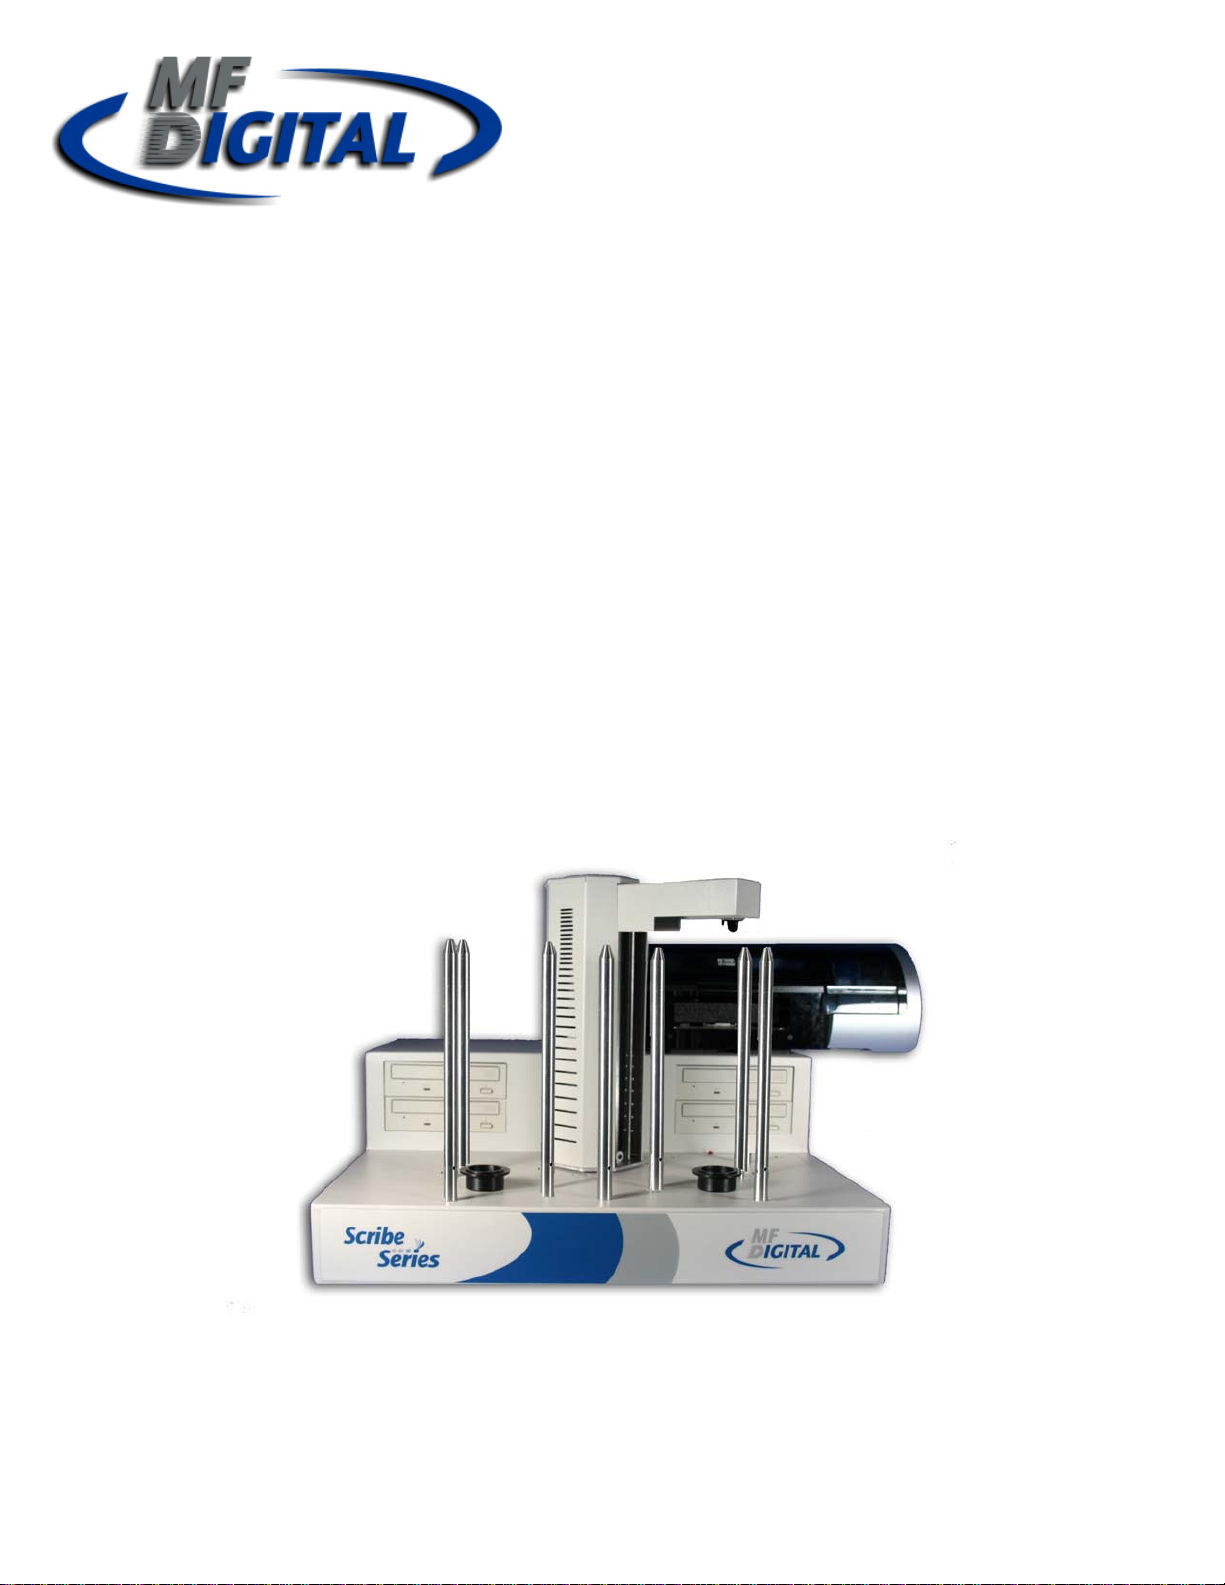
Your MF Digital DVD / CD duplicator comes prealigned at the factory.
Note : If you’re running the Scribe PC, Director,
or SA Series (embedded) application, please
terminate them first before double clicking the
Loader Diagnostics icon.
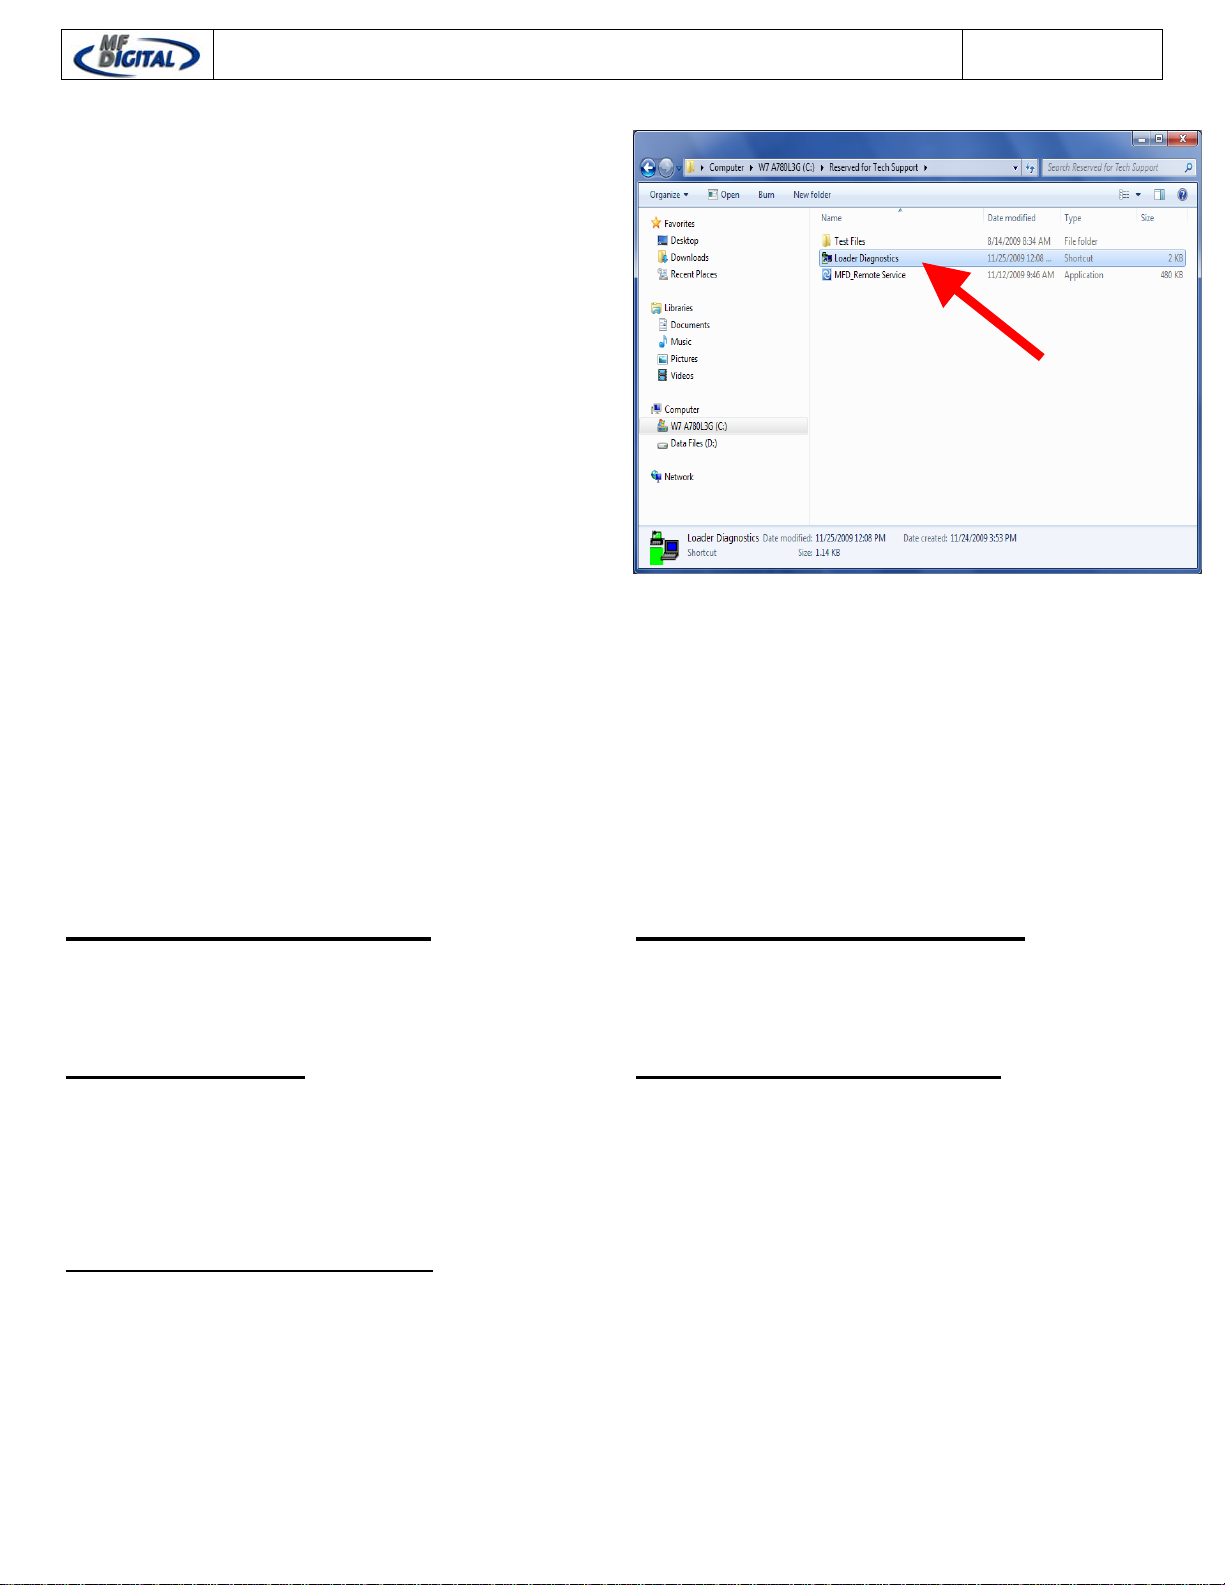
Should you need to align it use this simple
procedure via MF Digital’s preset Loader
Diagnostics located at: C:/Reserved for Tech
Support/Loader Diagnostics
Printer and Drive Alignment Guide
Command Set –
Note: Caps Lock MUST BE ON
C – Calibrate Autoloader
V – Confirm Firmware Version
LEFT SIDE DRIVES
Insert / Accept Commands
9600/2600 Series Only
Left Side Drive Trays
K – Insert disc to left side open tray
B – Accept disc from left side open drive tray
CTRL-P – Move disc toward back of left drive.
CTRL-Q – Move disc toward the front of drive
Special Picojet Commands Only
O – Insert disc on open PicoJet printer’s tray
U – Accept disc from open PicoJet printer’s tray
REV 3 : 12.30.10
RIGHT SIDE DRIVES
Insert / Accept Commands
9100/2100/9600/2600 Series
Right Side Drive & Printer Trays
I – Insert disc to right side open tray
A – Accept disc from right side open tray
CTRL-S - Move disc toward back of drive &
printer
CTRL-R – Move disc toward front of drive &
printer
2100 / 9100 / 3100 – 2600 / 9600 Series
PicoJet – Prism Plus – P-55
Page 1
Page 3

Printer and Drive Alignment Guide
For purpose of orientation, as indicated by the
picture to the right, Rear of the drive means
towards to back (away from you). Front of the
drive, means to the front (closer to you).
When aligning the drives, the disc should sit
approximately between the 4 rectangular cutouts in the tray. These are indicated by circles.
The picture to the right is a sample of what you
are trying to accomplish.
As you will notice, the disc is approximately
centered between the rectangular cut-outs.
REV 3 : 12.30.10
Rear of the drive
Front of the drive
2100 / 9100 / 3100 – 2600 / 9600 Series
PicoJet – Prism Plus – P-55
Page 2
Page 4

Printer and Drive Alignment Guide
Now that you have an idea, let’s try a few
commands that will align your drives.
Let’s make sure you have a connection,
pressing the letter “C”, will calibrate the Loader.
When calibration is complete, an “X” appears
indicating status is OK. You can also use the
“C” command to clear an error if you make a
mistake.
Put a few discs in the right side hopper. And
open the right top drive in your machine.
Pressing the letter “I” for insert, will instruct the
machine to retrieve a disc, and place it into the
open tray. For each successful command that is
executed, an “X” will be displayed on the screen.
Should an “E” appear, indicating an error, you
can clear the error easily by pressing “C” again.
As shown to the right, the pick arm has placed
the disc into the open tray. At this time you want
to note the physical position of the disc in the
tray. This picture shows the disc in the correct
position.
Should your disc be placed, for example, to far
forward (front of the drive). You would need to
use the command CTRL-S. This is a two key
combination. To execute this command, hold
down the CTRL key and press “S”. This
command instructs the Loader to make a step
towards the rear of the machine. The steps are
small increments, therefore depending on how
off the placement is, it may be necessary to
repeat the same command.
Alternatively, if the disc was too far to the rear of
the drive, the command CTRL-R should then be
used. This would step the loader towards the
front of the drive.
REV 3 : 12.30.10
2100 / 9100 / 3100 – 2600 / 9600 Series
PicoJet – Prism Plus – P-55
Page 3
Page 5

Printer and Drive Alignment Guide
For every CTRL-S or CTRL-R you will receive a
2 digit code indicating a position.
Before going to test the alignment, make sure
you press the letter “C” for calibrate. Then use
the letter “I” for insert for drives on Right Side.
Should you need to further adjust the alignment,
you can continue entering the CTRL-S or CTRLR as needed.
This process would be repeated for the lower
right side drive as well.
If you would like to instruct the loader to retrieve
the disc from the open tray, press the letter “A”.
Aligning the Drives on the Left Side
If your drives on the left side need aligning, the
process is identical. Please refer to page 2 of
this guide. Simply utilize the left side commands
in place of right side commands.
Insert / Accept (Left Side)
K – Insert disc to left side open tray
B – Accept disc from open drive tray
Alignment Commands (Left Side)
CTRL-P – Moves disc towards the back of drive.
CTRL-Q – Moves disc towards the front of drive
Note: Loader Diagnostics Shortcut
The loader diagnostics shortcut contains some
additional information to make a connection to
the COM port. See the screen to the right.
Should you accidentally delete the shortcut, the
TARGET box requires the following string.
"C:\Program Files\BEL\Realterm\realterm.exe" baud=9600 port=4 flow=0 data=8N1 display=9
framesize=20
REV 3 : 12.30.10
2100 / 9100 / 3100 – 2600 / 9600 Series
PicoJet – Prism Plus – P-55
Page 4
Page 6

Printer Alignment
Sometimes if may be necessary to adjust the
alignment of your printer. All MF Digital Printers
mount to the right side. So using the CTRL-R /
CTRL-S will assist you. Please keep in mind, if
you adjust this alignment for your printer, you
will affect the alignment for the right side drives.
So a common placement needs to be assured
when adjusting the printer alignment. We
suggest that you check the inserting of your disc
to the drive tray after aligning the printer.
Alignment Commands for Printers:
Prism Plus & P-55
I – Insert disc to open printer Tray
A – Accept disc from open printer tray
CTRL-R – Move disc toward front of printer’s
tray.
CTRL-S – Move disc toward back of printer’s
tray.
Printer and Drive Alignment Guide
Disc on P-55 Tray
When aligning the P-55 Printer, the 3 points to
consider are the 3 small pins in the middle of the tray.
This disc is in perfect alignment. Please see Picture
#2 for a close up of the pins and how the disc should
look on the tray.
REV 3 : 12.30.10
Picture #2: Disc on P-55 Tray
This is the guide
pin, it moves to
center the disc
on the tray.
Disc on Prism Plus Tray
Hook in the
middle of
Prism Tray.
The above picture shows a disc in perfect
alignment on prism tray. When you align this
printer, there are three points to consider.
1. Hook in the middle of the Printer’s
Tray.
2. The clamping pins on the outer
perimeter of the disc pad, these pins
move to center the disc on the pad,
indicated by the circles.
When you have the disc on the Printer’s Tray
as shown above, the alignment is now correct.
If an adjustment is needed, you can use the
Alignment Commands for Prism Plus Printer.
2100 / 9100 / 3100 – 2600 / 9600 Series
PicoJet – Prism Plus – P-55
Page 5
Page 7

Printer and Drive Alignment Guide
The PicoJet 6000 is the easiest of all 3 printers
to align. This is due to the design of the tray.
You will find that the PicoJet 6000 Printer has a
more “forgiving” tray space to align the discs.
When aligning the disc on PicoJet, there are 3
points to consider, the clamping bar, and the two
white washers at the front of the tray.
As shown in the picture to the right, the disc is in
perfect alignment as it has been placed between
the 3 points indicated.
Should an adjustment be needed, use the
commands listed below.
Please note, the Insert and Accept commands
are different then that of the Prism Plus and P55 Printers.
PicoJet 6000 Printer Alignment Commands
O – Insert disc on open printer’s tray
U – Accept disc from open printer’s tray
CTRL-R – Move disc towards front of printer’s
tray.
CTRL-S – Move disc toward back of printer’s
tray.
REV 3 : 12.30.10
Clamping
Bar
2100 / 9100 / 3100 – 2600 / 9600 Series
PicoJet – Prism Plus – P-55
Page 6
 Loading...