

Page 1
How to determine & setup your Mask Settings for the PicoJet 6000
Printer.
The PicoJet 6000 Printer drivers includes a Mask Settings Utility that will aid in printing your design whether your using the included
SureThing CD Labeler for MF Digital Edition or if you are planning to use a custom template.
Regardless of the application, it is import for you to measure your media. Measuring your media will give you an accurate
measurement for the outer and inner diameters in which you will input into the Mask Settings Utility. Doing this will mask off the
areas that should not be printed.
Measuring Your Media
To measure your media obtain either a Millimeter or Centimeter Ruler. For example, if you measure your outer diameter to 18cm,
your outer diameter will measure 118mm.
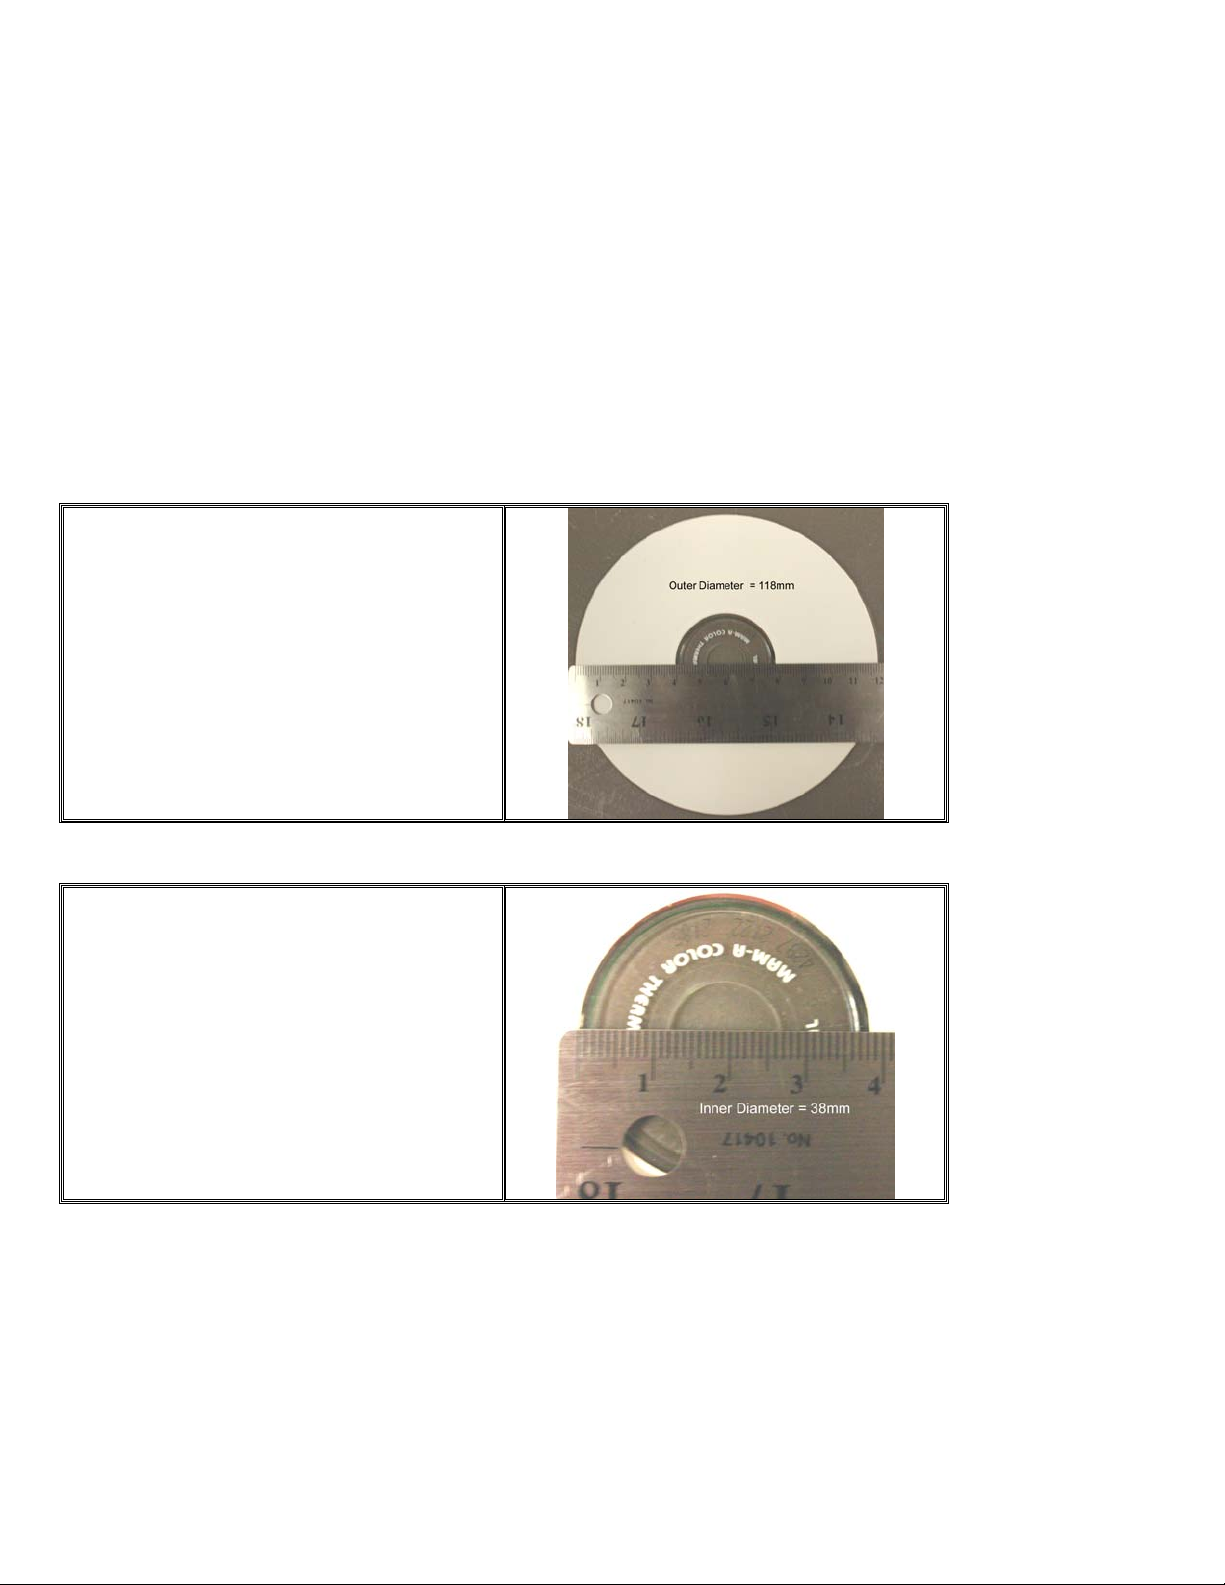
Measuring the Outer Diameter
In the picture to the right, the outer diameter is
determined by measuring from the left side of the
printable area to the right side of the printable area.
Then noting what the ending point is. In this case, a
Centimeter ruler was used and indicated the
printable area ended on 18cm. The outer diameter
in millimeters is 118mm.
Note: Its import to get the most accurate
measurement. Try placing your ruler as close to the
middle of the disc (from top to bottom) as shown in
the picture.
Measuring Inner Diameter (non hub printable)
In the picture to the right, the inner diameter is
determined by measuring from the left side of hub
where the printable area ends to the right side of the
hub where the printable area begins again. Then
noting what the ending point is. In this case, a
Centimeter ruler was used and indicated the
printable area ended on 3.8cm. This inner diameter
in millimeters is 38mm.
Note: Its import to get the most accurate
measurement. Try placing your ruler as close to the
middle of the hub (from top to bottom) as shown in
the picture.
Page 2
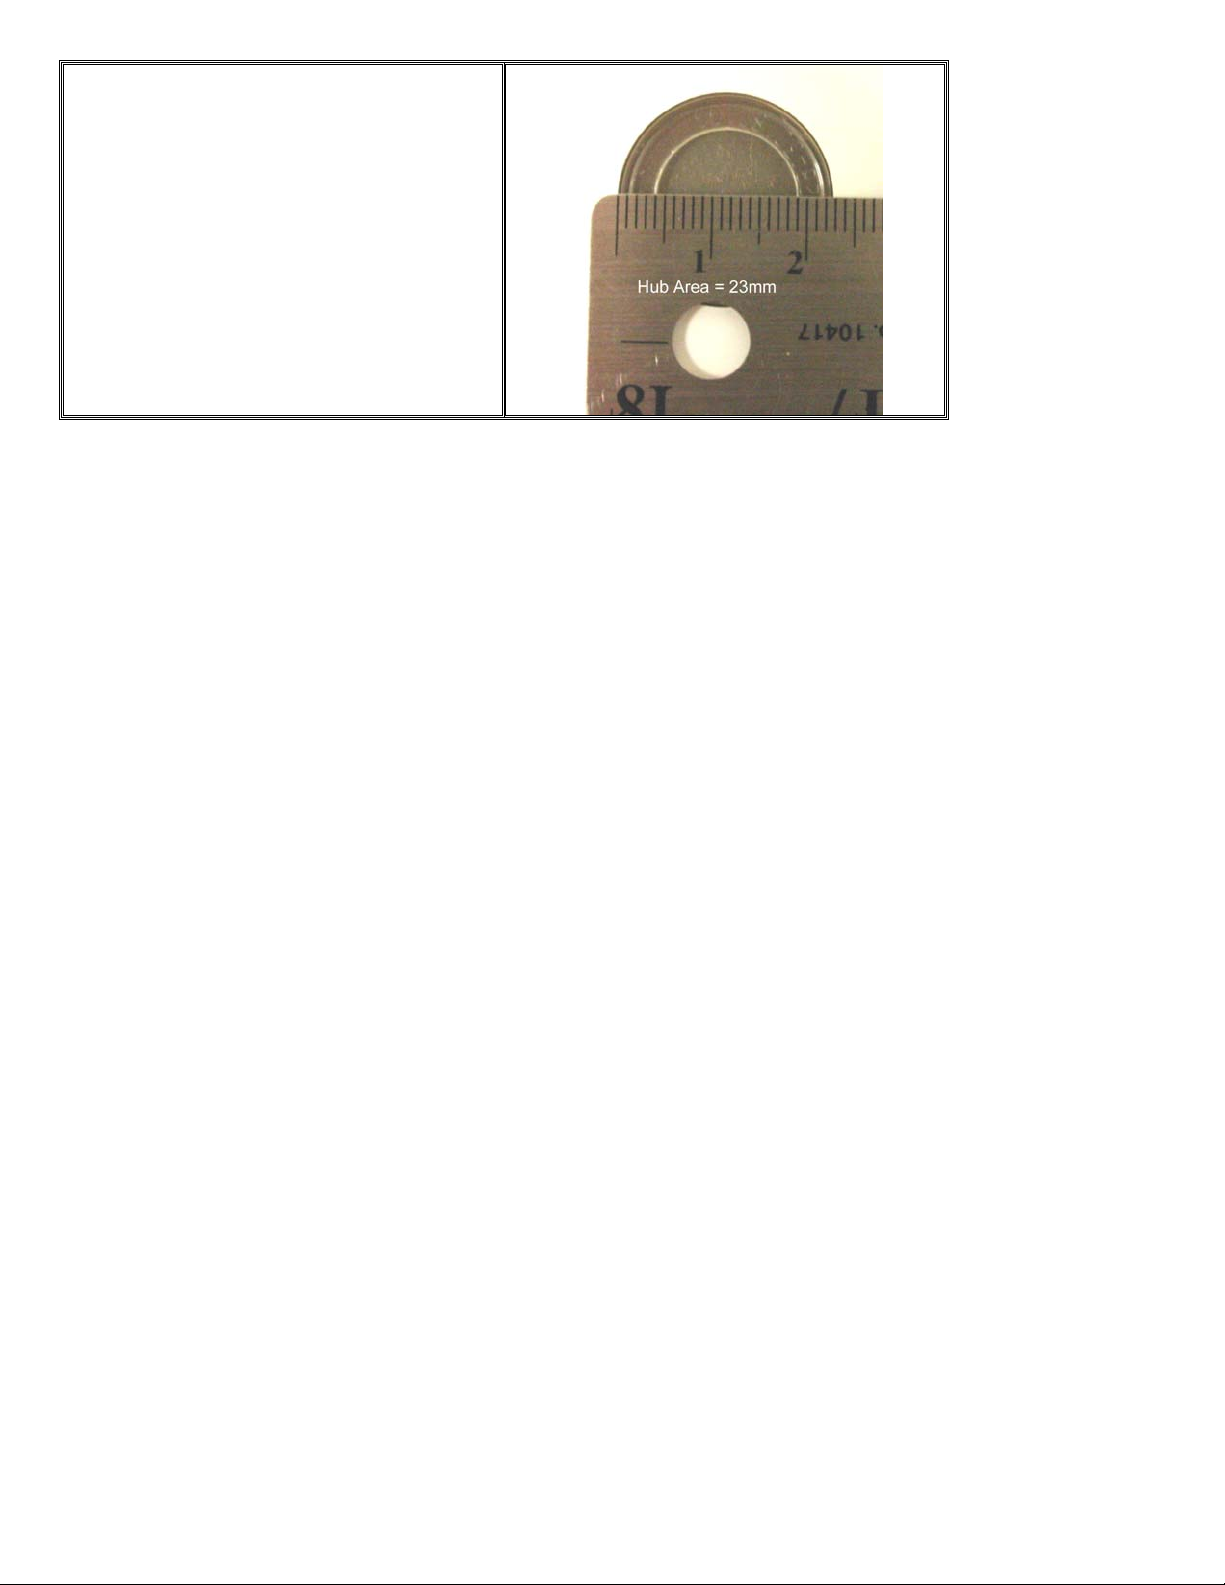
Measuring Inner Diameter (hub printable)
In the picture to the right, although this is a hub
printable disc, the measuring is done the same as the
above example. The inner diameter is determined
by measuring from the left side of hub where the
printable area ends to the right side of the hub where
the printable area begins again. Then noting what
the ending point is. In this case, a Centimeter ruler
was used and indicated the printable area ended on
2.3cm. This inner diameter in millimeters is 23mm.
Note: Its import to get the most accurate
measurement. Try placing your ruler as close to the
middle of the hub (from top to bottom) as shown in
the picture.
Page 3

Setting up the Mask Settings Utility (Non Hub Printable)
Once you have successfully measured your media you can now input those measurements into the Mask Settings Utility. To bring this
Utility on screen, follow the steps below.
1. Click on the Start Button
2. For XP users, select Printers and Faxes. Windows 2000 users select Settings, then Printers
3. Right click on the PicoJet 6000 Icon and choose Printing Preferences
4. Note the tabs at the top of this dialog; choose the one labeled Mask Settings.
A
B
C
D
The above picture shows the Mask Settings Dialog. For this example, the dialog is set for a standard 120mm disc with Enable
Masking checked. Printing on the hub is currently disabled. Hub Printing will be discussed in the next section
A. Mask Type: This drop down box gives you the option to choose which kind of disc you are printing on.
B. Enable Masking: This option must be checked in order to activate the masking feature.
C. Outer Diameter: This is where to input your outer diameter measurement of your disc
D. Inner Diameter: This is where to input your inner diameter measurement of your disc
Once you have inputted the measurements, click the APPLY button, then the OK button.
NOTE: If you are using PRN files to print your labels, a new PRN file must be generated to include these changes.
Page 4

Setting up the Mask Settings Utility (Hub Printable)
Once you have successfully measured your media you can now input those measurements into the Mask Settings Utility. To bring this
Utility on screen, follow the steps below.
1. Click on the Start Button
2. For XP users, select Printers and Faxes. Windows 2000 users select Settings, then Printers
3. Right click on the PicoJet 6000 Icon and choose Printing Preferences
4. Note the tabs at the top of this dialog; choose the one labeled Mask Settings.
A
E
B
C
D
F
G
To print in the Hub Area, the Hub Area Settings must be enabled.
A. Mask Type: This drop down box gives you the option to choose which kind of disc you are printing on.
B. Enable Masking: This option must be checked in order to activate the masking feature.
C. Outer Diameter: This is where to input your outer diameter measurement of your disc
D. Inner Diameter: This is where to input your inner diameter measurement of your disc.
E. Hub Area Settings: This checkbox must be enabled if the disc is to be printed in the hub.
F. Outer Diameter (Hub Area): This is where to input the hub’s inner diameter measurement of your disc.
G. Inner Diameter (Hub Area): This is where to input the hub’s outer diameter measurement of your disc.
NOTE
: The settings for items, D, F, & G, all must match. However in order for you to input the Standard Area Inner diameter, you
must change the Outer Diameter of the Hub Area Settings first, in this case, 23. Then input the Inner Diameter under Hub Area, then
change the Standard Area Inner Diameter setting as pictured above.
Once you have inputed the measurements, click the APPLY button, then the OK button.
NOTE: If you are using PRN files to print your labels, a new PRN file must be generated to include these changes.
 Loading...