

Mettler Toledo PR503, PR203, PR503DR, PR502, PR803 Operating Instructions Manual
...
Operating instructions
METTLER TOLEDO
PR/SR balances
0
Cal / Test
1
/1
On T C
0
d
O
ff
0
C
a
l
/
T
e
s
t
1
/
1
0
d
On T C
O
ff
M
e
nu
1
/1
0
d
Menu
1
/1
0
d
0
Cal / Test
1
/
1
On T C
0
d
O
ff
M
enu
1
/1
0
d
0
Cal / Test
Menu
1/10d
C
T
On
Off
1/10d

Leerseite

PR/SR balances Contents
Dear customer
Many congratulations on your purchase of a new balance of the PR/SR series from METTLER TOLEDO.
You have acquired a balance which will meet the very highest weighing and quality demands regarding accuracy, function and
processing. It allows you to fulfill the exacting requirements of the quality systems following ISO or GLP/GMP and at the same
time to simplify the work procedures in your daily weighing tasks. The PR/SR balances are thus among the most powerful
weighing instruments on the market.
With our worldwide sales and service network, we can offer you our wide range of know-how in the field of analytical
instruments and balances as a follow-up to your purchase. Thanks to service engineers trained by us, we are in a position to
assure you of unvarying quality of our products for years to come.
Should you desire further information on your balance, its application or expansion to a weighing station, contact your METTLER
TOLEDO dealer, who will be more than pleased to help you.
I wish you every success in your work with your new balance.
Yours sincerely
Mettler-Toledo GmbH
Laboratory & Weighing Technologies
Mario Hochstrasser
General Manager
1

PR/SR balancesContents
Contents Page
1 Getting to know the PR/SR balances ............................................ 4
1.1 Introducing the PR/SR balances .................................................... 4
1.2 Unpacking / Standard equipment................................................... 5
1.3 Layout........................................................................................ 5
1.4 Key assignment .......................................................................... 6
1.5 Display field................................................................................ 8
1.6 Model designation list .................................................................. 8
2 Startup procedure....................................................................... 9
2.1 Cautionary notes ......................................................................... 9
2.2 Setting up ................................................................................... 9
2.3 Leveling ..................................................................................... 11
2.4 Connecting to the power supply .................................................... 12
2.5 Calibrating balance (adjustment) .................................................. 13
2.6 Testing balance ........................................................................... 16
2.7 Determining the repeatability ......................................................... 18
3 Weighing – basic functions ......................................................... 20
3.1 On / off switching ........................................................................ 20
3.2 Simple weighing.......................................................................... 20
3.3 Zero setting and taring ................................................................. 21
3.4 Weighing with the analog display – METTLER DeltaTrac................... 22
3.5 Weighing with DeltaRange balances with movable fine range ........... 22
3.6 Quicker weighing with reduced readability ...................................... 23
3.7 Recording / printing data .............................................................. 23
3.8 Working with the SmartBar ........................................................... 24
3.9 Alphanumeric entry using the SmartBar .......................................... 25
3.10 Entry with bar-code reader or external keyboard .............................. 27
4 Extended basic functions ............................................................ 28
4.1 Header printout – " Header " ......................................................... 28
4.2 Series identification – " LotID " ...................................................... 29
4.3 Sample identification – " SampleID " .............................................. 29
4.4 Entering a fixed tare weight – " PreTare " ........................................ 30
4.5 Switching units – " Unit2 ", " CustomUnit " ..................................... 32
2

PR/SR balances Contents
5 Applications ............................................................................... 33
5.1 Dynamic weighing with statistics – " Dynamic " .............................. 33
5.2 Piece counting – " Count " ............................................................ 38
5.3 Totalization – " Tot " .................................................................... 42
5.4 Plus/minus statistics – "+/–Stats" .................................................. 47
5.5 Formulation – " Formula " ............................................................ 56
6 Menu ......................................................................................... 61
6.1 Selecting weighing application – " APPL " ...................................... 67
6.2 Setting weighing parameters – " WEIGH " ....................................... 72
6.3 Selecting the calibration (adjustment) and test function – " CAL " ...... 79
6.4 Balance settings – " SYSTEM " ...................................................... 82
6.5 Setting the language – " LANGUAGE " ............................................ 89
7 LocalCAN universal interface, technical data and optional
equipment ................................................................................. 90
7.1 LocalCAN universal interface ......................................................... 90
7.2 Technical data of the PR/SR balances ............................................ 91
7.3 Optional equipment ..................................................................... 101
8 Appendix ................................................................................... 103
8.1 Inquiry of software version numbers .............................................. 103
8.2 Parameter settings and admissible values ...................................... 104
8.3 Messages in the display ............................................................... 108
8.4 Adjustment of the internal calibration ............................................. 110
8.5 Maintenance ............................................................................... 112
8.6 Changing the fuse (only with balances with built-in
power supply unit) ...................................................................... 113
8.7 Changing the battery .................................................................... 114
8.8 SOP (Standard Operating Procedure) ............................................. 115
8.9 Index ......................................................................................... 117
3
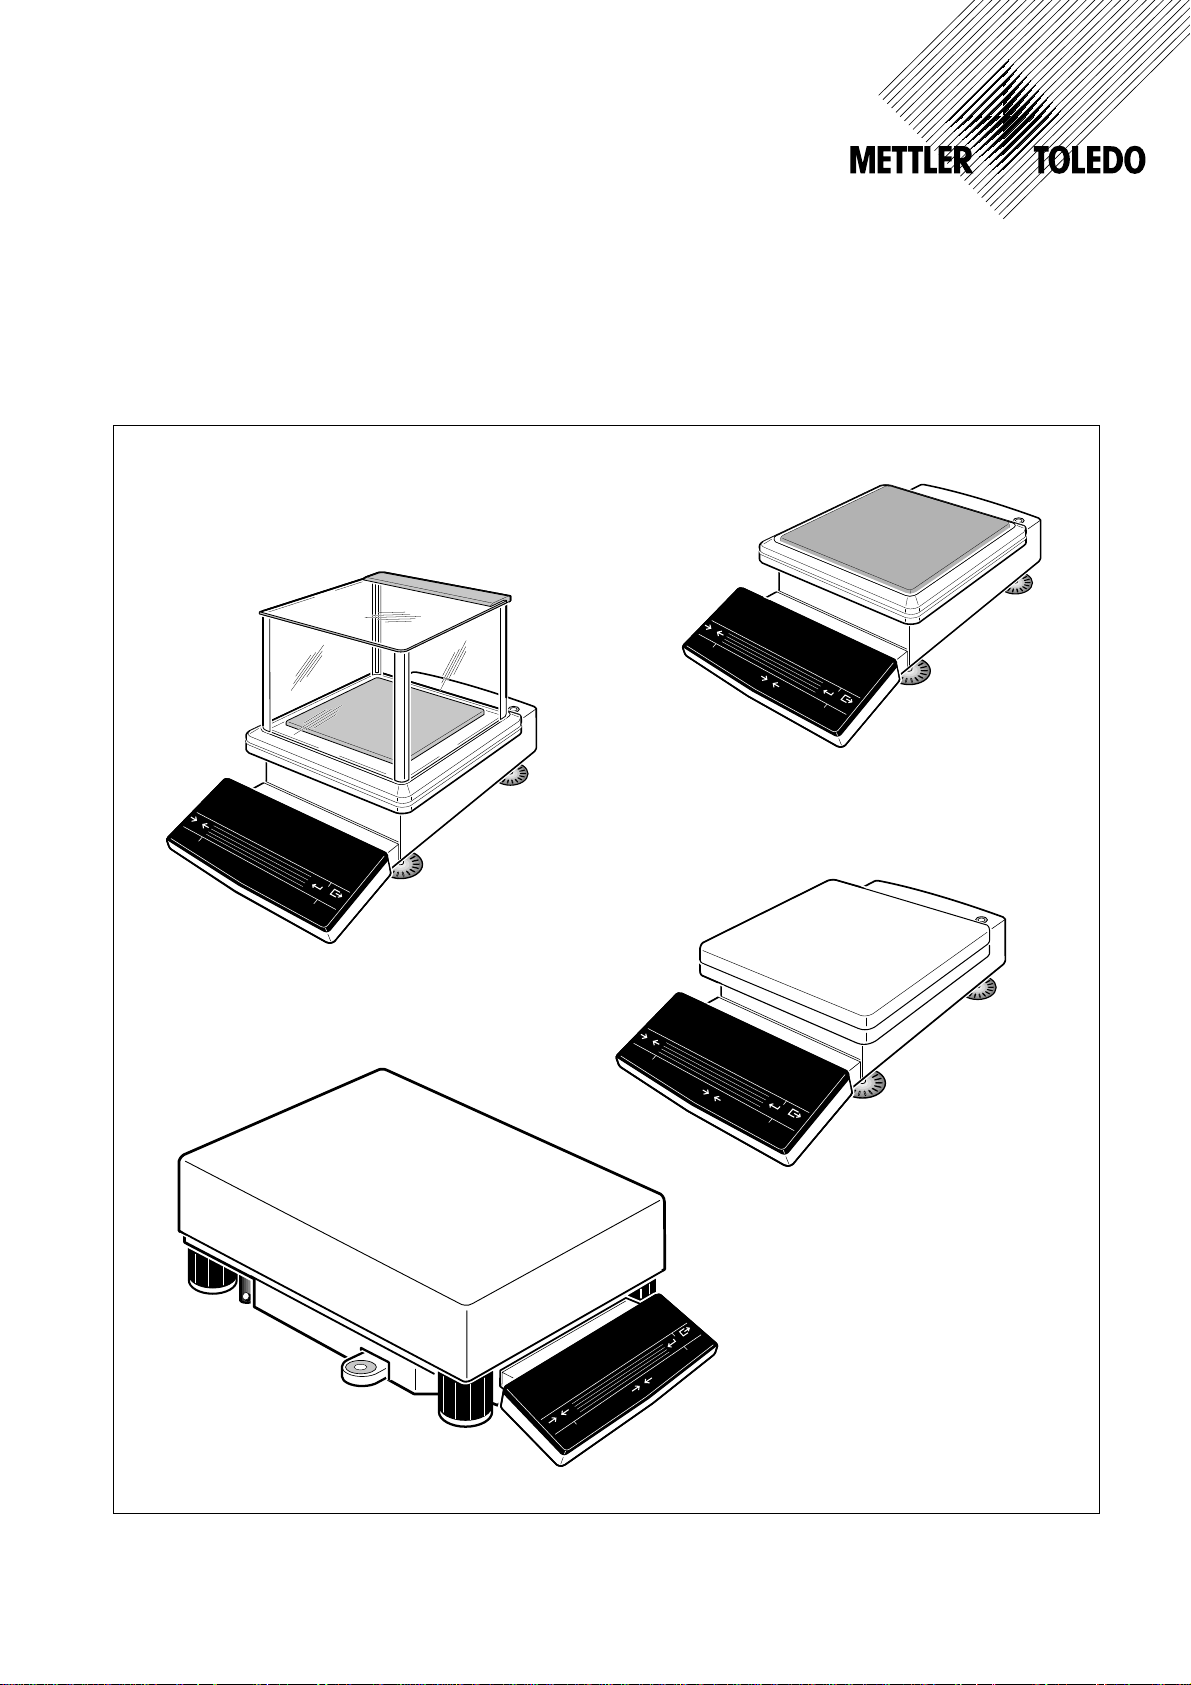
1 Getting to know the PR/SR balances
1.1 Introducing the PR/SR balances
PR/SR balances are high-quality precision balances with readabilities from 1 mg to
1 g. The weighing ranges span 200 g to 8 kg in the case of the compact PR models.
For the SR models with detachable terminal, the ranges span 8 kg to 64 kg. Thanks
to their numerous functions, PR/SR balances can not only be used for weight
determination. You can employ your balance in a wide range of weighing applications in a simple fashion with unmistakable documentation of the measurement
results.
The most important features
• Fully automatic and/or time-controlled self-calibration (adjustment) proFACT
proFACT assures the high accuracy of your weighing results at all times, even
under changing ambient conditions.
• Simple operation with the SmartBar key field
With the SmartBar you always have precisely those functions you need for your
current weighing task.
• Result recording conforming to GLP
Thanks to the alphanumeric input possibility offered by the SmartBar and the
corresponding display, you can provide results with a freely selected name as
well as the current date and time to identify them unambiguously. Each
adjustment and each test of the balance can also be automatically recorded.
• Graphic display of the METTLER DeltaTrac
This easily readable analog display supports you in weighing-in and in weight
checks.
• Built-in LocalCAN universal interface
LocalCAN not only allows you to attach a printer or computer with an RS-232C
interface or an auxiliary display and a bar-code reader, but all these peripherals
at the same time. You can thus expand your balance when required to a
convenient weighing station.
PR/SR balancesGetting to know the PR/SR balances
• METTLER TOLEDO DeltaRange balances also have a movable fine range with 10 times higher resolution.
You will find further details in section 3.5.
• PR/SR balances are also available in a certified version. Ask your METTLER TOLEDO dealer for details.
• For special applications, e.g. space-saving installation in a machine, PR/SR balances are also available
without a terminal. They are then operated via the built-in interface with a powerful set of commands.
• If you wish to build on what you have learned about weighing in these operating instructions, you will find
valuable tips in the booklet "Weighing the right way" 720906.
4
PR/SR balances Getting to know the PR/SR balances
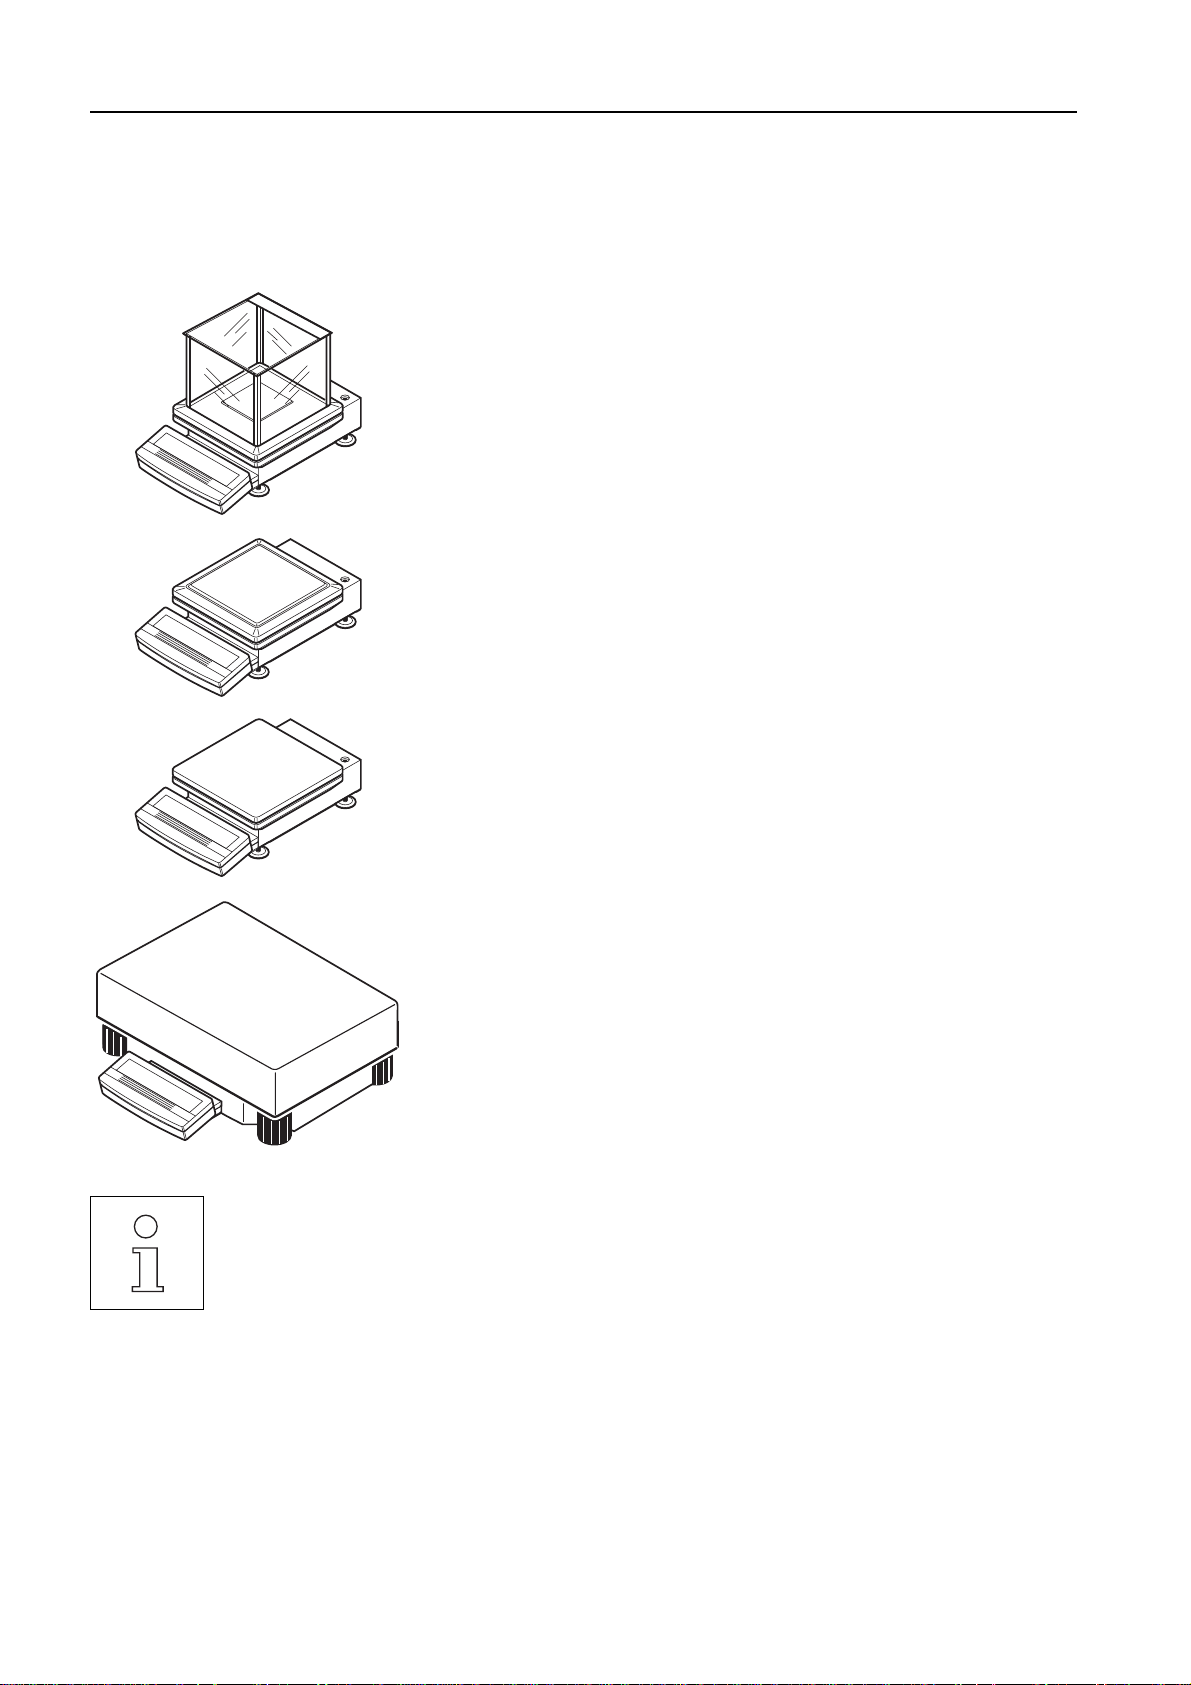
1.2 Unpacking / Standard equipment
PR/SR balances are supplied in an environmentally friendly package.
➜ Check the standard equipment for completeness.
PR balances with readability 1 mg
• Operating instructions
• Weighing pan support
• Weighing pan
• Draft shield
PR balances with readability 10 mg
• Operating instructions
• Weighing pan support
• Weighing pan
• Draft shield element
d
s
h
s
s
g
d
j
s
s
g
fg
f
j
g
h
s
m
jf
s
f
k
jt
g
f
jh
m
d
m
s
k
d
f
jg
h
m
g
g
d
m
d
k
fk
g
g
d
j
m
f
g
d
,
g
h
f
g
k
f
m
f
,
m
,g
f
dshsdgjhsjtdsjgdfkjdfkm
g
x
f
f
,g
,f
h
g
m
f
sgjsfgjfkjhkhgkdghmxfhm
,g
,g
d
d
f,
m
m
g
sfgm
d
n
m
c
x
sfgmfmdgmgf,gf,fg,gf,gdmcxnxc
c
n
fmdgmgf,gf,fg,gf,gdm
x
c
n
x
fsm
c
dfmgh,m
fdm
fsmdfm
ghghjksfhsfgjhgzfdhcxncx
dfjxc
fdmghgh
gfh,gf,cxnxcncxncxn
dm
gh,mgfh,gf,cxnxcncxncxnc
ncxnc
jksfhsfg
jhgzfdhcxn
f
cxvn
d
f
m
s
f
m
g
d
f
h
m
d
s
g
f
m
g
m
h
h
d
j
g
k
g
f
h
s
m
h
f
,
f
j
h
m
g
k
d
s
h
s
m
g
f
f
,
f
g
f
h
m
s
g
h
j
m
s
h
h
,
g
f
g
f
g
g
d
g
d
f
f
h
z
h
m
,
j
f
h
c
m
,
f
f
j
g
d
k
s
x
g
g
g
f
s
m
h
n
z
h
,
f
h
s
c
c
x
f
g
h
d
d
f
x
,
x
c
h
g
s
m
f
h
n
n
n
m
s
f
j
m
c
k
x
g
c
g
c
f
g
x
s
c
g
x
j
f
x
f
h
m
h
n
f
h
n
s
v
m
n
h
g
,
c
g
,
n
c
c
d
g
s
m
f
z
x
x
j
x
m
g
s
d
f
f
f
n
,
g
g
n
d
f
m
s
c
d
g
c
j
f
c
h
h
x
h
h
g
x
j
g
c
f
n
s
g
,
n
m
k
f
x
g
d
x
z
,
j
g
n
h
f
c
g
g
f
,
d
f
c
k
n
c
f
j
,
h
,
h
x
f
h
x
c
g
g
s
v
c
n
g
x
f,
,
j
n
x
n
x
g
k
t
f
d
n
g
c
d
c
f
,
s
c
n
,
x
g
g
g
j
x
n
c
g
h
d
f
x
c
,
d
m
m
g
n
f
d
k
x
c
c
j
m
f
x
x
d
h
n
n
f
n
m
k
x
c
m
c
d
x
m
d
n
f
c
j
x
c
PR balances with readability 0.1 g* and 1 g
• Operating instructions
• Weighing pan support
• Weighing pan
* Type of construction of 0.1 g certified version corresponds to that of 10 mg model
Additional equipment for PR balances with separate power supply unit
• Power cable
• AC adapter
• Holder for AC adapter
SR balances
• Operating instructions
• Weighing pan
• Terminal with holder
• Terminal connection cable
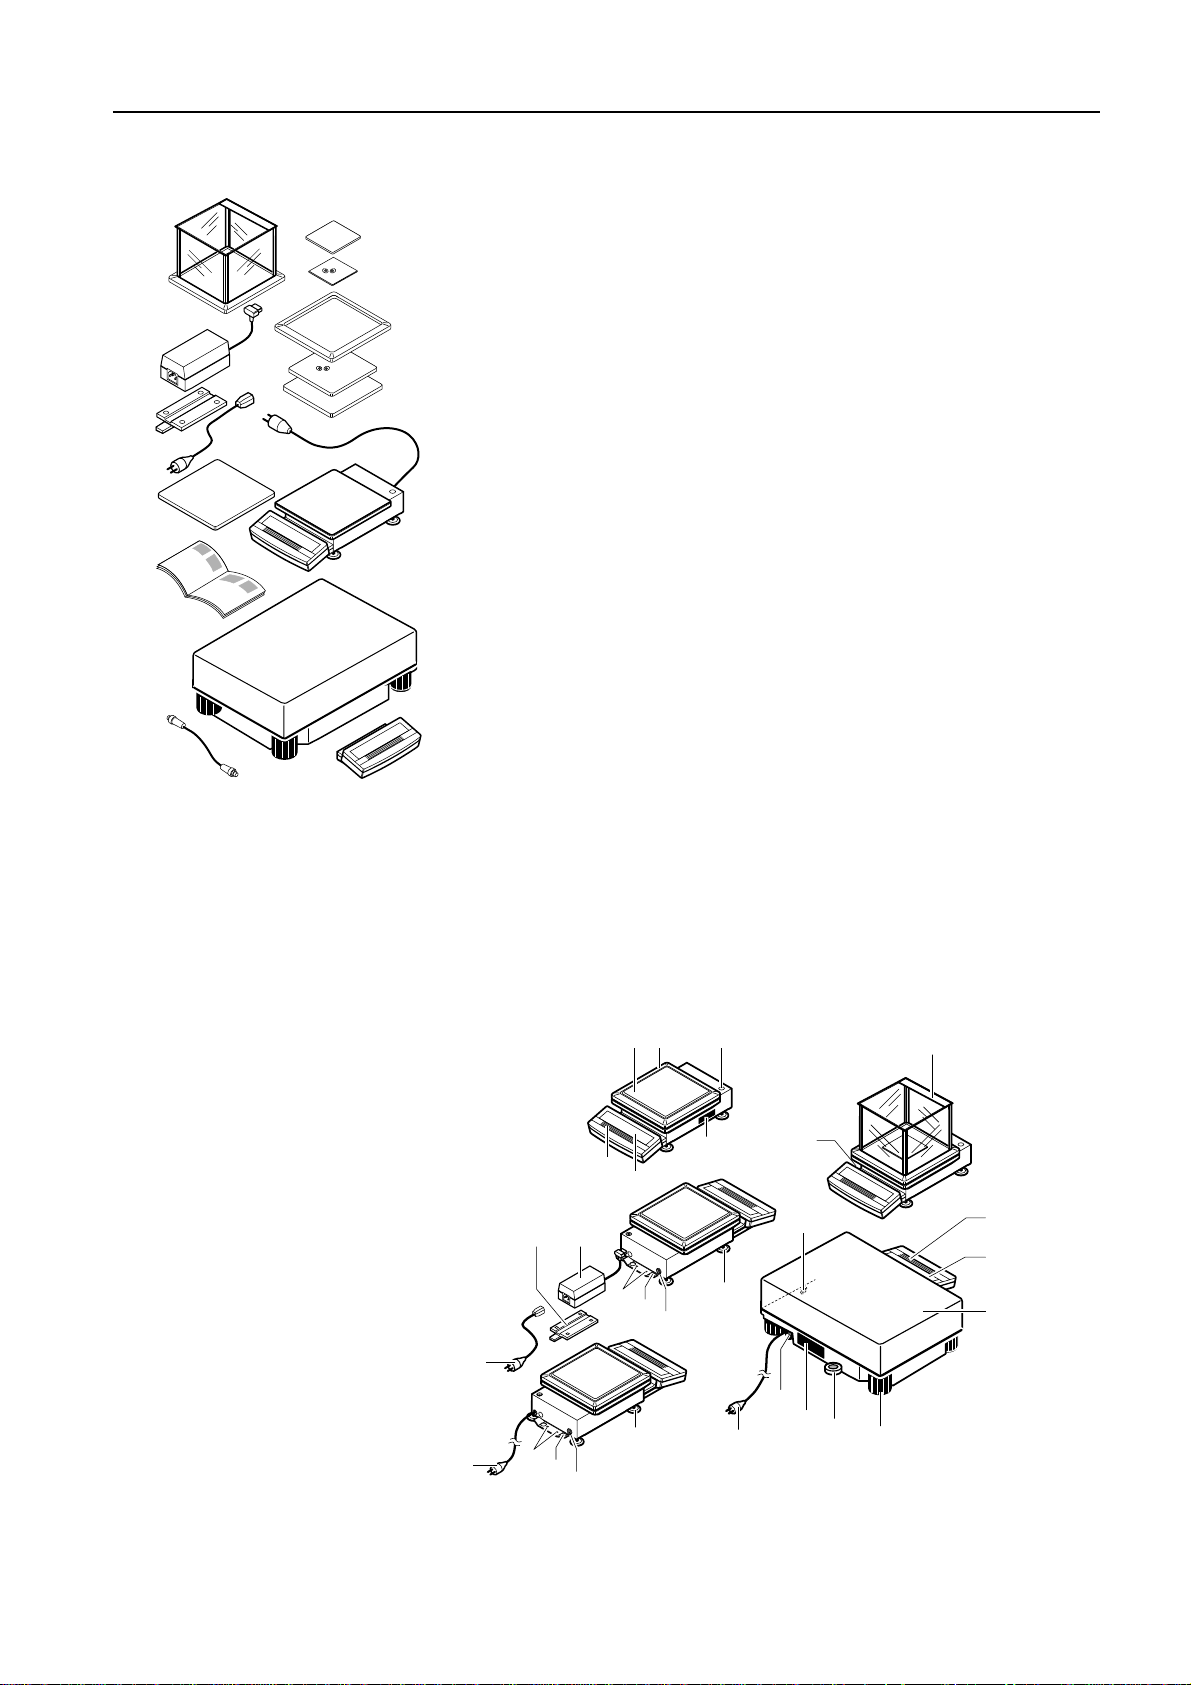
1.3 Layout
The control unit (terminal) of the PR/SR balances is separated from the base unit to facilitate your operation and loading of the
balance.
The terminal with its display and keypad is identical for all PR/SR balances. The size of the weighing pan depends on the
readability and maximum capacity of the balance.
1 Keypad
2 Display field
3 Weighing pan
4 Leveling control
5 Power cable
6 Stand fastening
7 Provision for anti-theft device
8 Attachment for the LocalCAN uni-
versal interface
9 Leveling feet
10 Draft shield
11 Draft shield element
12 Model plate
16
13 Model designation
14 AC adapter
15 Holder for AC adapter
16 Power cable for AC adapter
5
1415
6
7
8
11
34
12
1
2
6
7
9
8
9
10
13
8
1
2
3
7
12
4
5
9
5

PR/SR balancesGetting to know the PR/SR balances
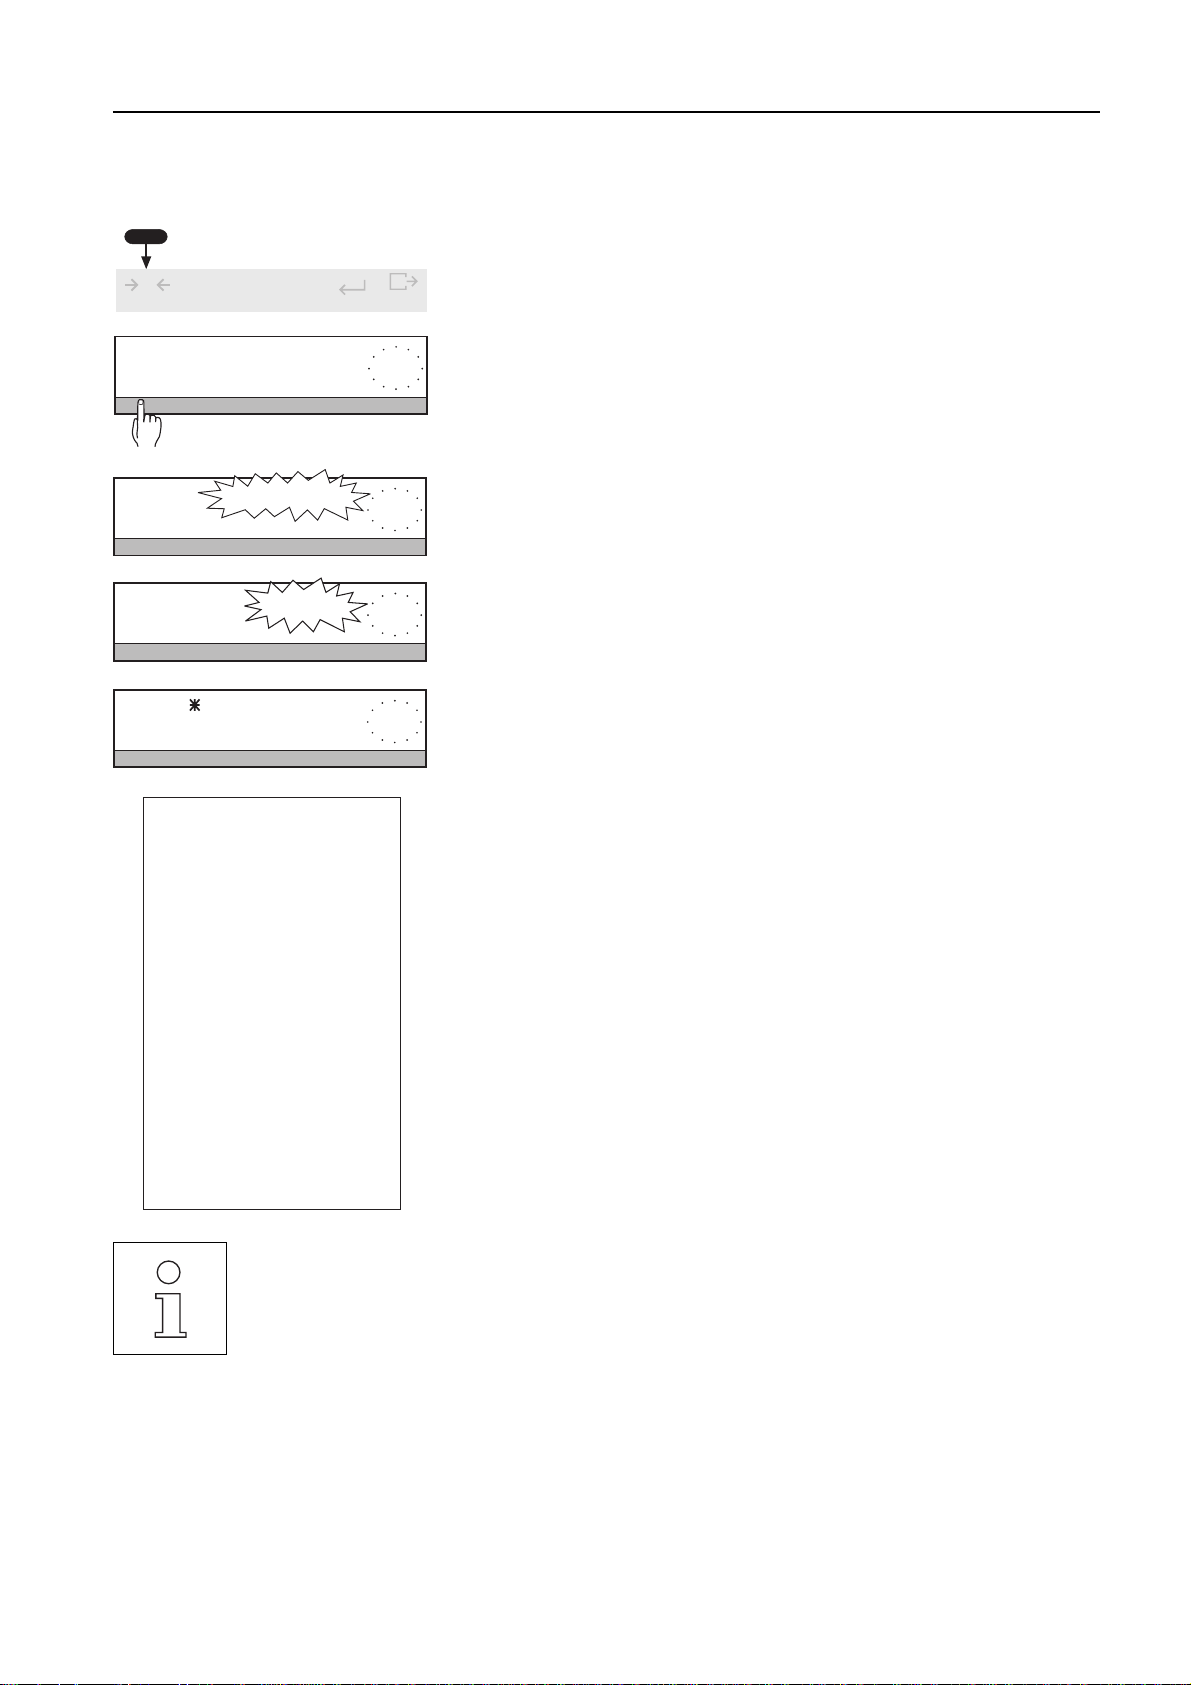
1.4 Key assignment
The keypad of the PR/SR balances comprises a variable key field, the SmartBar, and the dedicated or labeled keys.
The SmartBar
The most important and versatile key field of the PR/SR balances is the SmartBar. Its configuration changes in accordance with
the weighing task and facilitates your operation of the balance. You can discover the current configuration from the bottom line
of the display directly above the SmartBar.
You can use the SmartBar to
• set balance parameters and applications,
• select the parameters of an application,
• call up or execute functions,
• assign alphanumeric identifications,
• preset numeric values such as date, time and target weight values.
Dedicated keys
A brief keystroke activates the main function of the key, which is printed in large letters.
Pressing and holding the key activates the auxiliary function of the key, which is printed in smaller, green letters.
Pressing and holding a key is shown by the symbol in these operating instructions.
AutoCal BPTGNet
0
Cal / Test
1/10d
On
Off
SmartBar
T
C
Menu
1/10d
6
PR/SR balances Getting to know the PR/SR balances
When the balance is switched on, there are two operating modes.
1. Weighing mode
Mode after switching on in which you weigh or use one of the weighing applications (sections 3, 4 and 5).
2. Menu
Here you can match the PR/SR balance to your needs or your weighing task, change the weighing behavior of the balance or
set basic parameters (section 6).
In some cases, the function of the dedicated keys differs in accordance with the mode.
Weighing mode Key Menu
Press briefly
• Taring
• With entries: cancel
entry
• Zero setting
• No function
• Confirm entry and
return to weight display
• Print out displayed
value
• You can initiate the functions on/off switching ( V), taring (Œ) and cancel (N) over the entire width
of the corresponding key field. If the balance is switched off, but connected to the power supply, only the
Πkey is active. Pressing this key briefly switches the balance on ("On" function).
• All actions that you as the user have to perform at the balance such as loading the balance are marked
by ➜ in these operating instructions.
Press and hold
• Switch off balance
• Calibration (adjustment
or initiating test)
• Suppress or call up last
decimal place
• Confirm entry and
return to weight display
• Enter menu
Æ
Press briefly
• Quit menu without
saving settings
• No function
• No function
• Confirm entry and
return to last display
• Confirm entry and
return to start of menu
Press and hold
• Quit menu without
saving settings, switch
off balance
• No function
• No function
• Confirm entry and
return to last display
• Save menu settings
and return to weighing
mode
7
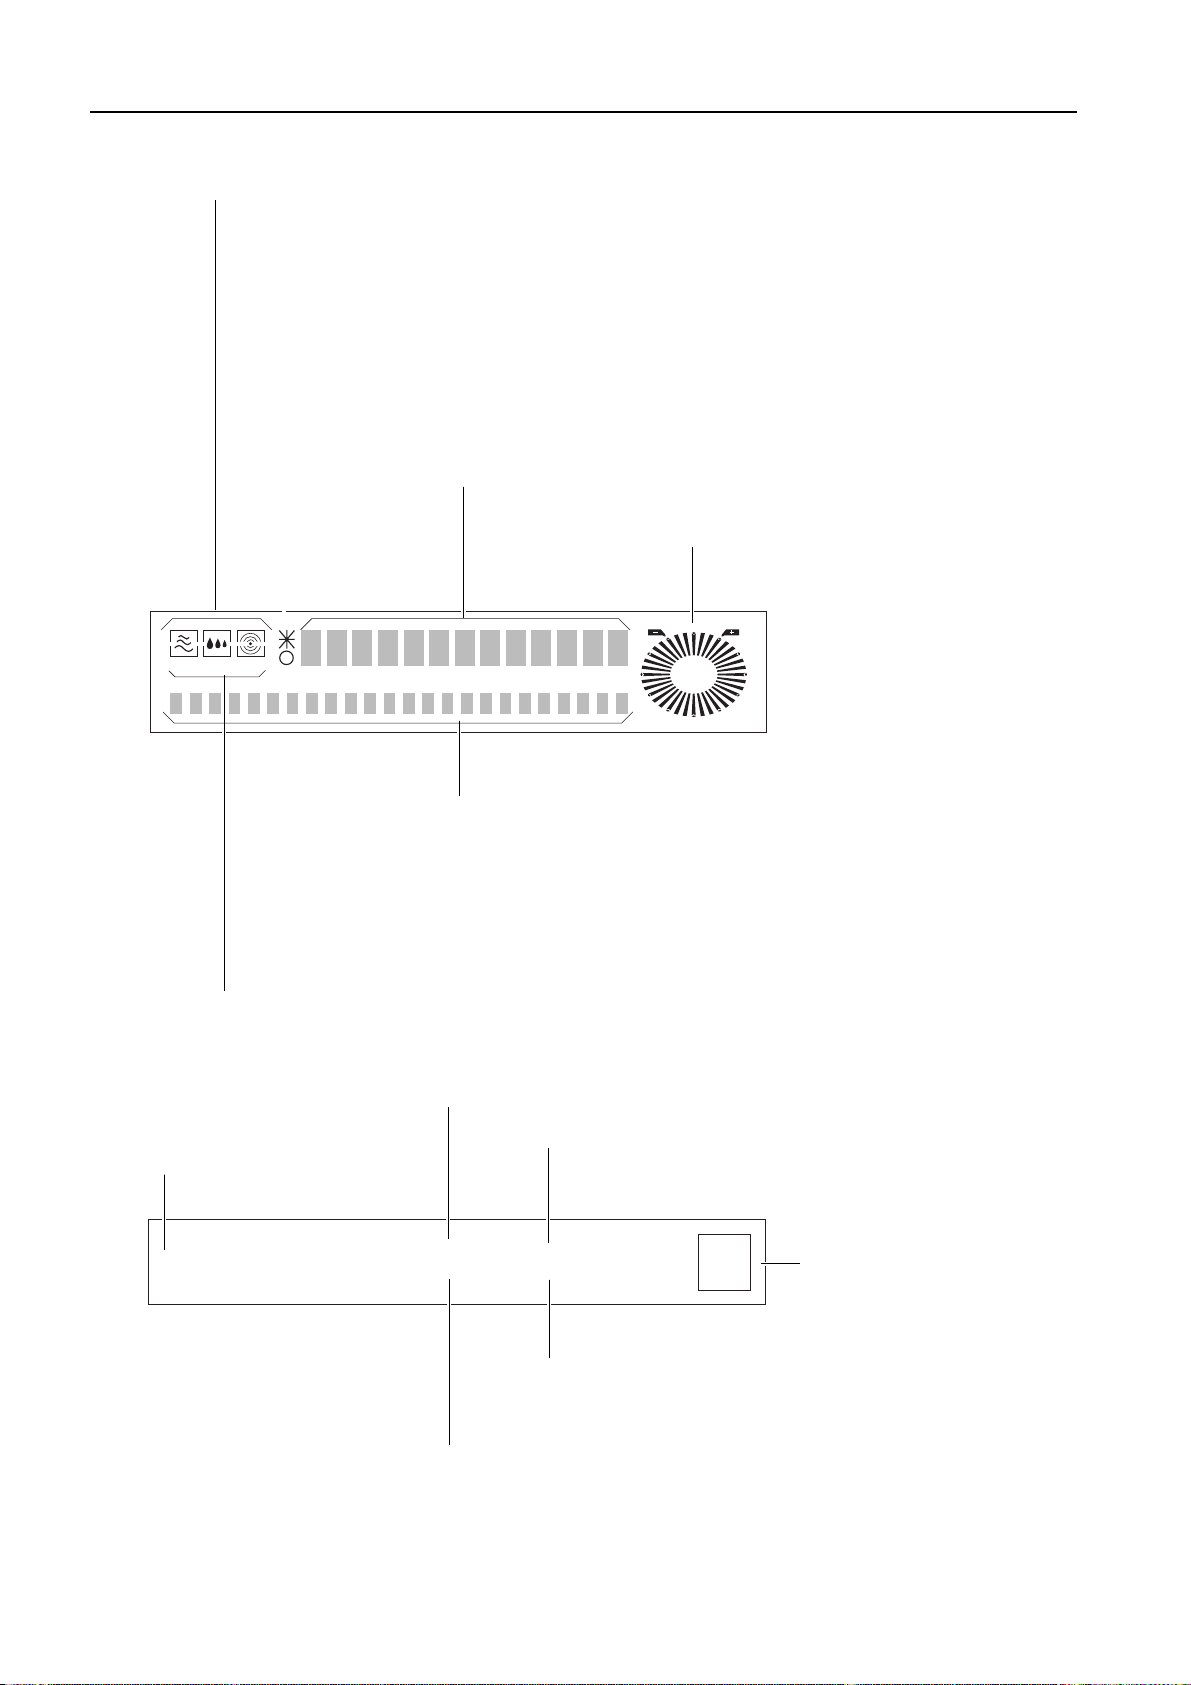
1.5 Display field
Symbols for the settings of the weighing behavior
> Surroundings ("vibrations")
< Type of weighing ("weighing mode")
e Repeatability ("ReproSet")
PR/SR balancesGetting to know the PR/SR balances
✴ signifies displays which do not correspond to the weight currently loaded,
e.g. difference to target weight
●● stability detector; fades when the weight display is stable
Here, weighing results and entries are displayed alphanumerically
Analog display METTLER DeltaTrac or
plus/minus display with tolerance markers
AutoCal BPTGNet
0000000000000
000000000000000000000000
Status displays
AutoCal, Cal Display for calibration (adjustment)
G Display of gross weight
PT Display of preset tare weight
T Display of tare weight
Net Display of net weight
T Net Display of the net total weight
1.6 Model designation list
Model designation
PR503 DeltaRange
®
Here, the current configuration of the SmartBar and
calculated results are displayed
"Max" indicates the maximum capacity (max. load) of the balance
"e=" signifies the verification scale interval
(only for certified balances)
Max
Min
510 g
0.02 ge=d=
0.01 g
0.01 g / 0.001 g
Pro
FACT
"proFACT" indicates that the
balance is equipped with fully
automatic self-calibration
"d=" signifies the display increment (readability) of the balance
"Min" = minimum load (only with certified balances)
Weighings below the minimum load can be associated
with an error of high percentage.
8
PR/SR balances Startup procedure
2 Startup procedure
2.1 Cautionary notes
• PR/SR balances may only be used indorrs.
• Never operate PR/SR balances in hazardous areas.
• Operate PR/SR balances only when connected to receptacle outlets with a ground connection.
• PR/SR balances with built-in power supply unit can be made dead only by disconnecting the power plug.
The receptacle outlet must thus be near the balance and readily accessible.
• In the case of PR balances with a separate power supply, use only the AC adapter supplied. The voltage
value printed on the adapter must match the local line voltage.
• Electronics and measuring cells of the PR/SR balances are protected against the ingress of water and dust,
but they are not absolutely tight.
• Never operate PR balances in surroundings which are always humid or extremely dusty.
• In the case of SR balances, operation in humid or dusty surroundings is possible provided the balance is
carefully maintained.
• Follow cleaning instructions (section 8.5). Protect power plug to ensure it never gets wet.
• Never open your balance. Should you have problems with your balance on the odd occasion, please
contact your responsible METTLER TOLEDO dealer.
2.2 Setting up
The optimum location for precise weighing
Influence of ambient conditions on the weighing sample
Ambient conditions not only influence the informative value of the measurement results with regard to
accuracy, but can also have an effect on the mass of the weighing sample.
• The atmospheric humidity influences the mass, e.g. by a film of moisture, by water absorption in the case
of hygroscopic weighing samples or through sample desiccation.
Proper location of high-resolution balances is one of the decisive factors affecting
the accuracy of the weighing results. Hence, pay attention to the following points:
• stable, vibration-free support as horizontal as possible,
• no direct sunlight,
• no excessive temperature fluctuations,
• no drafts.
The best location is a stable bench in a corner protected against drafts and as far as
possible from doors, windows, heating systems or ventilation slots of air
conditioning units.
If vibrations can not be avoided, the balance can still provide precise results if it is
matched to its environment (see section 6.2).
9
PR/SR balancesStartup procedure
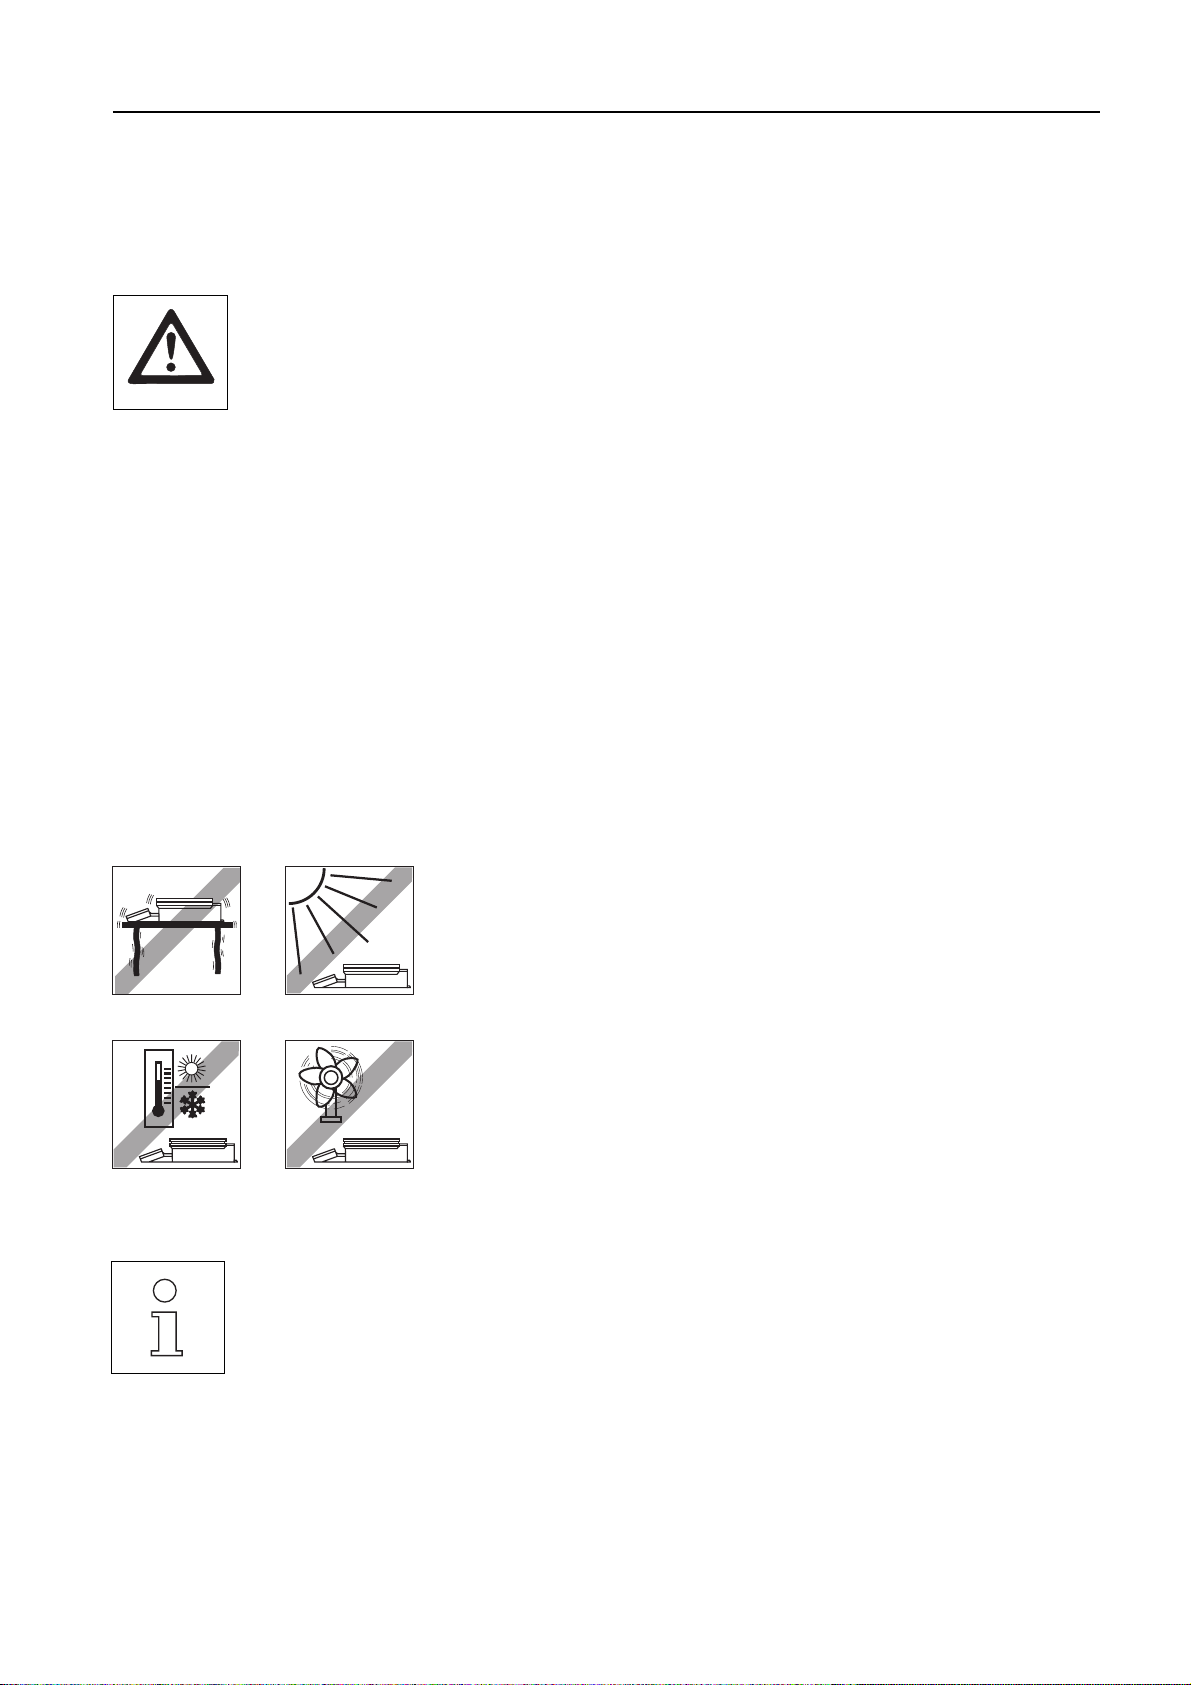
Setting up the balance
PR balances with draft shield or draft shield element
(readability 1 mg or 10 mg)
➜Mount weighing pan support.
The weighing pan support is protected against distortion.
➜Mount weighing pan.
➜Mount draft shield or draft shield element.
PR balances with large weighing pan
(readability 0.1 g or 1 g)
➜Mount weighing pan.
SR balances
➜Remove balance, weighing pan and terminal from package.
Mounting terminal on balance
➜Remove buffer protecting strip.
➜Fasten terminal with screws of the detached buffer protecting strip.
➜Plug connection cable into the balance and the terminal.
➜Insert connection cable in the cable channel provided.
➜Mount weighing pan, detach protective cover.
Mounting terminal separately
➜ Unscrew separator from terminal.
➜ Retighten screws to ensure continued protection against wet conditions.
➜ Plug connection cable into balance and terminal.
➜ Mount weighing pan, remove protective cover.
Anti-theft device of PR/SR balances
PR/SR balances have provision for an anti-theft device. When the anti-theft device is
fitted (see Optional equipment, section 7.3), PR/SR balances can be protected
against theft.
10
PR/SR balances Startup procedure
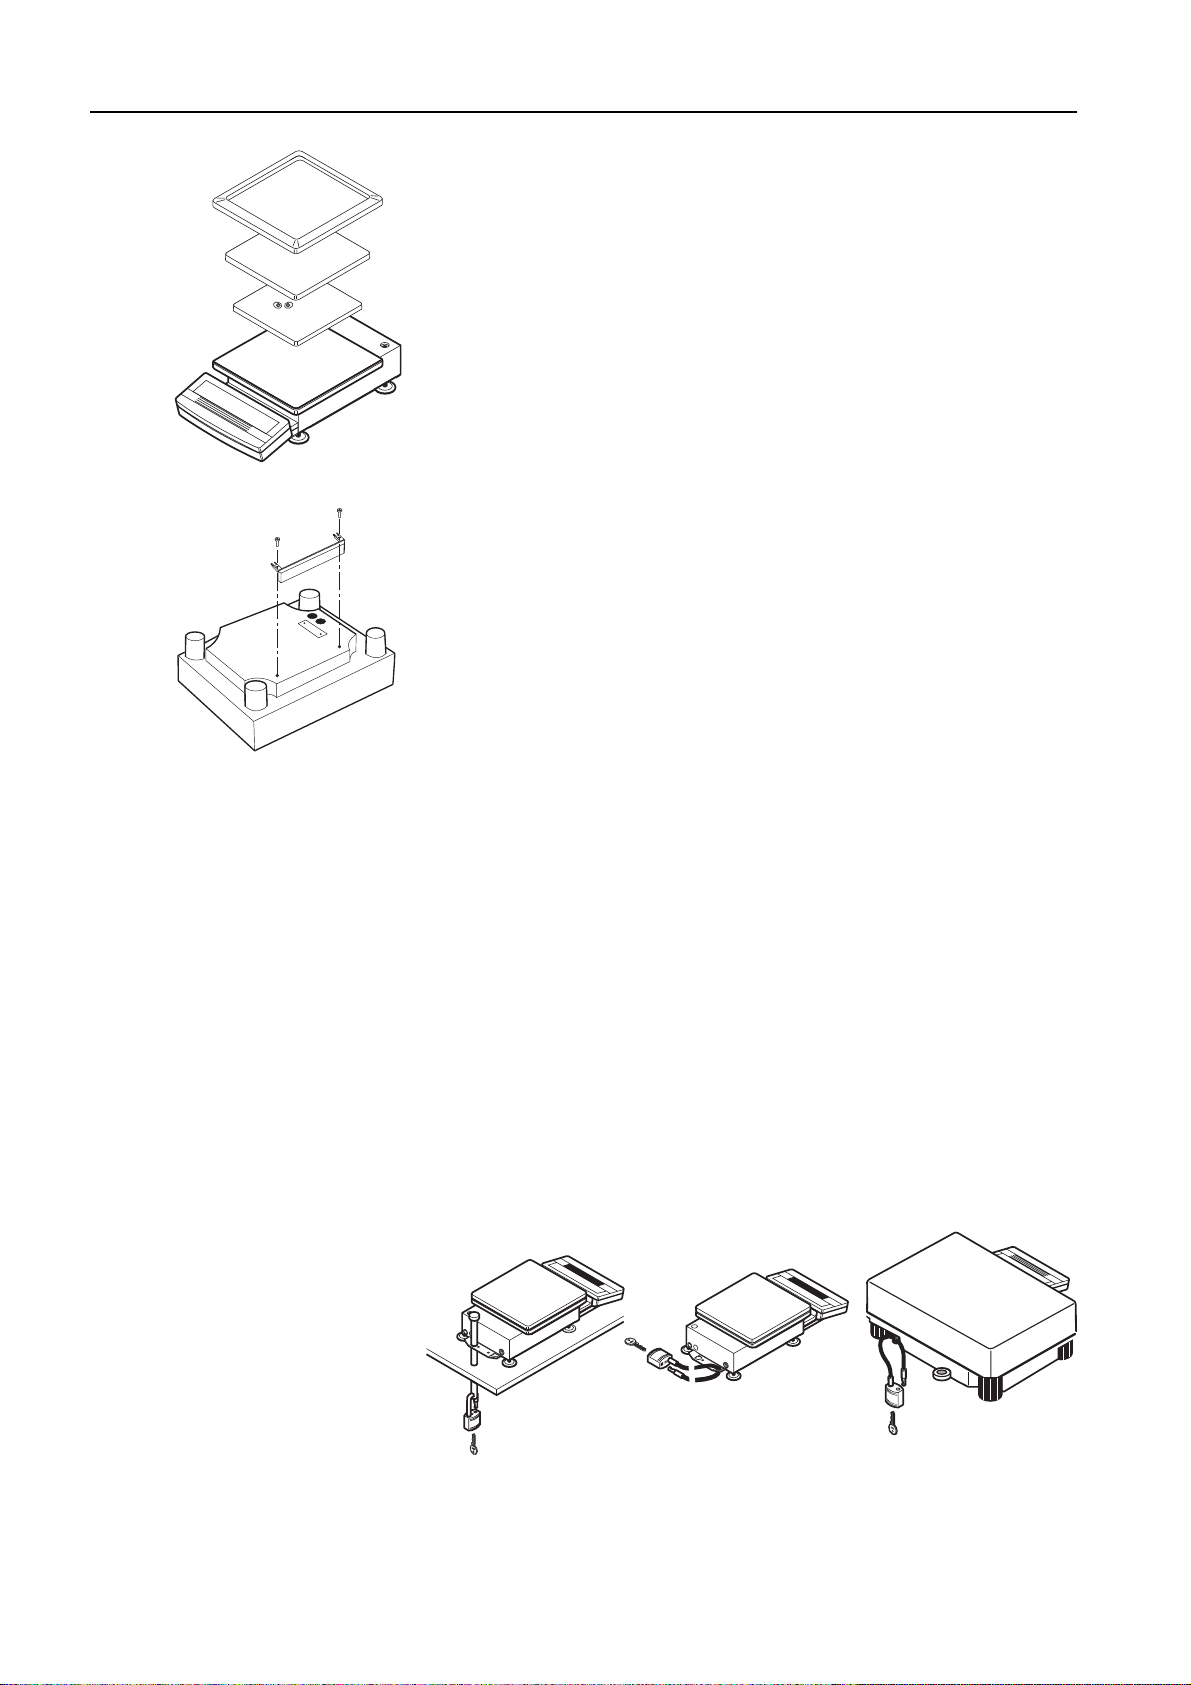
2.3 Leveling
Exact horizontal positioning of high-resolution balances is a prerequisite if reproducible weighing results are to be obtained at all
times. PR/SR balances thus have a leveling control (level) and adjustable leveling feet to compensate slight irregularities in the
surface of the balance location. The balance is exactly horizontal when the air bubble (1) is in the middle of the level.
Procedure with PR balances
With PR balances, you need only align the two front leveling feet.
The imprint surrounding the level makes the leveling of PR balances particularly simple.
R
L
➜ Turn the two front leveling feet as shown in the imprint or illustration until the air
bubble is in the middle of the level.
If, for instance, the air bubble is at the bottom right, /R / in the imprint signals
L
1
R
that you must turn the Right front leveling foot in the direction of the arrow
(counterclockwise).
Several leveling steps are usually necessary.
• The balance must be releveled each time it is moved to a new location.
• If you work with heavy loads and wish to obtain results with the highest possible accuracy, the two rear
leveling feet of the PR balances must be unscrewed until they touch the bench surface.
Procedure with SR balances
➜Screw in one of the four leveling feet as far as it will go.
1
Level balance using the three remaining leveling feet, which should be at the
same level.
Unscrew the leveling foot first screwed in until it touches the supporting surface.
The balance must be releveled each time it is moved to a new location.
11
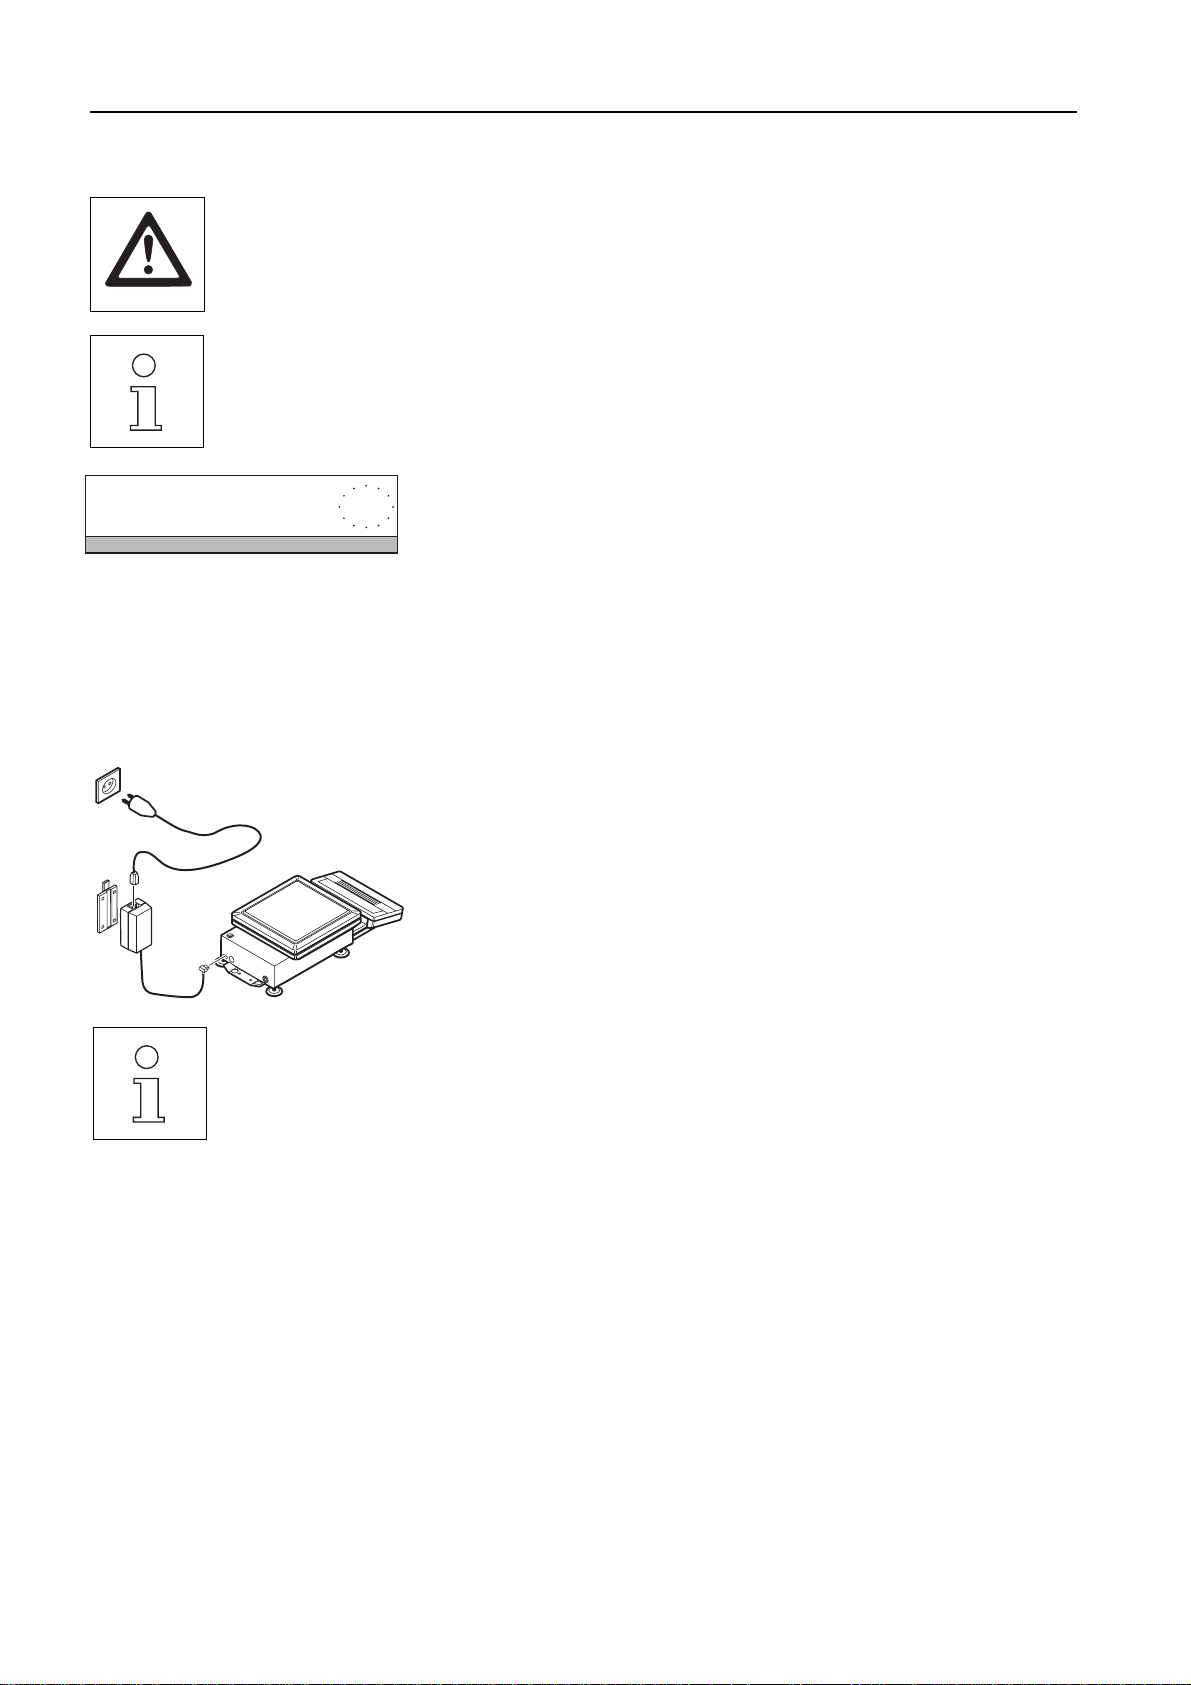
2.4 Connecting to the power supply
• PR/SR balances can be made dead only by disconnecting the power plug. The receptacle outlet must
therefore be near the balance and readily accessible.
• Protect AC adapter and power plug against moisture and wet conditions.
• PR/SR balances may be operated only when connected to receptacle outlets with a ground connection.
• PR/SR balances with built-in power supply unit automatically adjust themselves to a line voltage between
100 V~ and 240 V~ (50/60 Hz).
• In the case of PR balances with a separate AC adapter, the voltage value printed on the AC adapter must
match the local line voltage.
PR/SR balancesStartup procedure
OFF
The AC adapter can be removed from the holder by pressing the protruding lug.
Connecting PR balances with built-in power supply
➜ Connect balance to power supply.
The balance performs an extended display and self-test. The test is at an end
when "OFF" appears in the display.
Connecting PR balances with separate AC adapter
➜ Check the AC adapter to ensure the voltage value printed on it matches the local
line voltage.
➜ Connect AC adapter to balance and power supply.
Holder for AC adapter
You can install the AC adapter in a fixed position using the holder supplied.
➜ Fasten holder with 2 screws to a suitable, sufficiently stable surface, e.g. on the
wall or the underside of a bench top.
➜ Press AC adapter into holder.
➜ Connect AC adapter to balance and to power supply.
12

PR/SR balances Startup procedure
2.5 Calibrating balance (adjustment)
PR/SR balances offer you various possibilities to calibrate or test the balance. In the menu (section 6.3) you
can choose between
• calibrating (adjustment) or testing the balance,
• internal or external weights,
• automatic and/or time-controlled as well as manual initiation of the adjustment operation.
In addition, the last 50 adjustment operations can be displayed or printed out if a printer is attached.
– BALANCE CALIBRATION ––
17.06.95
METTLER TOLEDO
Type:
SNR:
Bal:
Int. calibration done
––––––––– END ––––––––--
10:36:04
PR5002DR
1114051374
Your entry
Factory setting is fully automatic and time-controlled calibration (adjustment) with
an internal weight proFACT (Professional Fully Automatic Calibration Technology).
In this setting, you do not need to worry about calibrating (adjustment) your
balance.
The balance calibrates (adjusts) itself automatically
• after the warm-up phase following connection to the power supply,
• with certified balances: immediately after switching on from the "OFF" condition
(after a power outage),
• if a change in the ambient conditions, e.g. temperature could lead to an
appreciable deviation in the measurement,
• weekdays at 12.00 a.m.
If a printer, e.g. the LC-P43 from METTLER TOLEDO is attached, the adjustment
procedure can be recorded automatically and in conformance with GLP, see
section␣ 6.3.
13
PR/SR balancesStartup procedure
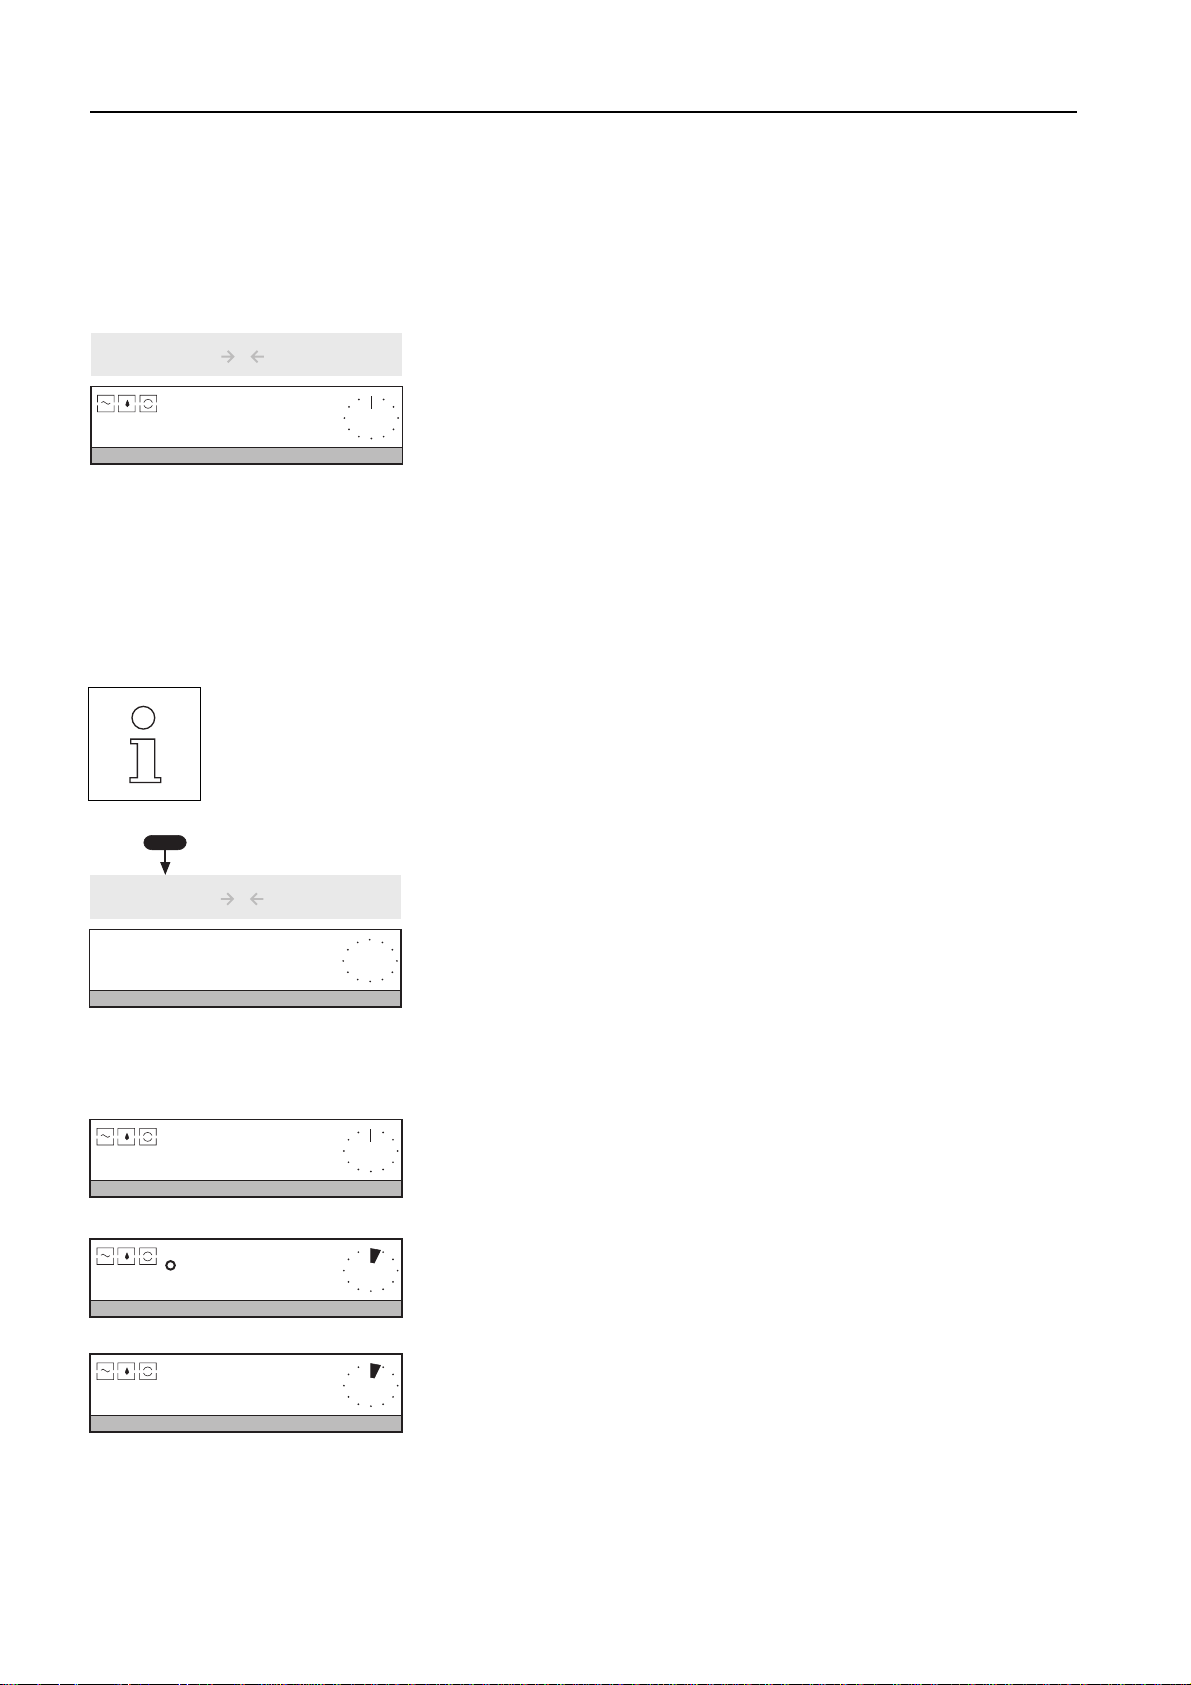
Sequence of the calibration (adjustment) of the balance with an internal
weight
Requirement
The calibration setting in the menu corresponds to the factory setting "proFACT" (see
section 6.3).
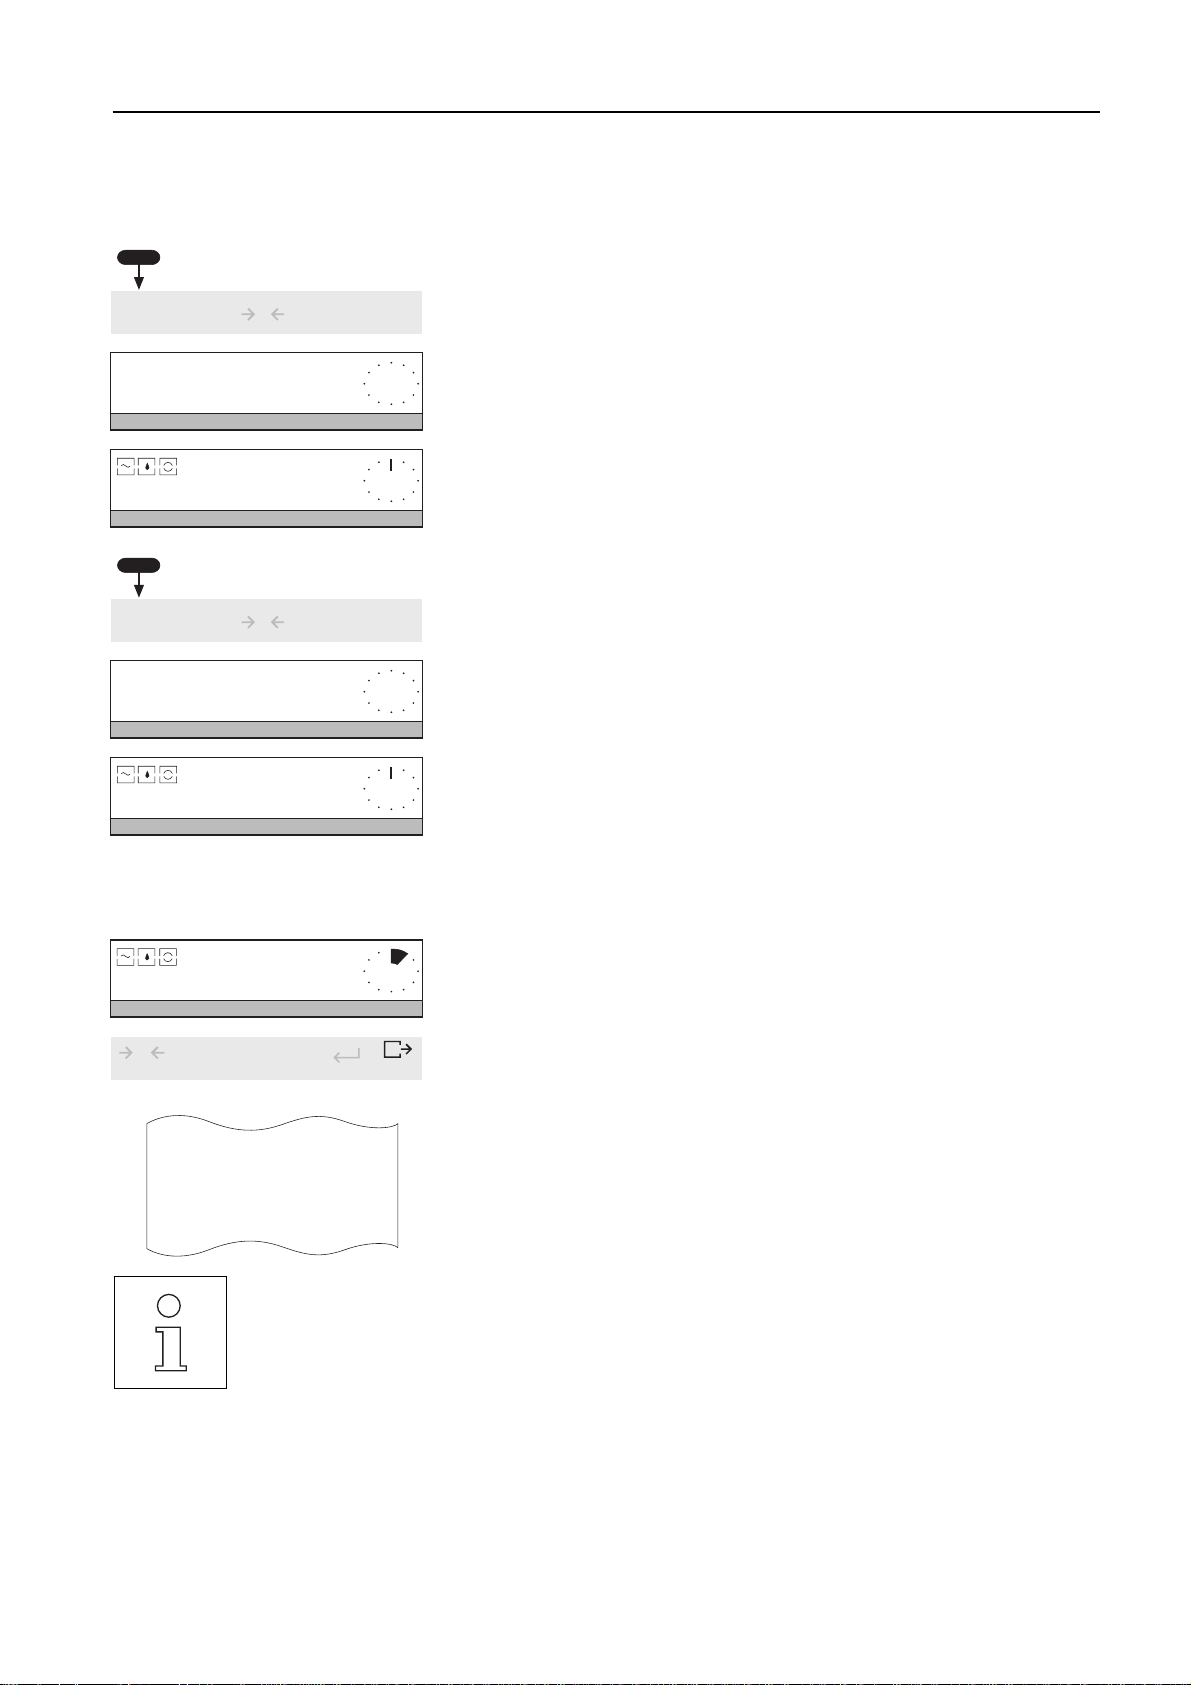
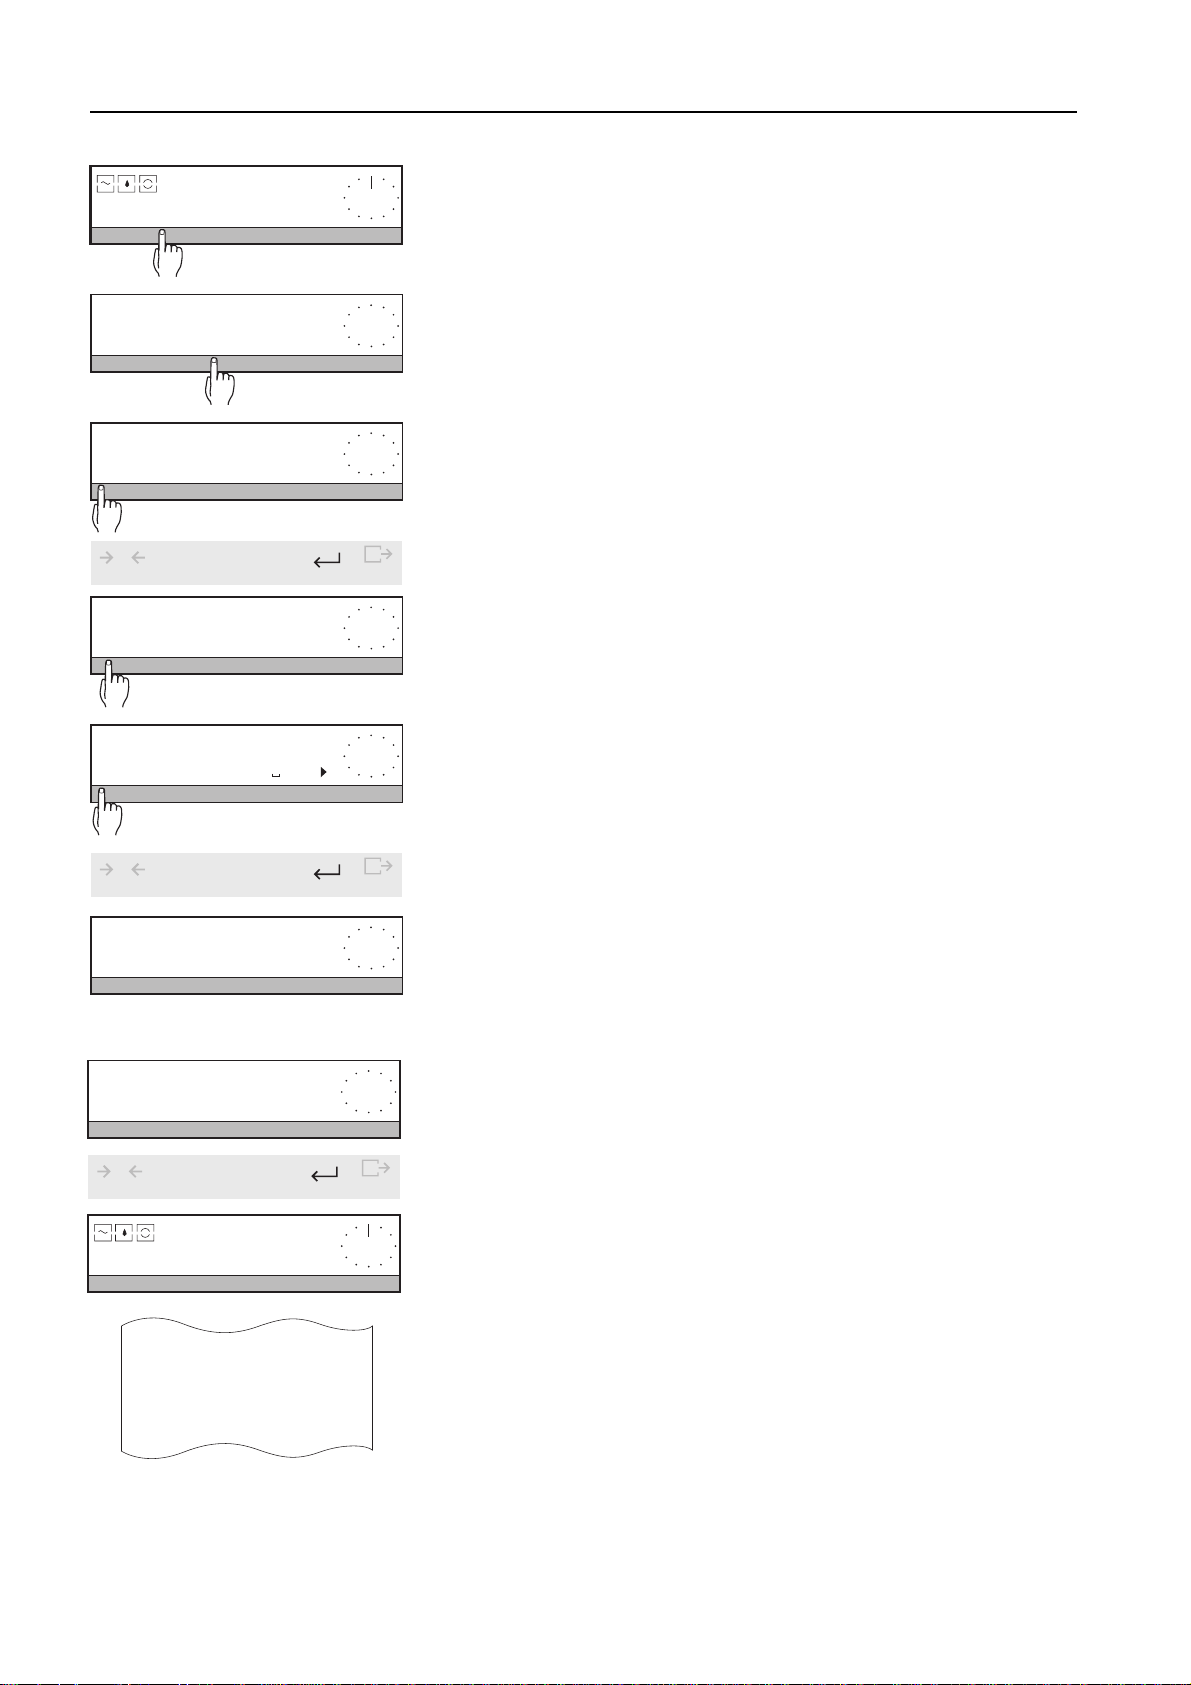
AutoCal
M+ n=0 ∑=0.00g M-
0
Cal / Test
345.78 g-
Start
Test Calibration Repro
Cal done
- BALANCE CALIBRATION
Menu
If the balance wishes to calibrate (adjust) itself, "AutoCal" flashes in the display.
➜On completion of the current weighing series or when the work allows, remove
any load from weighing pan.
After a few minutes, the calibration (adjustment) is triggered automatically by the
balance.
Or
➜initiate the calibration (adjustment) manually by pressing and holding the …
key and by pressing the SmartBar under the word "Calibration".
During the calibration, "BALANCE CALIBRATION" appears in the bottom line of the
display.
Finally, a completed calibration (adjustment) is confirmed by "Cal done" and the
balance returns automatically to the weighing mode. A tare value displayed
before the calibration reappears in the display.
– BALANCE CALIBRATION ––
17.06.95
METTLER TOLEDO
Type:
SNR:
Bal:
Int. calibration done
Signature:
........................
––––––––– END –––––––––-
1114051374
Your entry
• You can terminate the calibration procedure at any time by pressing the N key.
• "Signature" appears on the printout if the calibration was started using the keypad.
• Within a weighing series (item counter n > 0), the calibration is not initiated automatically, but it can be
started using the … key.
14
If a printer is attached, the adjustment can be recorded automatically, see
section␣ 6.3.
10:57:59
PR5002DR
PR/SR balances Startup procedure
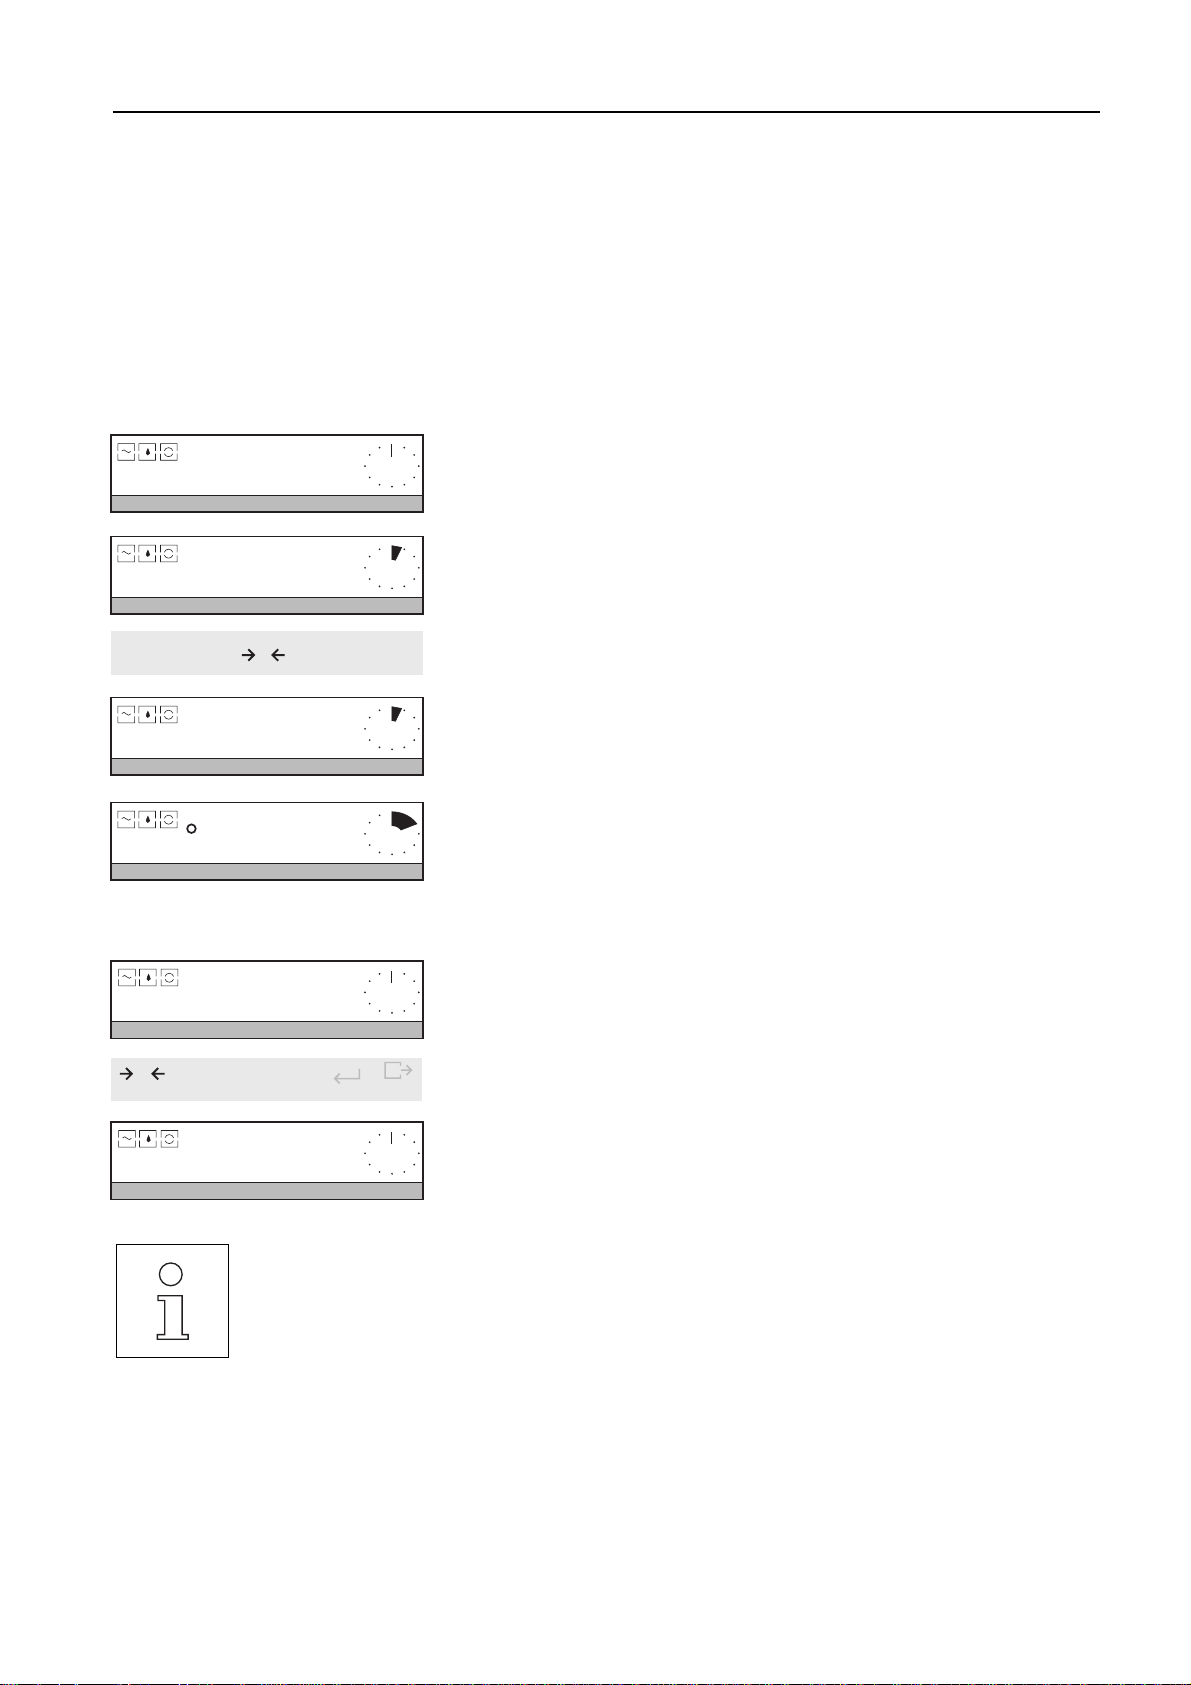
Sequence of the calibration (adjustment) of the balance with external weights
Requirement
The key word "VariCal" is marked under "Calibration" in the "CAL" menu (see
section 6.3).
0
Cal / Test
Start
Test Calibration Repro
Cal
Application
5000.00 g
- BALANCE CALIBRATION
Cal
- BALANCE CALIBRATION
M+ n=0 ∑=0.00g M-
0.00 g
Cal done
- BALANCE CALIBRATION
Menu
➜Trigger the calibration (adjustment) by pressing and holding the … key and
by pressing the SmartBar under the word "Calibration".
"BALANCE CALIBRATION" appears in the bottom line of the display.
After a short time, the balance flashes the weight value it needs for calibration
(adjustment). It is the weight value selected (marked) in the menu.
➜ Place weight whose value flashes in the top line of the display in center of
weighing pan. The balance is calibrated (adjusted).
➜ When zero flashes in the display, remove weight.
Finally, a completed calibration (adjustment) is confirmed by "Cal done" and the
balance returns automatically to the weighing mode. A tare value displayed
before the calibration reappears in the display.
– BALANCE CALIBRATION ––
17.06.95
METTLER TOLEDO
Type:
SNR:
Bal:
Weight ID:..............
Weight:
Ext. calibration done
Signature:
........................
––––––––– END –––––––––-
09:20:25
PR5002DR
1114051374
Your entry
5000.00g--
• You can terminate the calibration procedure at any time by pressing the N key.
• If you have activated the word "VariCal" under "CAL" in the menu (section 6.3), "Cal" flashes in the display
to signal that the balance has determined a noticeable change in the ambient conditions and should thus
be calibrated (adjusted).
• You will find further details regarding selection of the calibration (adjustment) in section 6.3.
If a printer is attached, the adjustment can be recorded automatically, see
section␣ 6.3.
15
PR/SR balancesStartup procedure
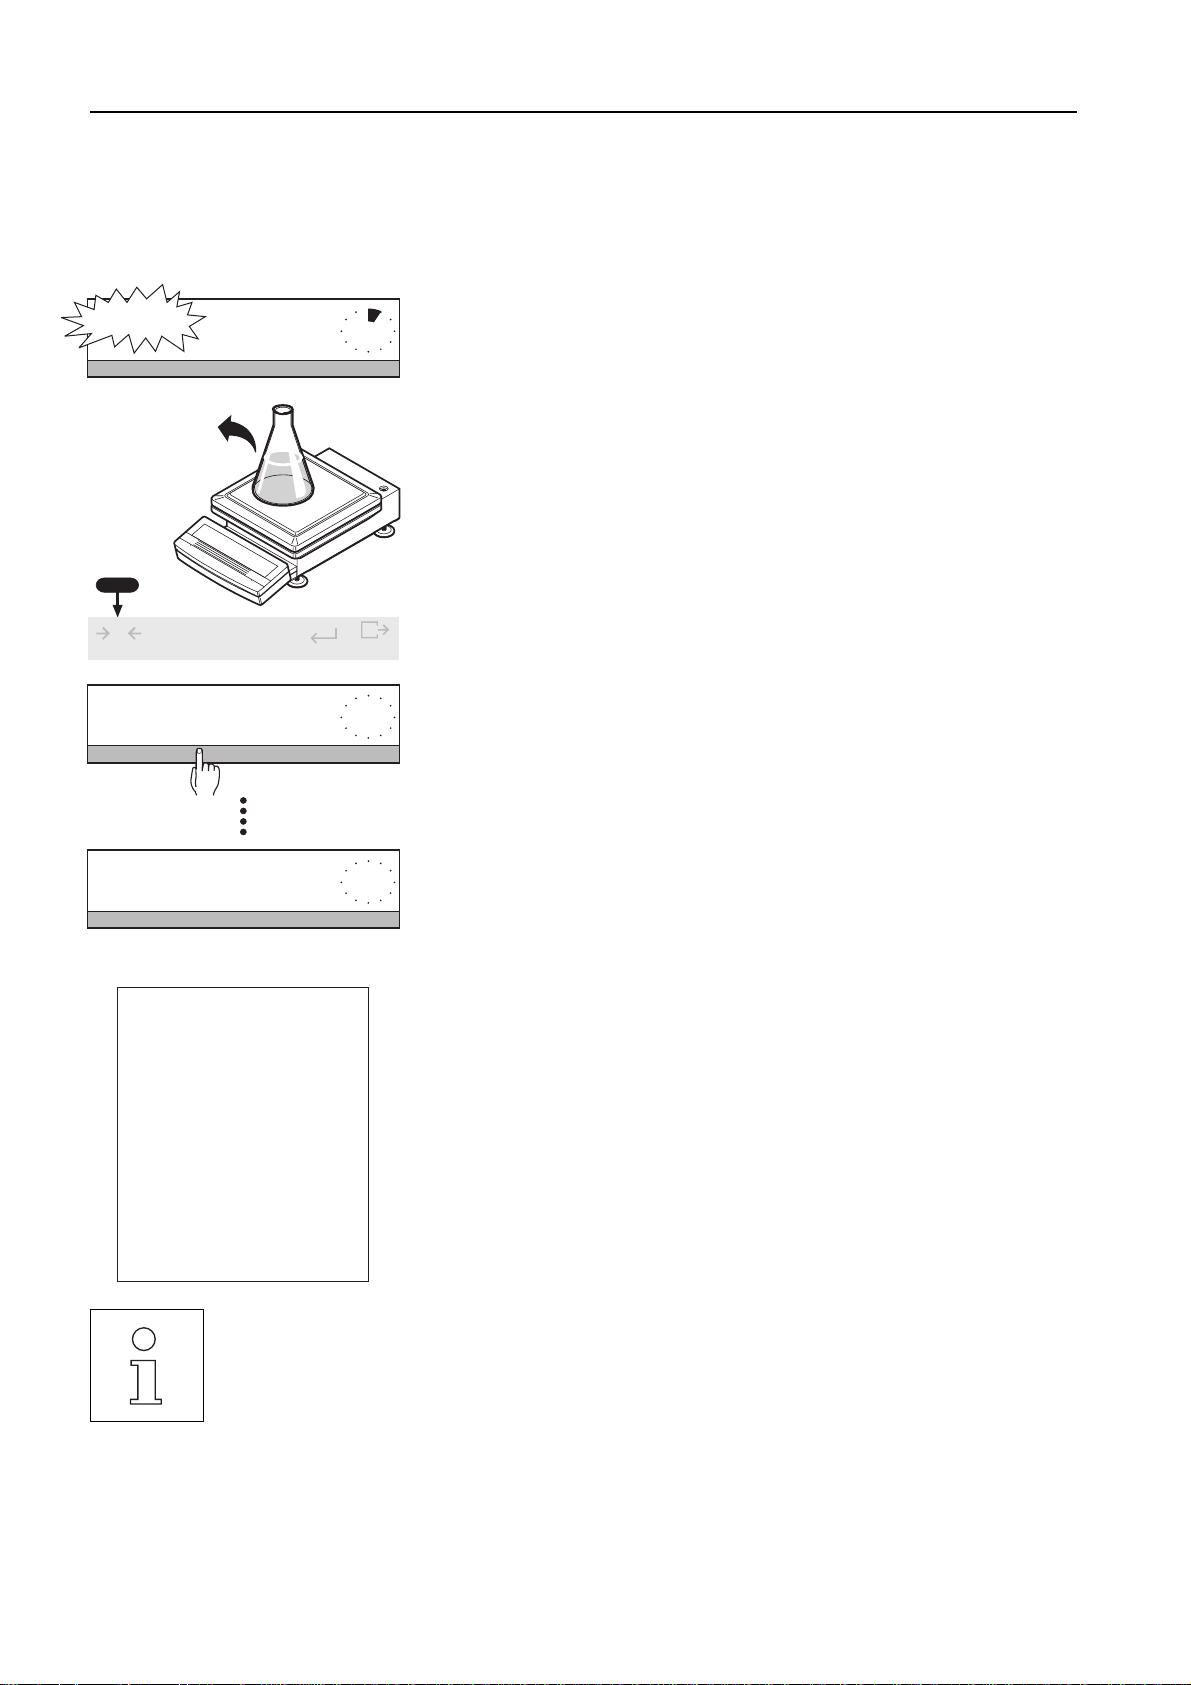
2.6 Testing balance
The "Test" function, which you can call up by pressing and holding the … key, allows you to check the accuracy of your PR/
SR balance at any time. The deviation from the target value determined by the balance is displayed and recorded in conformance
with GLP. You have a choice of two methods here:
• Checking with an internal (built-in) weight; here, the test point is fixed, or
• Checking with an external weight whose value can be freely entered within the load range of the balance.
Procedure for testing the balance with the internal weight
Requirement
The setting of the test function under "CAL" in the menu corresponds to the factory
setting (see section 6.3).
➜Remove any load from the weighing pan.
0
Cal / Test
Start
Test Calibration Repro
AutoCal BPTGNet
----- BALANCE TEST ---
D:
----- BALANCE TEST -----
17.06.95
METTLER TOLEDO
Type:
SNR:
Bal:
Target :
Actual :
Diff :
-0.02-
11:03:06
PR5002DR
1114051374
Your entry
800.00aaaaa
799.98aaaaa
-0.02aaaaa
Menu
➜Initiate test with pressing and holding the … key and by pressing the
SmartBar under the word "Test".
During the test, "BALANCE TEST" appears in the bottom line of the display.
When the test is complete, the difference between the actual value and the target
value appears for a few seconds in the top line of the display marked by "✳" and
"D". The balance then returns automatically to the weighing mode. A tare value
displayed before the test reappears in the display.
If a printer is attached, e.g. LC-P43 from METTLER TOLEDO, the test result is
automatically printed out.
Internal test done
Signature:
........................
--------- END ----------
• You can terminate the test at any time by pressing the N key.
• The deviation determined by the balance depends on the ambient conditions!
16
PR/SR balances Startup procedure
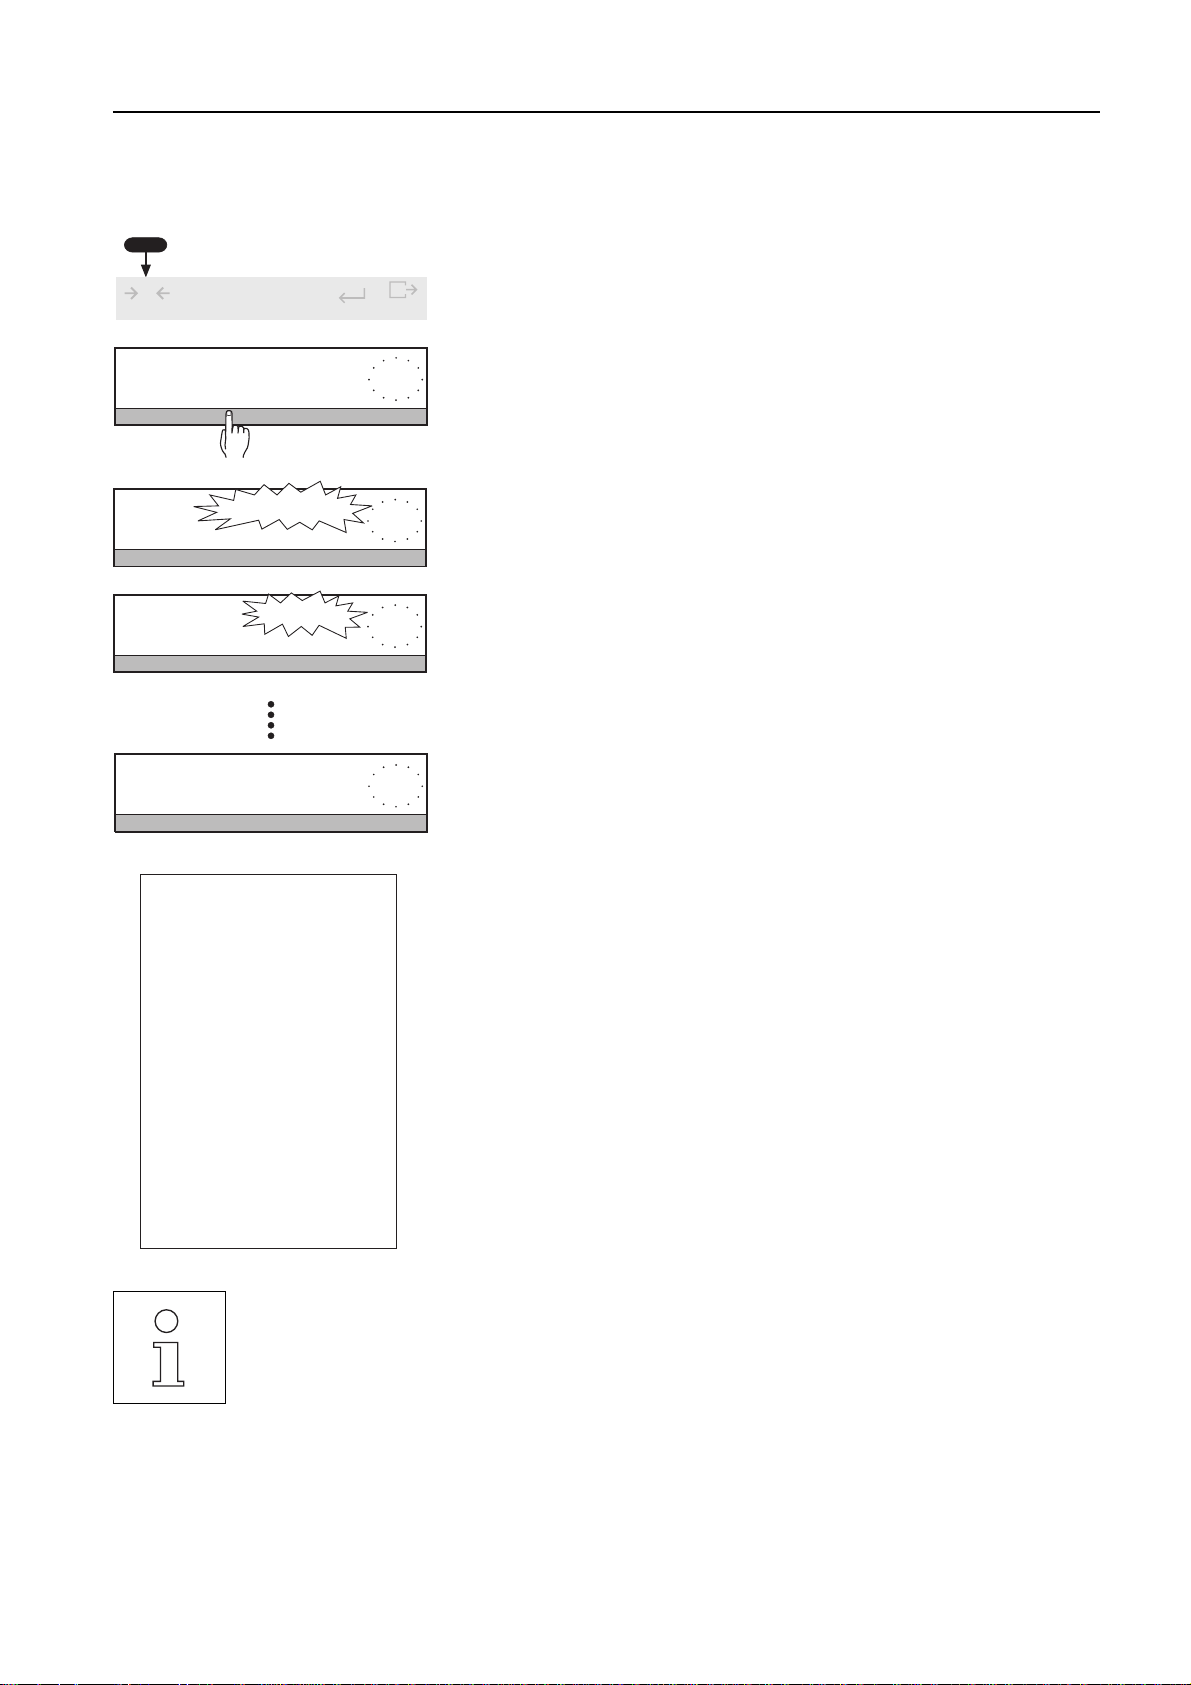
Procedure for testing the balance with external weights
Requirement
The key word "External" is marked under "CAL -> Test" in the menu (see
section␣ 6.3).
➜ Initiate test by pressing and holding the … key and by pressing the SmartBar
0
Cal / Test
Menu
under the word "Test".
Start
Test Calibration Repro
During the test, "BALANCE TEST" appears in the bottom line of the display.
After a short time, the balance flashes the preset target weight it needs for the test
1999.98 g
- BALANCE TEST
in the display (section 6.3).
➜ Place weight whose value flashes in the top line of the display in the center of the
weighing pan. The balance is tested.
0.00 g
- BALANCE TEST
-BALANCE TEST
AutoCal BPTGNet
----BALANCE TEST---
- BALANCE TEST
----- BALANCE TEST -----
17.06.95
METTLER TOLEDO
Type:
SNR:
Bal:
Weight ID:..............
Target :
Actual :
Diff :
External test done
Signature:
........................
--------- END ----------
-0.03-g-D:
1114051375
Your entry
1999.98 gaa
1999.95 gaa
-0.03 gaa
➜ When zero flashes, remove weight from weighing pan.
When the test is complete, the difference between the actual value and the preset
target value appears in the top line marked by "✳" and "D". The balance then
returns automatically to the weighing mode.
A tare value displayed before the test reappears in the display.
If a printer is attached, the test result is printed out automatically.
11:27:16
PR5002
• You can terminate the test at any time by pressing the N key.
• The deviation determined by the balance depends on the ambient conditions and the setting of the balance
parameters under "Weight" in the menu, particularly on the setting of the repeatability "Repro"!
• If immediately following a calibration (adjustment) with the internal weight the difference to your weight
standard is greater than that specified under "long-term stability" in the technical data, you can configure
your balance to your weight (see Appendix, section 8.4).
• Flashing of the status display "AutoCal" or "Cal" signals that the balance should be calibrated and is
stopped by the check.
17

PR/SR balancesStartup procedure
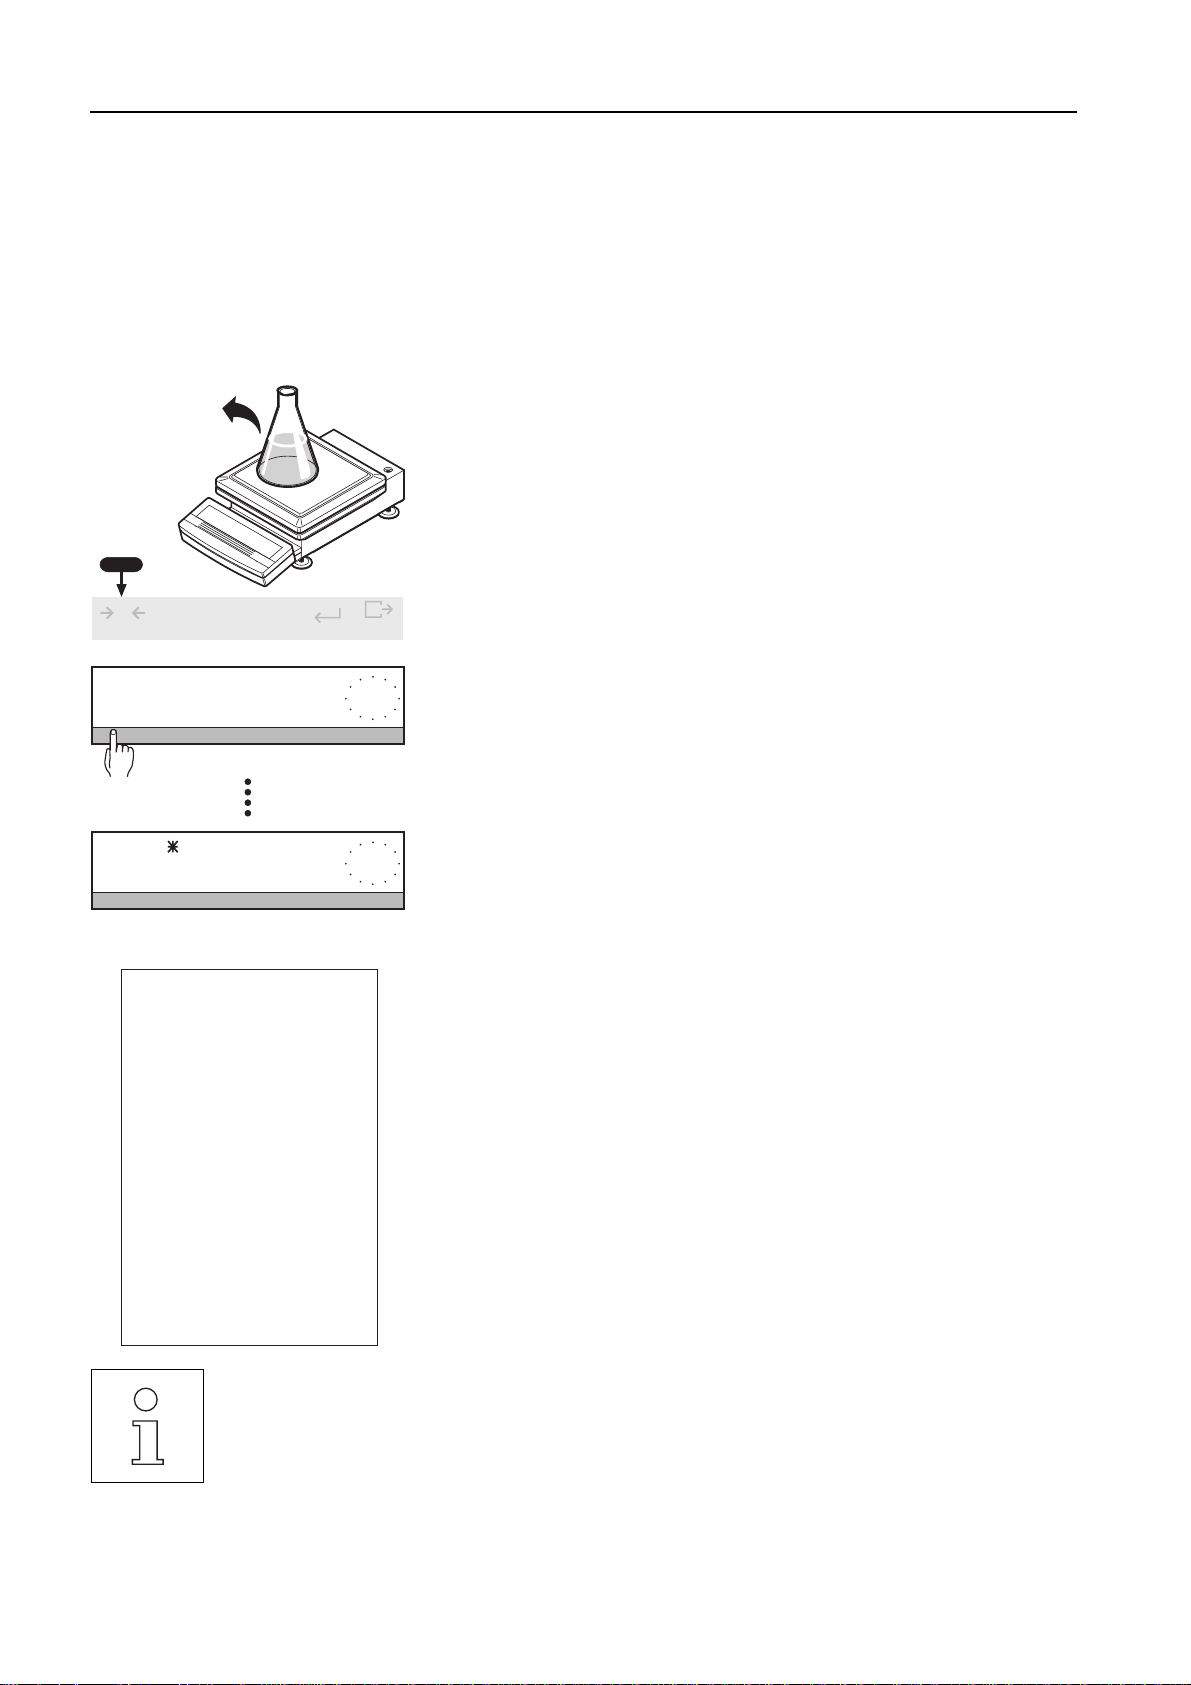
2.7 Determining the repeatability
The "ReproCheck" function offers you a statistical determination of the repeatability of the balance at its location. Through
repeated measurement of a single sample you can determine the quality, i.e. the uncertainty of the measurement.
Influences on the result of this measurement include on the one hand the balance environment and on the other hand the internal
balance repeatability "ReproSet" in the menu option "Weighing" (see section 6.2.3).
With this function you determine
• the ideal location,
• the minimum sample weight,
• the optimum configuration of your balance at its location.
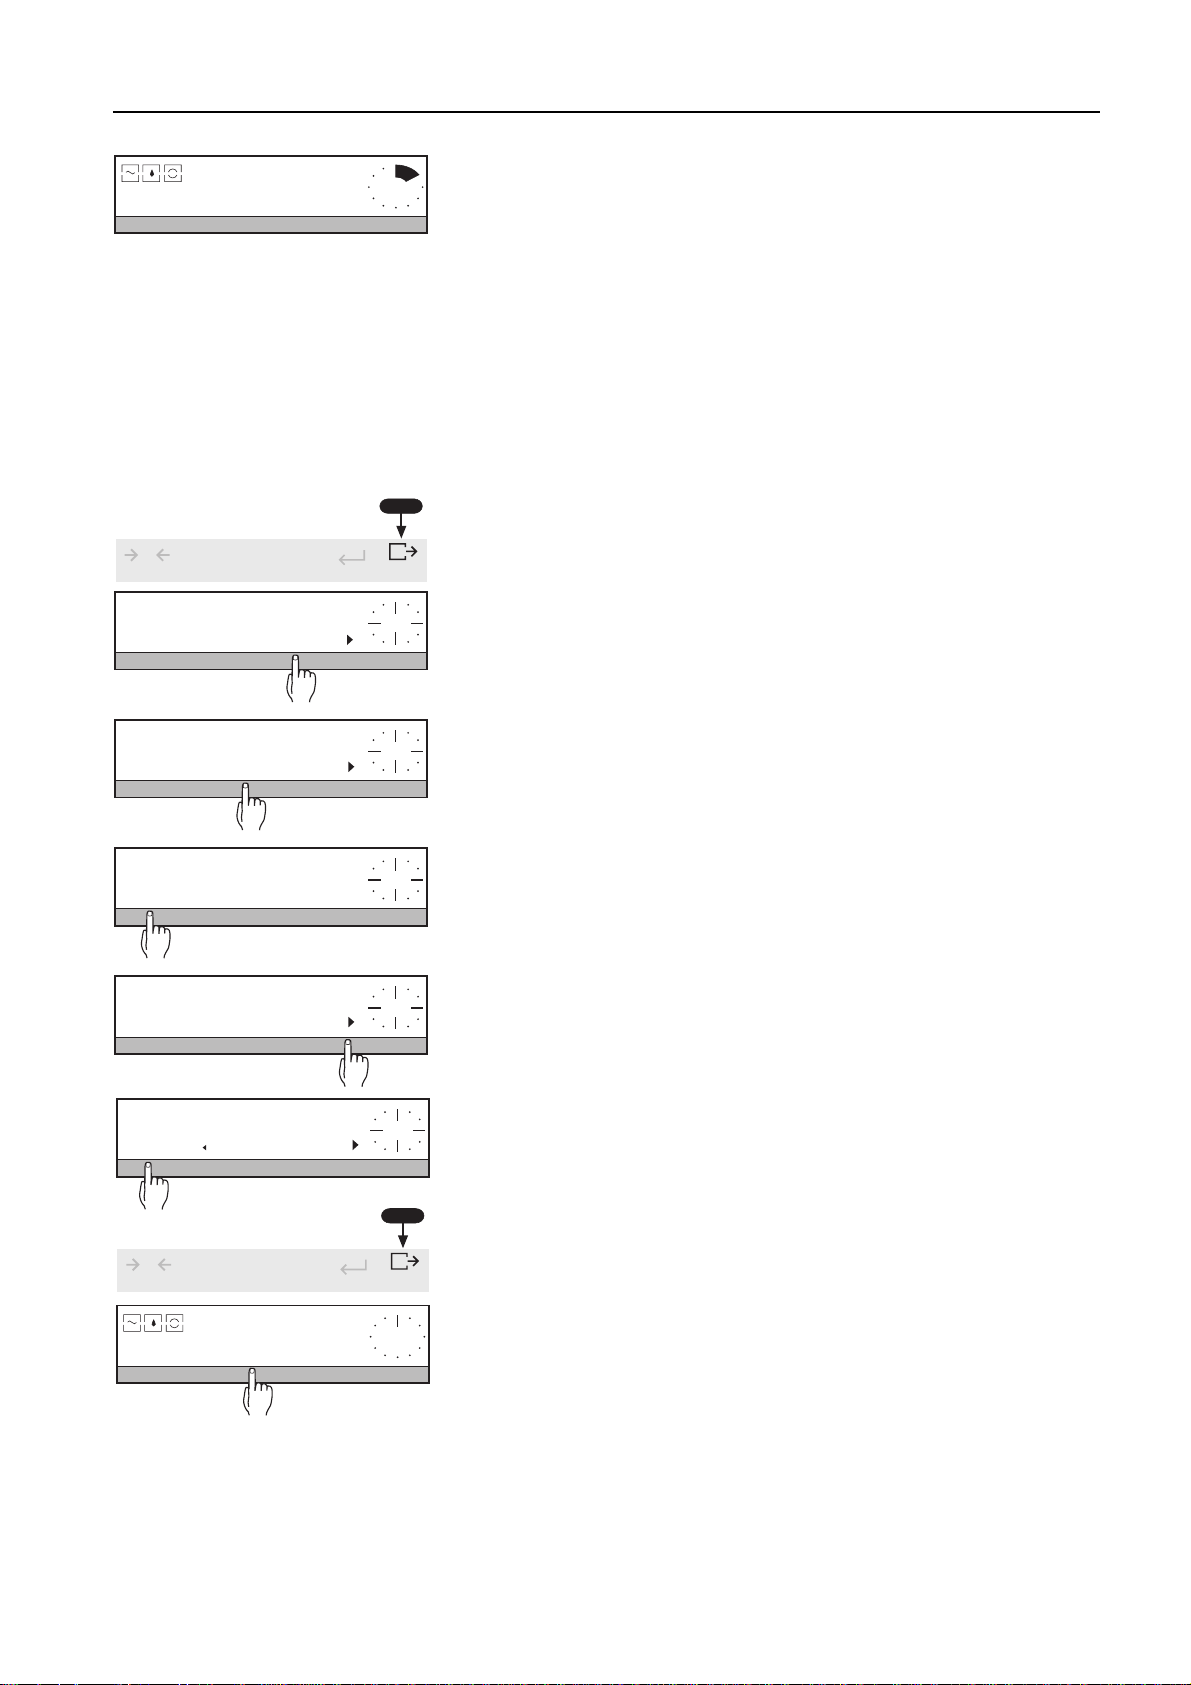
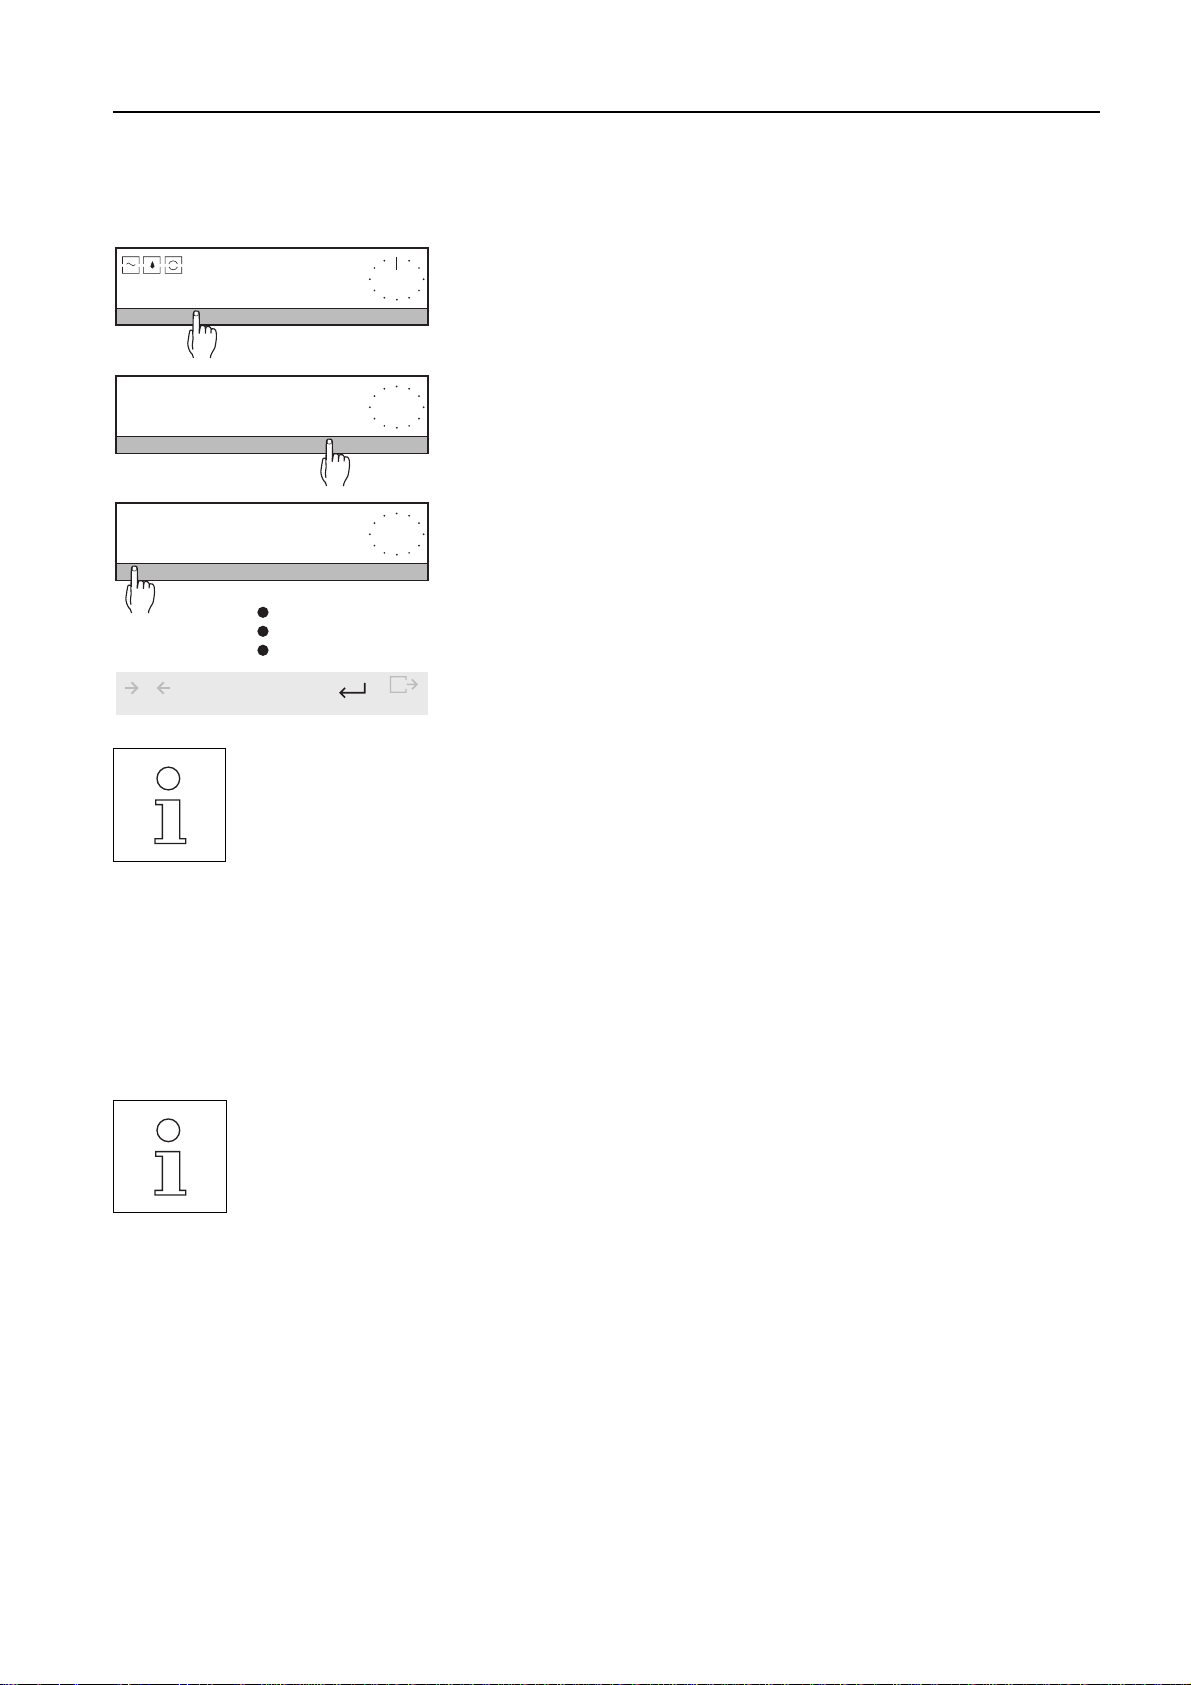
0
Cal / Test
Start
Test Calibration Repro
Max n = 10
1 2 3 4 5 6 7 8 9 0 <
1 Load
Application
1 2 3 4 5 6 7 8 9 0 <
0.00 g
n=0 s=0.000 g
M+ n=0 ∑=0.00g M-
Menu
Procedure
➜Press and hold the … key until the display changes.
➜Press the SmartBar under "Repro".
➜Enter the number n of repetitions numerically and confirm with H.
Possible values: 3 ... 10. If the entry is outside the admissible range, the
message "Illegal value" appears.
➜The balance display flashes to prompt you to load the sample for the first time.
➜When zero flashes in the display, remove the sample.
➜Reload the sample.
ReproResults
n=3 s=0.006 g Exit
• You can terminate the procedure at any time with the C key.
• The greater the number of repetitions, the more reliable the result.
18
➜After the sample has been loaded n times, the display "ReproResults" appears.
Press the SmartBar under "s= ..." to obtain the following values:
"s" Standard deviation
"srel" Relative standard deviation (standard deviation in % of the calculated
mean value )
srel =
s
x
"x" Mean value
PR/SR balances Startup procedure
–---- REPRO CHECK ---––-
03.01.96
METTLER TOLEDO
Type:
SNR:
Bal:
ReproSet
1
2
3
n
x
s
s rel
Signature:
........................
––––––––– END ––––––––––
09:20:25
PR5002
1114051374
Your entry
Good
1.11 g
1.10 g
1.10 g
3
1.103 g
0.006 g
0.52 %
If a printer is attached, the result is automatically recorded.
The printout also shows the "ReproSet" setting specified in the "Weighing" menu
(see section 6.3.2).
Determining the minimum sample weight at the location of the balance
If your measured values have to comply with particular tolerance systems (e.g. pharmacopoeia), you can determine the
minimum sample weight which allows you to meet these requirements at the balance location.
For this you consider the relative standard deviation srel, which indicates the percentage error in the measured value. The
standard deviation s is not suitable for this purpose as it shows only the deviation for the particular weight value.
Weight s srel
10.0 g 0.01 g 0.1%
Example 1
Same standard deviation s, but different percentage errors srel, depending on the
sample weight.
1.0 g 0.01 g 1.0%
Weight s srel
10.0 g 0.01 g 0.1%
1.0 g 0.001 g 0.1%
Example 2
Same percentage error srel despite different sample weights and different standard
deviations s of the individual measured values- The absolute standard deviation s is
thus not suitable for the comparison of the quality of measured values.
Procedure
• For all sample weights, define a relative standard deviation (for instance, srel
Start
Test Calibration Repro
should always be less than 0.1%).
• Perform the ReproCheck function several times and systematically lower the
weight of the test specimen to determine the weight at which you are below the
defined relative standard deviation.
• If you can not achieve the specified accuracy, you can adapt the repeatability
under "ReproSet" in the "Weighing" menu (see section 6.2.3) to improve the
relative standard deviation.
• If the results are still unsatisfactory, change the conditions at the balance
location. For example, use a draft shield or place the balance on a special
weighing table to minimize the influence of external disturbances.
19
3 Weighing – basic functions
3.1 On / off switching
Switching on
PR/SR balancesWeighing – basic functions
1/10d
AutoCal BPTGNet
1/10d
On
Off
T
0.00 g-
SIMPLE WEIGHING
• If you use the setting "QuickStart" (section 6.4), the current total weight (gross weight) is automatically
displayed after a loaded balance has been switched on with the V key.
• In addition to "QuickStart", you can set other startup routines in the menu (see section 6.4).
On
Off
T
OFF
1/10d
C
1st possibility with V key
➜Press V key briefly.
When "0.00 g" appears in the display, the balance is ready for operation.
For your information, the bottom line of the display shows the current weighing
application, e.g. "SIMPLE WEIGHING".
➜Press any key briefly. The current configuration of the SmartBar is displayed.
2nd possibility with loading the balance ("QuickStart")
➜Switch the balance on by placing a load of at least 10 grams on the weighing
pan.
In this case, the total weight is shown immediately.
Switching off
➜ Press and hold V key until "OFF" appears in the display. Release key.
1/10d
C
➜ The display fades. If the balance remains connected to the power supply, there is
no need for a warm-up phase the next time it is switched on.
3.2 Simple weighing
AutoCal BPTGNet
BPTGNet
AutoCal BPTGNet
BPTGNet
AutoCal BPTGNet
BPTGNet
20
0.00 g-
395.69 g-
395.71 g-
➜ Tare balance with Œ key (see also section 3.3).
➜ Place weighing sample in center of weighing pan.
➜ Wait until the stability detector (o) fades.
➜ Read off result.
PR/SR balances Weighing – basic functions
3.3 Zero setting and taring
PR/SR balances have separate keys for the zeroing function ¥ and taring function Œ which enable you to determine
correct tare and net weight values.
Zeroing with the ¥ key sets a new zero point, all weight values including the tare weight are measured with reference to this
point.
The following holds after zeroing: tare weight = 0, net weight (= gross weight) = 0.
Use the zeroing key always when you start the weighing and wish to determine the tare weight first.
With taring using the Πkey, the weight loaded on the balance since the last zeroing is set as a new tare weight. The
previous tare weight is overwritten. The status display "Net" signals that after taring all displayed weight values are net values.
AutoCal BPTGNet
AutoCal BPTGNet
1/10d
AutoCal
BPTGNet
AutoCal
BPTGNet
AutoCal
BPTGNet
0.00 g-
338.04 g-
On
Off
T
0.00 g-
500.00 g-
-338.04 g-
➜Set balance to zero with ¥ key.
➜Place empty container on the balance.
The container weight is displayed.
1/10d
C
➜Press Œ key briefly to tare.
Zero and the "Net" symbol are displayed.
➜Add weighing sample to container.
The fill weight is displayed.
The tare weight remains stored until the next taring operation. All subsequent
weighing results are net weights referred to the stored tare weight.
Clearing tare
➜ Remove load from weighing pan.
The display shows the negative tare weight.
0
Cal / Test
AutoCal BPTGNet
➜Press ¥ key briefly.
Menu
0.00 g-
Zero is displayed. Tare weight and gross weight are cleared.
• If you zero the loaded balance, remove the load and then attempt to tare the balance with the Œ key, the
message "Press ¥" appears. A negative tare value is inadmissible. In this case you must first rezero the
balance with the ¥ key after removing the load.
• With certified balances, zeroing with load is allowed only up to ±2 % of the weighing range of the balance.
If the load after switching on the balance is greater, the message "Not allowed" appears if a zeroing attempt
is made. Please first reduce the load.
• The parameter "PreTare" can be activated in the menu under "Weigh" (see section 6.2). This allows a
known container weight to be entered and called up at any time.
21
3.4 Weighing with the analog display – METTLER DeltaTrac
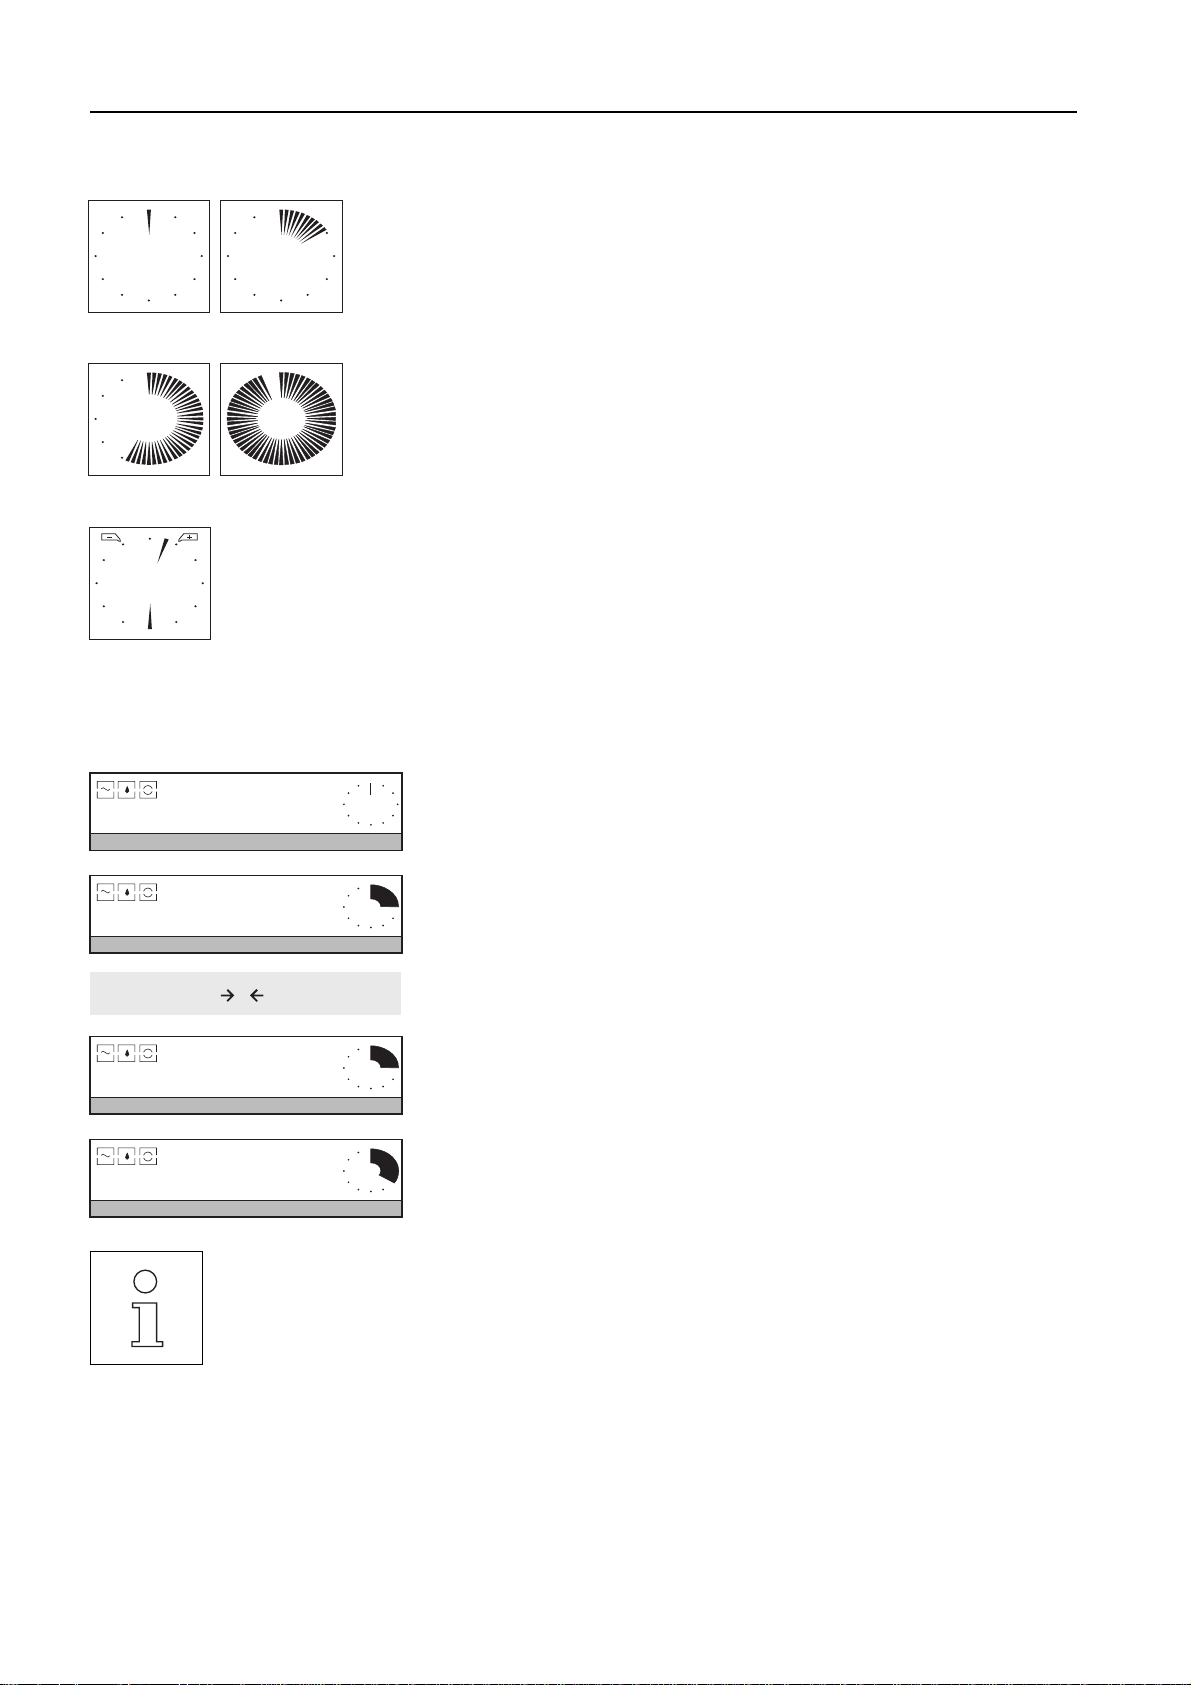
METTLER DeltaTrac is a dynamic graphic display with 60 radial indicators showing
the weighing range in use and that still available. You can thus see at a glance when
the load on the balance approaches the maximum capacity.
0 % in use 15 % in use
55 % in use 95 % in use
In plus/minus statistics and formula weighing applications (sections 5.4 and 5.5),
the DeltaTrac changes to a display with two pointers and two tolerance markers.
This provides you with a quicker check on the relation of the weighing result to the
target weight.
Weight within tolerance
PR/SR balancesWeighing – basic functions
3.5 Weighing with DeltaRange balances with movable fine range
AutoCal BPTGNet
AutoCal BPTGNet
1/10d
AutoCal
BPTGNet
AutoCal
BPTGNet
0.00 g-
1213.6 g-
On
Off
T
0.00 g-
351.25 g-
• Even if the balance operates in the fine range, you can switch between the higher and lower readability at
1/10d
C
any time by pressing the Æ key (section 3.6).
METTLER TOLEDO DeltaRange balances have a movable fine range with a 10 times
more accurate readability. In this range, an additional decimal place always
appears in the display.
If the fine range is exceeded in the display, the balance display switches to the lower
readability.
The balance operates in the fine range
• after switching on,
• after zero setting,
• after every taring operation.
22
• You can check the capacity of the fine range of your DeltaRange balance in section 7.2.
PR/SR balances Weighing – basic functions
3.6 Quicker weighing with reduced readability
Certification regulations prevent you executing this function with certified balances.
If, for once, you are not interested in the last decimal place, you can work
appreciably faster with your balance.
On
1/10d
AutoCal BPTGNet
Off
T
10 d-
1/10d
C
➜ Press and hold the Æ key until "10 d" appears and the last decimal place in
the display disappears.
Results can now be read quicker.
AutoCal BPTGNet
1/10d
AutoCal BPTGNet
AutoCal BPTGNet
On
Off
0.0 g-
T
1 d-
0.00 g-
1/10d
C
3.7 Recording / printing data
AutoCal
BPTGNet
423.45 g-
Return to normal readability
➜ Press and hold the Æ key again until "1 d" appears and all decimal places
reappear in the display.
If a printer is attached, you can print out weighing results, identifications and other
data.
The balance is set in the factory so that all stable weight values larger than 30
display increments are printed out automatically.
0
Cal / Test
---Dynamic Weighing---
N
Wgh Time
* 1
* 2
• Weight values are automatically printed out with the current tare value if the "PreTare" function is switched
• Under "SYSTEM -> Printout" (section 6.4) in the menu, you can activate a header printout and/or the
• Pressing the G key briefly also transfers the next stable weighing result via the LocalCAN universal
Menu
Printing data manually
➜Press G key briefly.
The results or settings in the top line of the display are printed out. An "N" in front
423.45 g
123.45 g
117.23 g
of the weight value on the printout indicates that the value is a net value.
on in the menu. If "PT" is switched off, only the net weight is printed out.
printout and/or the printout of a sample identification, as well as manual transfer only of the results.
interface (section 7.1).
23
3.8 Working with the SmartBar
The SmartBar is the most important and most versatile key field of the PR/SR
balance. Its configuration changes according to the weighing task thus allowing it
to guide you through the operation by means of key words. The current
configuration appears in the bottom line of the display directly above the SmartBar.
Menu
Pressing the SmartBar directly below the key word activates the relevant function or
calls up a selection.
Cal / Test
1/10d
0
AutoCal BPTGNet
AutoCal BPTGNet
oz
On
Off
SmartBar
T
0.00 g-
C
1/10d
PR/SR balancesWeighing – basic functions
0
Cal / Test
MENU
APPL WEIGH CAL SYSTEM
Weighing
Vibr Process Repro
Weighing
Unit1 Unit2 CustomUnit
Unit2
g kg lb oz ozt GN dwt
Example
Menu
Weighing with 2 different weight units
1. Setting in the menu
To allow the weighing mode to have 2 different weight units available, the 2nd unit
has first to be defined in the menu. Proceed as follows:
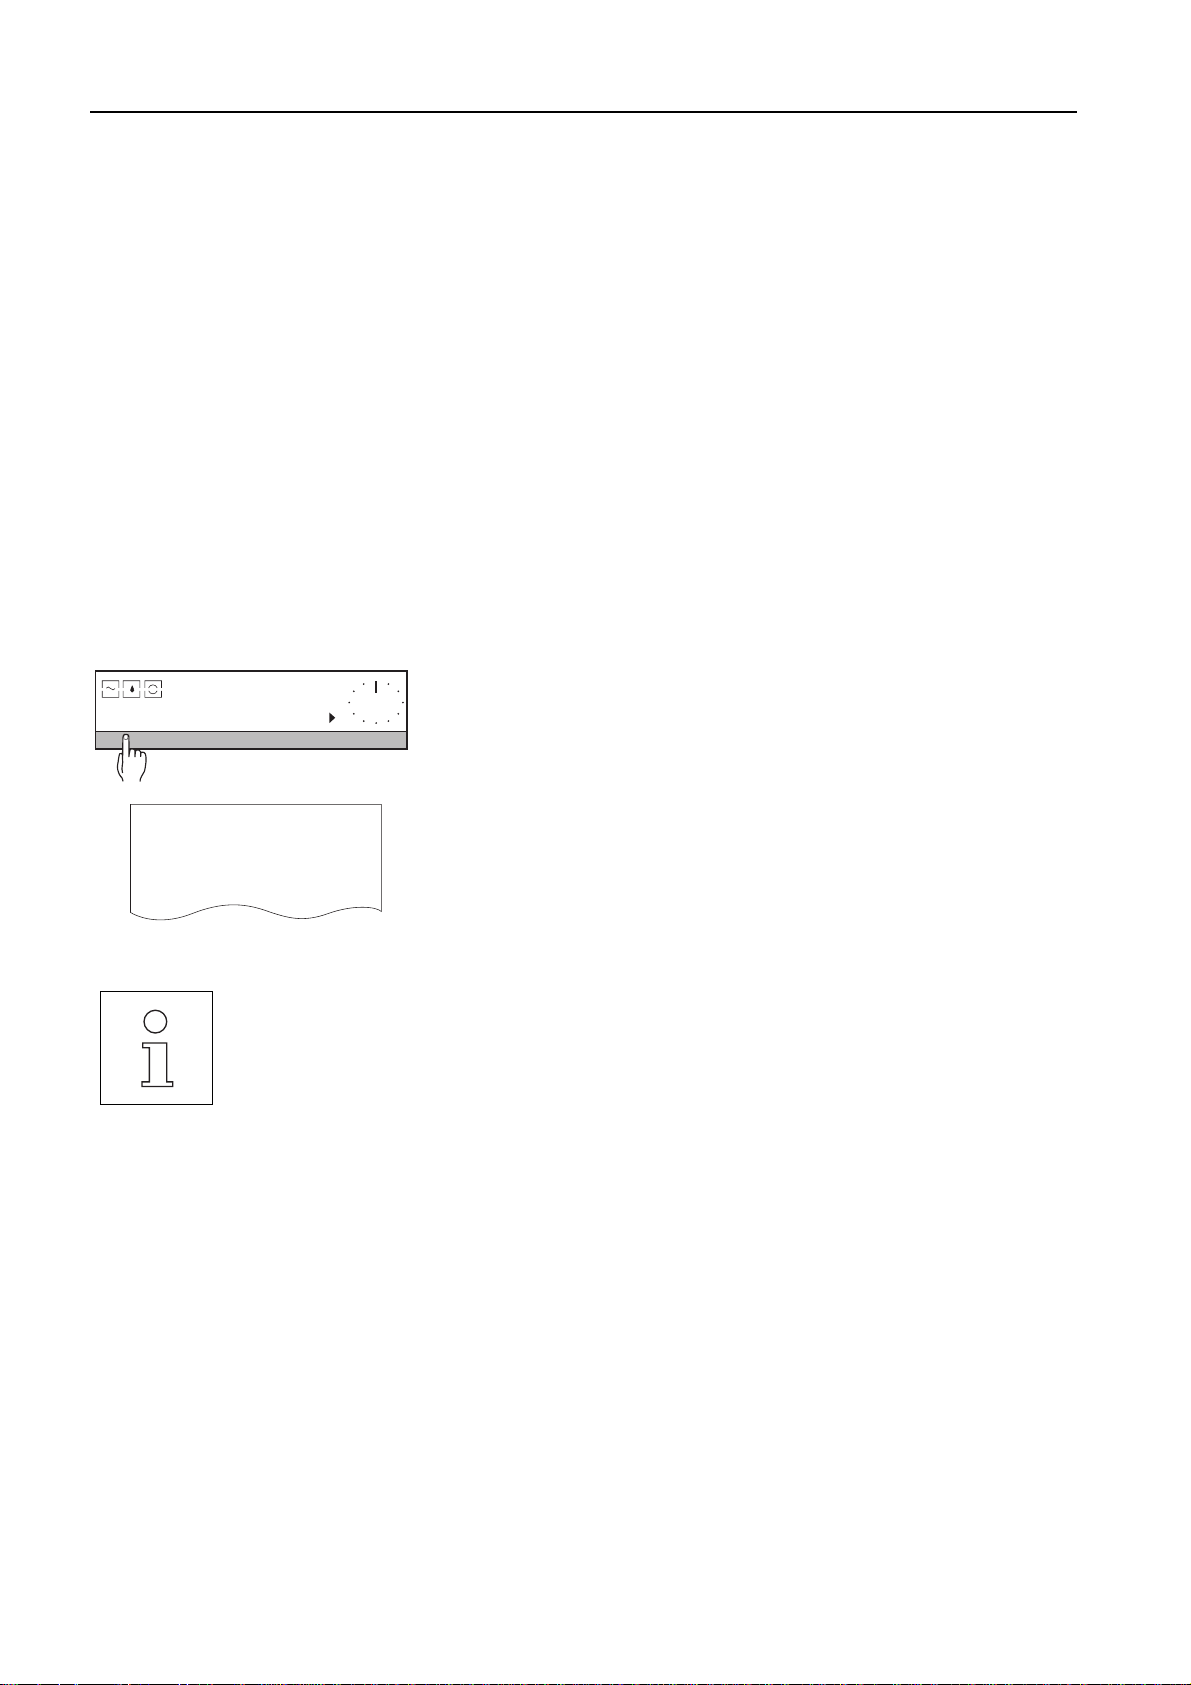
➜ Entry into menu: Press and hold G key until "MENU" appears in the display.
➜ Press SmartBar below "WEIGH".
➜ Press SmartBar below the "/" character.
The display switches to the next selection under the same key word.
➜ Press SmartBar below "Unit2".
The selection of the possible weight units for Unit2 appears.
➜Press SmartBar below the desired unit, e.g. below "oz".
"oz" will be marked by ":".
0
Cal / Test
AutoCal BPTGNet
AutoCal BPTGNet
oz
24
0.00 g-
SIMPLE WEIGHING
780.71 g-
➜ End menu: Press and hold G key until "Stored" is displayed.
Menu
The balance is again in the weighing mode, the selected application – here
"SIMPLE WEIGHING" – appears in the display.
By pressing any key the selected unit is available in the SmartBar line.
2. Switching the weight unit (weighing mode)
➜ Press SmartBar below "oz".
PR/SR balances Weighing – basic functions
AutoCal BPTGNet
g
27.5385 oz
The weight display and the selection in the bottom line of the display change. To
clear the second unit, "Unit2" must be reset to "g" or must be set in the same way
as "Unit1" in the menu.
3.9 Alphanumeric entry using the SmartBar
You can use the SmartBar to enter alphanumeric information, e.g. sample identification or a password.
Alphanumeric entry of a sample identification (SampleID)
1. Setting in the menu
To allow a sample identification to be entered during weighing, "SampleID" has first
to be selected in the menu. Proceed as follows:
➜ Entry into menu: Press and hold G key until "MENU" appears in the display.
➜ Press SmartBar below "SYSTEM".
➜Press SmartBar below "Printout".
0
Cal / Test
MENU
APPL WEIGH CAL SYSTEM
System
Settings Printout Beep
Example
Menu
Printout
Header WeightTransfer
Header
Date Time BalID LotID
Header
SampleID
0
Cal / Test
AutoCal BPTGNet
SIMPLE WEIGHING
0.00 g-
Menu
➜Press SmartBar below "Header".
➜ Press SmartBar below the "/" character.
The display switches to the next selection under the key word "Header".
➜Press SmartBar below "SampleID", "SampleID" is marked by ":".
➜End menu: Press and hold G key until "Stored" is displayed.
The balance is again in the weighing mode, the selected application – here
"SIMPLE WEIGHING" – appears in the display.
By pressing any key "SampleID" is available in the SmartBar line.
25
AutoCal BPTGNet
oz SampleID
0.00 g-
SID=
A-Z a-z 0-9*! <
PR/SR balancesWeighing – basic functions
2. Entering sample identification (SampleID) alphanumerically (weighing
mode)
➜Press SmartBar below "SampleID".
The following alphanumeric parameters can be entered:
A - Z Uppercase letters 0-9 ✳ ! Digits and special characters
a - z Lowercase letters < Delete character
➜ Make selection.
SID=1
1 2 3 4 5 6 7 8 9 0 <
0
Cal / Test
SID=1
A-Z a-z 0-9*! <
SID=1A
A B C D E F G H I <
0
Cal / Test
SID=1A
A-Z a-z 0-9*! <
_
_
_
_
➜ Enter a digit, e.g. "1".
➜Press H key briefly to confirm the entry and return to the selection level.
Menu
➜Make another selection, e.g. uppercase letters.
➜ Enter an uppercase letter, e.g. "A".
A space is shown by "/".
➜ Press H key briefly to confirm the entry and return to the selection level.
Menu
SID=1A
A-Z a-z 0-9*! <
0
Cal / Test
AutoCal BPTGNet
oz SampleID
---Dynamic Weighing---
ID:
Wgh Time
* 1
* 2
_
0.00 g-
153.40 gaaa
123.45 g
117.23 g
26
1
Menu
3. Concluding the entry
➜ Press H key again briefly.
The entire entry is confirmed, the balance is again in the weighing mode.
If a printer is attached, the sample identification appears on the printout together
with the next weighing result.
PR/SR balances Weighing – basic functions
4. Changing completed entry
If your identifications differ only slightly, there is no need to enter the complete identification every time, you can simply modify
the existing identification.
AutoCal BPTGNet
oz SampleID
0.00 g-
SID=1A_
A-Z a-z 0-9*! <
SID=1_
A-Z a-z 0-9*! <
0
Cal / Test
• The sample identification can comprise max. 20 characters.
• Before a further weighing result is printed out, you must change the last "SampleID", otherwise an input
prompt with "SID=" automatically follows. This prevents 2 results with the same name from being printed
out.
➜ Press "SampleID" in the weighing mode.
The sample identification last entered appears in the top line.
➜ Press the delete character "<".
The last character is deleted.
➜ Change identification as described under 2.
➜ Press the H key again.
The entire entry is confirmed, the balance is now again in the weighing mode.
Menu
• If you close the entry with the G key, the sample identification is immediately printed out.
• When all characters are deleted and you press the delete character again, the old identification reappears.
3.10 Entry with bar-code reader or external keyboard
With all input prompts in the weighing mode, you can also effect the entry using a bar-code reader or an external keyboard with
RS232 interface.
• You can attach the METTLER TOLEDO LC-BCR bar-code reader directly to your PR/SR balance.
• You can attach an external keyboard using the METTLER TOLEDO LC-RS cable (section 7.3).
• If the sample identification is selected in the menu, each entry via the bar-code reader is automatically
considered as a "SampleID". You can enter other values, e.g. "LotID" via the bar-code reader only when the
appropriate input prompt ("LID=") is shown in the display.
27
PR/SR balancesExtended basic functions
4 Extended basic functions
Your PR/SR balance has extended basic functions such as header printout, sample and series identification, tare preset and
operation with various weight units.
To ensure these additional functions are available in the weighing mode, you first have to activate them in the menu.
You can select the extended basic functions for every application.
4.1 Header printout – " Header "
The printout of the weighing results can be provided with a header.
Requirement
In the menu under "SYSTEM -> Printout > Header" at least one of the parameters "Date", "Time", "BalID" or "LotID" must be
selected (see section 6.4.2). In simple weighing and piece counting, "Header" then appears in the bottom line of the display.
With the other applications, the header is automatically printed out at the start of the weighing series.
Initiating a header printout (weighing mode)
AutoCal BPTGNet
Header LotID SampleID
17.06.95
Type:
SNR:
Bal:
Lot:
0.00 g-
15:58:37
PR5002DR
1114051374
"Your entry"
Series 1
➜ In weighing operation, press SmartBar below "Header".
The defined header will be printed out.
• The date is printed out at the top left when "Date" is activated in the menu.
• The time is printed out at the top right when "Time" is activated in the menu.
• Balance type (Type), serial number (SNR) and balance identification (Bal) of the
user are printed out when "BalID" is activated in the menu.
• The series identification is printed out when "LotID" is activated in the menu.
• The header printout can be selected for every application.
28
You can not change the serial number of the balance (SNR). It is printed on the model plate on the balance
housing. On the other hand, you have a free selection regarding the balance identification "BalID"
(section␣ 6.4.6).
 Loading...