

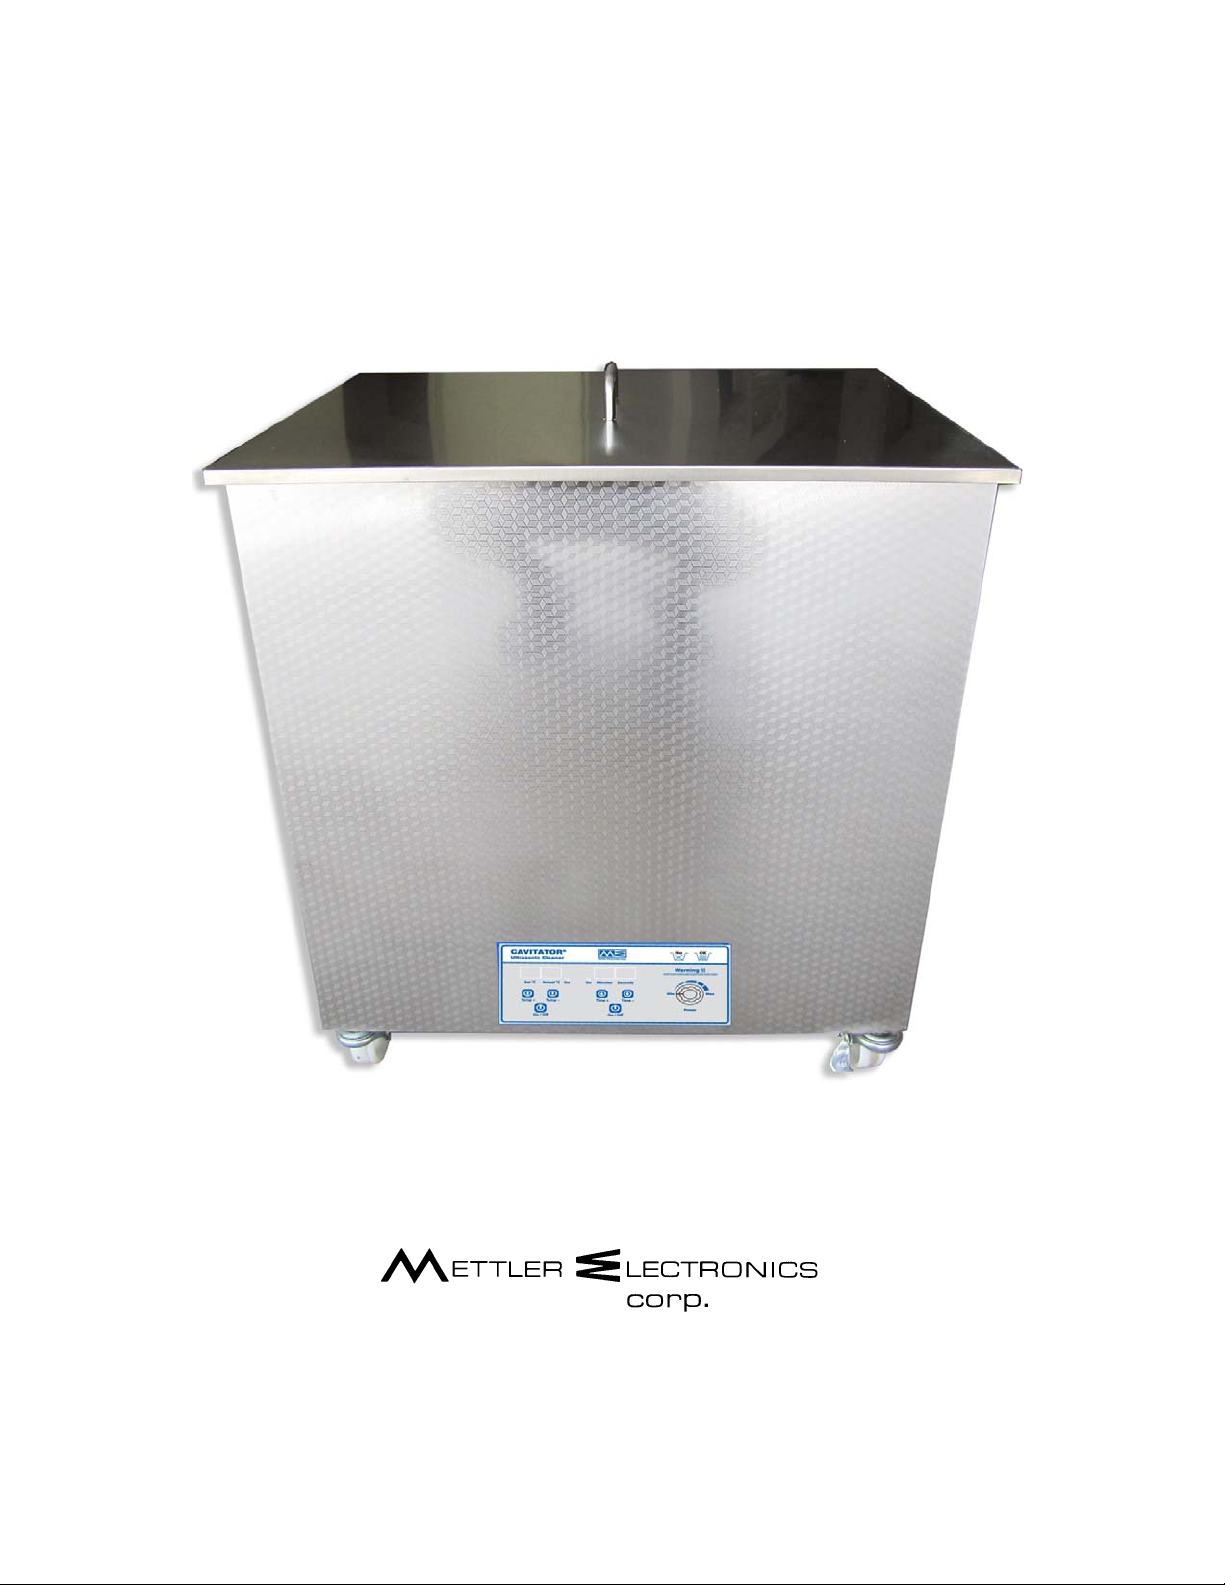
Cavitator® Ultrasonic Cleaner
Instruction Manual—Model 20G
®
IR8-51 Rev. A_060817
Copyright © 2017 by Mettler Electronics Corp.—Anaheim, CA

Section 1: Introduction
1.1 Introduction
Instead of a few hundred brush–bristles scratching the surface here and there, ultrasound creates millions of
microscopic bubbles that dislodge contamination and foreign matter, even from blind holes, tight joints, pores and
places that cannot be reached by laborious soaking and/or scrubbing. Ultrasound produces these tiny cleaning
bubbles by a process called cavitation.
Now, using your new Cavitator ultrasonic cleaner, you can take full advantage of that remarkable ultrasonic action
called cavitation which gets items cleaner with less effort and time than the next best method: the scrub brush.
You now have the energy to reach and clean even the tightest hidden corners between close–fitting parts that are
otherwise impossible to clean. You can now loosen even strongly adherent foreign particles and rinse them away
in seconds.
1.2 Introduction to This Manual
Read the contents of this manual prior to using your new Cavitator ultrasonic cleaner.
This manual has been written to assist you with the safe operation of the Cavitator ultrasonic cleaner. It is
intended for use by the owners and operators of the Cavitator ultrasonic cleaner. The goal of this manual is to
direct the correct operation and maintenance of this unit.
The specifications and instructions presented in this manual are in effect at the time of its publication. These
instructions may be updated at any time at the discretion of the manufacturer. Please return the self–addressed,
postage–paid Warranty Registration Card, so that you can be notified about improvements to this manual.
1.3 Safety Precautions and Service Information
This Cavitator ultrasonic cleaner operates with high voltages. Servicing of this cleaner should be performed by
qualified service technicians or it should be returned directly to the factory. To maximize safety during use, the
unit should be plugged into a grounded wall outlet of proper voltage only. The AC power cord that is supplied with
the ME 20G has a Hospital grade NEMA 5-20 plug and will only plug into a special receptacle wired for 125 VAC, 20
ugging this cleaner into a wall outlet not rated for 20A may result in damage to the 18G cleaner or the wall
A. Pl
outlet.
Service may be obtained from the manufacturer by sending the Cavitator ultrasonic cleaner in its original shipping
container to: Mettler Electronics Corp., 1333 South Claudina Street, Anaheim, CA 92805, ATTN: Service
Department. Telephone toll free: (800) 854–9305. For prompt and efficient service, provide date of purchase,
model and serial number of the cleaner and a brief description of the problem.
NOTE: All warranty repairs must be performed by Mettler Electronics Corp. or by a service facility authorized by
Mettler Electronics to perform warranty repair work.
In cases where units have exceeded the warranty period, estimates of repairs to be made will be provided at the
customer’s request. Shipping charges to and from the factory must be paid by the owner, and return method of
shipping should be indicated.
1.4 Shipping Damage
Your new Cavitator ultrasonic cleaner is shipped complete in wooden crate. Upon receipt, please inspect the crate
and the unit for visible and hidden damage. If any damage is discovered, hold all shipping materials, including the
crate, and call the shipping agent who delivered the unit. The shipping agent is responsible for all damage in
transit; therefore, all claims should be filed directly with the agent. The factory will not be responsible for any
damage in shipment, nor allow any adjustments unless proper formal claim has been filed by the receiver against
the carrier.
The crate in which your new Cavitator ultrasonic cleaner was received is specially designed to protect the unit
during shipping. Please retain all shipping materials in the event that you will need to return your unit for
servicing.
1.5 Package Contents
Your new Cavitator ultrasonic cleaner comes complete with all the necessary components to perform ultrasonic
cleaning. Please note, all Cavitator ultrasonic cleaners are shipped with an instruction manual, cleaning basket and
cover and one sample each of Cavi–Clean detergent and Cavi–Clean additive.

1.6 Limited Warranty
This Cavitator Ultrasonic Cleaner is warranted against defects in materials and workmanship for a period of one
year from date of purchase. During the applicable warranty period Mettler Electronics Corp. will, at its discretion,
either repair or replace the Product without charge for these types of defects.
For service under this warranty, the Product must be returned by the buyer within the applicable warranty period
to Mettler Electronics Corp. Shipping charges to Mettler Electronics Corp. under this warranty must be paid by
the buyer. The buyer must also include a copy of the sales receipt or other proof of the date of purchase. If the
Product is returned without proof of the date of purchase, it will be serviced as an out–of–warranty product at
Mettler Electronics Corp.’s prevailing service rates.
Alteration, misuse, or neglect of the Product voids this warranty. Except as specifically set forth above, Mettler
Electronics Corp. makes no warranties, express or implied, including without limitation any implied warranty of
merchantability or fitness for a particular purpose, with respect to the Product. If any implied warranties apply
as a matter of law, they are limited in duration to one year.
Mettler Electronics Corp. shall not be liable for any indirect, special, consequential or incidental damages
resulting from any defect in or use of the Product.
Any legal action brought by the buyer relating to this warranty must be commenced within one year from the date
any claim arises and must be brought only in the state or federal courts located in Orange County, California.
Some states do not allow limitations on how long an implied warranty lasts, or the exclusion or limitation of
incidental or consequential damages, so the above limitations or exclusions may not apply to the buyer. This
warranty gives the buyer specific legal rights, and the buyer may also have other rights which vary from state to
state.
Section 2—Operation Instructions
2.1 Precautions
Before you operate you Cavitator ultrasonic cleaner, please review the following precautions.
1. Ground the Unit—Grounding the unit is very important. If not grounded, a strong alternating current tingling
sensation may be encountered by the operator. For added safety, all electrical equipment must be grounded.
2. Three–Prong Plug—Each cleaner is equipped with an line cord with a three–prong plug to provide grounding
for the cleaner. Do not use an adapter to defeat the safety features of this pl
ubmersion of Hands in Tank—Although no physiological harm from ultrasonic energy at these frequencies
3. S
has been reported, submersion of hands in the tank during operation is not reco
4. Do
Not Use Acids—Do not use acids in the cleaning tank, or place the tank so that ventilation is inhibited. This
will prevent undesirable effects during the cleaning operation.
5. Do Not Use Flammable Liquids—Ultrasound may enhance the outgassing of flammable liquids, increasing the
chance of ignition.
6. Electric Shock Hazard—Dangerous voltages are present behind the protective covering. Do not open this
cleaner under any circumstances. Refer servicing to qualified personnel.
7. Cleaning Versus Disinfection—Ultrasound does not sterilize or disinfect objects contaminated with biological
materials.
8. Chlorine Solutions—Chlorine solutions such as chlorine bleach cause corrosive damage to stainless steel tanks.
Do not use chlorine based cleaners
9. U
nplug the cleaner before filling. Do not exceed the MAX mark
10
. Do not touch the wall socket with a wet hand to reduce the risk of electrocution.
11. Follow the instruction manual when using this cleaner. Do not use attachments not recommended by th
ufacturer.
man
12. Do not immerse the cleaner in water to reduce the risk of electrocutio
. Never operate this cleaner if cord or plug is damaged. If it is not working properly, damaged or ha
13
opped into water, return the damaged cleaner to a service center for examination and repair
dr
14
. Unplug this cleaner immediately after using.
15. Keep the cleaner away from heat, and place it on a dry and level surf
.
.
ace.
ug.
mmended.
e
n.
s been
.

16. Keep the cleaner in a safe place to avoid falling into water of other liquid.
17. The cleaner should never be left unattended when plugged in.
18. Do not use while bathing.
19. Do not immerse the cleaner into water or other liquid.
20. Do not reach for the cleaner that has fallen into water. Unplug immediately.
2.2 Operating Procedures
1.
Open the cover and place the items into the cleaning container, then fill the tank with enough water or
suitable solvent to cover the parts. (The water should cover the item but not exceed the MAX mark! Runn
witho
ut water can damage the cleaner!
2.
Close the cover. Plug the cleaner into a grounded AC outlet.
3.
Right buttons “TIME+” and “TIME-” are the time set buttons. Pressing them will set the cleaning time. Press
the right “ON/OFF” button to start cleaning. The “ON” light will be on and the timer will count down.
4.
The Left “TEMP+” and “TEMP-” buttons set the temperature. Pressing them will set the temperature. To begin
hea
ting the water, please press the left “ON/OFF” button, and the “ON” light will then be on.
5.
Turn the control knob to adjust to the power.
6.
During cleaning the presence of this “hissing” sound is important. It is a sign that your unit is properly
c
avitating to produce efficient cleaning bubbles.
7.
When cleaning time is over the cleaner will automatically stop, or press the “ON/OFF” button to stop. For
another cleaning cycle, just repeat above proce
8.
When cleaning is over, unplug the cleaner. Open the cover, take the cleaned article(s) out.
9.
Rinse away excessive loose foreign material before placing parts in the tank. (The spray–rinse attachment, #
5
10, is designed specifically for this purpose.) This allows the liquid in the tank to stay cleaner for longer
usage.
10.
Each time the water is changed, add detergent and run the cleaner for five minutes to drive out the air that is
dissolved in the water which could interfere with the ultrasonic action
11.
Since the cleaners are completely self–tuned and are pre–set and tested at the factory, no adjustments are
nec
essary.
)
ss.
.
ing
2.3 Maintenance
1.
Unplug and empty the unit after using. (Do not keep water in the tank for a long time.)
2.
Wipe the tank and housing with dry towel. (Do not wash the unit with water to avoid electric shock.)
3.
Keep in cool and dry place.
2.4 Choosing a Cleaning Solution
1.
Selection of a proper detergent is important because some detergents inhibit
ultr
asonic action and attack the stainless steel tank. To enhance cleaning, use
Cavi–Clean for most cleaning needs. Cavi–Clean is an all–purpose concentrated
detergent formulated especially to increase the cleaning efficiency of your
ultrasonic cleaner. It is gentle to the hands and has a neutral pH. It will
arm metals or their alloys. Blood cutting agents, a rust inhibitor, and an
h
excellent wetting and penetrating agent are among its featur
2.
Use approximately 1 part Cavi–Clean in 100 parts of water, 1 or 2 ounces (30–
60 ml) per gallon (3.8 liters)
3.
The choice of cleaning solutions depends upon the nature of the soil and the
m
aterial to be cleaned. Most solvents and all aqueous solutions will supp
c
avitation at the desirable, powerful low frequencies generated by Cavitator
ultrasonic cleaners
4.
Use Cavi–Clean additive to increase cleaning action to remove metal oxides, stains and to loosen plaster.
Important: use only as an additive to Cavi–Clean detergent because its use with certain other detergents
might cause damage to the cleaning tank or the parts being cleaned.
Add 1 to 3 teaspoons (0.4 to 1.1 cc per liter) Cavi–Clean additive per gallon (3.8 liters) of water with Cavi–
.
.
es.
not
ort
Cavi–Clean

Clean detergent.
Caution: Repeated usage might remove plating from plated parts and damage stainless steel instruments.
Ultrasonic tank damage can be avoided by cleaning in a supplementary glass container (See “Cleaning in
Beakers” below). Extra precautions should be utilized with dissimilar metals. Use only when necessary
because Cavi–Clean detergent will meet most cleaning requirements.
5. While certain solvents will not support direct cavitation at these preferred frequencies, more than ample
power for effective cleaning is transmitted through the metal parts, provided they rest on the bottom of the
cleaning ta
6. Remember: Do not use acid or chlorine solutions such as chlorine bleach in the cleaning tank.
nk.
2.5 Cleaning In Beakers
Many acid solutions and strong solvents may be successfully used by cleaning in auxiliary beakers. The beakers
containing the special cleaning solutions can rest at the bottom of the main cleaning tank. Enough water
containing detergent should be maintained so that the beakers are in at least one inch of water. These glass
beakers may be purchased at any laboratory supply company. Do not use plastic containers for cleaning in your
ultrasonic cleaner.
Section 3—Specifications
Frequency 40 kHz
Power Supply AC 110 V 60 Hz or AC 220V, 50 Hz
Timer 1-30 minutes
Dimensions, mm (inches) 650×450×620
Tank Size, mm (inches) 550×400×350
Weight, kG (lbs.) 60
Capacity, L (Gal) 78 (20.6)
Heater 20-80 °C
Heater Power 1000 W
Ultrasonic Power (Adjustable) 600 – 1200 W
Section 4—Accessories
4.1 Ordering Information:
Cavitator ultrasound cleaning products and accessories are available from Mettler Electronics authorized
distributors. For information regarding either Mettler products or a distributor near you, please call toll free, (800)
854–9305 or phone (714) 533–2221 in areas outside the continental United States. Ask for Customer Service.
Mettler Electronics is open from 7 AM until 5 PM Pacific Time for your convenience.
4.2 Cavitator Ultrasonic Cleaner Accessories
Catalogue # Item Description
1159 Extra 5' (1.5 m) long fill hose
510 Spray Rinse Attachment
4.3 Cavi–Clean Liquid Detergent and Additive
Catalogue # Item Description
1812 Cavi–Clean ultrasonic cleaning detergent, case of four, one gallon containers
1816 Cavi–Clean ultrasonic cleaning additive, case of six, one pound bags
 Loading...