

Page 1
BC-BTHBSP
INSTALLATION INSTRUCTIONS
#MetraPowerSports
Universal Motorcycle Handlebar
Bluetooth Speakers
Visit MetraPowerSports.com for more detailed information about the product and up-to-
date vehicle specific applications.
Product Features
Part Applications
• Round bars / handle bars / Highway Bars
• Diameters of 7⁄8in. - 1 3⁄16in. (22-30mm)
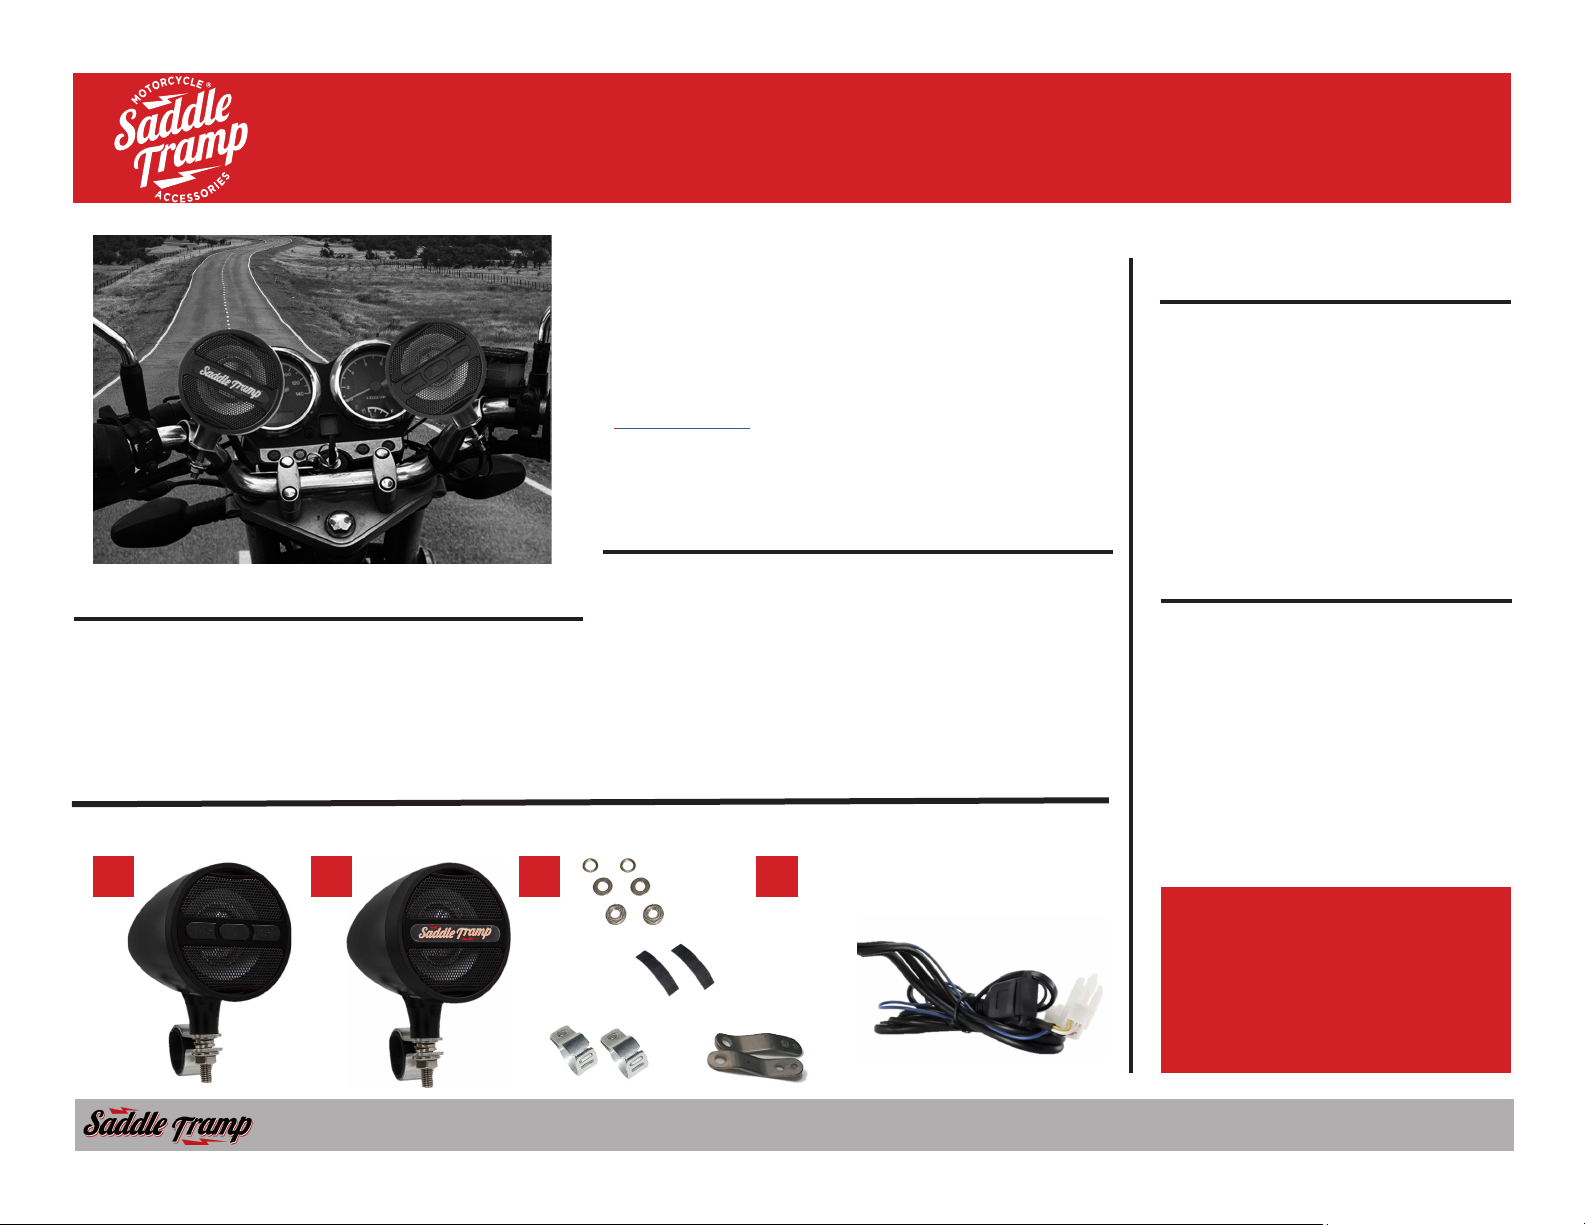
Part Components
A) Main Speaker B) Speaker pod C) Clamps, Mirror mounts, Nut, Washer, Rubber Strips
• 3 in. Metal construction weather-proof speakers
• 20w x 2 Power output
• Bluetooth audio streaming
• FM Tuner
• USB supports Flash drive/MP3/ 1.0A charging
TABLE OF CONTENTS
Installation...................................................2
Wiring...........................................................3
Menu Operation.......................................4-6
Specifications...............................................7
TOOLS REQUIRED
• Wire stripper
• 13mm Wrench
• Tape
• Digital Multi-meter
• Cutter
A
B
Motorcycle Accessories
C
MetraPowerSports.com
D
Attention!
the vehicle battery prior to installation.
When testing the aftermarket equipment,
ensure that all factory equipment is connected
before cycling the key to ignition.
©COPYRIGHT 2019 METRA ELECTRONICS CORPORATION REV. 08/20/2019 INSTBC-BTHBS
We recommended to disconnect
Page 2
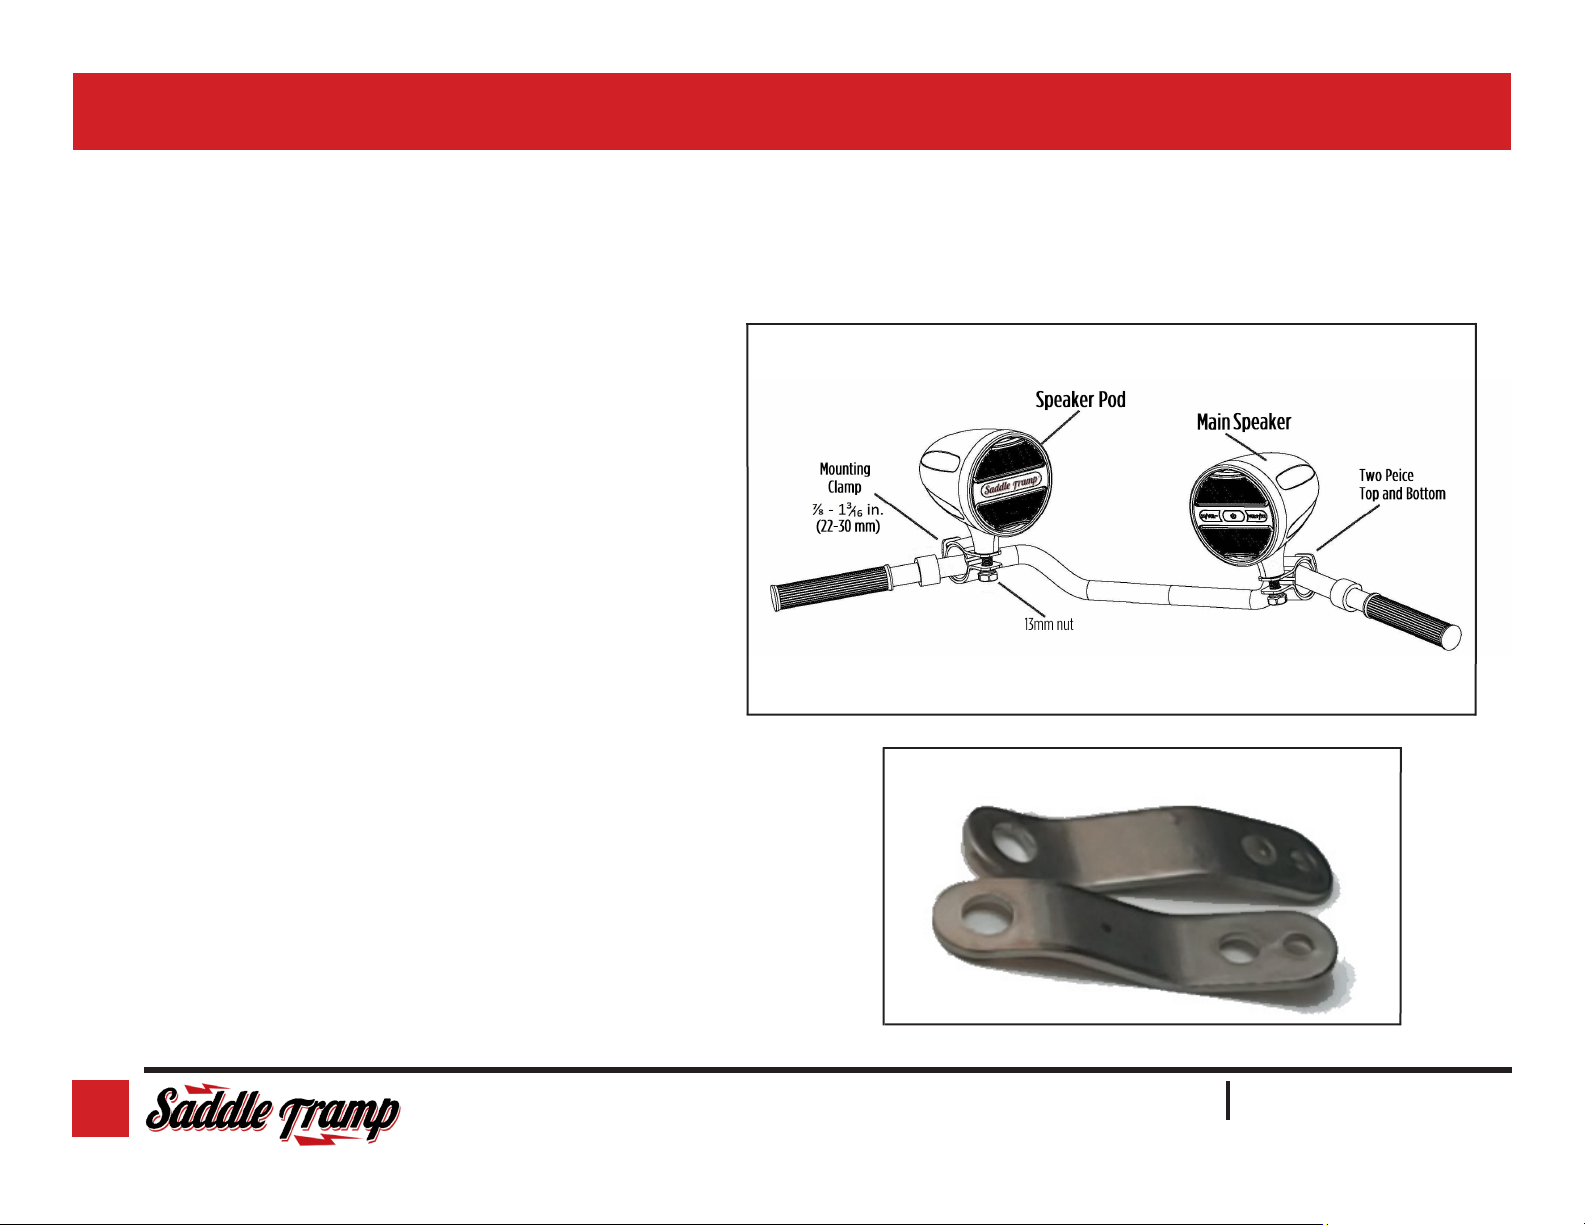
INSTALLATION
Bar Mounting
• Use a 13mm socket or box wrench to remove the (2) nuts that hold the
2 piece clamps together. (Figure A)
• Adjust the clamp for the appropriate bar diameter, place the rubber
protection strip around the bar in the location you want to mount the
clamps. (Figure A)
• Insert the threaded stud attached to each pod, through the holes of the
clamps (top and bottom), and tighten to snug.
Mirror Mounting
• If your vehicle has traditional stalk mounted side mirrors, the BC-BTHSP
can be mounted using the supplied mirror mount brackets. (Figure A.2)
• Remove your mirror arms and place the mount bracket in between the
arm and the mount base of the vehicle.
• The brackets are universal, so trial and error may be necessary before
you find a good angle and location. Keeping it lose may help until your
final result is achieved.
• Attach the speaker pods to the brackets with the supplied washer and
nut. Adjust your angle and location, then tighten.
*Note: Over-tightening will result in damage to the threads, and or bars
(
Figure A
)
• Route the wiring away from any moving parts so as not to hinder the
turning movement of the handlebars
• Proceed to wiring connections
2
(
Figure A.2
)
1.800.221.0932 MetraPowerSports.com
Page 3
Wire Connections
Red Wire
• It is recommended to connect this wire to the vehicles +12v
accessory or ignition circuit.
Black Wire
• It is recommended the this connect this wire to the chassis
ground or the - negative terminal of the vehicles battery.
Blue Wire
• FM Antenna needs to be routed away from any metal.
Poor reception may result if blocked by a metal objects.
INSTALLATION
USB Plug
• Route the USB into a secure and protected location as it is not
weather resistant.
(
Figure B
3 amp fuse
)
REV. 08/20/2019 INSTBC-BTHBS
3
Page 4

OPERATION
On / Off Button
Power
• A short press of the on/off button ( ) and the BC-BTHBS will power
on,it will announce the current source mode. i.e. FM, USB, Bluetoth.
• A long press of the on/off button ( ) and the BC-BTHBS will power off,
it will also announce it is powering off.
Source
• A double press of the on/off button ( ) and the BC-BTHBS will change
source modes, announcing the mode it is in.
FM mode
• A short press of the on/off button ( ) will mute the audio.
• A short press again on/off button ( ) will return the audio.
• A double-press with change source mode.
Bluetooth / USB mode playback
• A short press of the on/off button ( ) will Pause Playback.
• A short press of the on/off button ( ) will resume playback.
• A double-press of the on/off button ( ) with change source mode.
*Note: USB playback mode is only available when a compatable device is connected to the USB port.
4
1.800.221.0932 MetraPowerSports.com
Page 5

General
OPERATION
Previous / Volume down (|
FM mode
• A Short press of (|
• Long press of (|
BT, USB mode
• A short press of (|
• A long press of (|
Next / Volume up (VOL+/
FM Mode
• A short press of (VOL+/
• A long press of (VOL+/
BT, USB Mode
• A short press of (VOL+/
• A long press of (VOL+/
◄◄
/VOL–) seeks down to the next available channel.
◄◄
/VOL–) key will reduce the volume.
◄◄
/VOL–) key will select the previous song.
◄◄
/VOL–) key will reduce the volume.
►►
►►
|) seeks up to the next available channel.
►►
|) key will increase the volume.
►►
|) key will select the next song.
►►
|) key will increase the volume.
◄◄
/VOL–)
|
)
REV. 08/20/2019 INSTBC-BTHBS
5
Page 6

OPERATION
Bluetooth
Bluetooth Pairing
• After the BC-BTHBSP is powered on, enter Bluetooth mode.
• Open the Bluetooth menu of the device; search for BC-BTHBS and select.
• The password for pairing is “0000”, after the pairing is successful, the BTBTHBS will announce “DEVICE IS CONNECTED”; you are now ready to stream
music.
• If at anytime the Bluetooth connection is terminated the BC-BTHBS will
announce “DEVICE IS DISCONNECTED”
Note: Some phones will automatically connect, not needing to enter the password.
6
1.800.221.0932 MetraPowerSports.com
Page 7

SPECIFICATIONS
FM
Frequency range: 88.0 - 108.0 MHz
Intermediate frequency: 10. 7 MHz
SNR: 40dB
Noise sensitivity ≤ 37dB
MEDIA PLAYER
SNR: 40dB
Channel isolation (at 1 KHz): 23dB
Harmonic distortion (at 1 KHz) ≤ 5%
Frequency response: l00Hz - l0KHz ±6dB
Power amplifier
Output: Speaker output
Speaker impedance: 4 - 8Ω
Maximum active output power: 15Wx2
Maximum output power: 20Wx2
Power supply: DC12V
REV. 08/20/2019 INSTBC-BTHBS
7
Page 8

BC-BTHBSP
INSTALLATION INSTRUCTIONS
#MetraPowerSports
Having difficulties? We’re here to help.
Contact our Tech Support line at:
1-800-253-TECH
Or via email at:
techsupport@metra-autosound.com
Tech Support Hours (Eastern Standard Time)
Monday - Friday: 9:00 AM - 7:00 PM
Saturday: 10:00 AM - 7:00 PM
Sunday: 10:00 AM - 4:00 PM
Motorcycle Accessories
MetraPowerSports.com
©COPYRIGHT 2019 METRA ELECTRONICS CORPORATION
®
KNOWLEDGE IS POWER
Enhance your installation and fabrication skills by
enrolling in the most recognized and respected
mobile electronics school in our industry.
Log onto www.installerinstitute.com or call
800-354-6782 for more information and take steps
toward a better tomorrow.
Metra Recommends MECP
certified technicians
REV. 08/20/2019 INSTBC-BTHBS
 Loading...