

Page 1

M
ETA
W
ATCH SMARTWATCH
FOR
SER
U
STRATA
Model SW12
G
UIDE
AND
FRAME
Revision 1.0
1 of 19
10-Oct-2012
Page 2
Revision 1.0
2 of 19
10-Oct-2012
Page 3

Contents
1 Introduction........................................................................................................................................................... 4
2 Starting Up ............................................................................................................................................................ 5
2.1 Charging your watch....................................................................................................................................... 5
2.2 Watch Software Version ................................................................................................................................. 6
2.3 Watch Button Map.......................................................................................................................................... 6
2.4 Watch First Boot and Setup ............................................................................................................................ 6
3 Pairing and Connecting ......................................................................................................................................... 9
3.1 iPhone ............................................................................................................................................................. 9
3.2 Android........................................................................................................................................................... 9
4 Using your watch ................................................................................................................................................ 11
4.1 Widgets......................................................................................................................................................... 11
4.2 Notifications ................................................................................................................................................. 11
4.3 Music ............................................................................................................................................................ 12
4.4 System Alerts................................................................................................................................................ 13
4.5 Staus Display ................................................................................................................................................ 14
5 Menu ................................................................................................................................................................... 15
5.1 Bluetooth ON / OFF (Button A) ................................................................................................................... 15
5.2 Seconds ON / OFF (Button B)...................................................................................................................... 16
5.3 Exit Menu (Button C) ................................................................................................................................... 16
5.4 Link Alarm ON / OFF (Button D) ................................................................................................................ 16
5.5 Invert Display (Button E) ............................................................................................................................. 16
5.6 Turn on Light (Button F) .............................................................................................................................. 16
6 Updating your Firmware ..................................................................................................................................... 17
6.1 Install your drivers ........................................................................................................................................ 17
6.2 Install your drivers ........................................................................................................................................ 17
7 Support................................................................................................................................................................ 18
8 Developers! Participate in the Community ......................................................................................................... 19
Revision 1.0
3 of 19
10-Oct-2012
Page 4

1 Introduction
Thank you for purchasing a MetaWatch smartwatch. This document will help you get started and answer common
questions.
You MetaWatch STRATA or FRAME smartwatch came with the following items in the box.
• your watch
• a charging clip (can also be used for updating your watch firmware)
• a microUSB cable
Let’s begin!
Revision 1.0
4 of 19
10-Oct-2012
Page 5
2 Starting Up
2.1 C
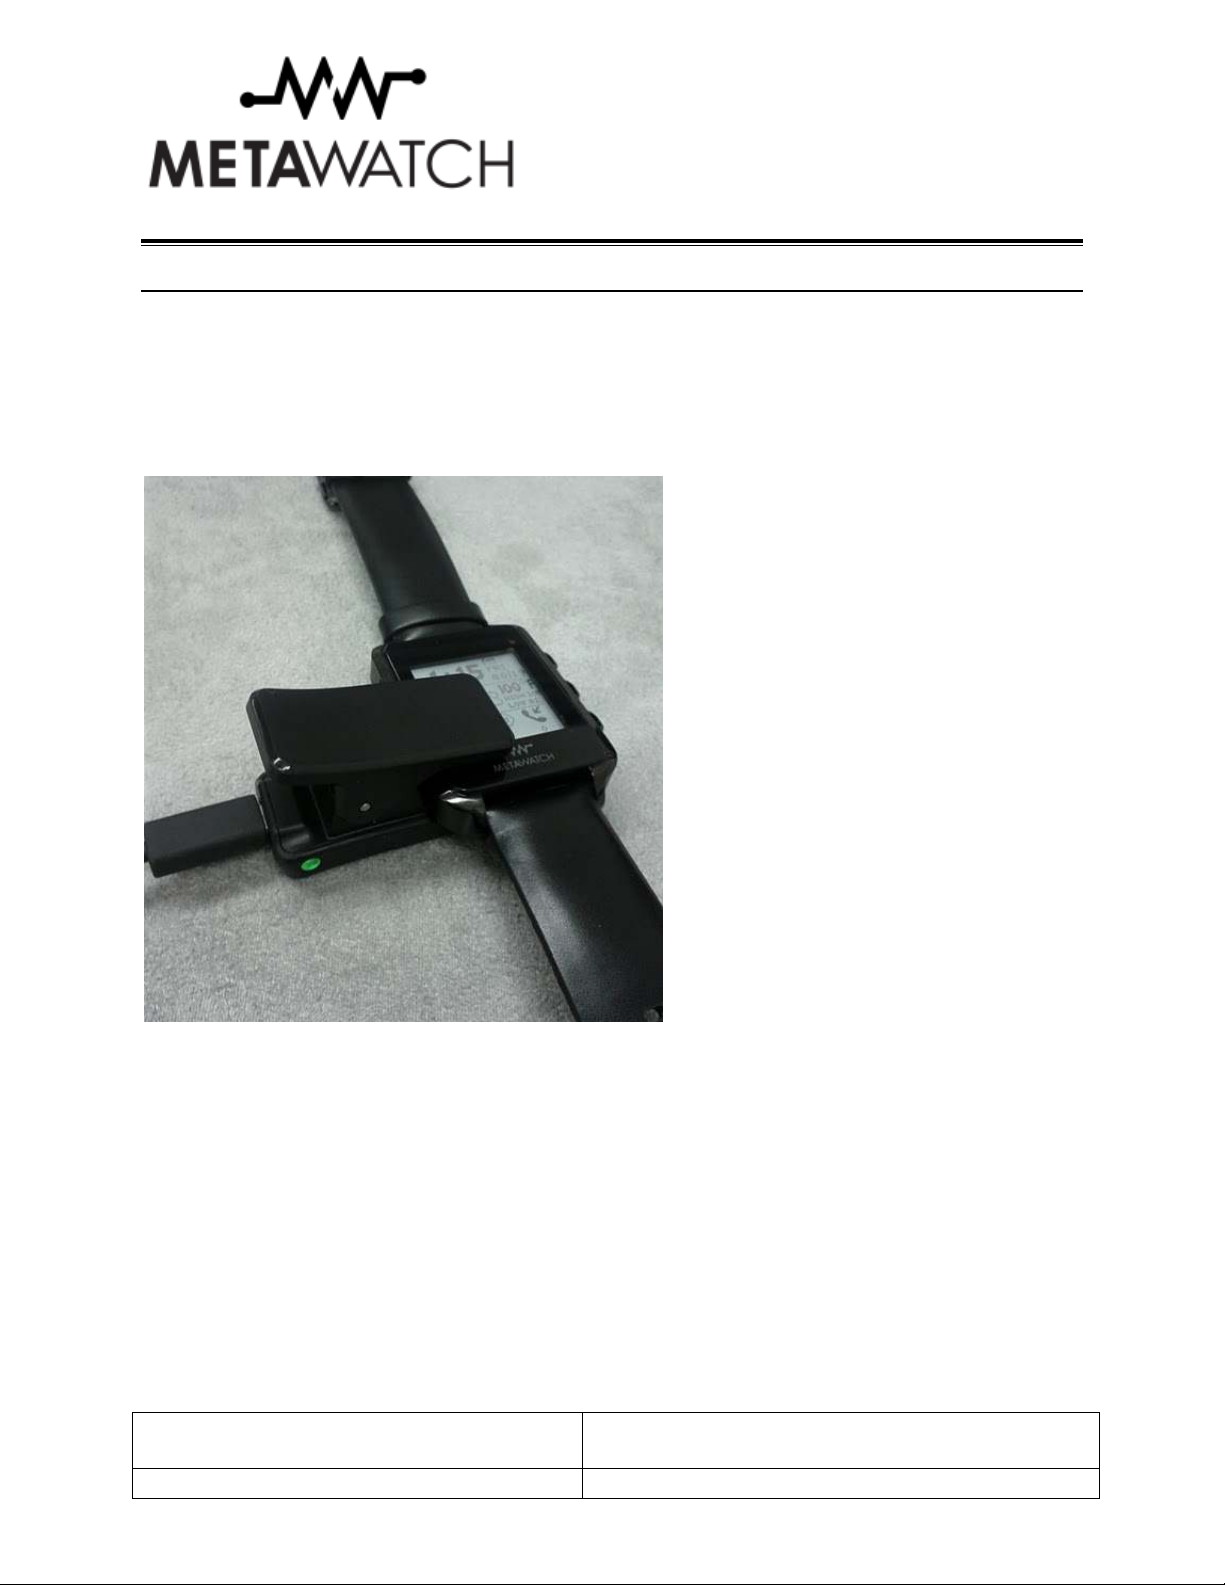
Your MetaWatch smartwatch system comes with a recharging clip that you can attach to the watch by squeezing the
USB end to open the clip wider. The watch can then be inserted. There is a recessed area of the watch where the pin
area of the clip will fit into. The clip should grip the watch snugly and securely, and both the top and bottom inside
edges of the clip should be flush with the watch.
HARGING YOUR WATCH
Connect the clip to the watch, plug in the USB cable (a micro USB cable is supplied in the box for you) and plug the
other end into a USB power supply. When the clip has power, the clip’s LED will turn on. The watch is designed to
recharge from this micro USB port and also operate while charging.
The micro USB socket and USB cable of the clip allows you to plug your watch into a USB hub or any 5V USB
power source to recharge. Most car adapters and wall adapters that are made for mobile phones have 5V DC output
and should be able to charge your watch. When connected to a USB port on a Personal Computer you will be able to
update the software on your watch to the latest versions.
Plug the watch in and let it charge to a full battery, which could take around 4 hours the first time. If your watch is
charging from an empty battery, the watch should start running immediately after plugging in, it will not however
continue to run while off of the clip until the battery has a sufficient charge. When the watch software is running,
you should see a charging indicator turn on in the clock area after a several seconds.
Revision 1.0
5 of 19
10-Oct-2012
Page 6
2.2 W
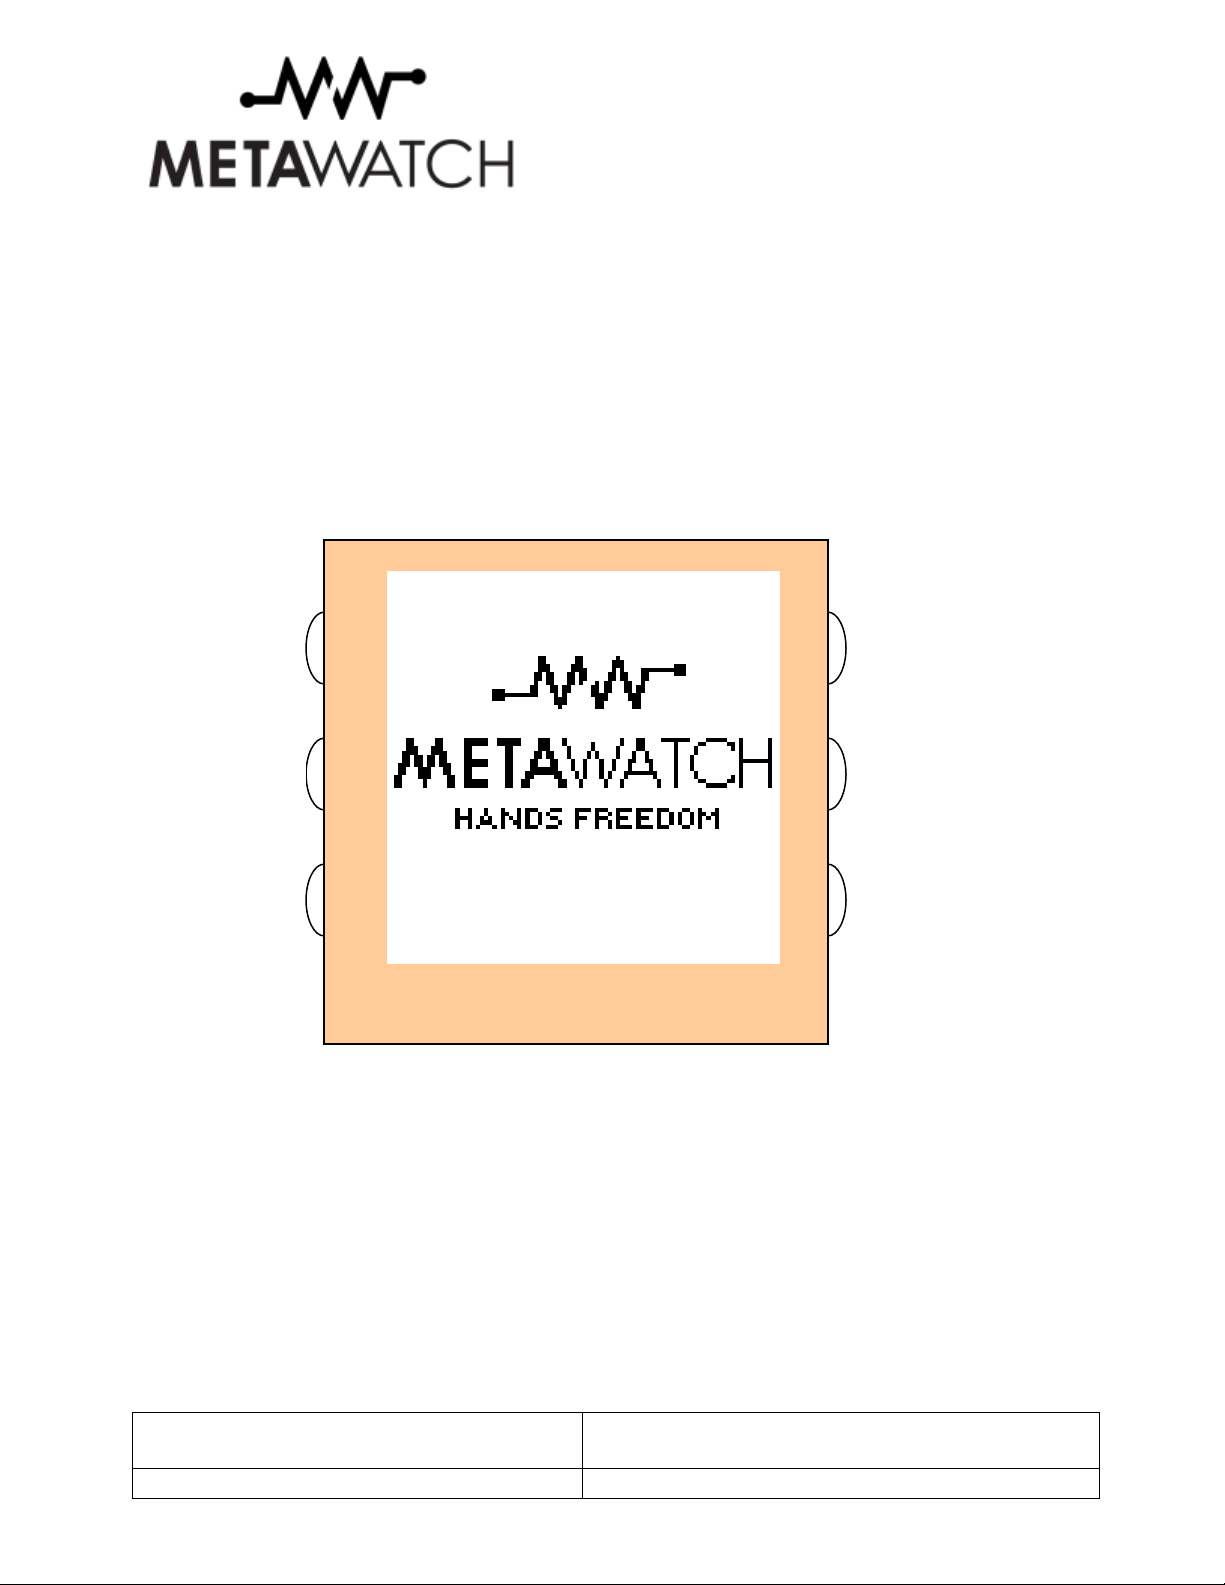
Depending on your exact software version, the instructions here may be slightly different.
2.3 W
Buttons are labelled A-F clockwise starting from the top right (2 o’clock). Depending on the mode you are in, your
buttons may have different functions. More on that later.
ATCH SOFTWARE VERSION
ATCH BUTTON MAP
F
E
A
B
D
METAWATCH
2.4 W
Your watch should be charged from the previous step, if not, check the Trouble Shooting section.
After the watch starts-up for the first time, it will be ready to be paired with your iPhone, Android or other supported
smartphone or device.
Revision 1.0
6 of 19
ATCH FIRST BOOT AND SETUP
10-Oct-2012
C
Page 7

Before you pair, you can still use your MetaWatch smartwatch as watch. Use the buttons below to set the time
before you have any connection from a phone. The watch will continue to keep time for you.
A:
Turn on
F:
LED Light
E:
Increment
Hours
Increment
Minutes
B:
Increment
Day of the
Week
D:
Display
Status screen
Watch ready
for pairing
request
Enter Menu
C:
METAWATCH
Serial
number
Firmware
version
Revision 1.0
7 of 19
10-Oct-2012
Page 8

After a period of time with no pairing request, the watch will turn the Bluetooth radio off to save power. The button
assignment stays the same.
A:
Turn on
F:
LED Light
E:
Increment
Hours
Increment
Minutes
B:
Increment
Day of the
Week
D:
Display
Status screen
Watch turned off
Bluetooth to save
power
Bluetooth can be turned back on via the Menu. See the
When you boot and you already have a paired connection, the first screen looks like this:
METAWATCH
Menu section.
Enter Menu
C:
Revision 1.0
8 of 19
10-Oct-2012
Page 9

3 Pairing and Connecting
Make sure the watch has Bluetooth ON before pairing.
3.1 IP
Download and install the MetaWatch Manager application from iTunes.
Make sure the watch has Bluetooth ON on your watch and your phone before going to the next step.
Open the MetaWatch application, and tap “Connect”.
The MetaWatch application will discover your watch and automatically connect. Your watch will remember your
phone and will not connect to any new phones. Default widgets will be populated on your watch.
Next you need to make a connection from your iOS Bluetooth Settings (sorry, this is necessary in iOS right now).
You should see the watch in the list of discoverable devices as “MetaWatch SW12”, simply tap on the name to
connect and pair. If you don’t see the name, back up, and try again. The pairing code is four zeros. Enter “0000”
with no quotes when prompted.
Next you need to turn on iOS “Show Notifications”. Tap the Settings arrow next to the name “MetaWatch SW12”,
in this screen, turn the “Show Notifications” toggle to ON.
Now you are ready!
3.2 A
Download the MetaWatch Manager application from the Google Play store.
HONE
NDROID
Make sure the watch has Bluetooth ON on your watch and your phone before going to the next step.
Open the MetaWatch application, go to “Menu->Settings->Select Watch”.
A list of discoverable devices will be displayed. If you do not see the watch at first, double check your Android
phone has Bluetooth set to ON and also that the watch has Bluetooth ON. If so and you still can not see the watch,
back out and try again.
Once you see the watch in the list of discoverable devices, simply tap on the watch (check the MAC address in the
phone list matches the serial number your watch is displaying).
Next go “Back” and hit “Menu->Start”. The MetaWatch service will attempt to connect, if the watch had not been
paired previously, then a pairing request will be displayed either as a pop-up menu or as an item in the notification
bar.
Revision 1.0
9 of 19
10-Oct-2012
Page 10

The pairing code is four zeros. Enter “0000” with no quotes. The pairing should complete and the MetaWatch
Manager will finish establishing the connection to the watch.
You’re all set!
Revision 1.0
10-Oct-2012
10 of 19
Page 11

4 Using your watch
4.1 W
In the MetaWatch Manger app, you can select up to four screens of widgets for your watch to save. These range
from clocks or calendar, to stock and weather information. They give you glancabele information every time your
check your watch! Use button B to cycle through all the widget screens.
F:
LED Light
E:
Music Mode
D:
Status screen
IDGETS
Turn on
Go to
Display
A:
Review last
notification
B:
Go to next
Widget screen
C:
Enter Menu
METAWATCH
4.2 N
When you receive a new notification, that notification is given the entire display for you to read the information you
need. Use Button A, to exit from viewing this notification, or do nothing and you will return to your Widget view
when the notification ends. Calendar, iMessage/SMS, and Caller ID are examples below.
Revision 1.0
11 of 19
OTIFICATIONS
10-Oct-2012
Page 12

4.3 M
When in music mode, the current song, and artist name will be displayed. You can control the playback of your
music using the watch buttons.
F:
LED Light
E:
/Pause toggle
USIC
Turn on
Play
A:
Exit Music
Mode
B:
Volume up
D:
Next Song
C:
Volume
down
METAWATCH
Revision 1.0
10-Oct-2012
12 of 19
Page 13

4.4 S
The clock widgets also can give you information about system alerts. Examples are low battery warnings, Bluetooth
off, or phone disconnected events. These serve as constant reminders that there is a warning or alert from the
system.
YSTEM ALERTS
Low Battery
Warning
Bluetooth radio
OFF
Revision 1.0
10-Oct-2012
13 of 19
Page 14

4.5 S
The status display gives you some more detailed information about your watch. You can see the status of the
Bluetooth radio (ON / OFF), the status of the connection to your phone (ON / OFF / Warning), and the detailed
battery level of the watch.
The Software (SW) and Hardware (HW) versions and serial number are also displayed here.
TAUS DISPLAY
F:
Turn on
LED Light
E:
Go to
Music Mode
D:
Exit to
Widget view
A:
Review last
notification
B:
Exit to
Widget view
C:
Enter Menu
METAWATCH
Revision 1.0
14 of 19
10-Oct-2012
Page 15

5 Menu
Your watch menu gives you access to common functions that you might like access to, even without your phone.
Each icon represents one function and can either be ON or OFF. For most of these settings, an “X” represents the
OFF state, a “check” represents ON state. Pressing the button next to that icon will flip that setting, and the icon will
change to represent the new state. The effect of any changes here is immediate and there is no need to “save”
settings before exiting.
A:
F:
Turn on
light
Toggle
Bluetooth
ON/OFF
Invert
E:
entire display
D:
Toggle
link alarm
ON/OFF
5.1 B
The icon shows you the status of Bluetooth. The Icon can be either
OFF
Loading
Or ON
LUETOOTH
ON / OFF (B
METAWATCH
UTTON
A)
B:
Toggle
Seconds Count
ON/OFF
C:
Exit Menu
When turning ON, you will see the “Loading” state for a short period of time. When turning OFF, it will switch
immediately to the OFF state.
Revision 1.0
15 of 19
10-Oct-2012
Page 16

5.2 S
When OFF, time is displayed in Hours and Minutes. This is the default state and gives you the best power
consumption. When ON, Hours, Minutes, and Seconds are displayed in the clock area.
Seconds count updates the display once per second and will reduce your battery life.
Not every watch face or clock can display a second’s count by design.
ECONDS
ON / OFF (B
UTTON
B)
5.3 E
This Exits the menu and returns you to your Widget screen.
5.4 L
When ON (which is the default), if your phone is too far from your watch and you lose the connection, your watch
will vibrate to warn you your phone is left behind. This can be useful for not accidentally leaving your phone behind
somewhere or for simply being aware of your connected status. A system icon in most clock areas will also remind
you of your disconnected status.
When OFF, you will not be alerted by the watch with vibration, but the system icon showing the disconnected status
will sill be displayed.
5.5 I
This will invert the display of your watch. The two states are “white on mirror” or “mirror on white”. Pressing this
button will flip between these states. You might change this to suit your mood or to improve display visibility is
some situations.
XIT MENU (BUTTON
INK ALARM
NVERT DISPLAY (BUTTON
ON / OFF (B
C)
UTTON
E)
D)
5.6 T
There are no settings associated with this button, instead this button will turn the light ON for viewing the display in
the low light and dark conditions. This button is available for use in most other watch modes as well.
Revision 1.0
16 of 19
URN ON LIGHT (BUTTON
F)
10-Oct-2012
Page 17

6 Updating your Firmware
6.1 I
First, unplug your clip from your PC
Next download drivers for your charging clip – Windows, Mac, and Ubuntu Linux are supported. You can
download from here, make sure you select from “Currently Supported VCP Drivers” section.
http://www.ftdichip.com/Drivers/VCP.htm
Follow the directions
6.2 I
After installing drivers, your clip will be given a COM port on your PC when it’s plugged in.
Connect your clip and run the MetaWatch Manager Update application.
The software will reflash your watch and then verify the program in memory. You will get a success or failure. If
you run into trouble, the old program is saved and can be loaded back on.
NSTALL YOUR DRIVERS
NSTALL YOUR DRIVERS
Revision 1.0
17 of 19
10-Oct-2012
Page 18

7 Support
Please visit www.metawatch.com/support to get support information.
Revision 1.0
18 of 19
10-Oct-2012
Page 19

8 Developers! Participate in the Community
You make us better. Help improve Meta Watch by reporting bugs, contributing your own code, requesting
enhancements, or just participating in the discussion. Please visit the Forums section of
join the community!
www.MetaWatch.org and
Revision 1.0
19 of 19
10-Oct-2012
 Loading...