

Page 1
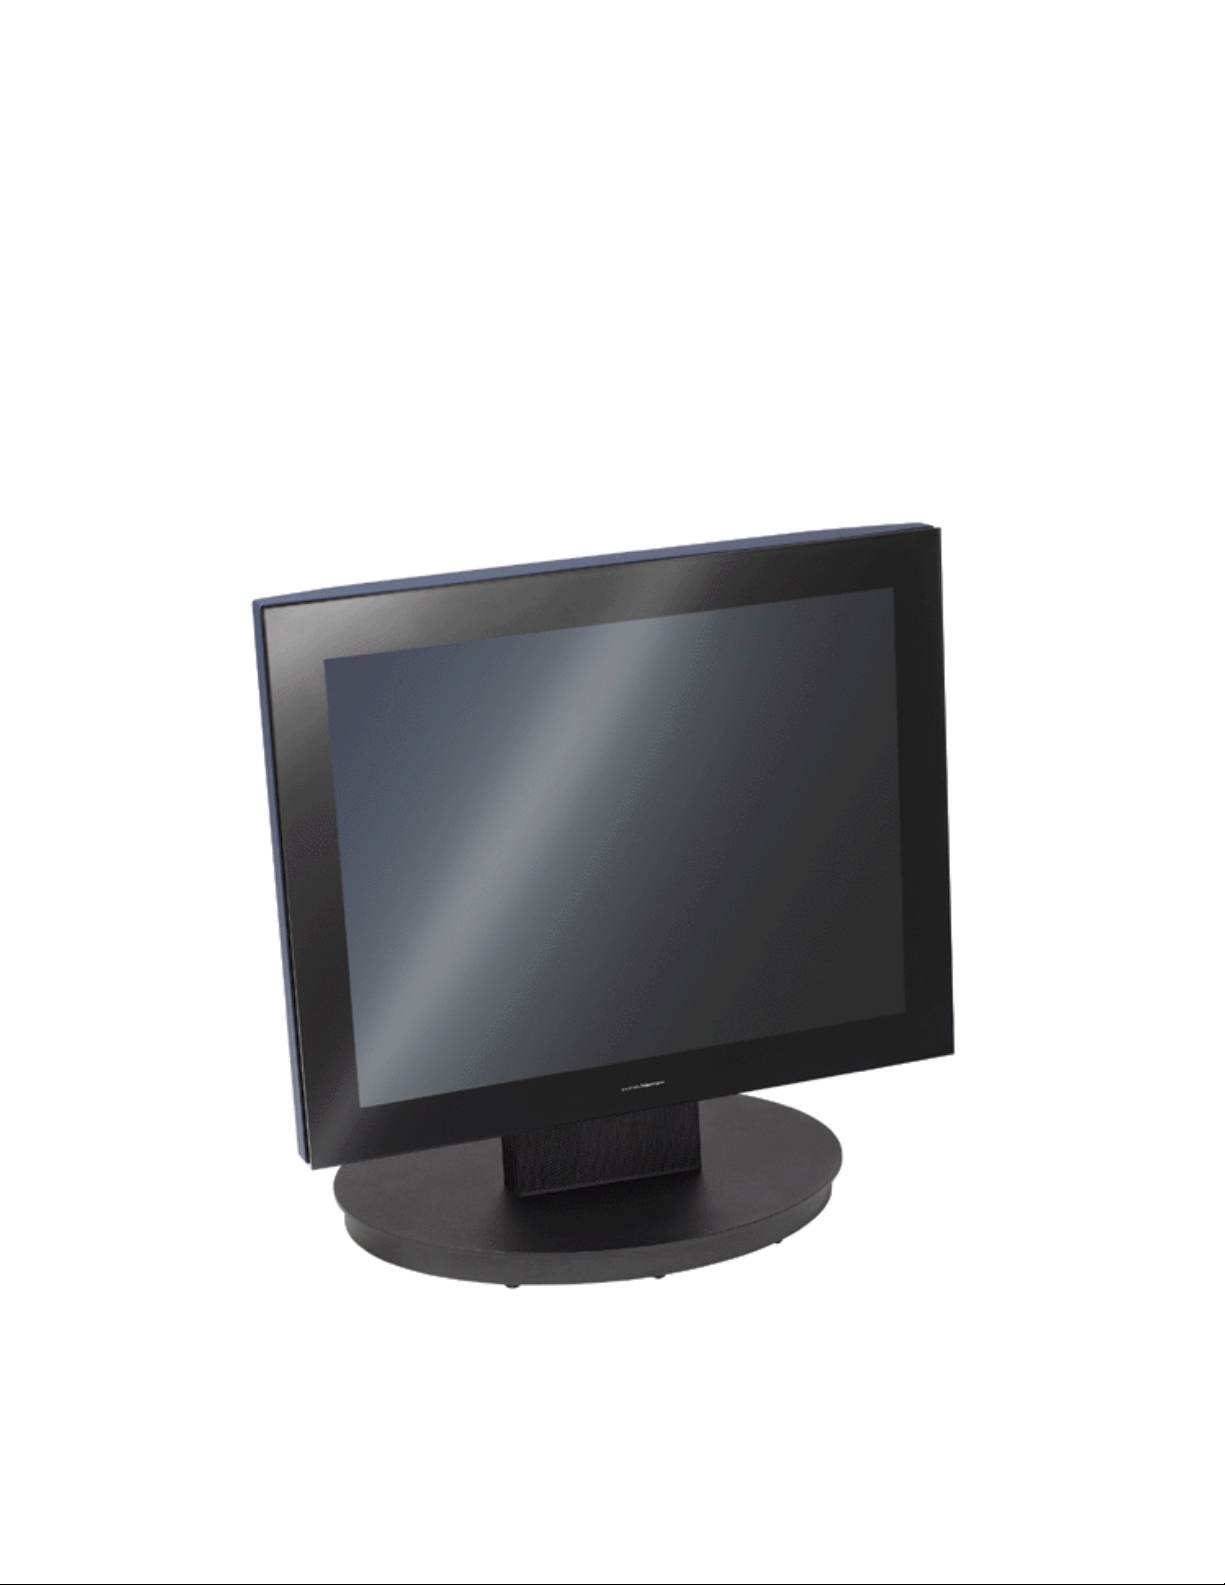
User manual
mermaid ventura 213/240
Page 2

mermaid ventura 213/240 - Users manual Version 3.0
___________________________________________________________________________________
Table of Contents:
Table of Contents: ...........................................................................................................2
1. Preface ........................................................................................................................3
2. Important information.................................................................................................3
3. Content of the Box:......................................................................................................4
4. Unpacking, placement and setup. (PC)........................................................................4
5. OSD Key functions .......................................................................................................5
6. OSD Menu....................................................................................................................6
7. OSD Functions & Adjustments8. Guarantee terms.......................................................6
8. Guarantee terms........................................................................................................10
9. If you need to contact us!..........................................................................................10
10. Troubleshooting ......................................................................................................11
Appendix A: List of tested graphic boards. ....................................................................11
Appendix B: Connector specific at ions............................................................................ 13
Appendix C: Technical specifications .............................................................................15
Appendix D: Video Mode Support ..................................................................................16
Appendix E: Optical Characteristics – ventura 240 T .....................................................17
Appendix F: Optical Characteristics – ventura 213 T .....................................................18
Page 2 of 18
Page 3

mermaid ventura 213/240 - Users manual Version 3.0
___________________________________________________________________________________
1. Preface
The mermaid ventura 213T and 240T are state of the art high-tech flat panel TFT monitors with resolutions of 1600x1200
and 1920x1200 respectively. They are based on the newest PVA technology, which gives very fast response times and
therefore excellent suitability for video and gaming applications. The monitors are made of steel and hardened glass which
provides excellent stability and strength. The integrated hinge means you are able to adjust the monitor for optimal
viewing angle and comfort.
Connections:
• Analog VGA (D-Sub connector)
• DVI (DVI-I connector)
• S-Video (4-pole Mini-Din)
• CVBS, Composite Video (RCA/Phono connector)
• YUV (YprPb) or Component RGB with Sync on Green (3xRCA/Phono connectors)
Features:
• Graphical icon based OSD menu controlling all the functions of the monitor.
• PIP (Picture In Picture) featuring different placements and sizes.
• Vertical picture split PC/Video with fully configurable content.
• Adjustment of brightness, contrast, hue, sharpness and colour saturation when video input is selected.
• Remote control is optional.
• Accepts refresh rates of between 56 Hz and 75 Hz.
• VESA DPMS power saving compatible.
• 4:3 to 16:9 aspect ratio conversions built in.
2. Important information
Both the 213T and the 240T require a high quality graphics board which incorporates a high bandwidth (the ability to
generate a high quality VGA signal even at high resolutions). In general, older type graphic boards are not suitable to drive
the 213T and 240T. The mermaid ventura 213T is less demanding than the 240T and therefore can be driven by larger
variety of graphics boards. Furthermore, it is important to use cables of good quality and to keep the analog VGA as short
as possible.
If you should decide to drive the monitor by means of DVI, a graphics board with DVI-D or DVI-I output is required. It is
also recommended to use a DVI graphics board which is compatible with the newest DVI 2.XX standard. Older versions
have shown to be incompatible and may provide problems.
When using the monitors with Windows XP, it is recommended that the refresh rate be set to 60 Hz before connecting the
213T or 240T.
Please save the packaging. It has been designed to provide optimal support and protection for the monitor during
transportation.
Page 3 of 18
Page 4
mermaid ventura 213/240 - Users manual Version 3.0
___________________________________________________________________________________
3. Content of the Box:
• ventura 213T (21”) or ventura 240T (24”) monitor
• PSU (80 Watt)
• Powercord
• HQ VGA cable 1,8 meter
• Users manual
• ”Quickstart” card
• Glass cleaner & screen wiping cloth
4. Unpacking, placement and setup. (PC)
After the box has been opened the monitor and side packing can be lifted out.
21”- First remove the outer two side pieces. Then remove the two inner side pieces from the monitor and carefully lift the
monitor out of box.
24”- It will be necessary to lift the monitor and support material out in one operation.
The monitor needs to be placed on a smooth and stable surface. This surface must be able to safely support 25 kg (213T)
or 30 kg (240T).
Your monitor has been delivered with a standard VGA cable of high quality, intended to be used with standard graphic
boards (analog RGB). If you wish to use DVI, a suitable cable will need to be purchased separately.
Make sure the computer is turned off before connecting the monitor.
• Connect the monitor to the computer, by means of the supplied VGA cable or by means of DVI.
• Connect the PSU to the monitor and AC outlet.
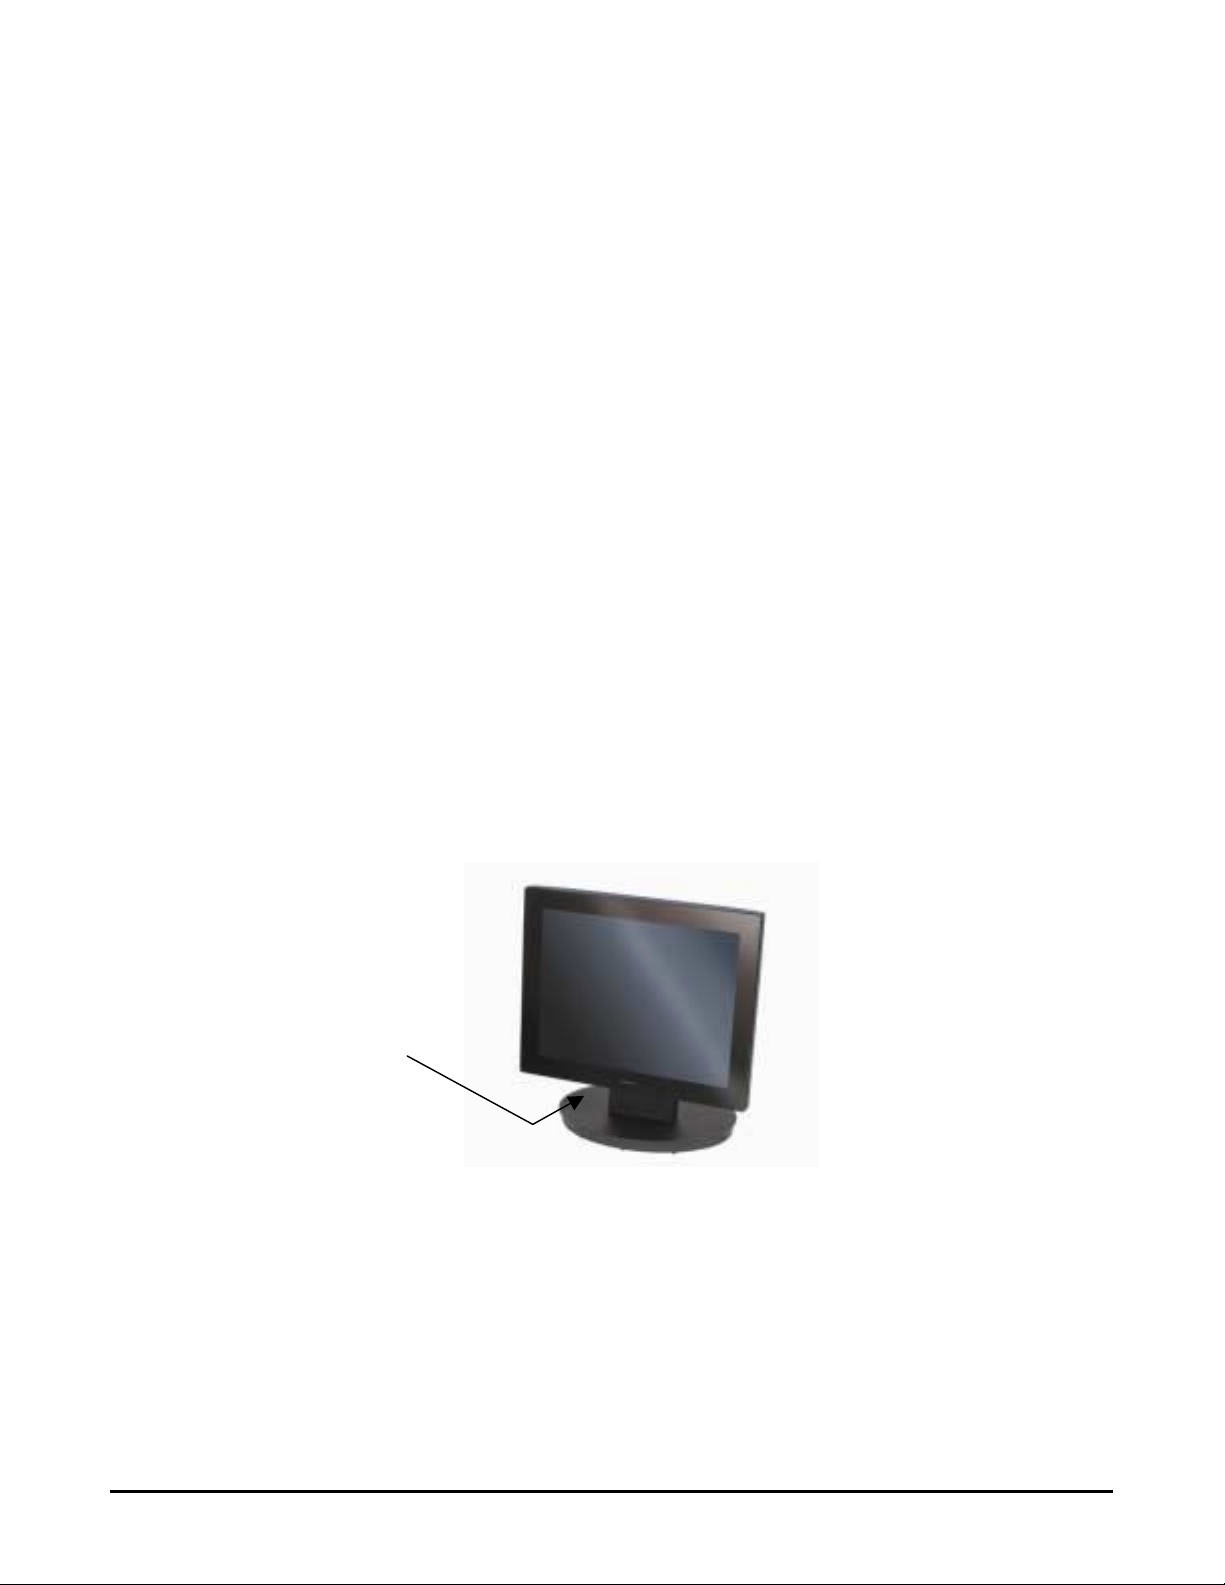
• Turn on the computer and monitor. If nothing happens within approx. 5 seconds, press the OSD button #2 (OSD
counted from the right) until the textbox shown at the upper right corner describes the input of your choice.
• mermaid 213T and 240T monitors are plug & play compatible via VESA DDC1/2B. Windows 98, ME and XP will
recognise this and self configure.
OSD panel is located
beneath the monitor
Page 4 of 18
Page 5
mermaid ventura 213/240 - Users manual Version 3.0
g
p
___________________________________________________________________________________
5. OSD Key functions
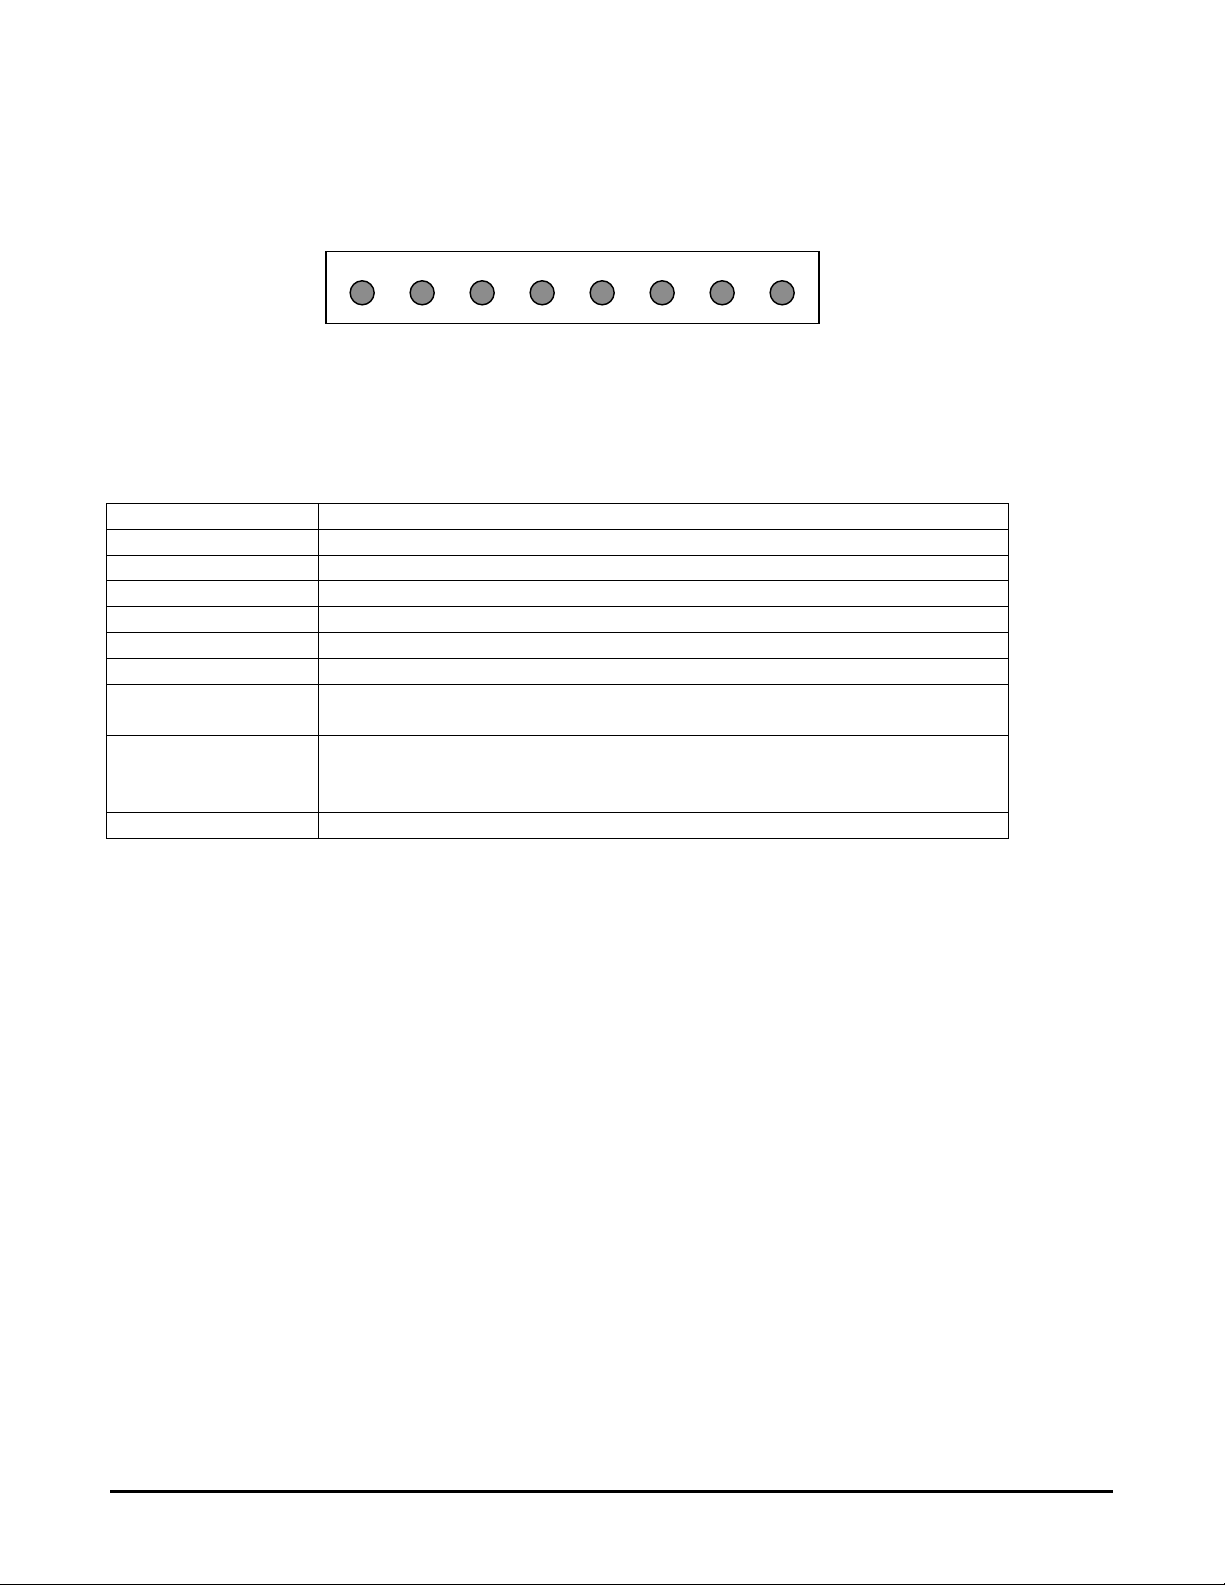
Function Description
Menu (Hot Key) Activate the OSD
Bright (Hot Key) Activate brightness control OSD
PIP (Hot Key) Activate PIP (Picture-in-Picture) window
Source (Hot Key) Source select Analog RGB->DVI->Video->S-Video->DVD (YPrPb/RGB)
Auto Adj. (Hot Key) Optimize image quality automatically
Select Select the highlighted menu
Down/Left
Up/Right
Exit Exit from menu or sub-menus
Hot Key: MENU Bright Bright N/A N/A PIP Source Auto Adi.
Normal: Select Down Up Exit N/A PIP Source Auto Adi.
Left Ri
Moves the selector right or left on the OSD
Increase of decrease the value of selected
Exit from OSD menu
Turns PIP off
ht Pre-Menu swa
PIP Swap the PIP sources
Page 5 of 18
Page 6

mermaid ventura 213/240 - Users manual Version 3.0
___________________________________________________________________________________
6. OSD Menu
1
8
Main Menu Sub-Menu
1. Brightness
2. Contrast
3. Image control H-Size / Phase
4. Image position H-position / V-position
5. Color control Mode / R / G / B
6. Aspect ratio Wide expand / Expand / Normal (1:1)
7. Default setting Power Resume/Power Save/Default load / Color load
8. Sharpness Sharpen / Medium / Soften
9. Zoom Zoom / H-panning / V-panning
10. PIP Size / H-position / V-position
11. PBP Mode / PC Source / Video Source(Composite/S-video/Component)
12. OSD Language / Transparent / OSD position / OSD timeout
13. Info (Video information)
14. Video control Brightness / Contrast / Saturation / Hue / Enhance/Component
-
9
2
3 4 5 6 7
+
50
10 11 12 13 14
Page 6 of 18
Page 7
mermaid ventura 213/240 - Users manual Version 3.0
___________________________________________________________________________________
7. OSD Functions & Adjustments
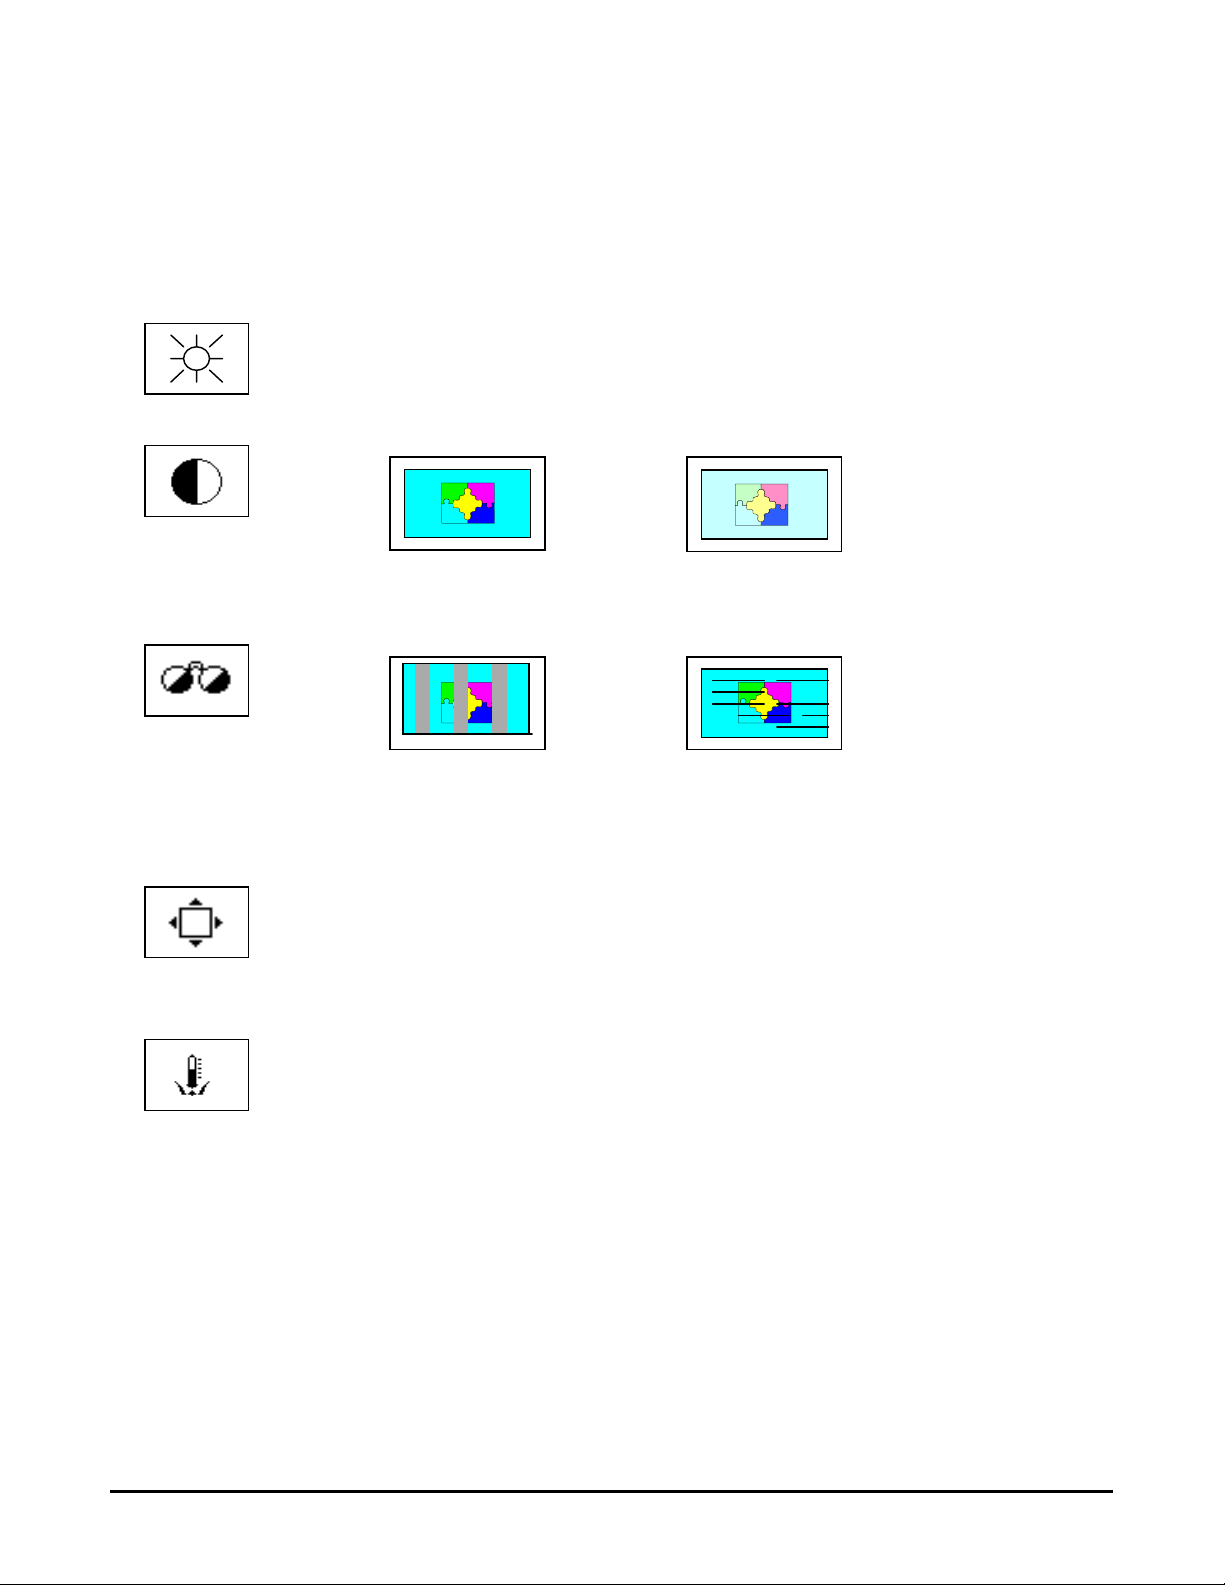
1. Brightness
Changes the overall brightness of image
2. Contrast
3. Image control Fine tune vertical and horizontal noise in the display.
4. Image position
Changes the ratio between white and black
¢¸ Distinct ¢º Vague
Mismatch of Horizontal
image size causes periodic
vertical bands in the
display
Moves the vertical and horizon location of the display
Mismatch of Phase causes
Horizontal line noise in the
display
5. Color control
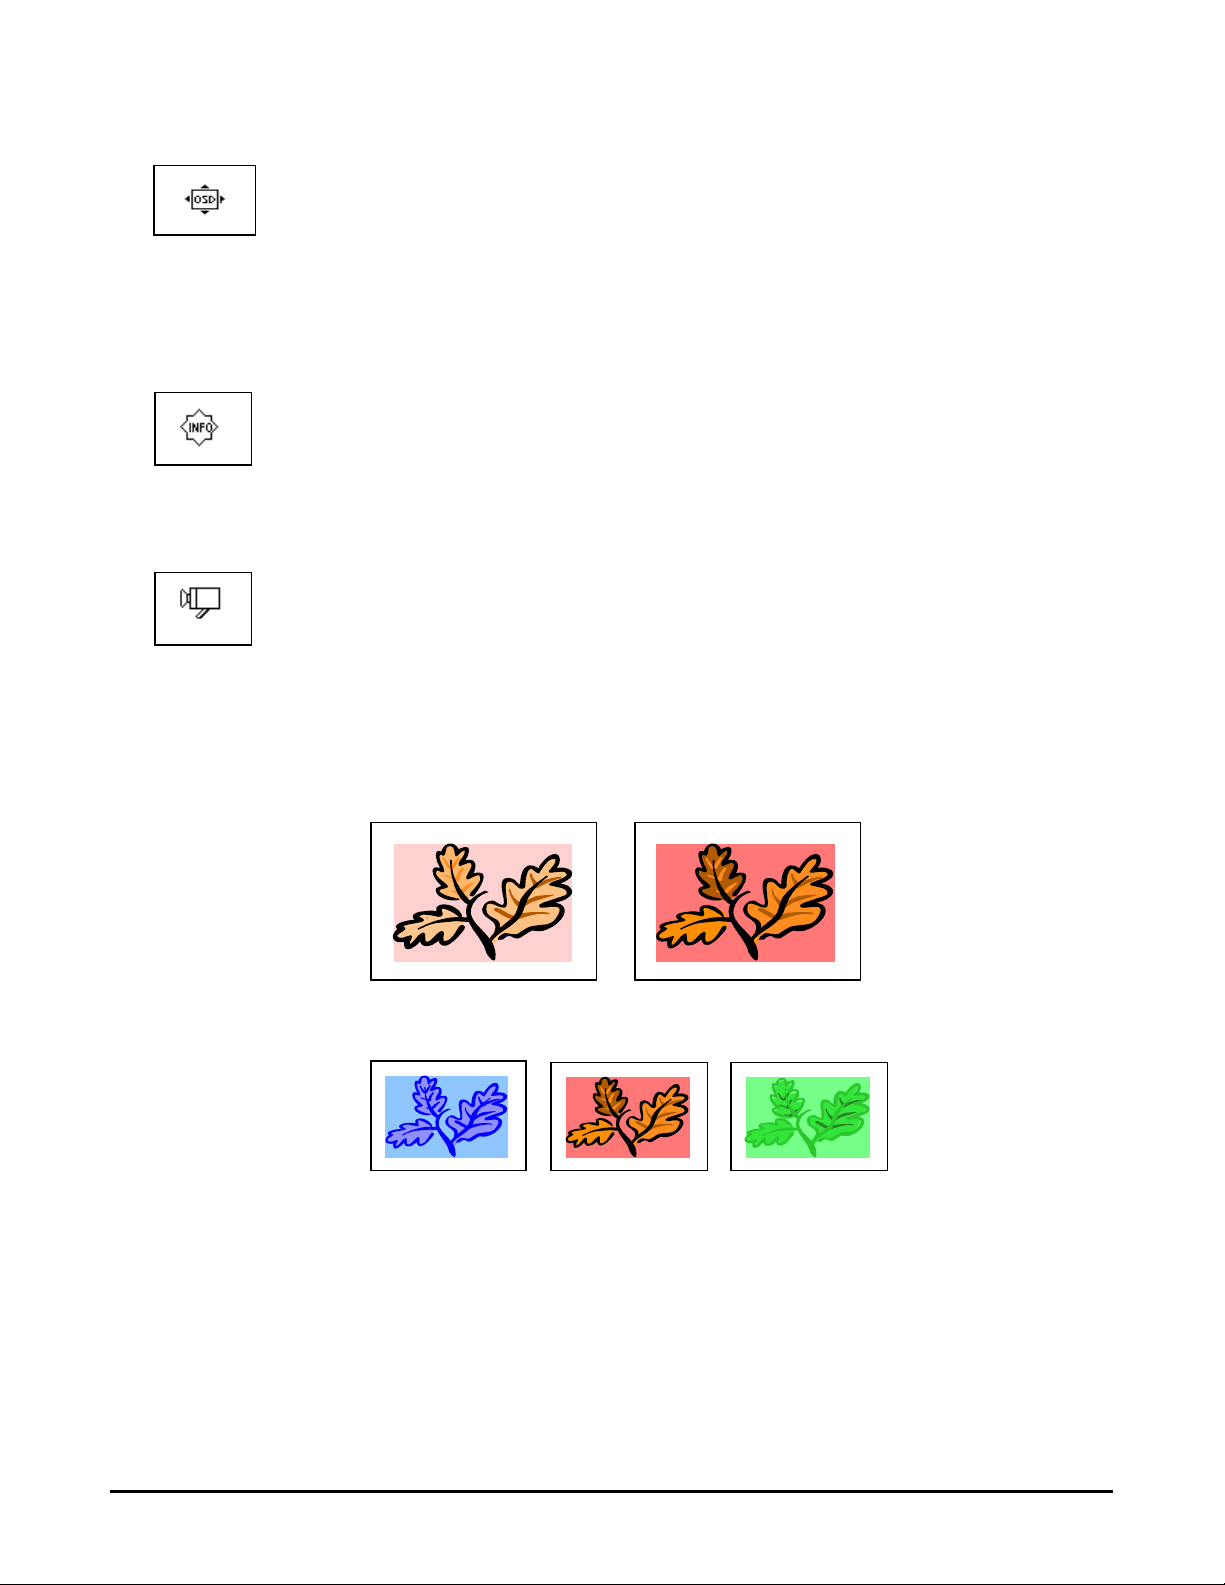
Changes the color tone of the display
Mode 1: Bluish white
Mode 2: Reddish white
Mode 3: Normal white
User: Changes individual color Red, Green and Blue
Page 7 of 18
Page 8
mermaid ventura 213/240 - Users manual Version 3.0
S
___________________________________________________________________________________
6. Aspect ratio
7. Default setting
8. Sharpness
9. Zoom and Panning
Changes the ratio of vertical and horizontal size of display
Wide Expand: Full screen image expansion regardless of the original
aspect ratio
Expand: Perform image expansion while keeping the original
aspect ratio
Normal (1:1): No image expansion
It works in PC source / composite / S-video /YPbPr.
It does not work with Wide LCD Panel in Analog PC signal at its maximum wide
Erases all user settings and go back to the default setting
Power resume: Recovering option selection from DPMS Mode
Power save: DPMS Sign duration time selection
Default load: Erase current H-position and V-position setting
Color load: Erase current color setting and load default color setting
Modify the sharpness of the display
Sharpen: Edges of image become sharp
Medium
Soften: Edges of image become soft
Perform digital zoom and move around the magnified image
Zoom: Perform digital zoom and magnifies an image. It works with PC
source only. It does not work in UXGA and WUXGA mode.
H-Pan / V-Pan: Moves magnified image to the horizontal / vertical direction.
-
10. Picture in Picture
11. Picture by Picture
Page 8 of 18
hows a small sub-window superimposed on video or PC. When video is in
full screen mode, then PC will be appeared in a small window or vice versa.
Size: Off (Disable PIP), 1 (400 x 300), 2 (640 x 480), 3 (800 x 600)
Position: Changes the PIP window position to the horizontal / vertical direction
Split display into two (2) windows. Then shows PC and video side by side.
Mode: Off (Disable PBP feature), 1 (PC in the left, Video in the right)
2 (Video in the left, PC in the right)
PC Source: 1 (PC analog), 2 (PC DVI)
Video Source: 1 (Composite video signal), 2 (S-Video), 3 (HDTV)
Page 9
mermaid ventura 213/240 - Users manual Version 3.0
___________________________________________________________________________________
12. OSD set
13. Information
14. Video control Changes the parameters of video display. Applicable for Composite video, S-
Sets up OSD appearance
Language: Select an OSD language. English is available as default
Transparent: Sets the transparency of OSD back ground. 9 steps.
OSD position: Changes the OSD menu position in the display
OSD Timeout: Sets time span before OSD menu disappearance. 5, 10, 20,
50 and 200 seconds.
Displays the information regarding current display source. Input signal,
Information includes as following:
Video signal type: Analog / DVI/ Video / S-video
Sync. Type, frequency, polarity and resolution
Video and DVD only.
Brightness: Changes the overall brightness of image
Contrast: Changes the ratio between white and black
Saturation: Changes the color tone in accordance with the difference of
color concentration under red color criterion
Hue: Changes the difference of color toward Blue or Red color direction.
Enhance: Video quality improvement
Component : Selection for Yuv or RGB signal
Saturation
Hue
¢¸ Decrement
¢¸ Bluish
¢º Reddish
¢º Greenish
Page 9 of 18
Page 10

mermaid ventura 213/240 - Users manual Version 3.0
___________________________________________________________________________________
8. Guarantee terms
mermaid ventura 213/240 are covered by a 1-year Pick-UP service
Pick-UP
Collection from and return to your address. If your mermaid ventura needs repairing, contact mermaid customer services,
who will arrange to have your screen collected, repaired and returned to you within 14 working days.
The guarantee terms set out above apply to Europe only.
9. If you need to contact us!
Contact mermaid customer support.
If you need to get in touch with mermaid technology, please contact us via phone or mail:
Phone
mermaid customer support opening hours are Monday to Friday 14.00-16.30.
By mail
mermaid technology a/s
Att.: Customer Support (Kundeservice)
Symfonivej 34-36
2730 Herlev
Telephone
+45 44 52 92 00
Telefax
+45 44 52 92 65
E-mail
kundeservice@mermaid
Internet
http://www.mermaid.dk
.dk
Page 10 of 18
Page 11
mermaid ventura 213/240 - Users manual Version 3.0
___________________________________________________________________________________
10. Troubleshooting
If you have troubles using this monitor, please refer to following suggestions for troubleshooting.
If you can not fix it properly, please contact your distributor or place of purchase.
Symptom Suggestions Reference
Screen is blank Ensure that the power cord is connected and the
“Check signal cable” message
“Sync out of range” message
The image is too dark or bright
Horizontal bars appear to flicker, jitter or
shimmer on the image
Vertical bars appear to flicker, jitter or
shimmer on the image
Screen is blank The system activates power management mode.
Image is not stable and may appear to
vibrate
Image is not centered on the screen
monitor is on
Ensure that the signal cable is connected firmly
connected to the signal source
Ensure that the signal source is turned on
Check the maximum resolution and the
frequency of the video adapter
Adjust the brightness and contrast
Adjust the “Image Control / Phase”
Adjust the “Image Control / H-Size”
Just press the PC keyboard or move
the PC mouse
Check the display resolution and frequency.
From your PC or video board is in available mode
for your monitor. On your PC, check
“Control Panel -> Display -> Settings”
If the setting is incorrect, you may change the
setting using PC utility program.
Adjust the “Image Position / H-Position” or VPosition
None
None
Video mode support
OSD Key function
None
OSD Function and adjustment
Page 11 of 18
Page 12
mermaid ventura 213/240 - Users manual Version 3.0
___________________________________________________________________________________
Appendix A: List of tested graphic boards.
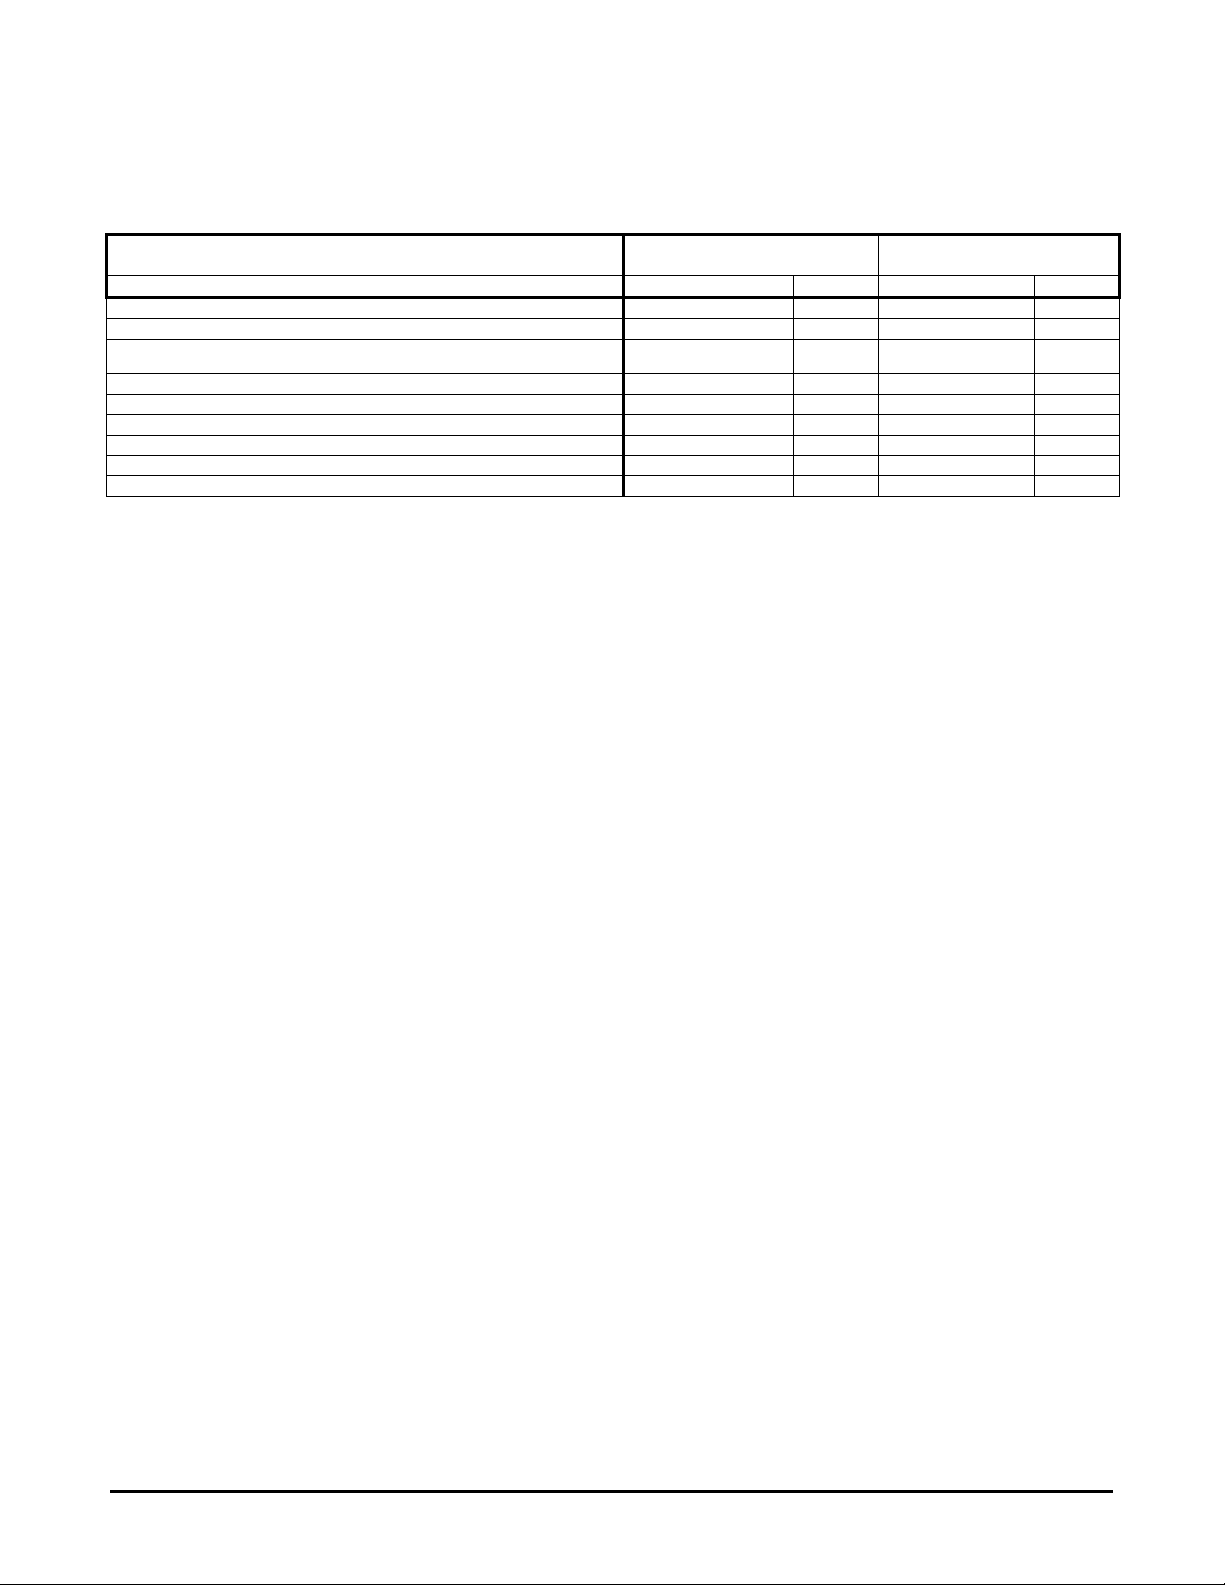
Graphic board/Chip Ventura 213T
(1600x1200)
Interface Analog VGA DVI Analog VGA DVI
ASUS V7100 (Nvidia Gforce 2 MX) yes yes yes yes
Matrox G200 (MGA xx) yes - no Winfast (Nvidia TNT2) yes - no -
The graphic boards, which failed at high resolutions, will probably run at lower resolutions.
Ventura240T
(1920x1200)
Page 12 of 18
Page 13
mermaid ventura 213/240 - Users manual Version 3.0
___________________________________________________________________________________
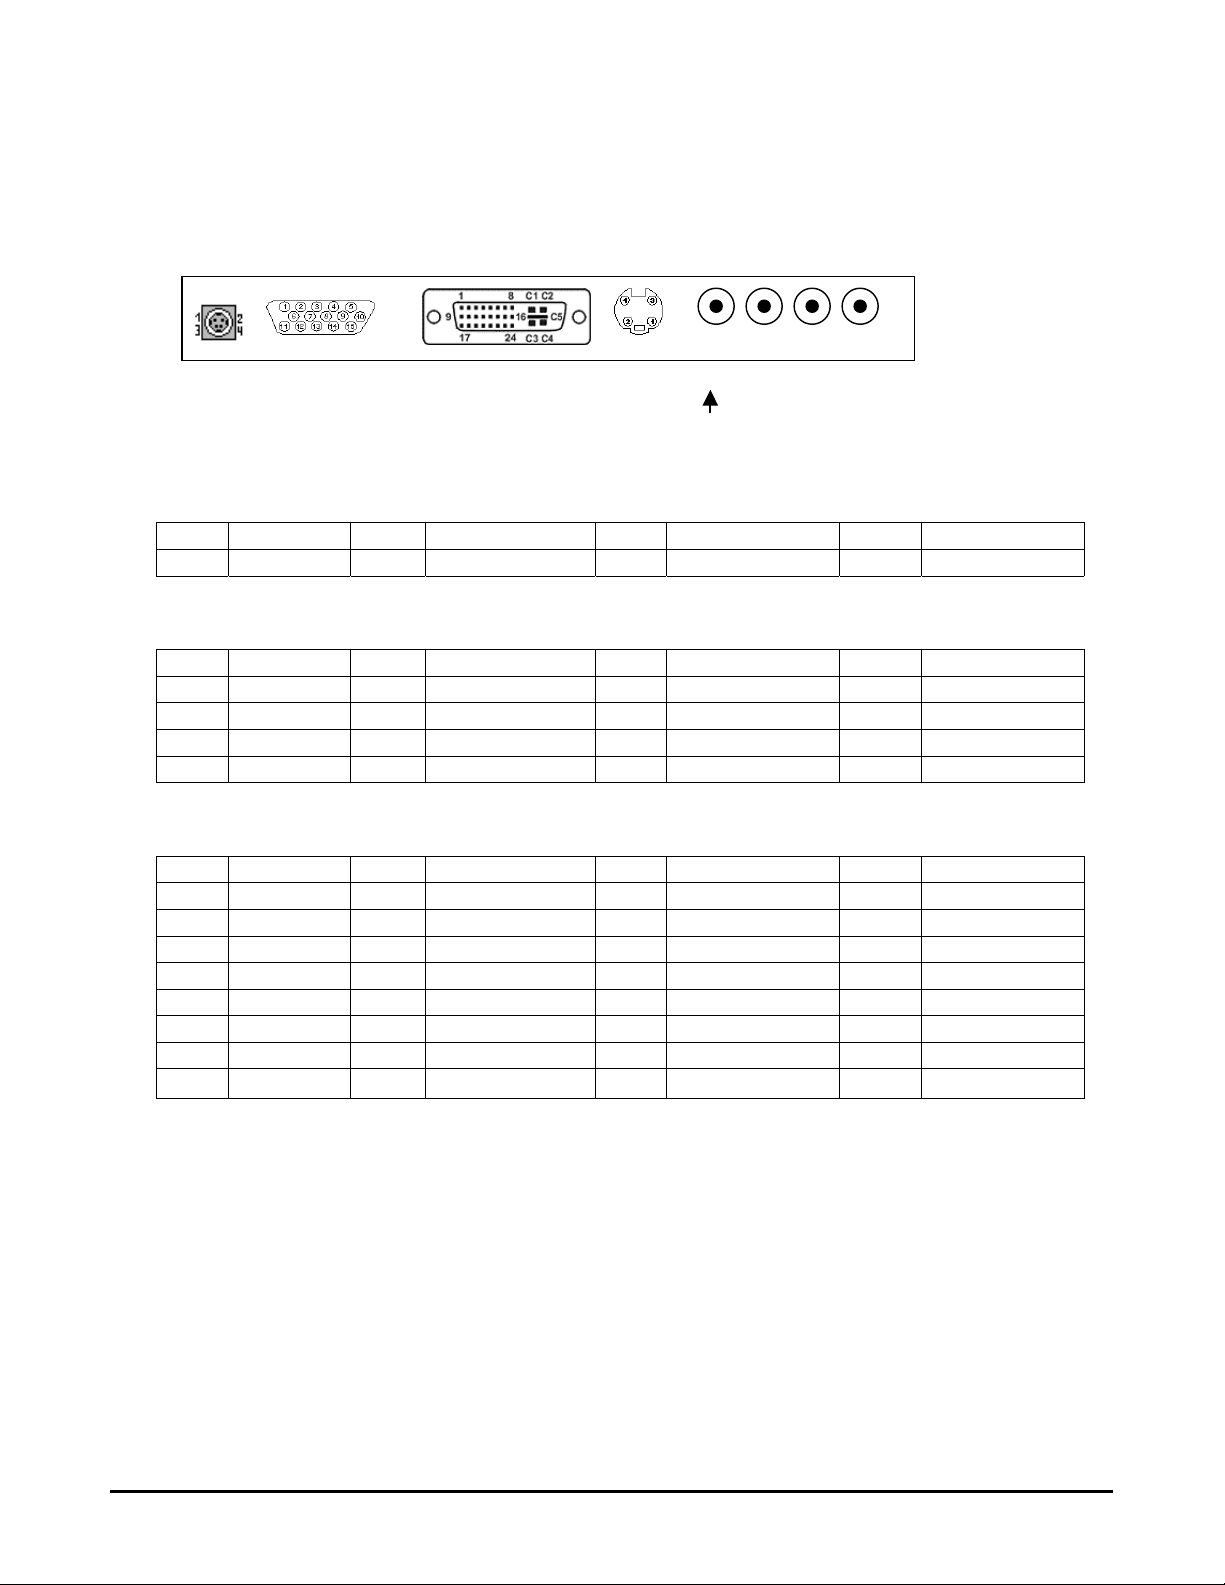
Appendix B: Connector specifications.
Power In (P1)
Analog RGB in (P2)
DVI In (P3)
Notes:
* DVI Input: Pin 1 – 7, Pin 9-24
* Reserved for HDTV Input: Pin 8, C2 – C5
P1 P2 P3 P4 P5 P6 P7 P8
Power In Analog VGA DVI In S-Video Y Pb Pr (YUV mode)
CVBS G B R (RGB mode)
Pin no. Function Pin no. Function Pin no. Function Pin no. Function
1 Power in 2 Power in 3 GND 4 GND
Pin no. Function Pin no. Function Pin no. Function Pin no. Function
1 Red 2 Green 3 Blue 4 NC
5 GND 6 R_GND 7 G_GND 8 B_GND
9 NC 10 GND 11 GND 12 SDA
13 H_SYnc 14 V_Sync 15 SCL
Pin no. Function Pin no. Function Pin no. Function Pin no. Function
1 Rx2- 2 Rx2+ 3 SGKD2 (GND) 4 NC
5 NC 6 DDC_CLK(SCL) DDC_DAT (SDA) 8 AVSYND (HDTV)
9 Rx1- 10 Rx1+ 11 SHLD (GND) 12 NC
13 NC 14 DVI_VCC (5V) 15 GND 16 Hot Plug Det.
17 Rx0- 18 Rx0+ 19 SHLD0 (GND) 20 NC
21 NC 22 SHLDC (GND) 23 RxC+ 24 RxC-
C1 HDPr(HDTV) C2 HDY C3 HDPb (HDTV) C4 AHSYNC (HDTV)
C5 AGND
Page 13 of 18
Page 14

mermaid ventura 213/240 - Users manual Version 3.0
___________________________________________________________________________________
Connector specifications – continued.
S-Video IN (P4)
Pin no. Function Pin no. Function Pin no. Function Pin no. Function
1 GND 2 GND 3 Luma 4 Chroma
CVBS (n – Composite Video (P5)
Pin no. Function Pin no. Function Pin no. Function Pin no. Function
1 GND 2 CVBS 1
Y In/Green* (P6)
Pin no. Function Pin no. Function Pin no. Function Pin no. Function
1 GND 2 Y
* In RBG mode, the “Green” signal must be provided with sync. “SOG”
Pb In/Blue (P7)
Pin no. Function Pin no. Function Pin no. Function Pin no. Function
1 GND 2 Pb GND
Pr (In/Red (P8)
Pin no. Function Pin no. Function Pin no. Function Pin no. Function
1 GND 2 Pr
Page 14 of 18
Page 15
mermaid ventura 213/240 - Users manual Version 3.0
___________________________________________________________________________________
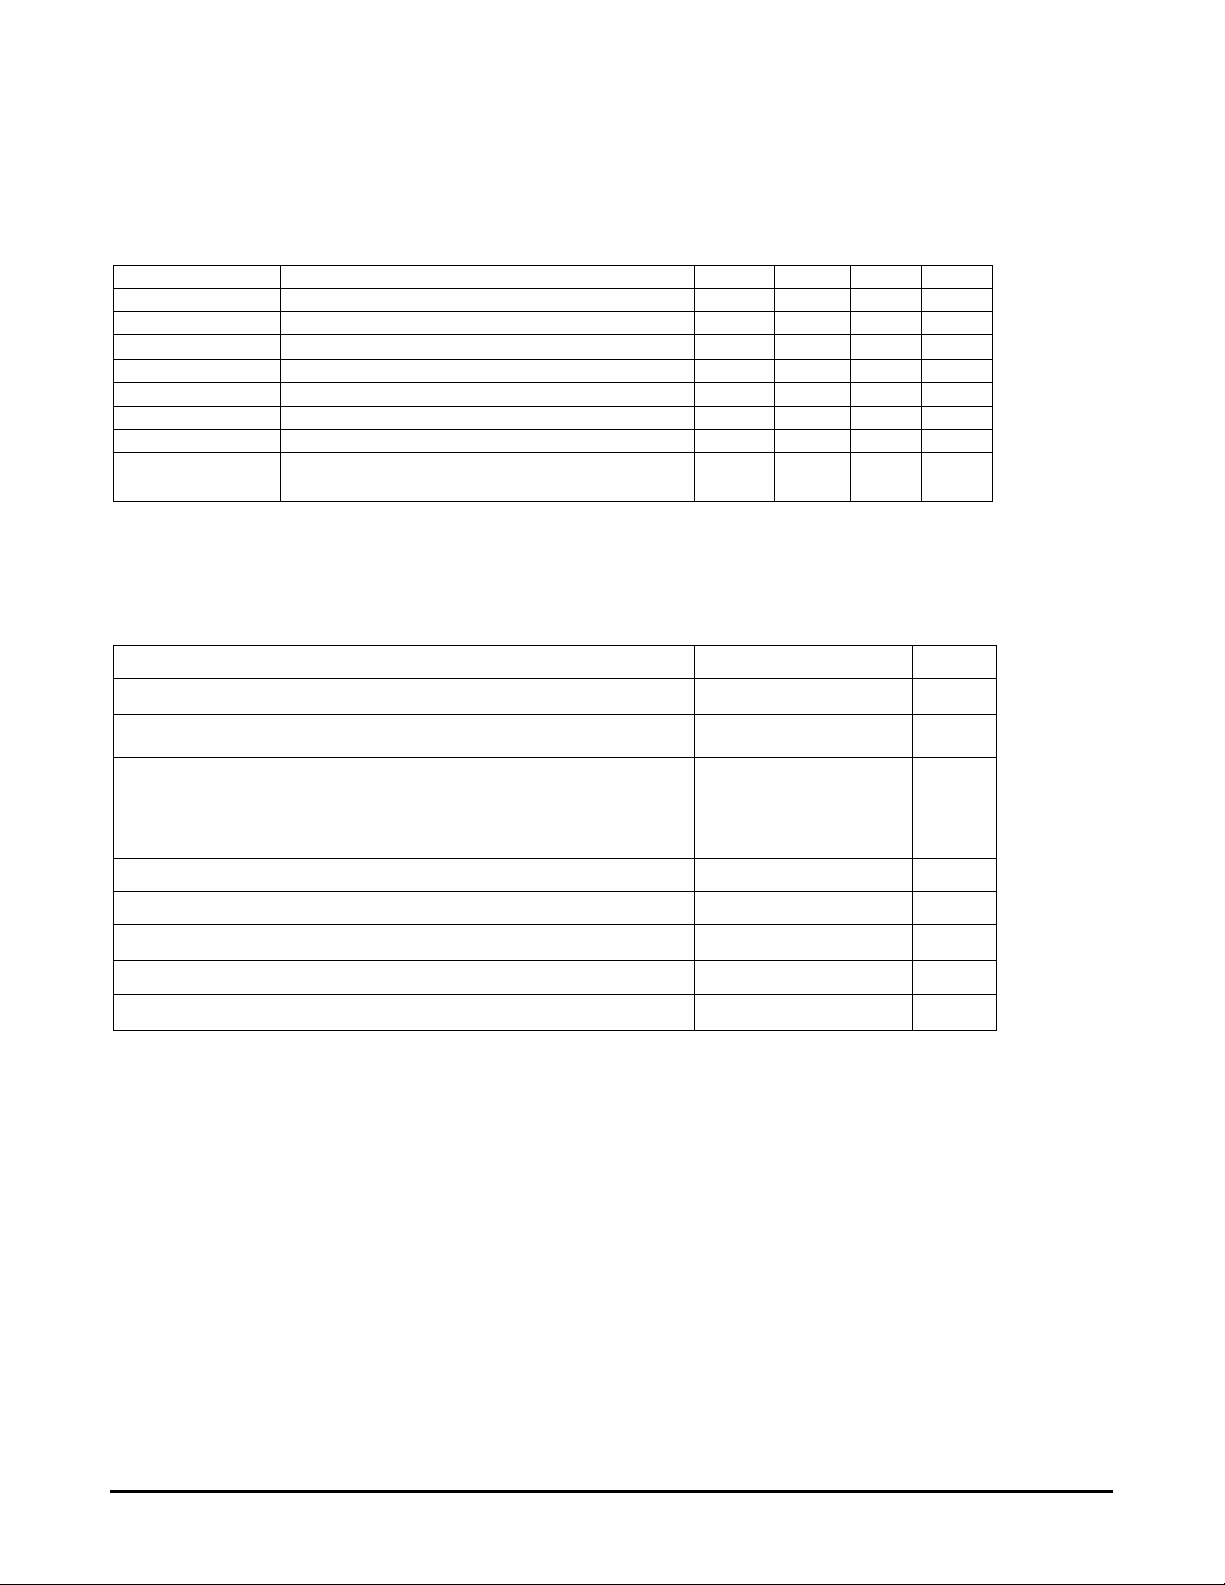
Appendix C: Technical specifications
Electrical parameters reference : tA 25 ° C
Symbol Descriptio Mi Ty Ma Uni
VDD DC power supply TBD 14.0 TBD V
V
Video input signal (w.r.t. GND) 0.5 0.7 1.0 VPP
i(RGB)
fS Video sample rate 200 MHz
fH Horizontal sync frequency 30 93 KHz
f
Vertical sync frequency 30 75 Hz
vs
I
Supply current +12V (w/o LCD & inverter) 0.85 A
DD1
I
Supply current +12V (with LCD & inverter) 6.31 A
DD2
I
Supply current +12V (with LCD & inverter, power save) 0.45 A
DDPS1
Additional features
Paramete Value Unit
Max. output resolution 1920/1600 x 1200 pixel
Data
24 bit
Input impedance: Analog
vide
syn
Sync polarities +/-
Sync levels TTL
Max. number of colours 16.7M color
Operating temperature 0 ~ 50 ° C
Storage temperature -20 ~ 70 ° C
75
470
oh
oh
Page 15 of 18
Page 16

mermaid ventura 213/240 - Users manual Version 3.0
___________________________________________________________________________________
Appendix D: Video Mode Support
The modes are detected whten presented to the input and previous alignments for setup are automatically recalled. A true
multi-sync monitor emulation is implemented.
The factory preset supported modes include:
Mode Resolution Refresh rate H-freq. Pixel freq. Remarks
VGA 720 x 400 59.940HZ 31.469Hz 25.175MHz VESA Standard
VGA 640 x 480 60Hz 31.5Hz 25.175MHz Industry Standard
VGA 640 x 480 72Hz 37.9KHz 31.500MHz VESA Standard
VGA 640 x 480 75Hz 37.5KHz 31.500MHz VESA Standard
SVGA 800 x 600 60Hz 37.9 KHz 40.000MHz VESA Standard
SVGA 800 x 600 75Hz 48.1KHz 50.000MHz VESA Standard
SVGA 800 x 600 75Hz 46.9KHz 49.500MHz VESA Standard
XGA 1024 x 768 60Hz 48.4KHz 65.000MHz VESA Guidelines
XGA 1024 x 768 70Hz 56.5KHz 75.000MHz VESA Standard
XGA 1024 x 768 75Hz 60 KHz 78.750MHz VESA Standard
1152 x 864 75Hz 67.5KHz 108.000MHz
*3
SXGA
SXGA*3 1280 x 1024 75Hz 79.0KHz 135.000MHz VESA Standard
WSXGA*3 1600 x 1024 60Hz 62.1KHz 112.700MHz
UXGA*4 1600 x 1200 60Hz 75.0KHz 162.000MHz VESA Standard
UXGA*4 1600 x 1200 65Hz 81.3KHz 175.500MHz VESA Standard
UXGA*4 1600 x 1200 70Hz 87.5KHz 189.000MHz VESA Standard
UXGA*4 1600 x 1200 65Hz 93.8KHz 202.500MHz VESA Standard
WUXGA*4 1920 x 1200 60Hz 75KHz 193.156MHz Analog
WUXGA 1920 x 1200 60Hz 75KHz 158.0MHz Digital
1280 x 1024 60Hz 64.0KHz 108.000MHz VESA Standard
*1
Notes:
• All mentioned modes are non-interlaced. The maximum and minimum frame rates are determined by the TFTLCD.
• Factory preset modes are overwritten by additional user alignments for automatic recall. At all times it remains possible to recall the
initial factory presets.
• If the resolution of TFT LCD is WSXGA (1600x1024), the ventura monitor decides to run WSXGA mode in SXGA and WSXGA input.
• If the resolution of TFT LCD is WUXGA (1920x1200), the ventura monitor decides to run WUXGA mode in UXGA and WSXGA input.
Page 16 of 18
Page 17
mermaid ventura 213/240 - Users manual Version 3.0
___________________________________________________________________________________
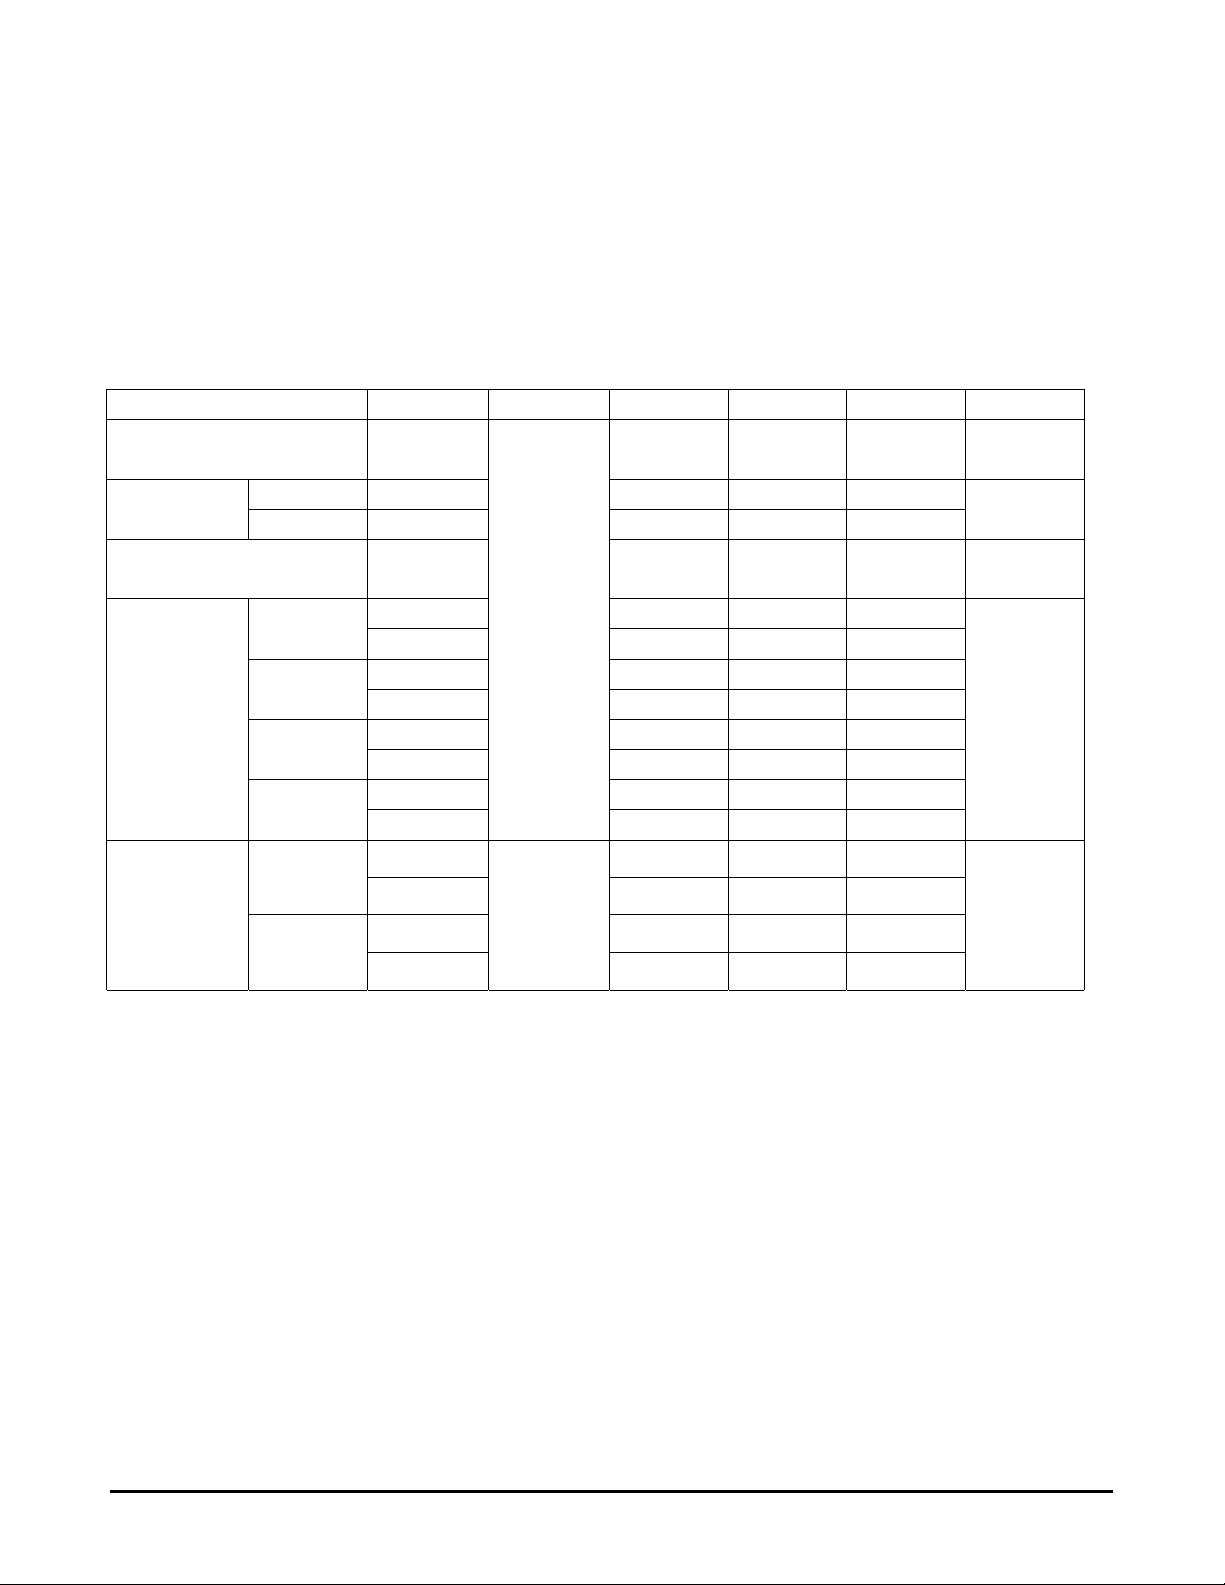
Appendix E: Optical Characteristics – ve ntura 240 T
The following items are measured under stable conditions. The optical characteristics should be measured in a dark room
or equivalent state with the methods shown in Note (1).
* Measuring equipment: TOPCON BM-5A, BM-5A
PHOTO RESEARCH PR650
* Ta = 25± 2
(Center of screen)
Time at Ta
Luminance of White
(Center of Screen)
Color
Chromaticity
(CIE)
Viewing
Angle
0
C, Vco = 5.0V, fdclk=97.5MHz, IL = 6.5 mArms
Item Symbol Condition Min. Typ Max Unit
Contrast Ratio
Rising T
Falling T
Red
Green
Blue
White
Hor.
Ver.
CR (400) - -
R
F
Y
L
RX - 0.610 -
- 0.356 -
R
Y
GX - 0.313 -
- 0.584 -
G
Y
BX - 0.149 -
- 0.317 -
B
Y
WX - (0.315) -
W
Y
θL
θR
φH
φL
φ=0,
θ=0
Normal
Viewing
Angle
CR≥10
- (15) - Response
- (20) -
-
- 0.350 -
- 80 -
- 80 -
- 80 -
- 80 -
230
-
Degrees
msec
cd/m
2
Page 17 of 18
Page 18
mermaid ventura 213/240 - Users manual Version 3.0
___________________________________________________________________________________
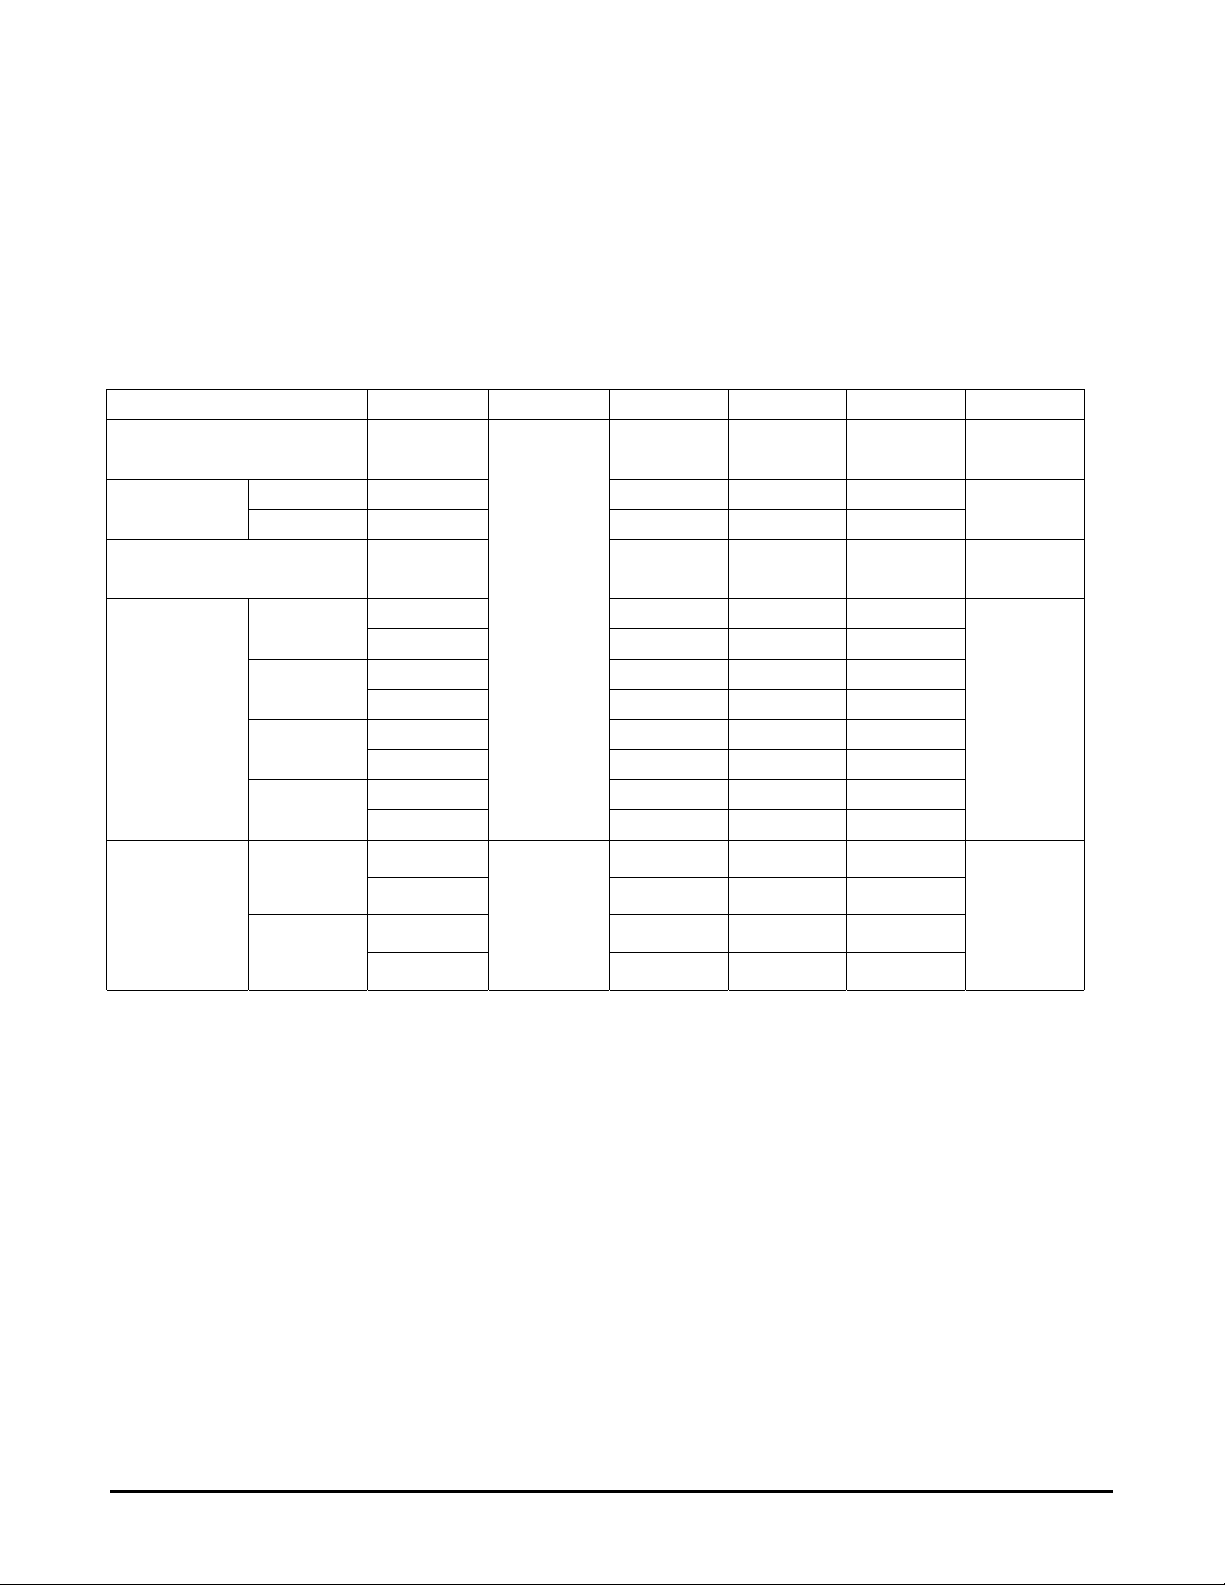
Appendix F: Optical Characteristics – v entura 213 T
The following items are measured under stable conditions. The optical characteristics should be measured in a dark room
or equivalent state with the methods shown in Note (1).
* Measuring equipment: TOPCON BM-5A, BM-7
PHOTO RESEARCH PR650
* Ta = 25± 2
(Center of screen)
Time at Ta
Luminance of White
(Center of Screen)
Color
Chromaticity
(CIE)
Viewing
Angle
0
C, Vco = 5.0V, fdclk=97.5MHz, IL = 6.5 mArms
Item Symbol Condition Min. Typ Max Unit
Contrast Ratio
CR (400) - -
Rising T
Falling T
R
F
Y
L
Red
Green
RX - (TBD) -
- (TBD) -
R
Y
GX - (TBD) -
- (TBD) -
G
Y
BX - (TBD) -
Blue
White
Hor.
Ver.
- (TBD) -
B
Y
WX - (0.310) -
W
Y
θL
θR
φH
θL
φ=0,
θ=0
Normal
Viewing
Angle
CR
≥10
- (20) - Response
- (15) -
-
250
-
- (0.330) -
- 80 -
- 80 -
- 80 -
- 80 -
msec
2
cd/m
Degrees
Page 18 of 18
 Loading...